
Hello, beautiful people … It’s Friday! and if this is your first time on the blog, “Welcome” and I hope you consider subscribing or following.
If you’re part of the family…then Welcome Back! … Hugs all around and a nice big glass of Rose.
Is everyone doing well this Friday, and did you have a good week? Again … nodding in agreement with your glass of Rose, so let’s move on to today’s DIY project.

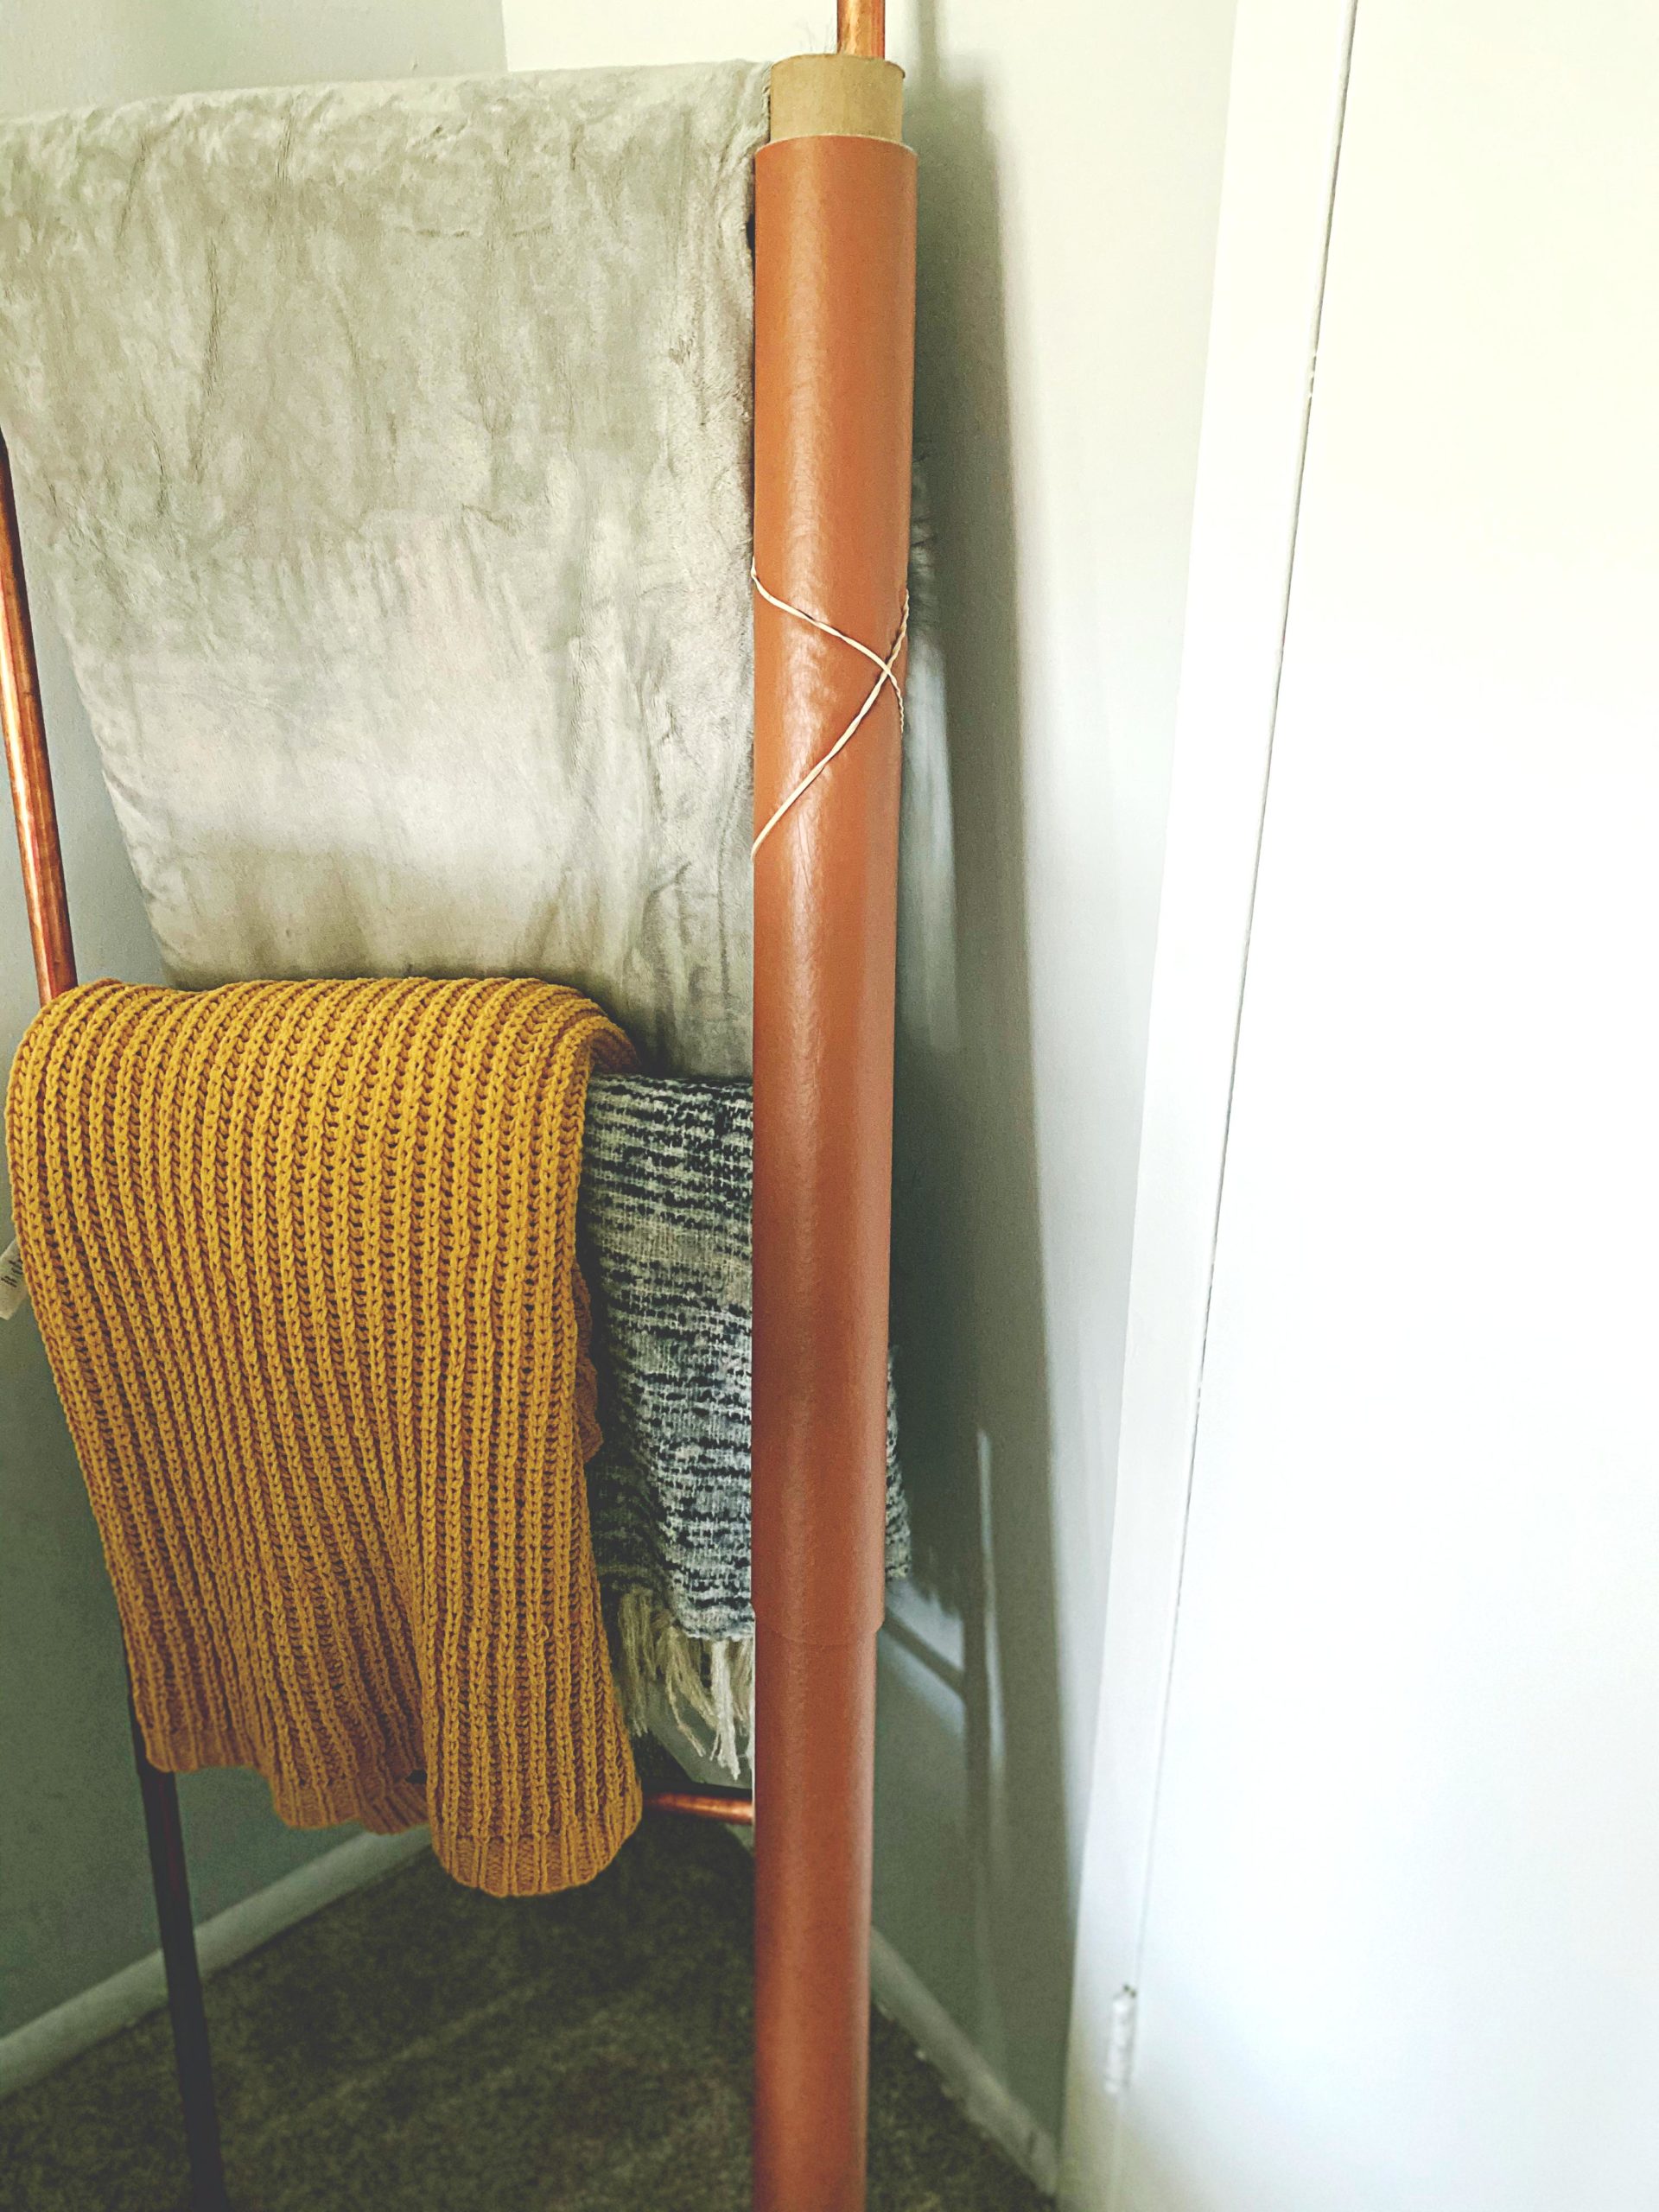
When I started working on my doll furniture I ordered (what I thought was) 1 yard of faux leather fabric. Turns out my measurements maybe a little off because this is what came in the mail. It’s as tall as me! No matter … this means that I can make “all the things”. (LOL)
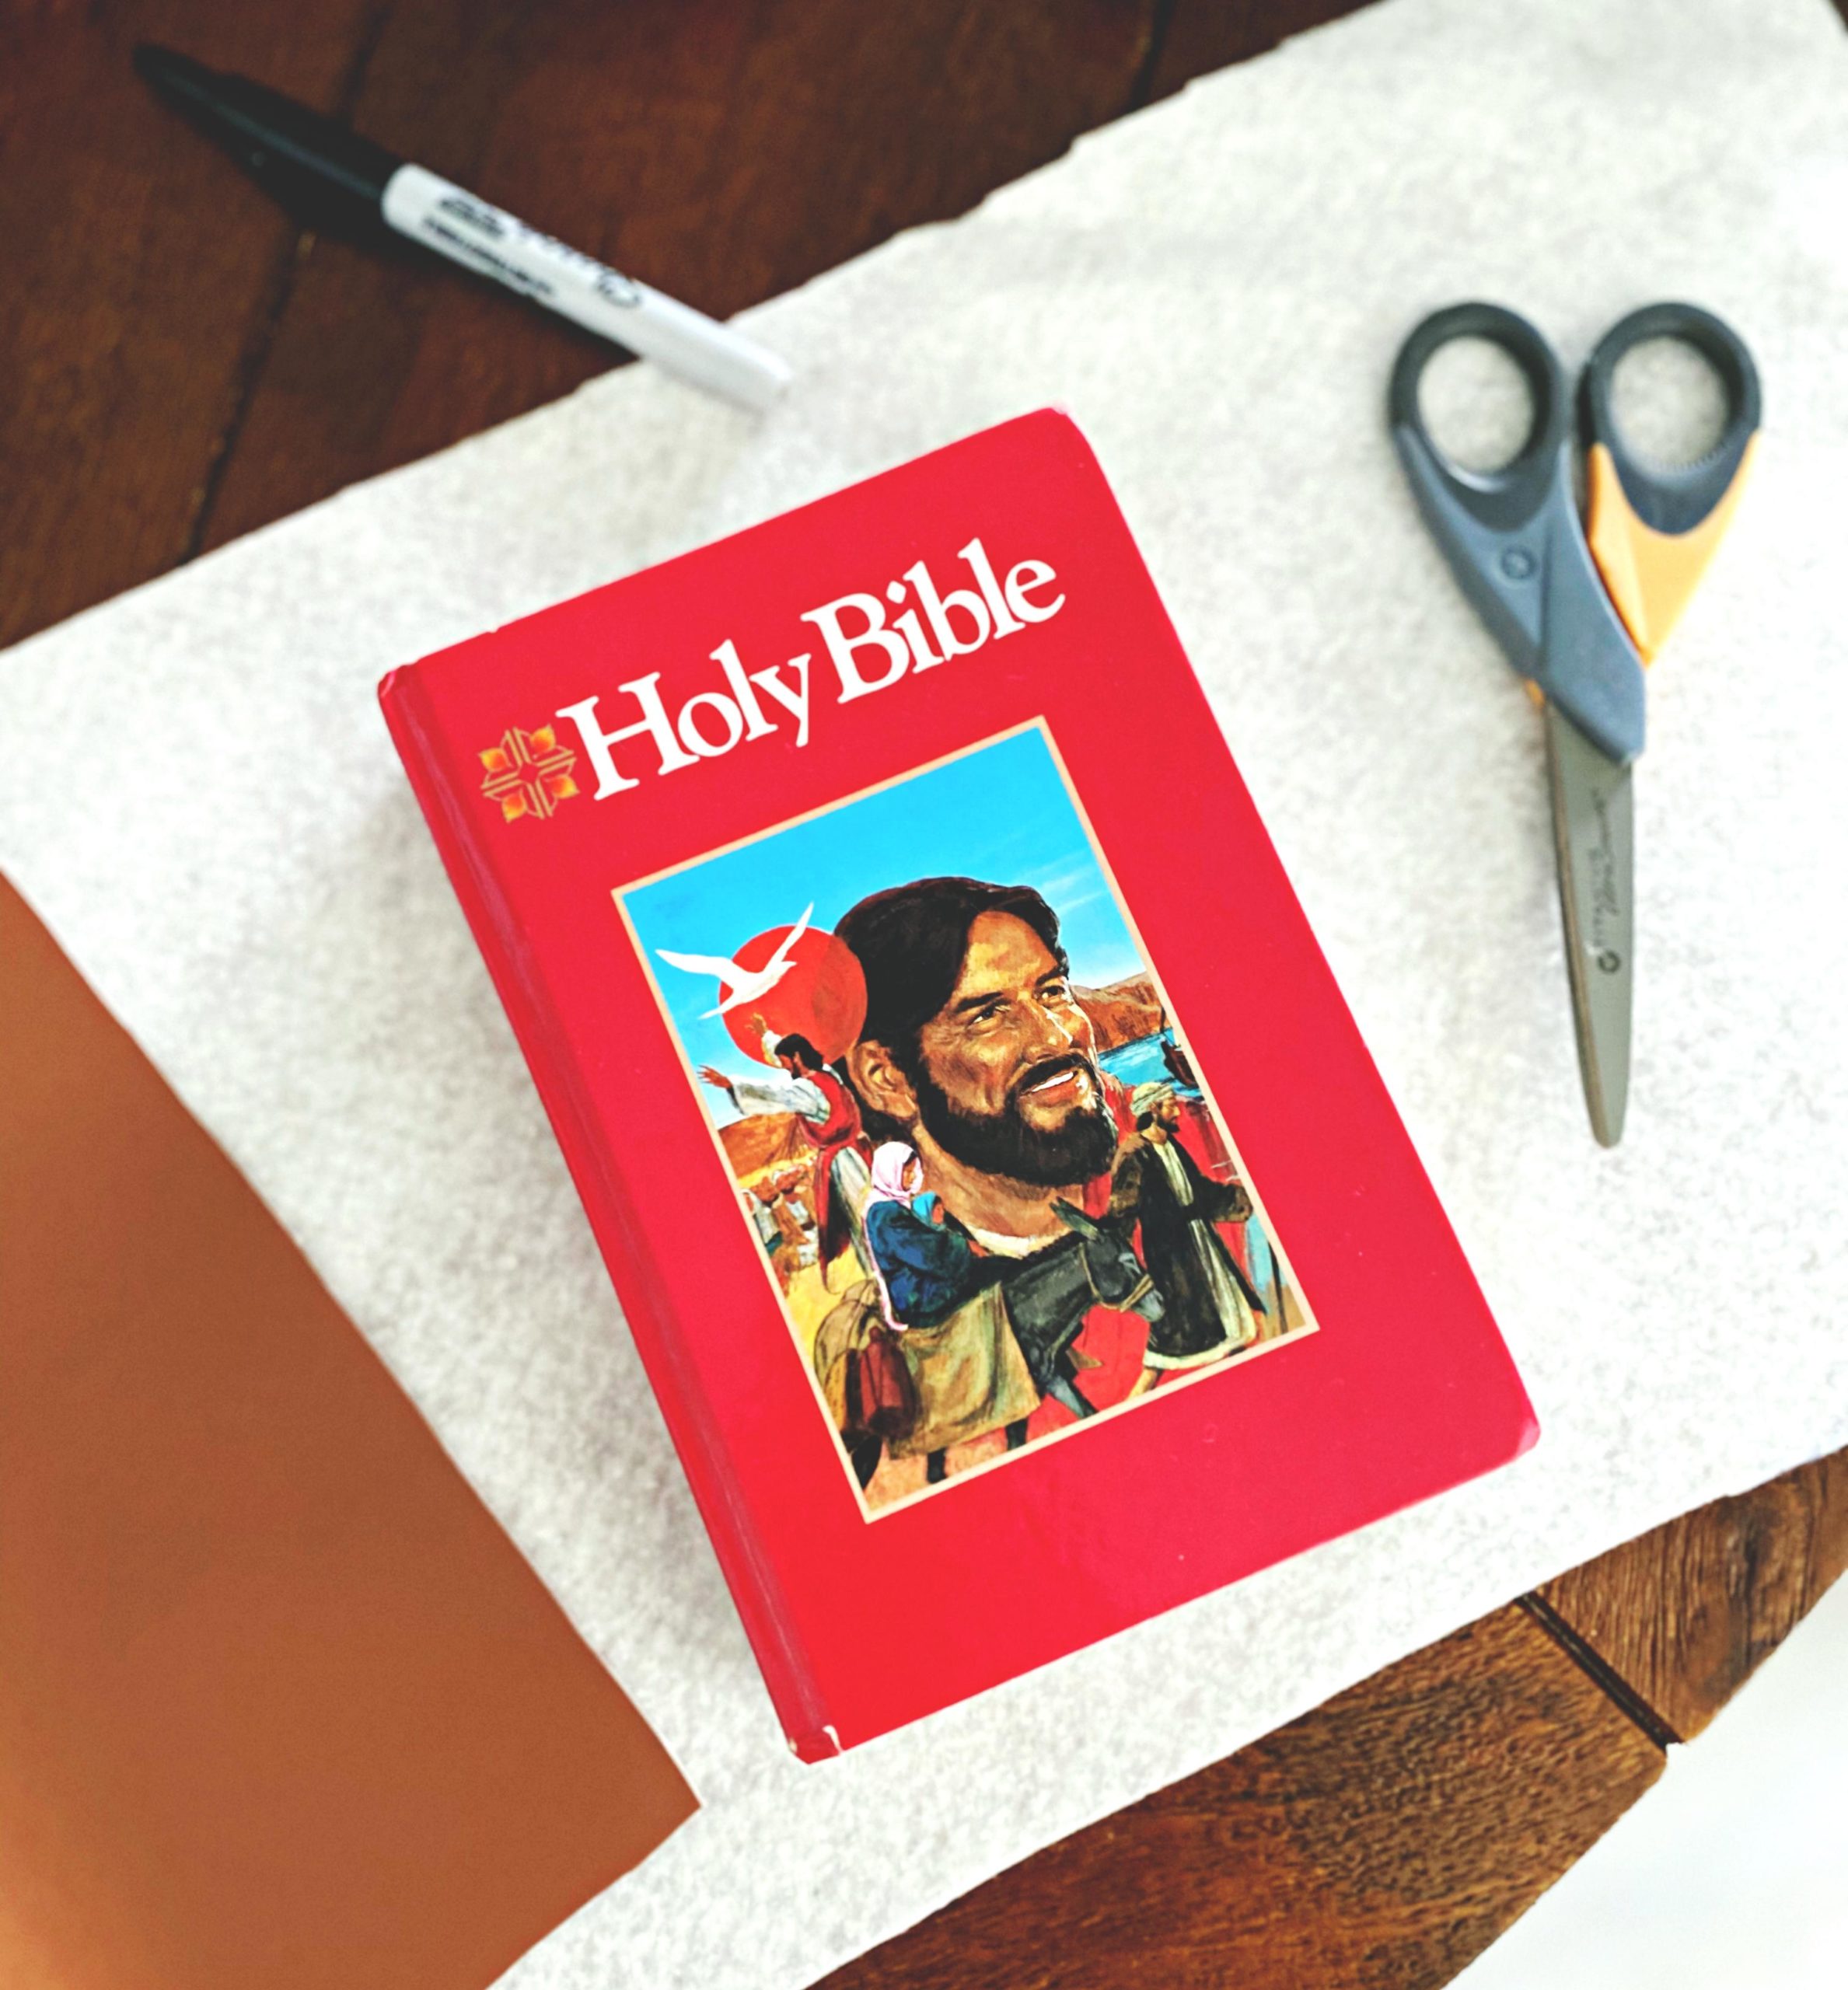
Today’s, inspiration comes from the Dream A Little Bigger blog. I figured I could use this same method to cover my Bible. Why would I want to cover my Bible … because it’s an NVC Children’s Bible. (LOL) Ok-Ok I do have an “adult” version, but this one is so fun to read and breaks everything down so even I can understand it. But, it’s old and I thought I could give it a nice cover and make it look nice, and blend in with my decor.

Make It!
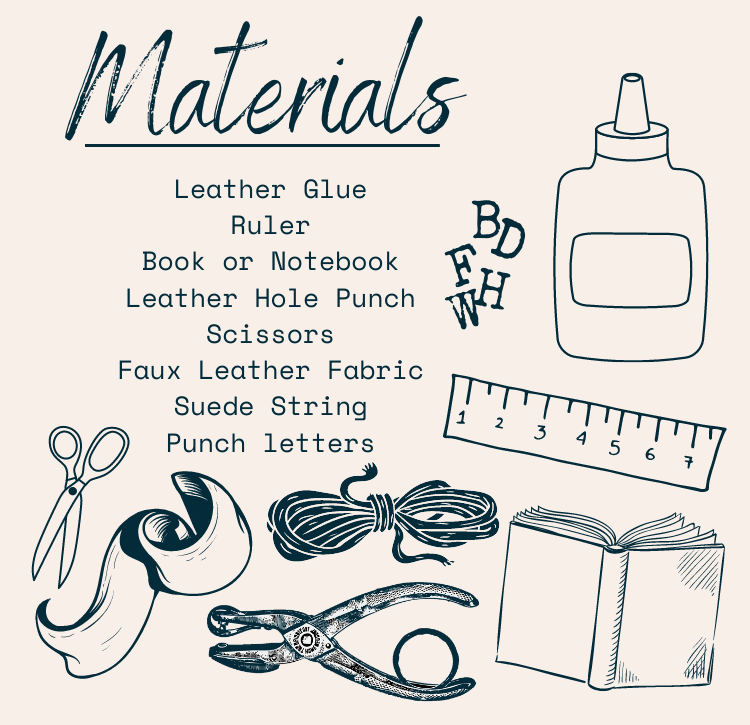
[adinserter name=”Block 8″]
First Things First…
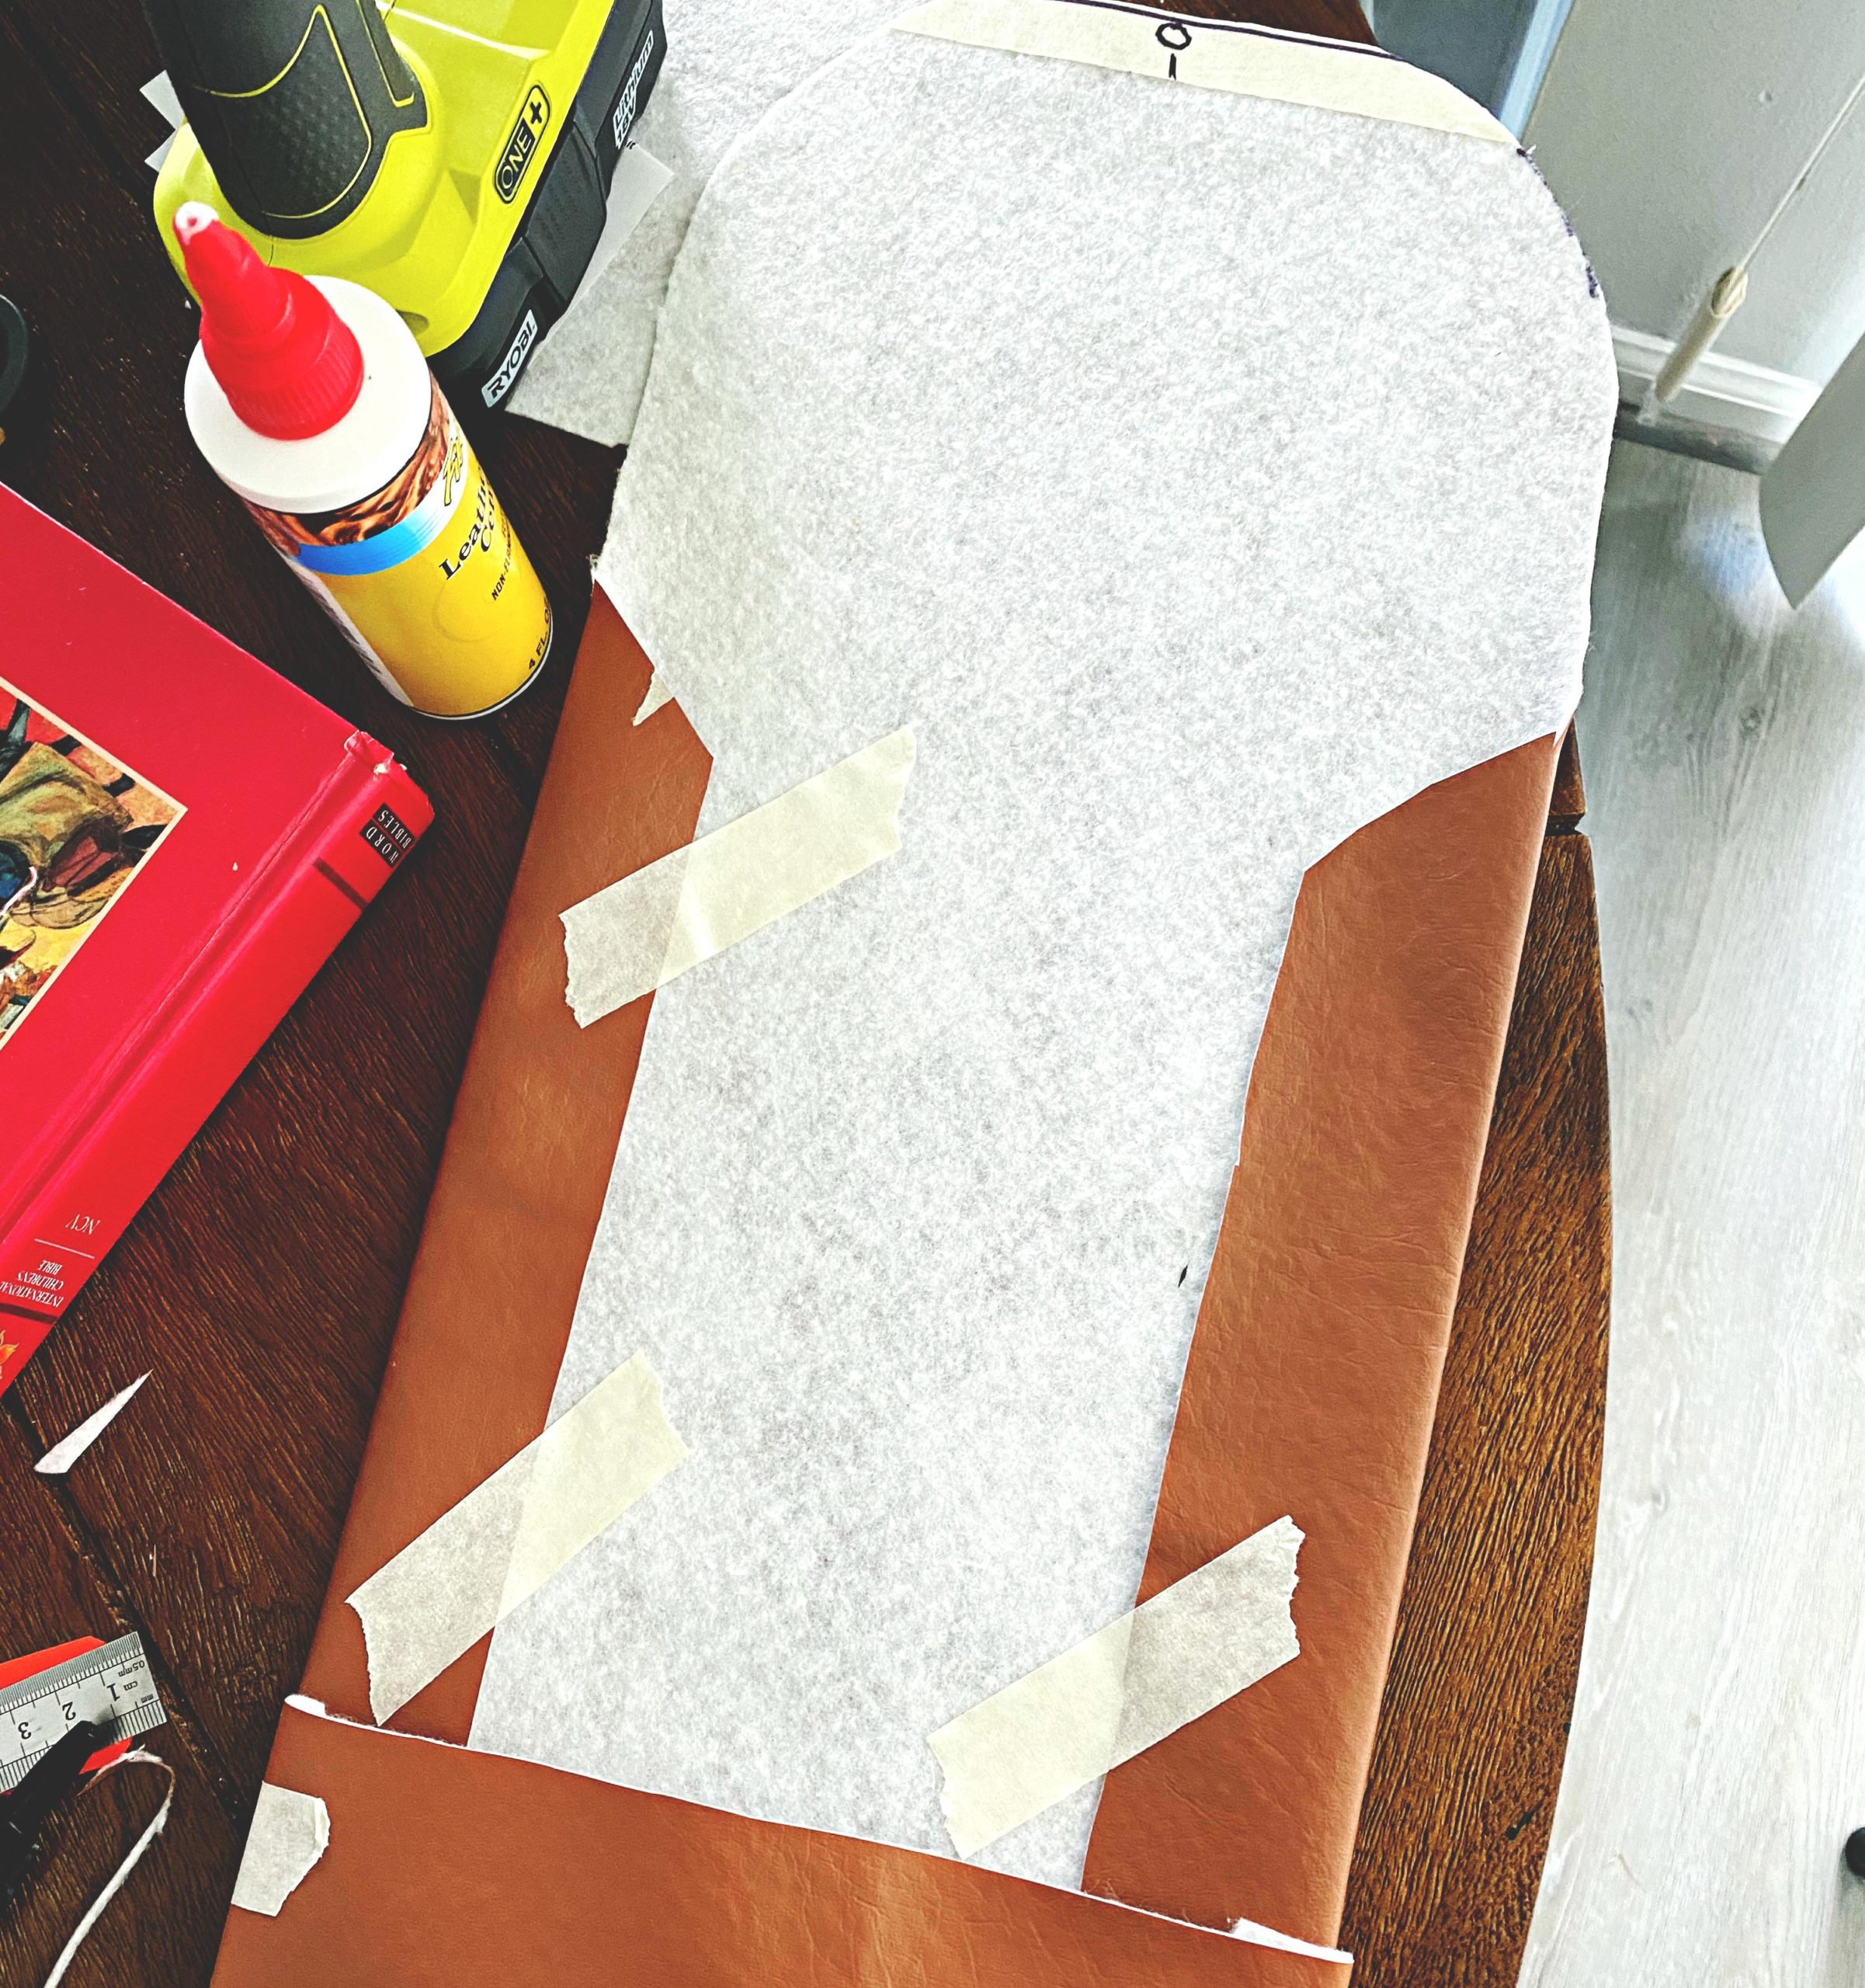
I measured out the faux leather fabric to the size of my book but leaving enough for a flap. Once everything is measured out, I made a pocket. This is where the front of the Bible will sit. Since there is no space to string this book from the spine (which is what Dream A Little Bigger blog recommends). I’m creating this pocket so that the cover won’t wiggle around.
*******
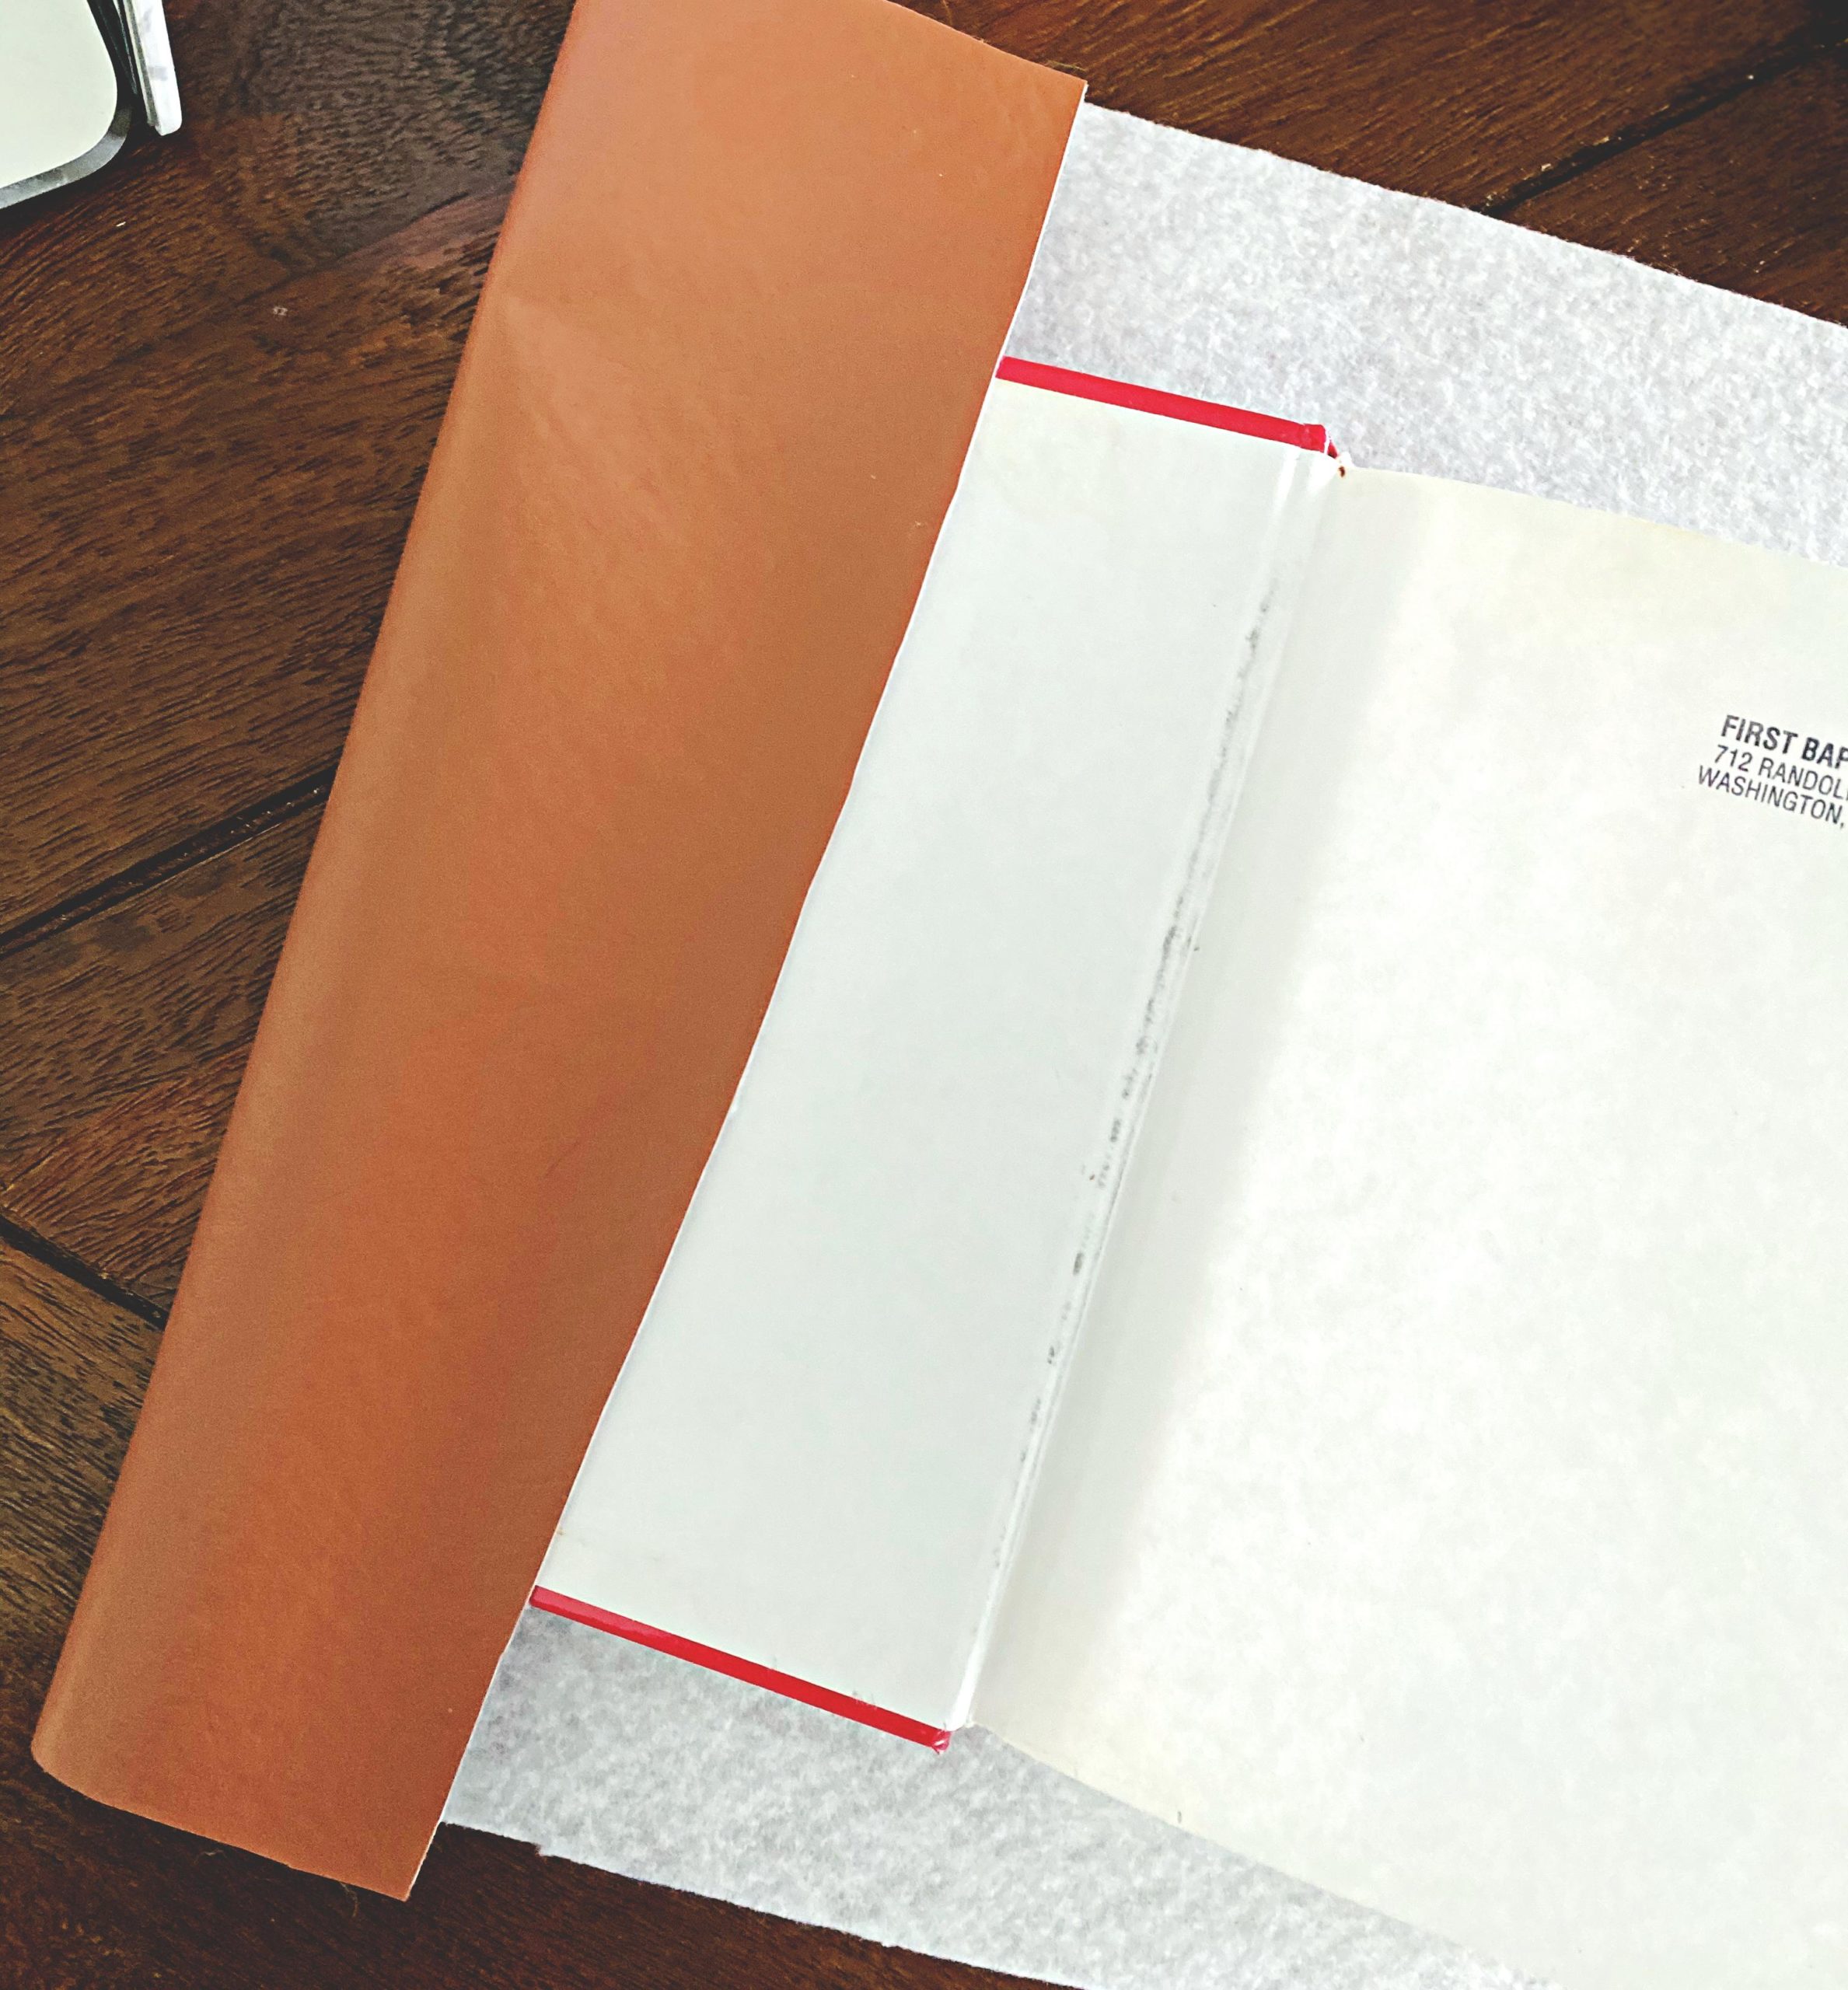
I’m also cutting the back flap into a curve (sorta) so when the book is closed it will have more of a rugged journal feel with the suede string that wraps around it.
Taking Shape …
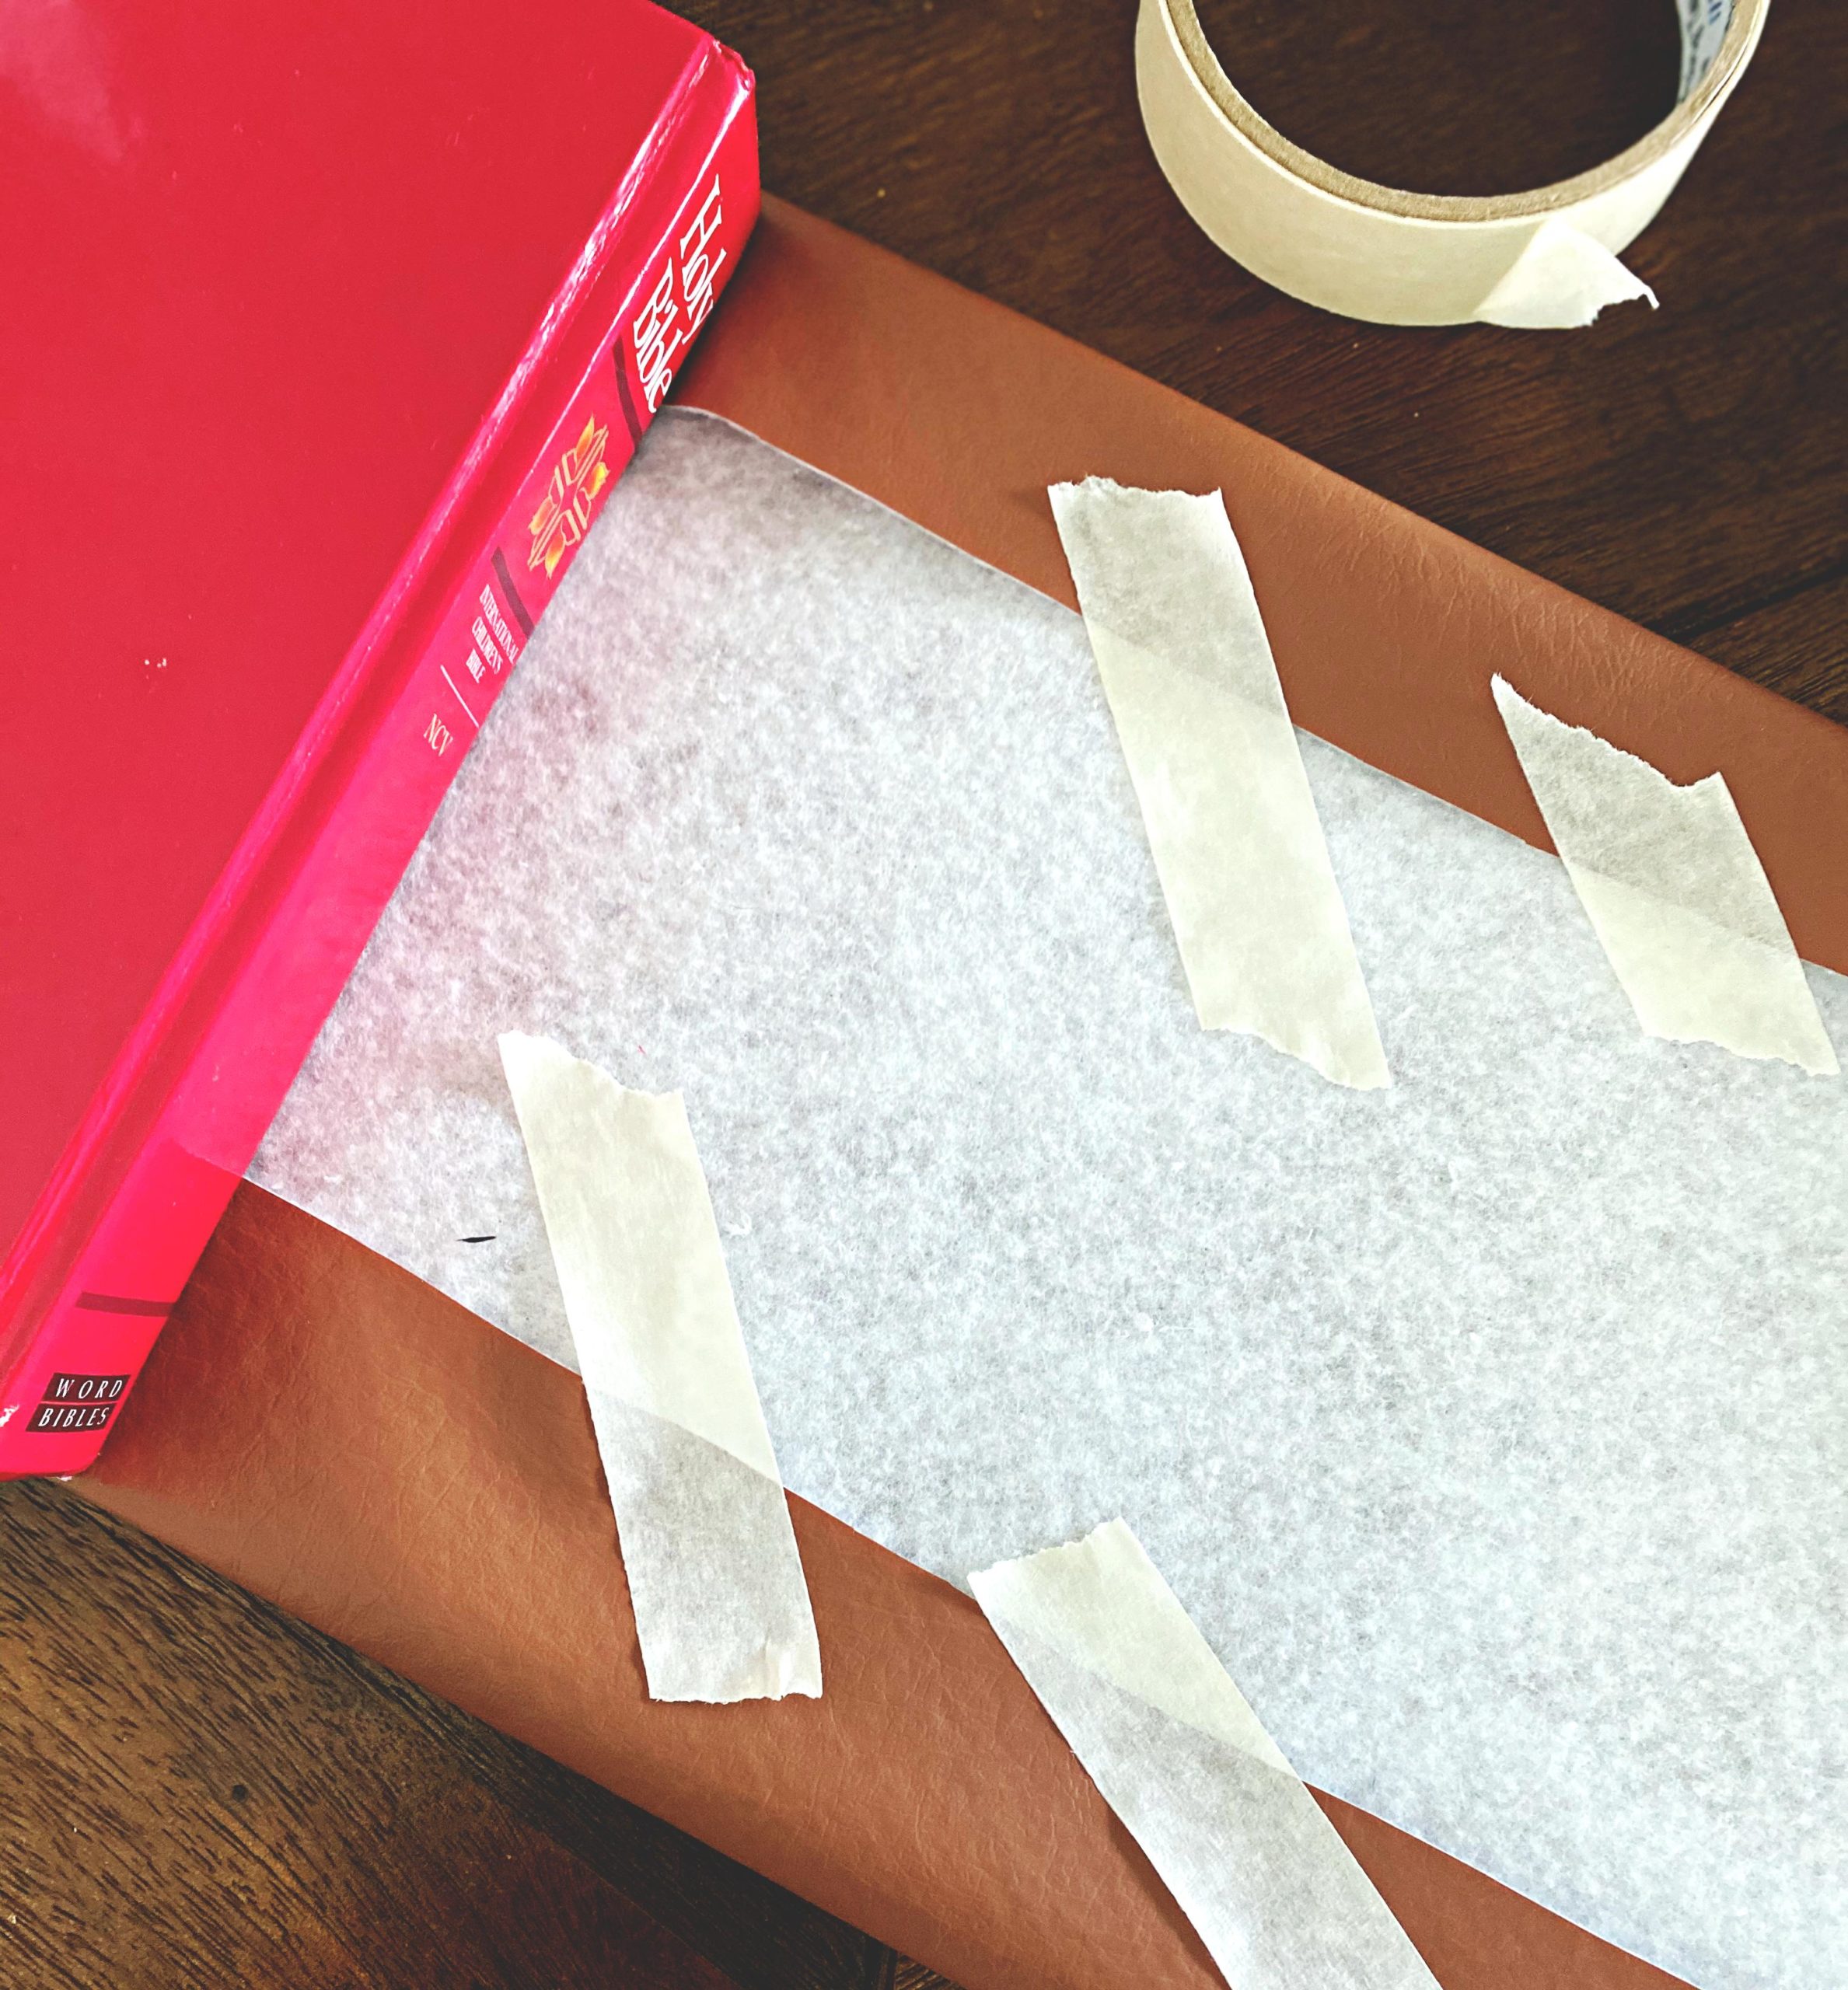
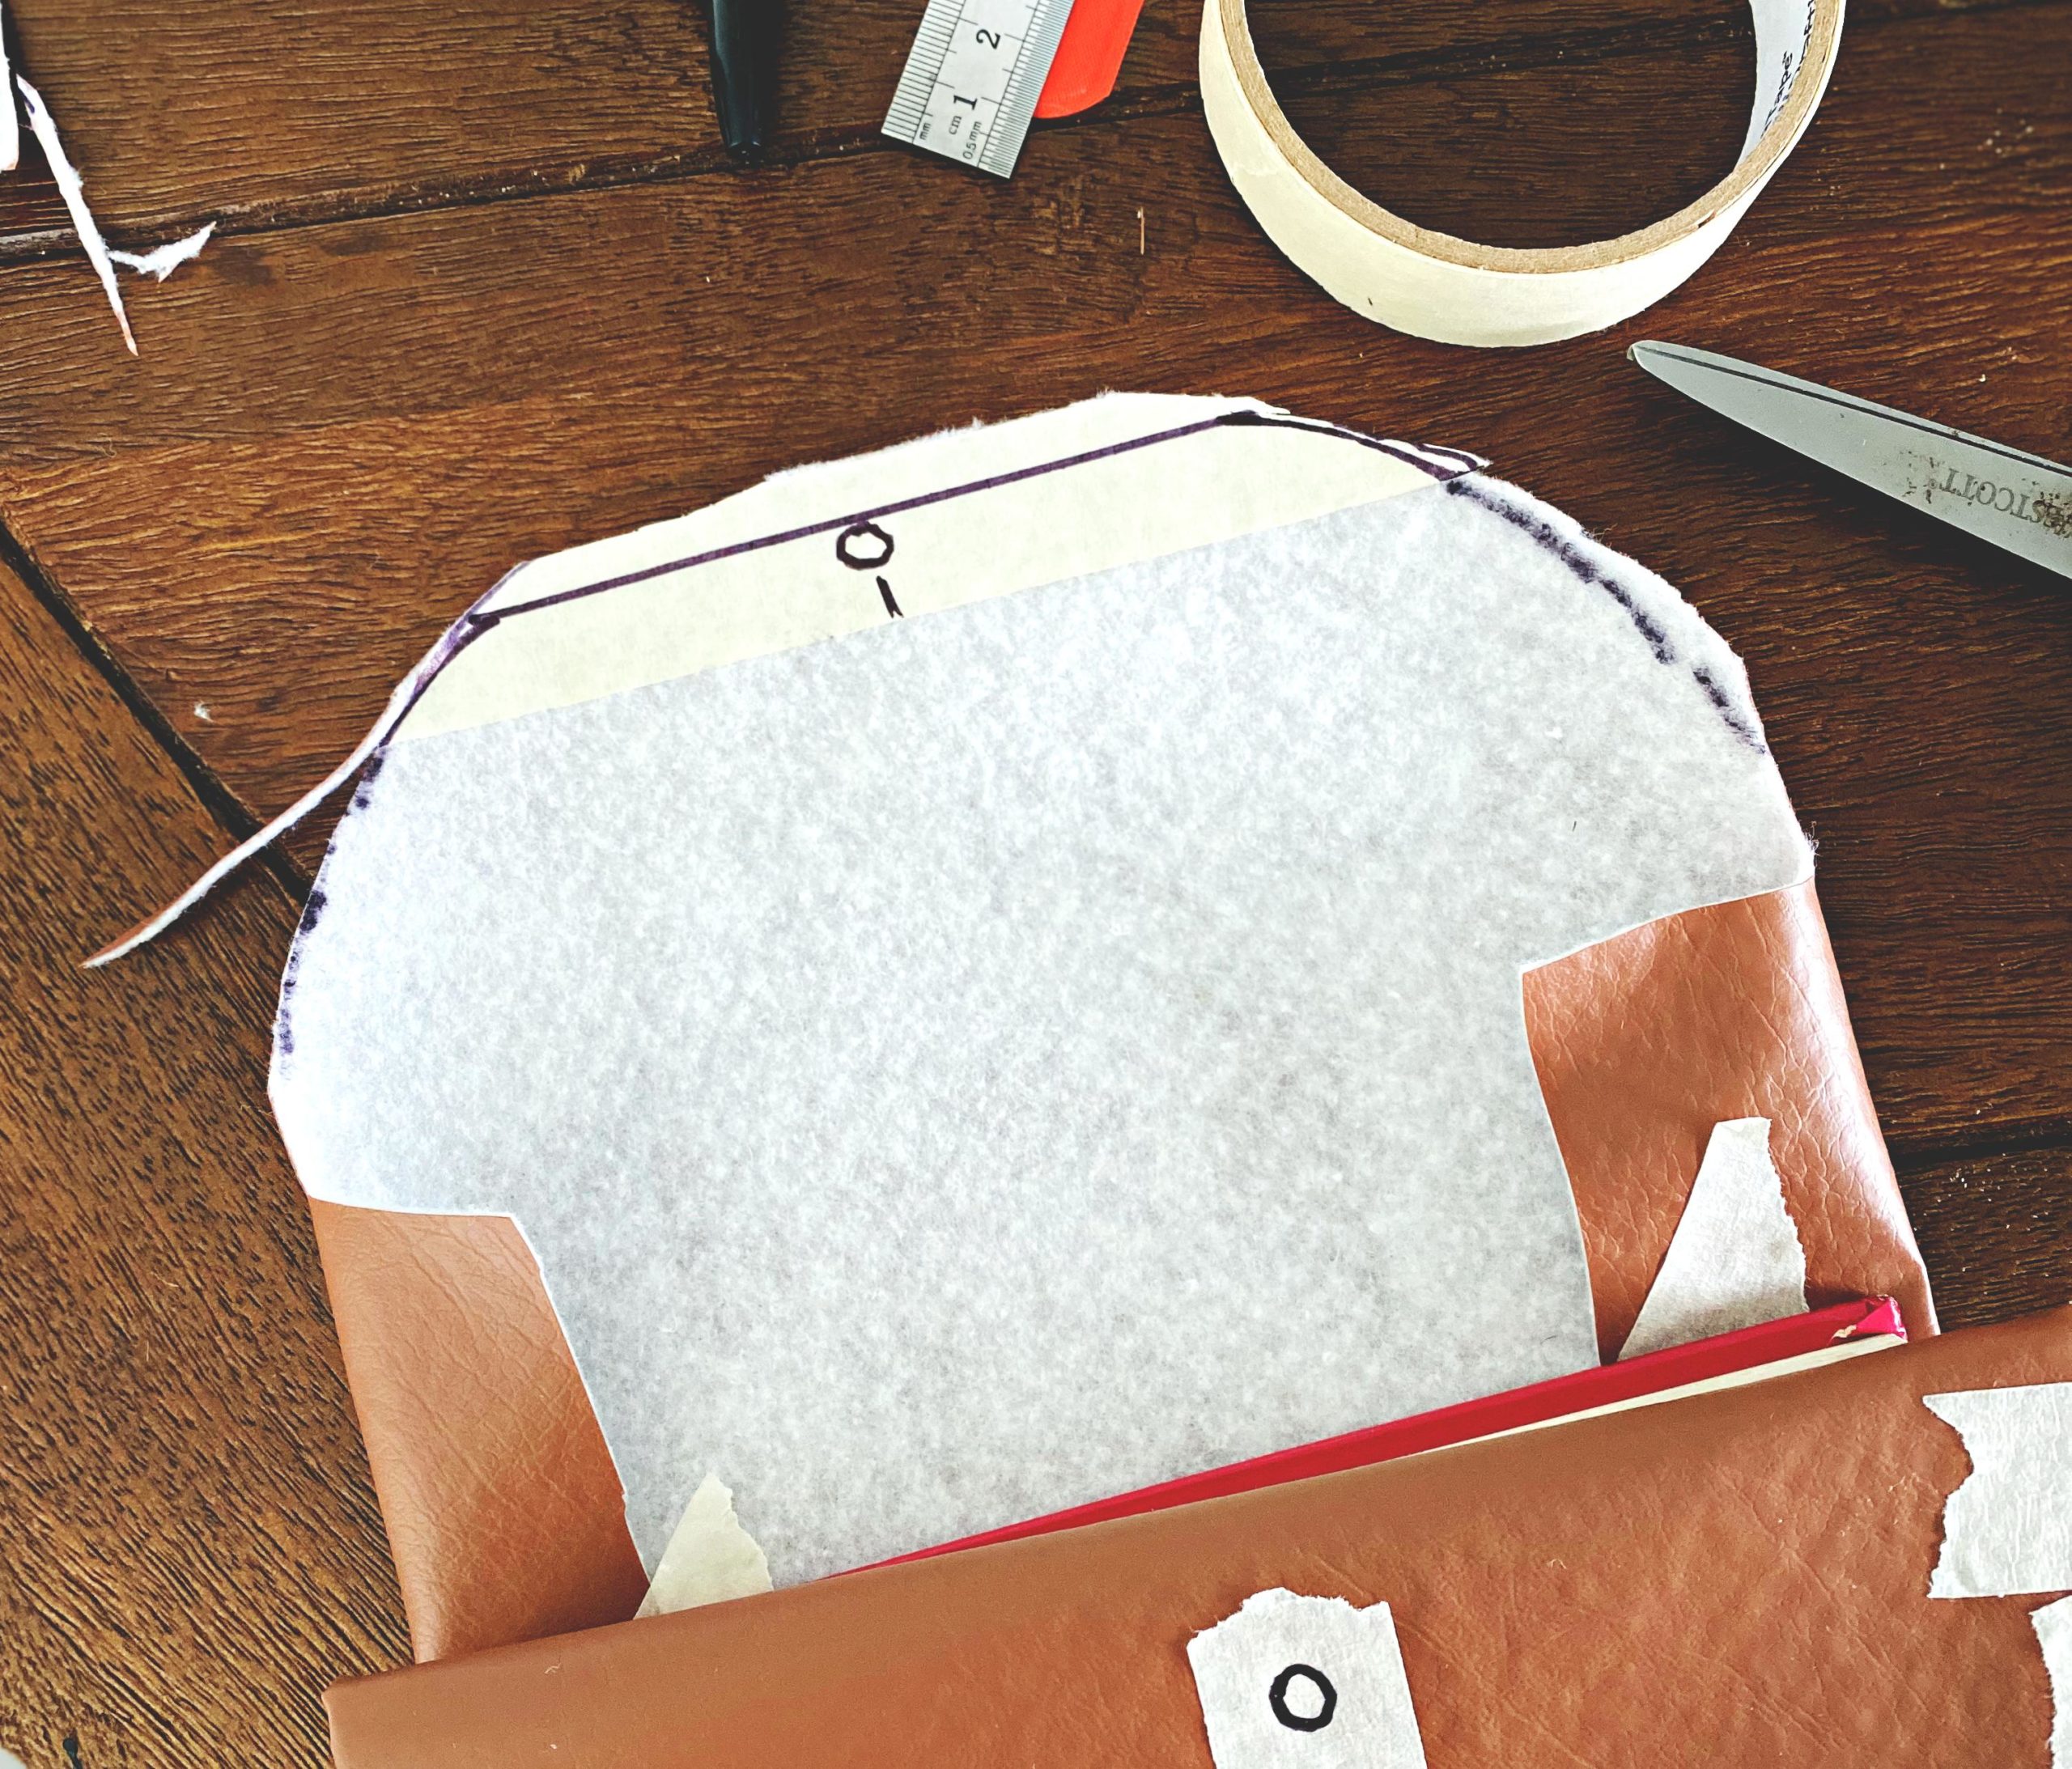
Once everything is cut I attempted to use the leather fabric glue for the folds, however that didn’t work because I’m not working with real leather, so I ended up using my glue gun. I also had a bit of trouble getting the flap curves cut correctly but it’s done.
*******

*******
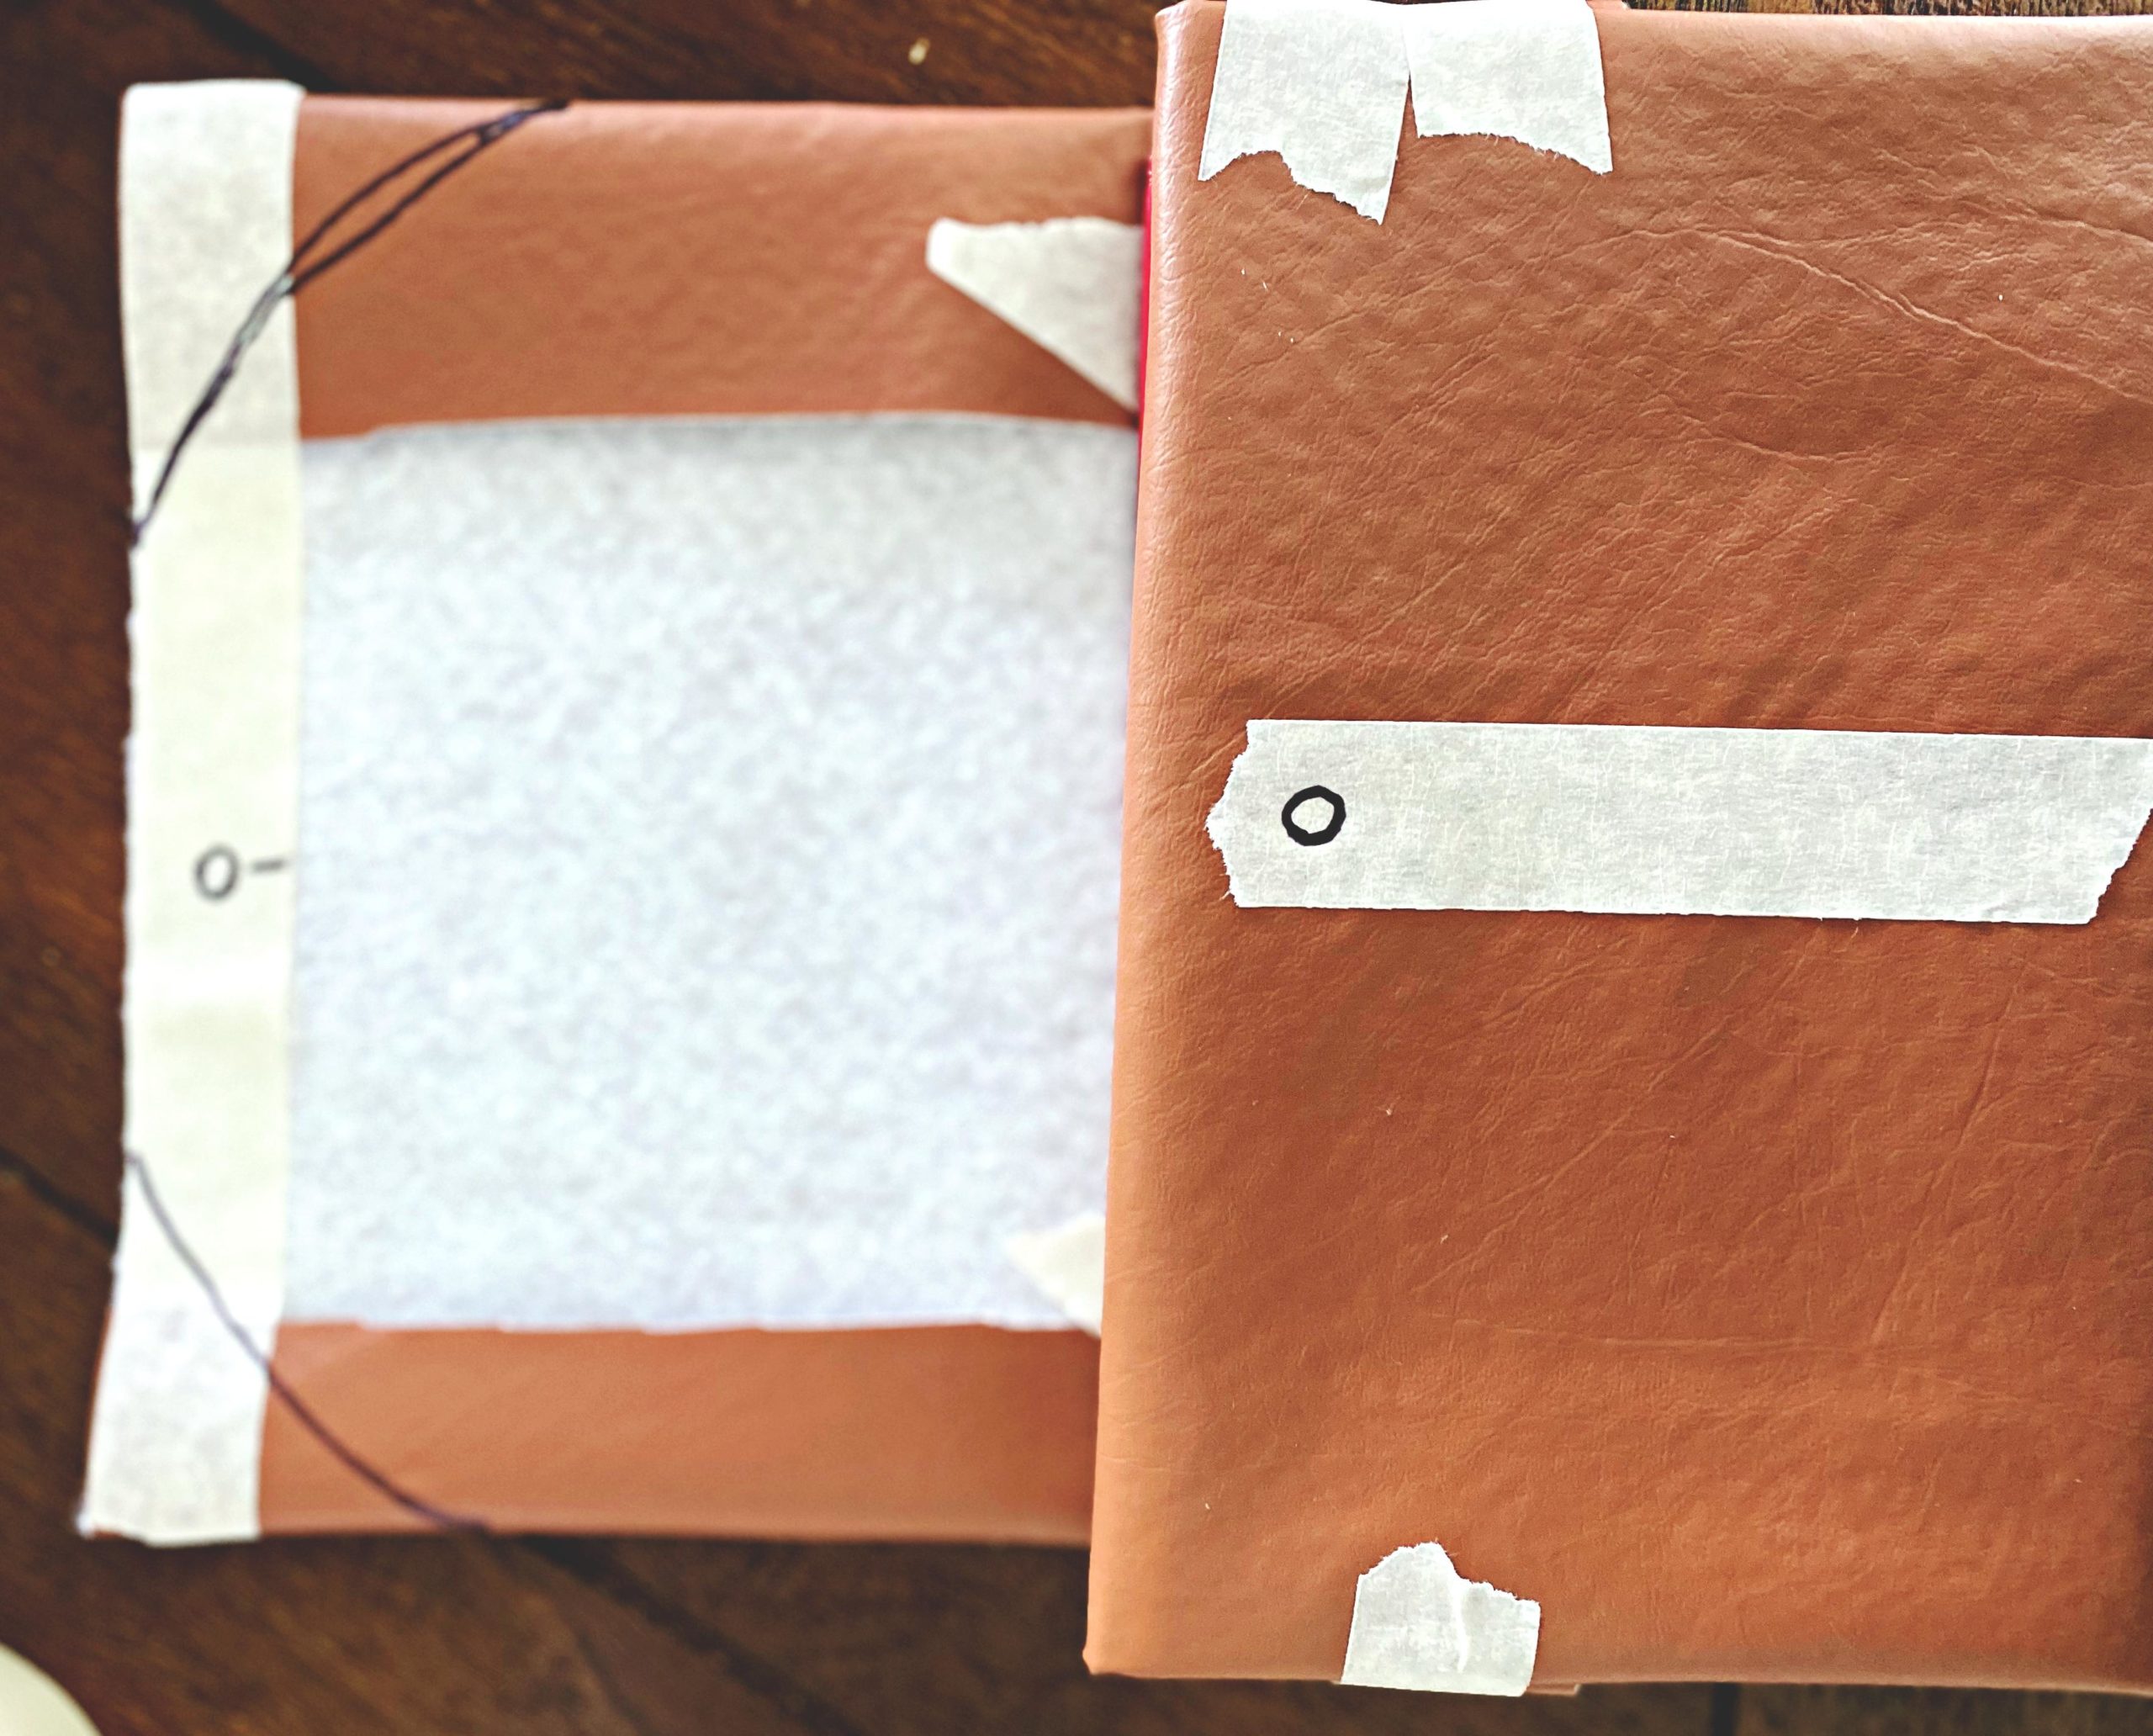
Second I’m punching a hole in the back flap (where I will string my suede. The one thing that I don’t like is that it’s hard to make this faux leather really taut so there are some bulges on the spine. If I were using real leather I imagine I wouldn’t see that. I can (more than likely) correct this with some fabric tape to help smooth this out. This book will be closed about 75% of the time so this will have to do.
*******
Finish Line …
I wasn’t able to personalize this cover as planned. When I tried to stamp this, the faux leather puffed right back up, making no indention. Also, this material is lined. This is why I had no issues in stamping my candle sleeve or the keychain. That material is real leather, and now understand the difference when it comes to working these two materials.
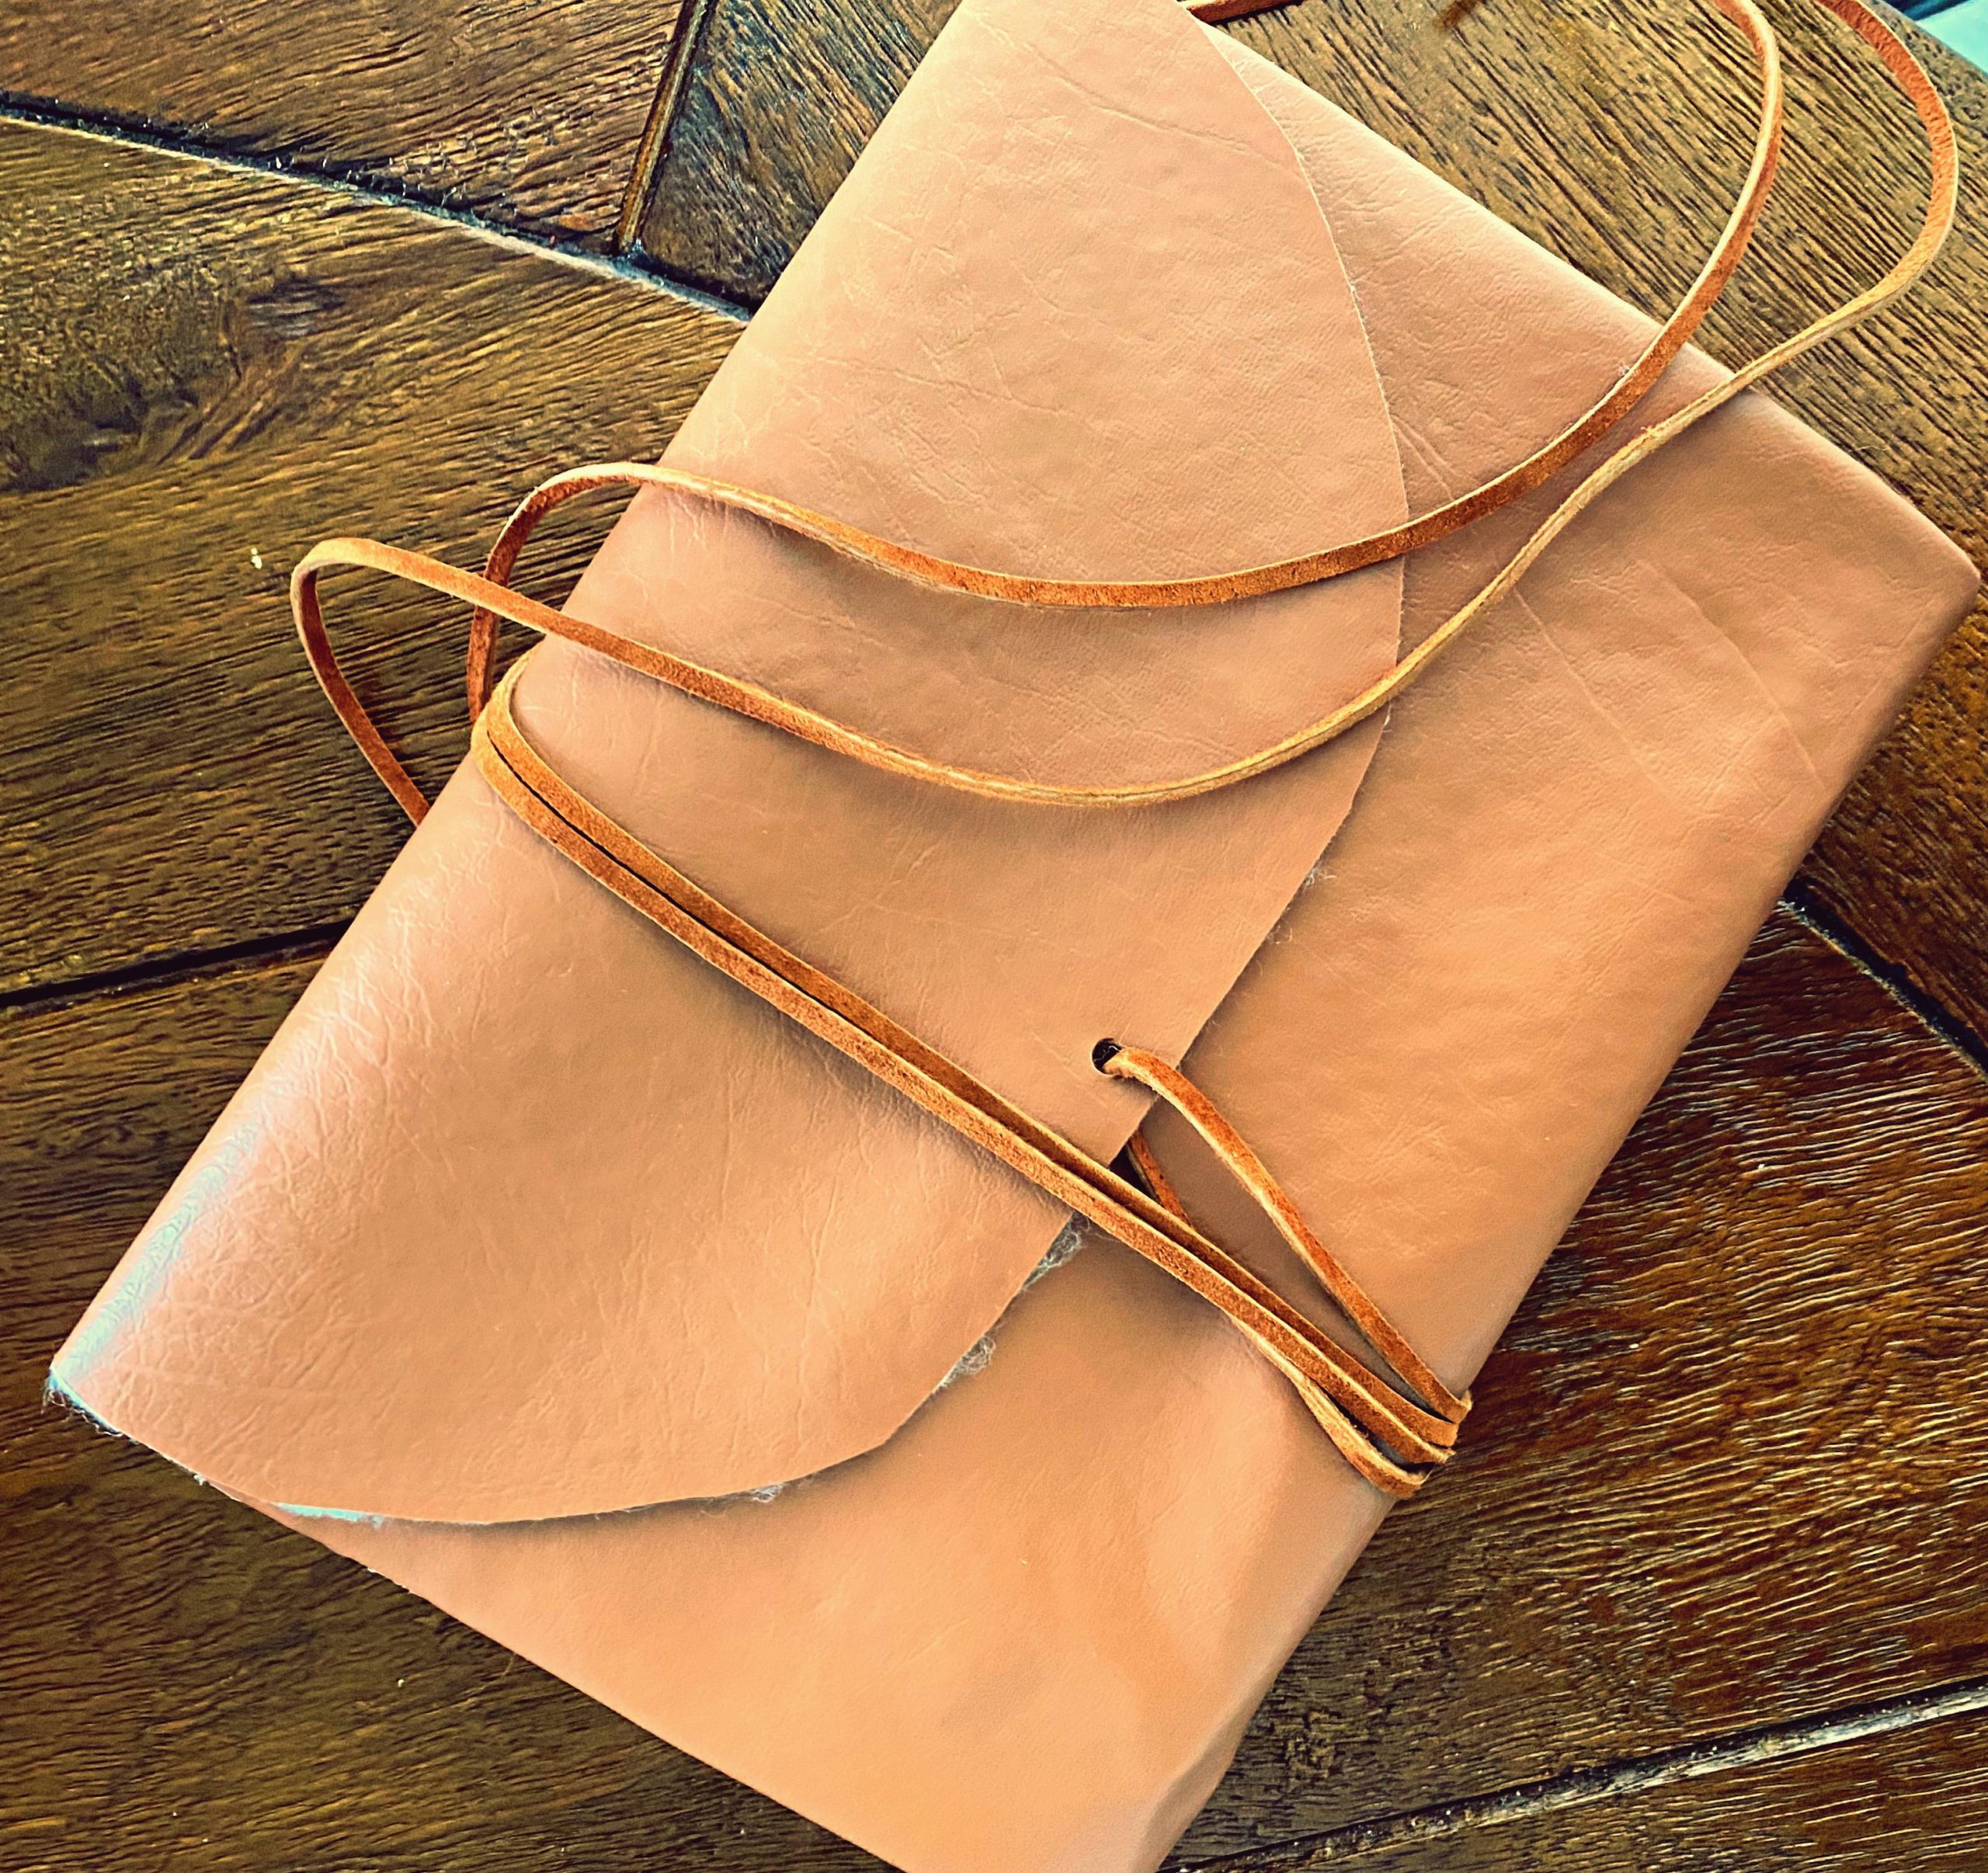
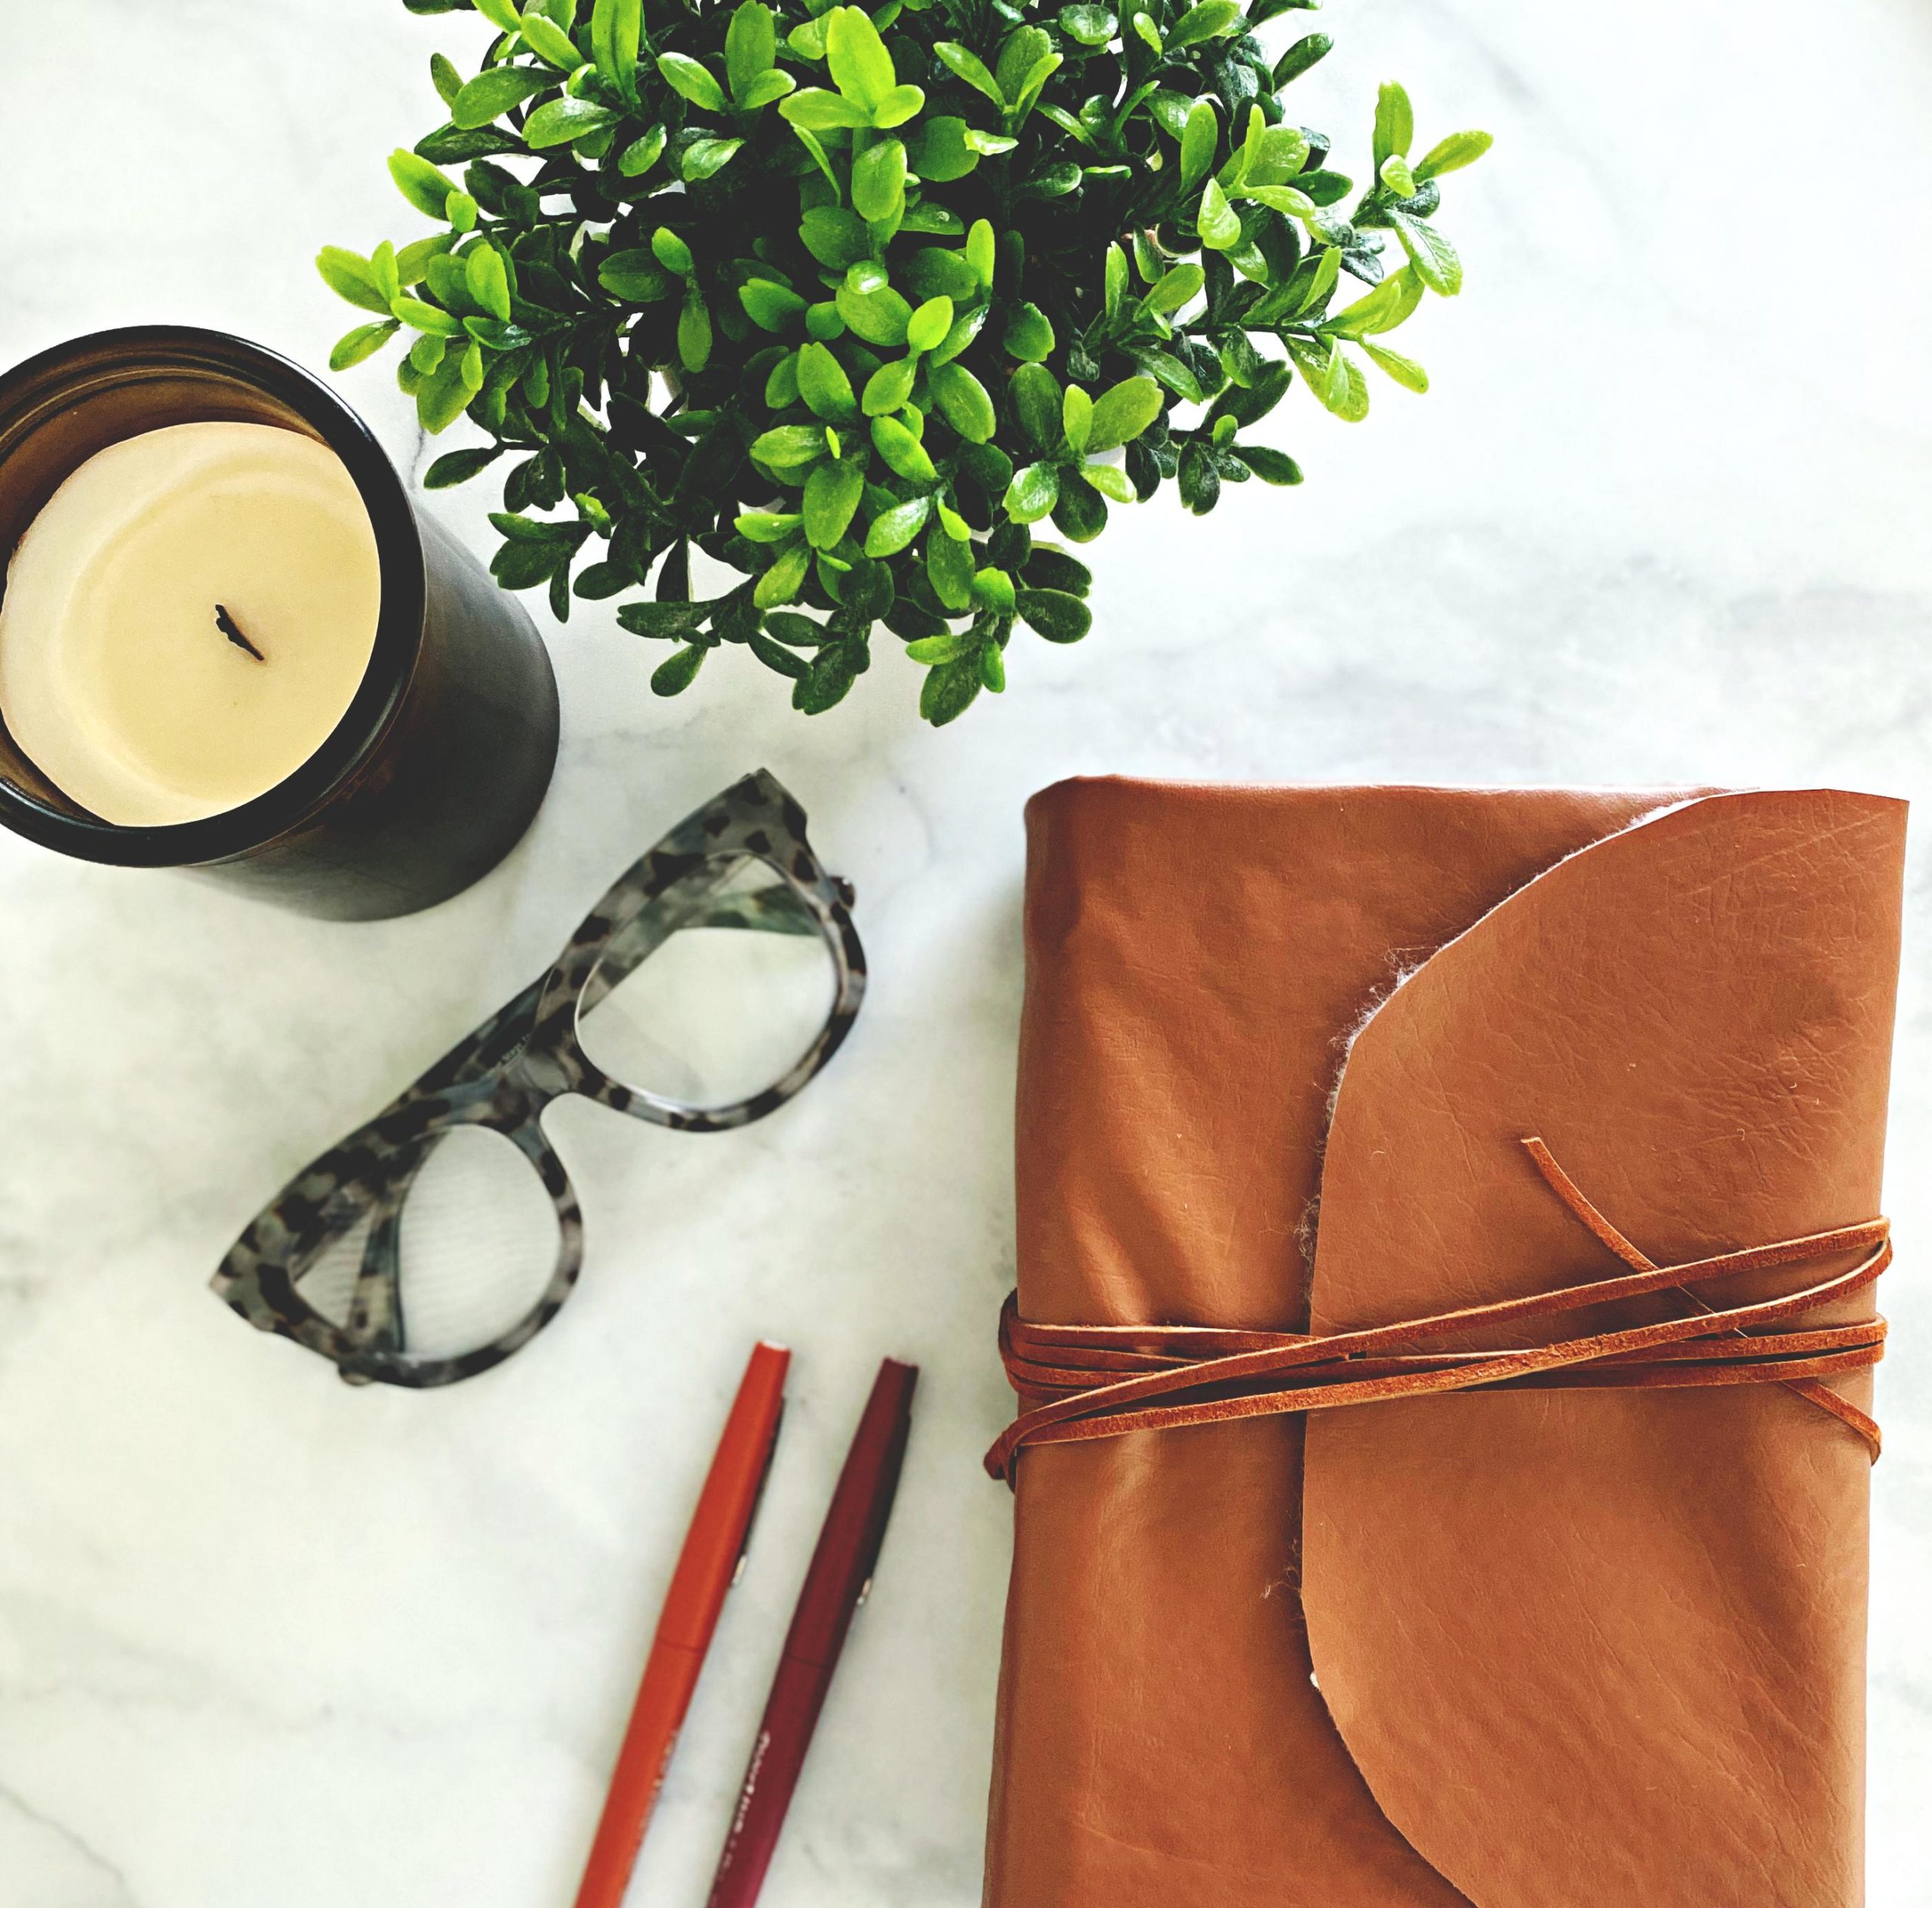
Here’s How It Turned Out …
Not bad for my first try. I think if I had this to do over again I would probably cover this book the traditional way. Just like a textbook. The string to wrap it probably works best on a notebook like in the inspiration link, but I figured I would try something different.
Pin Me!

Here is where I’ll leave you today. Are you making something this weekend? Reading a good book, or cooking something yummy? Share it in the comments section. I hope everyone has a great weekend, and stay safe amongst the chaos. — Peace
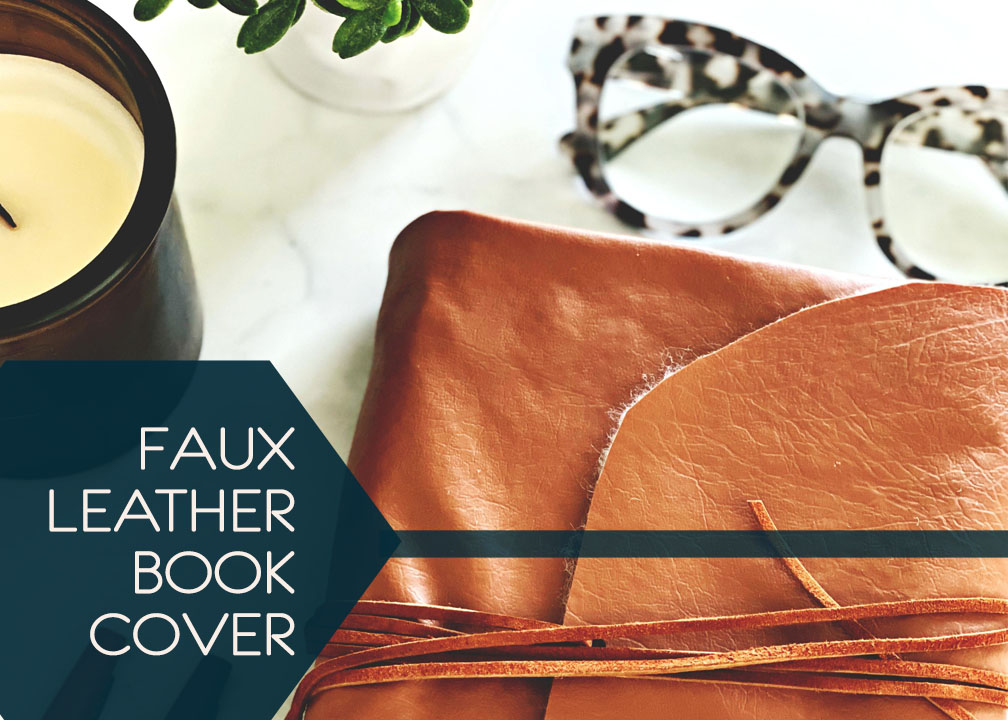
Backdrops for your Photo’s
Staging pictures for your finished project can be a pain, and finding the right background, and lighting can add to those issues, but I’ve got an easier way. I purchased this marble background from Ink & Elm a few years ago, and it’s not as expensive as you think.
So if you’re looking for backgrounds for items your selling like jewelry or backgrounds for those dishes you make and you want to post on your social media then check out Ink & Elm. They have hundreds of styles in assorted sizes and they start at about $14.95.
Here are a few images (I use this background whenever I stage) where I’ve used the Ink & Elm Backdrop, in the marble print.
There is no gallery selected or the gallery was deleted.
Don’t forget to like, comment, and subscribe!
Check out my other DIY’s and Up|Cycles
This is really awesome omg ? i want to make one now cuz it’s looking high end lol
It’s actually pretty easy…I just have trouble because I can’t cut straight for anything. You can also get really cheat faux leather most craft stores, at Fabric.com or Amazon.