
Hello Friends … It’s Friday! If this is your first time on the blog, “Welcome” and I hope you consider subscribing.
If you’re part of the family…then Welcome Back! I’m giving you a virtual hug, and a cup of coffee.
It’s Friday y’all, and I hope everyone had a good week. Everyone OK? You managing … hey, that’s all we can do right, and be blessed.
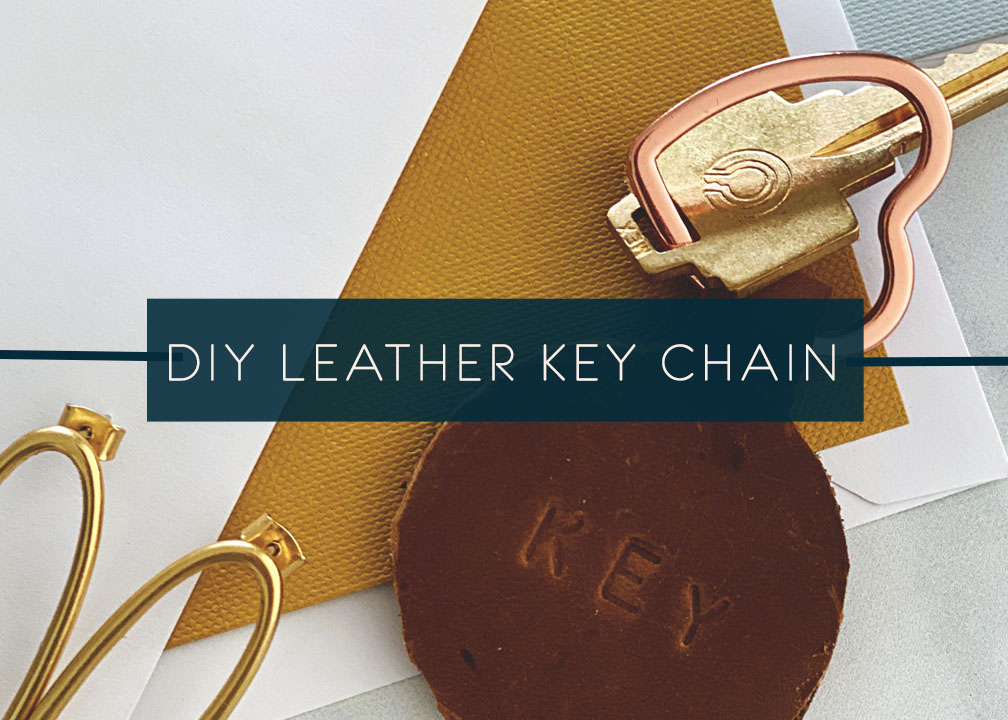
My week has been better. Actually every day is better, and I can’t be mad at that. Today’s is another leather DIY, and I’m making a key chain (or circle). I had this all worked out in my head, but I forgot how thick my leather was so I had to board the struggle bus to complete this one. (LOL)

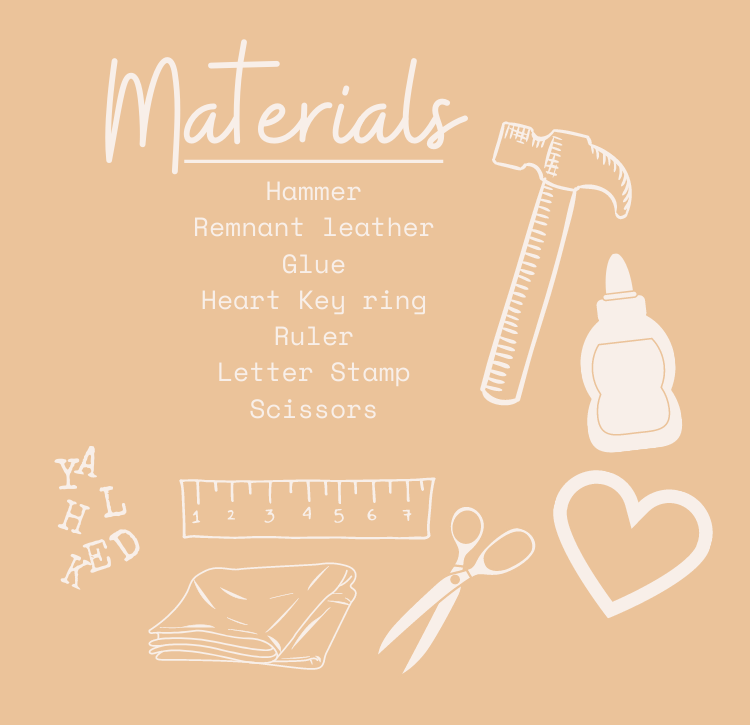
Make It!
[adinserter block=”10″]
How I Did It
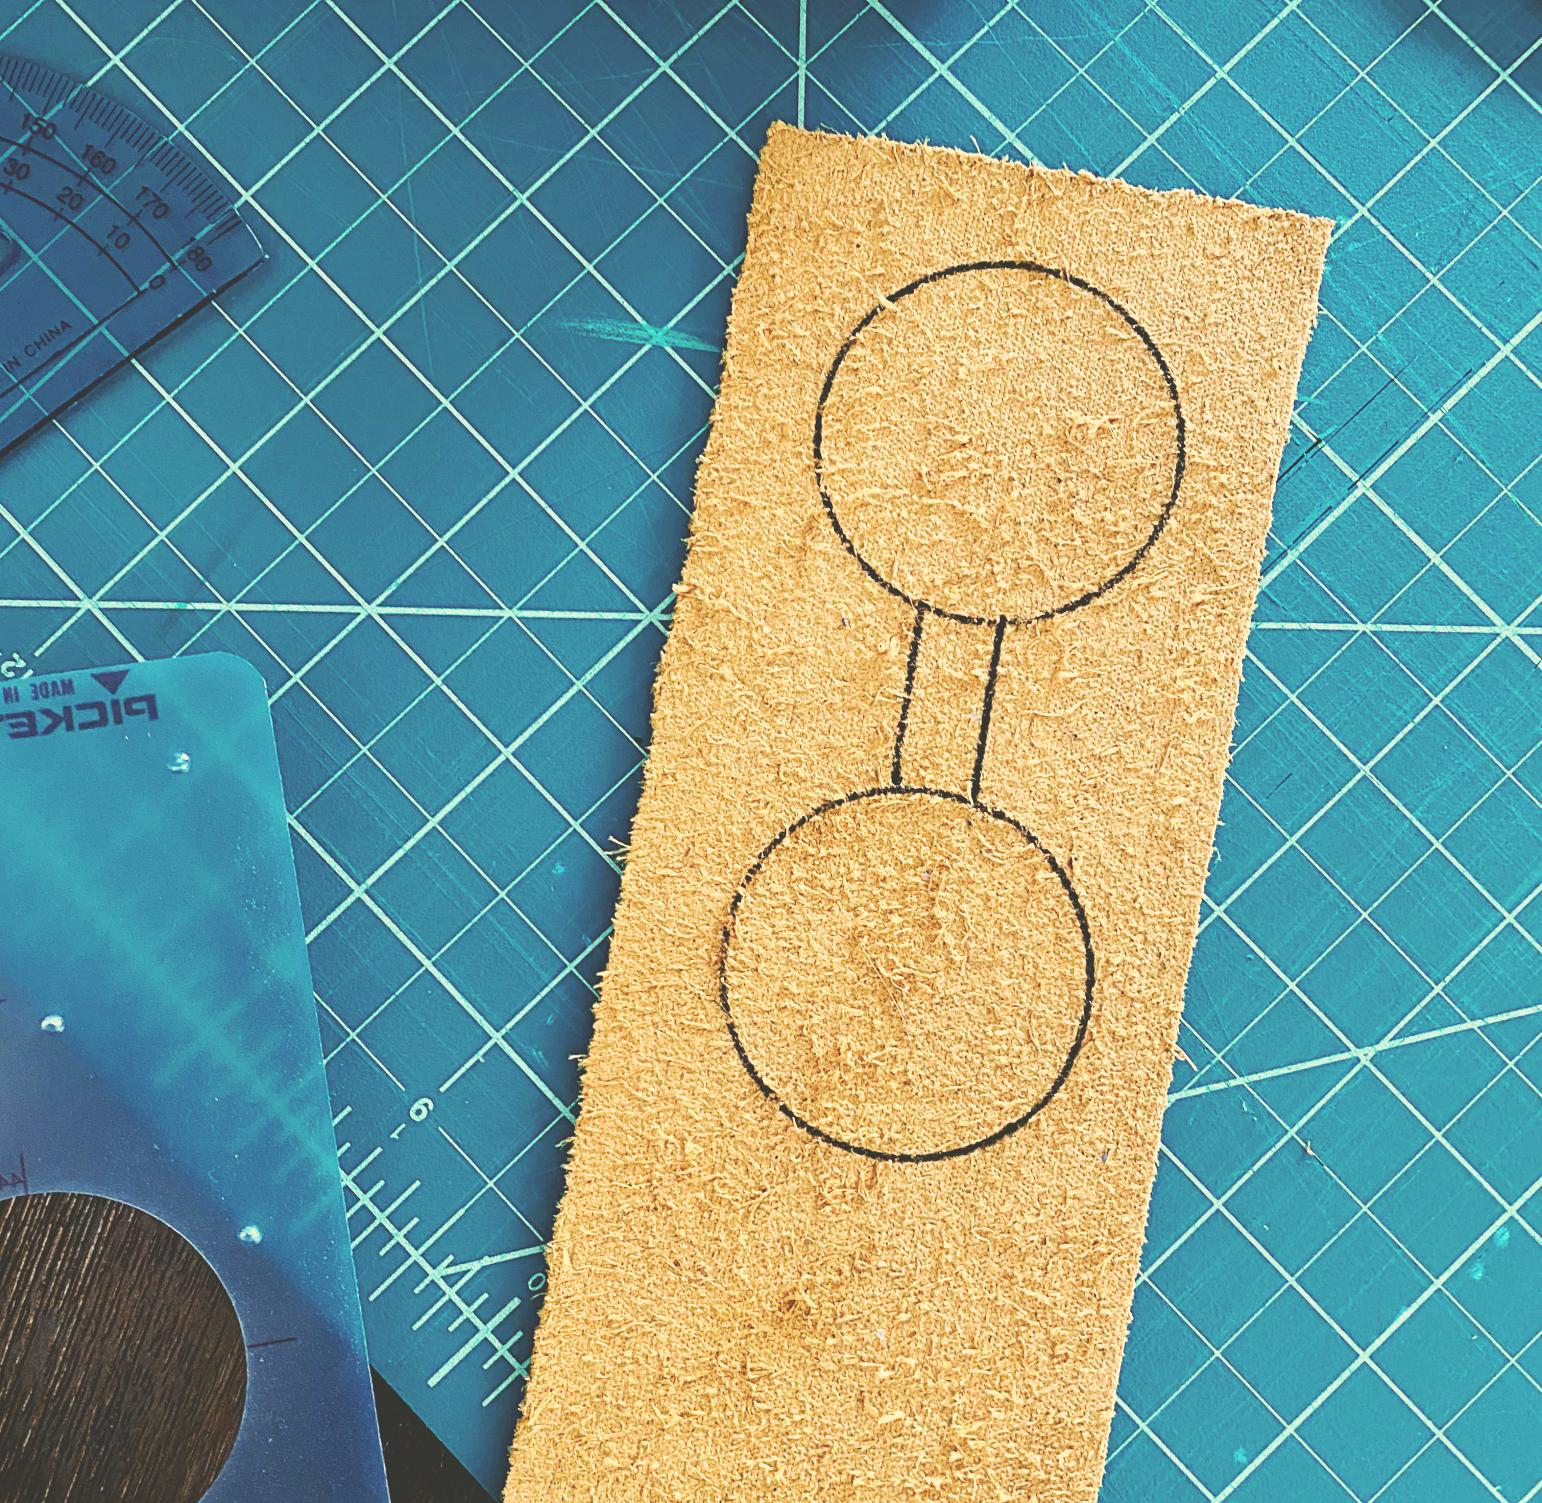
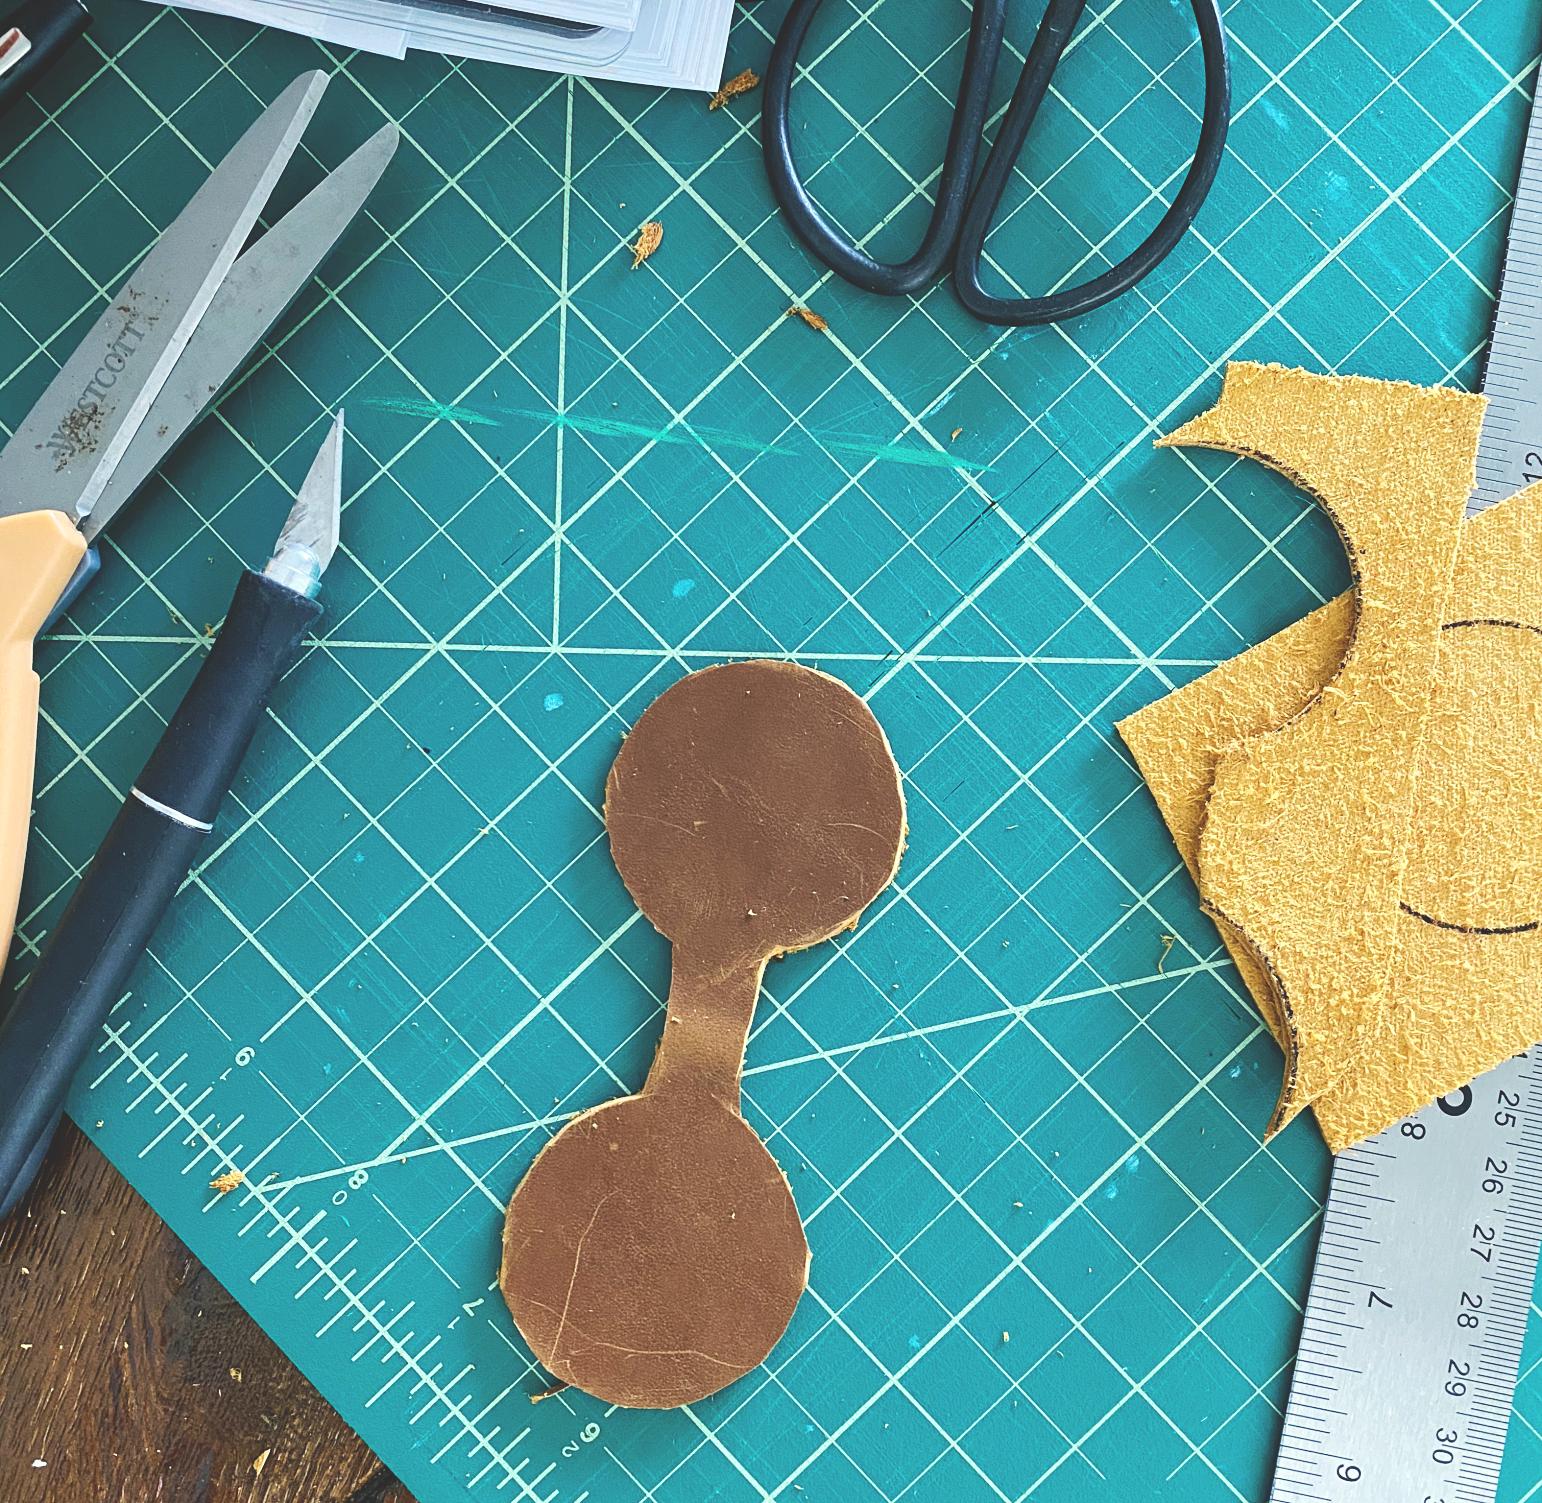
First I drew this out in my planner because I was working with a small remaining piece left over from my candle sleeve. I drew everything out and began cutting. What I didn’t bank on was how difficult it would be to cut this shape.
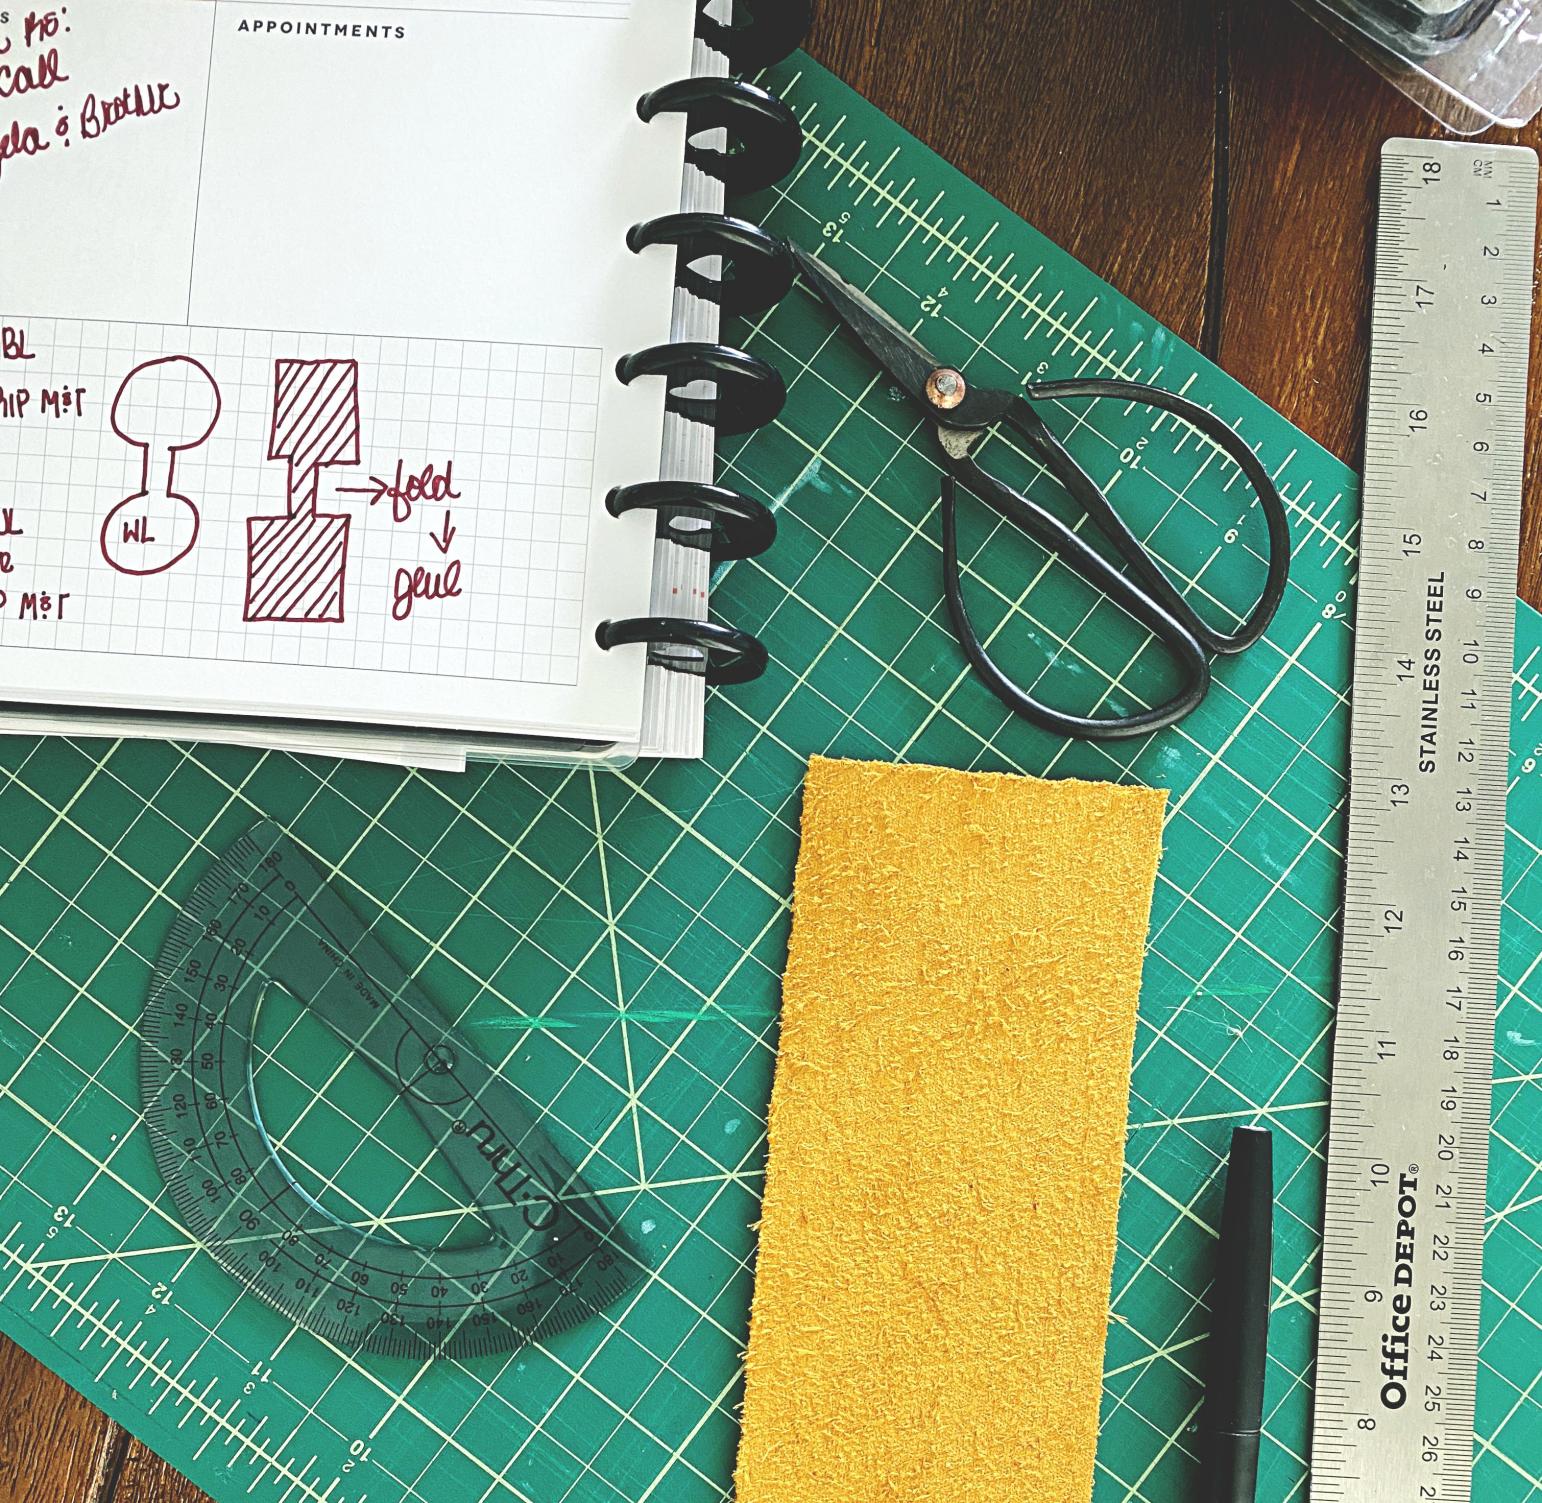
In the previous DIY, I had scored the leather with a Xacto knife so I had a nice straight scoreline to work with. I went from craft scissors to my Fiskars sewing scissors, which seemed to do the trick. I’ve always struggled with cutting things in any kind of shape and they usually come out a bit crude. I didn’t let that stop me so I kept working.
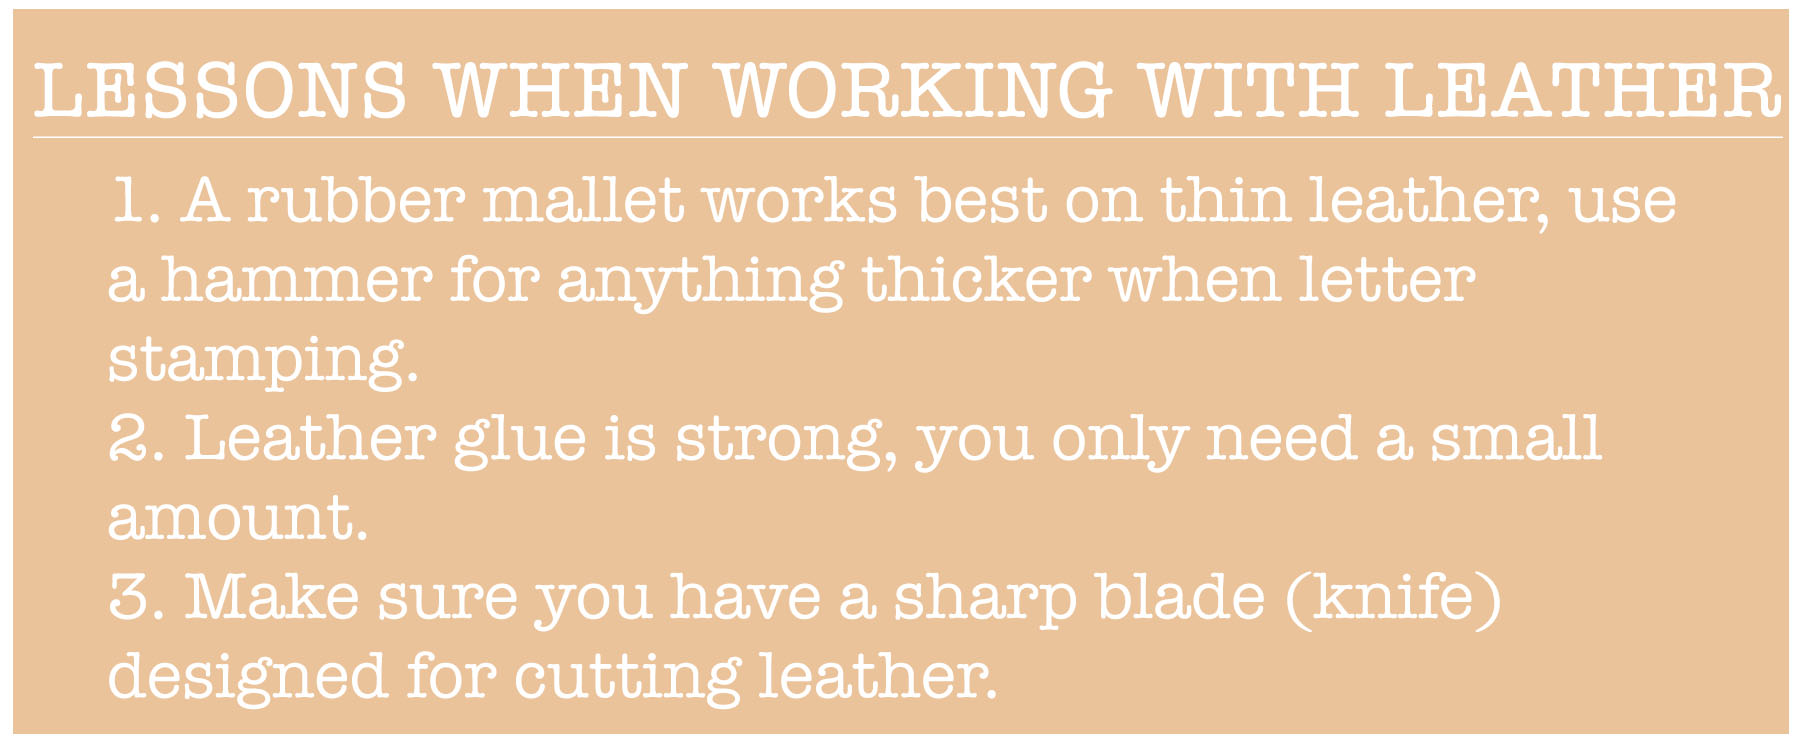
After cutting it was time to stamp the letters. What I learned, is that a regular ole hammer works best on thick leather, my first try I used the rubber mallet, and as soon as I glued my shape, the letters disappeared into it.
The Letters
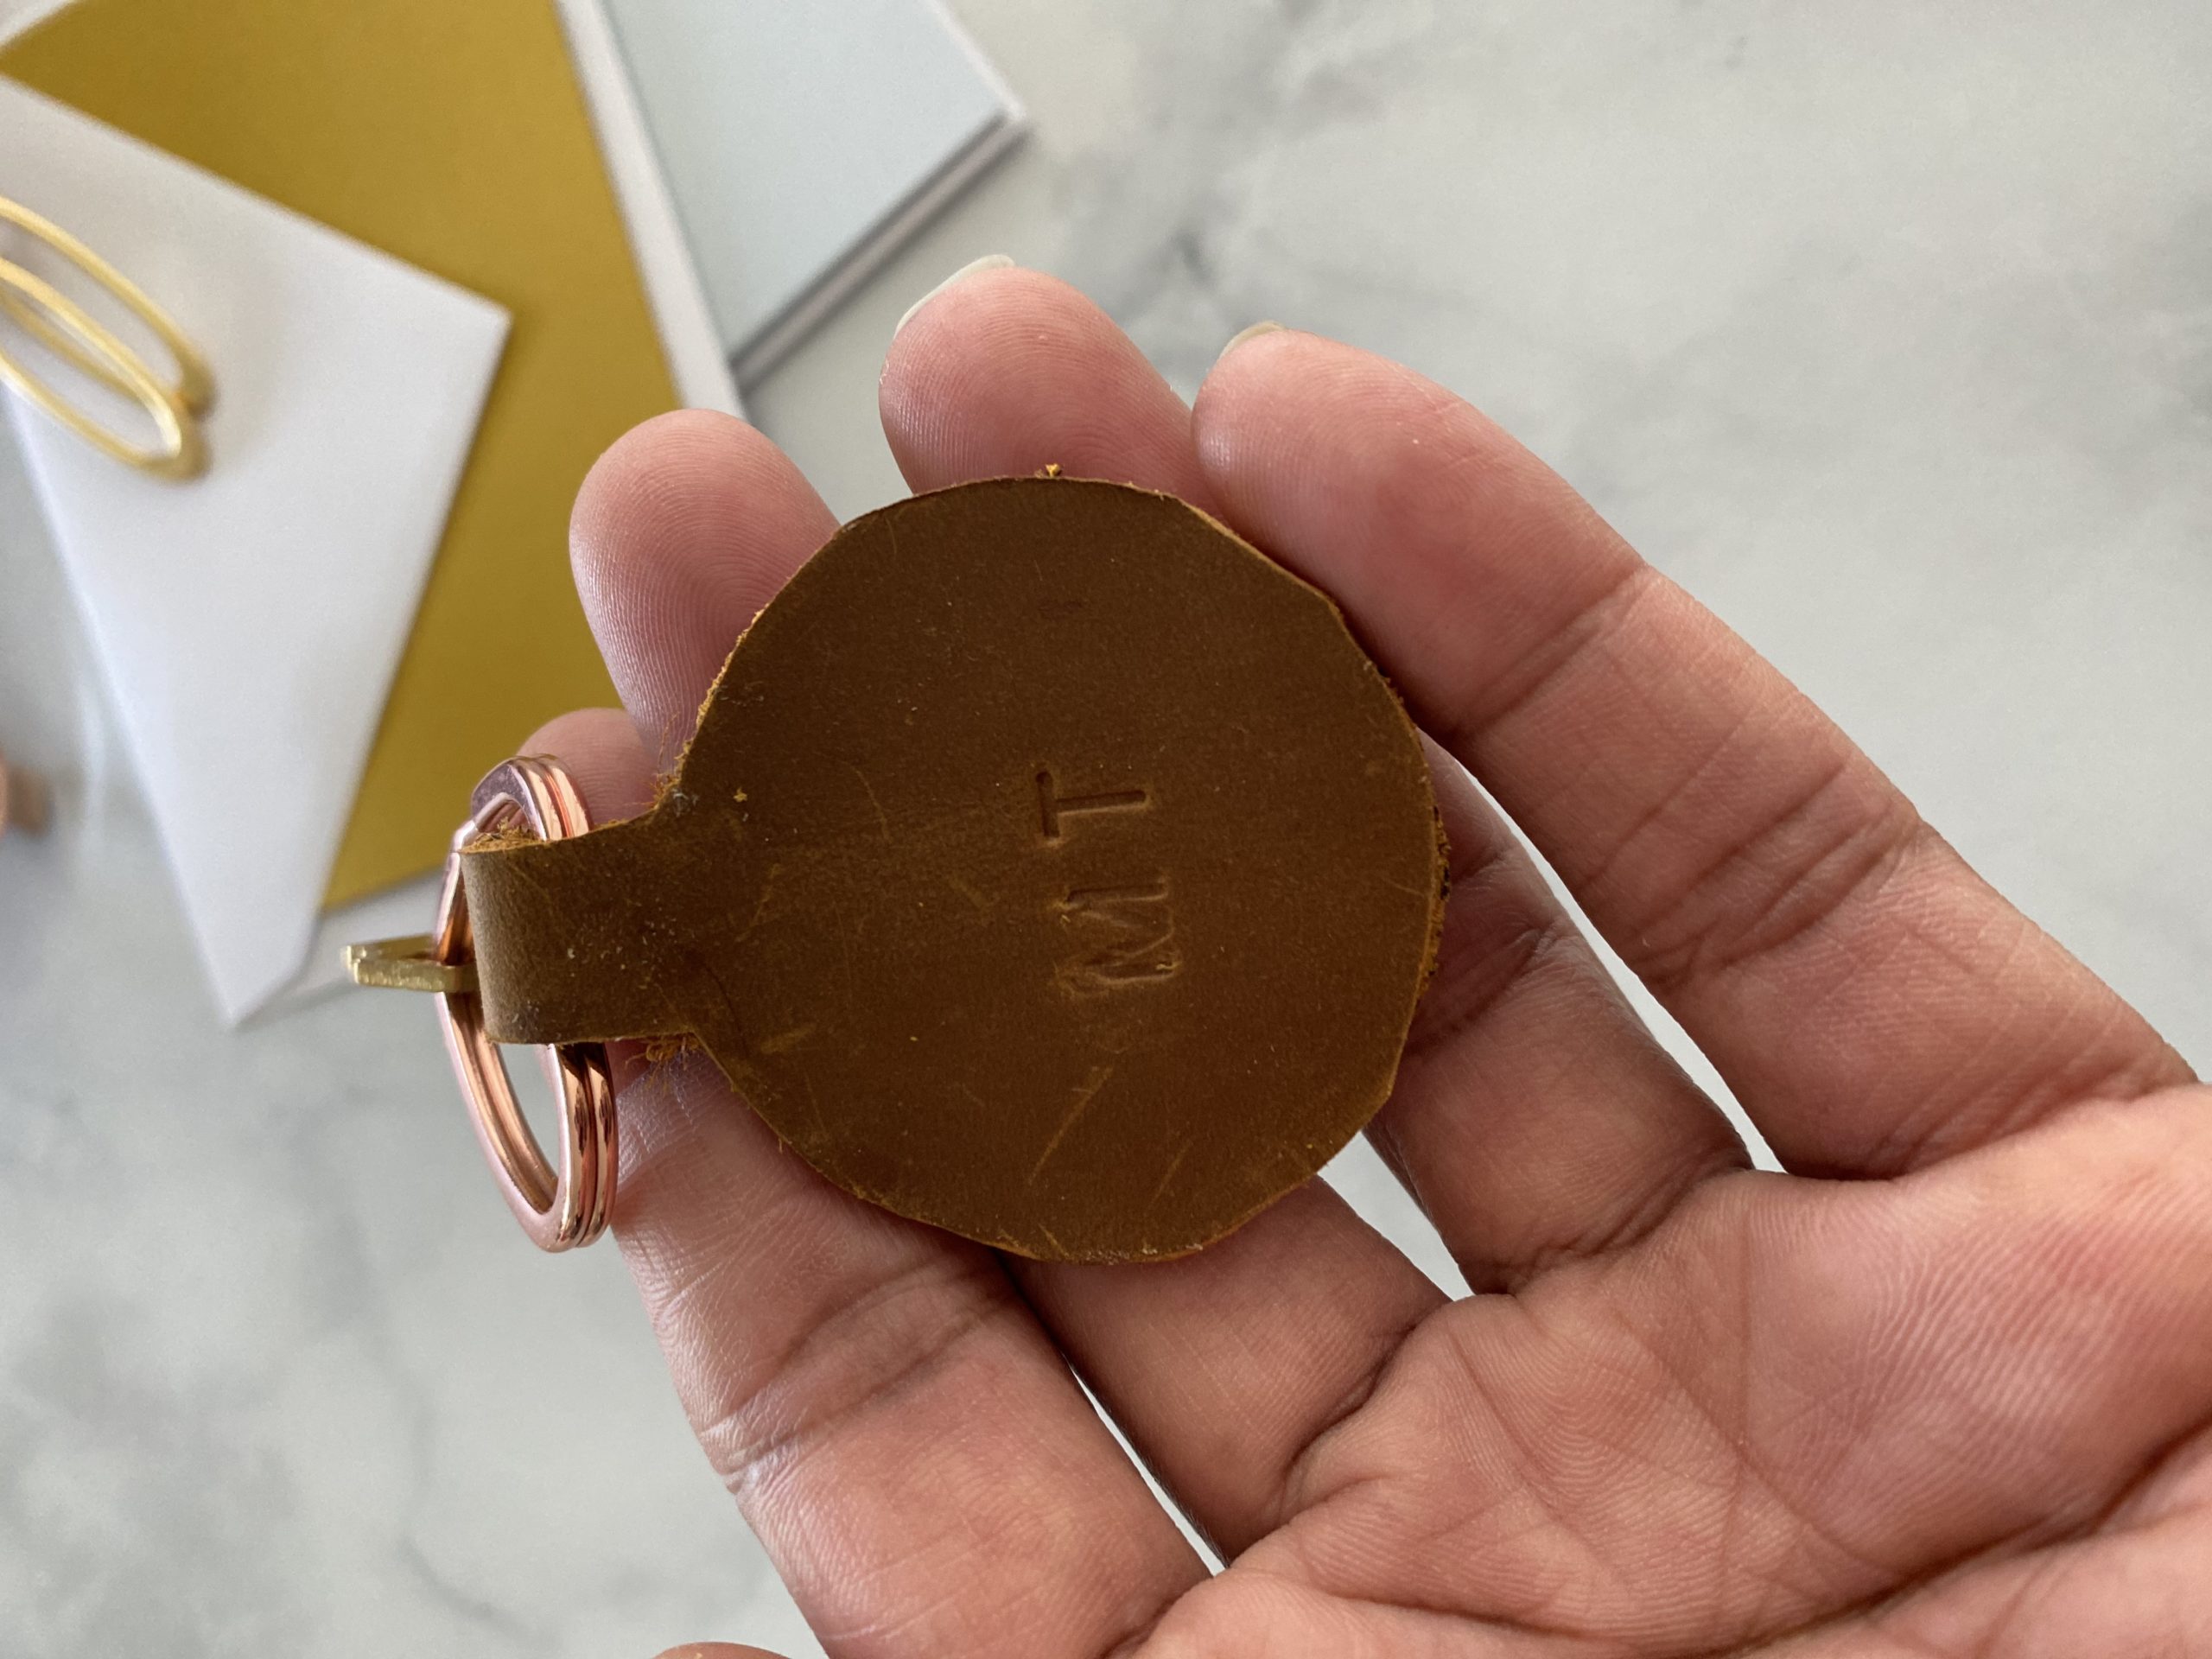
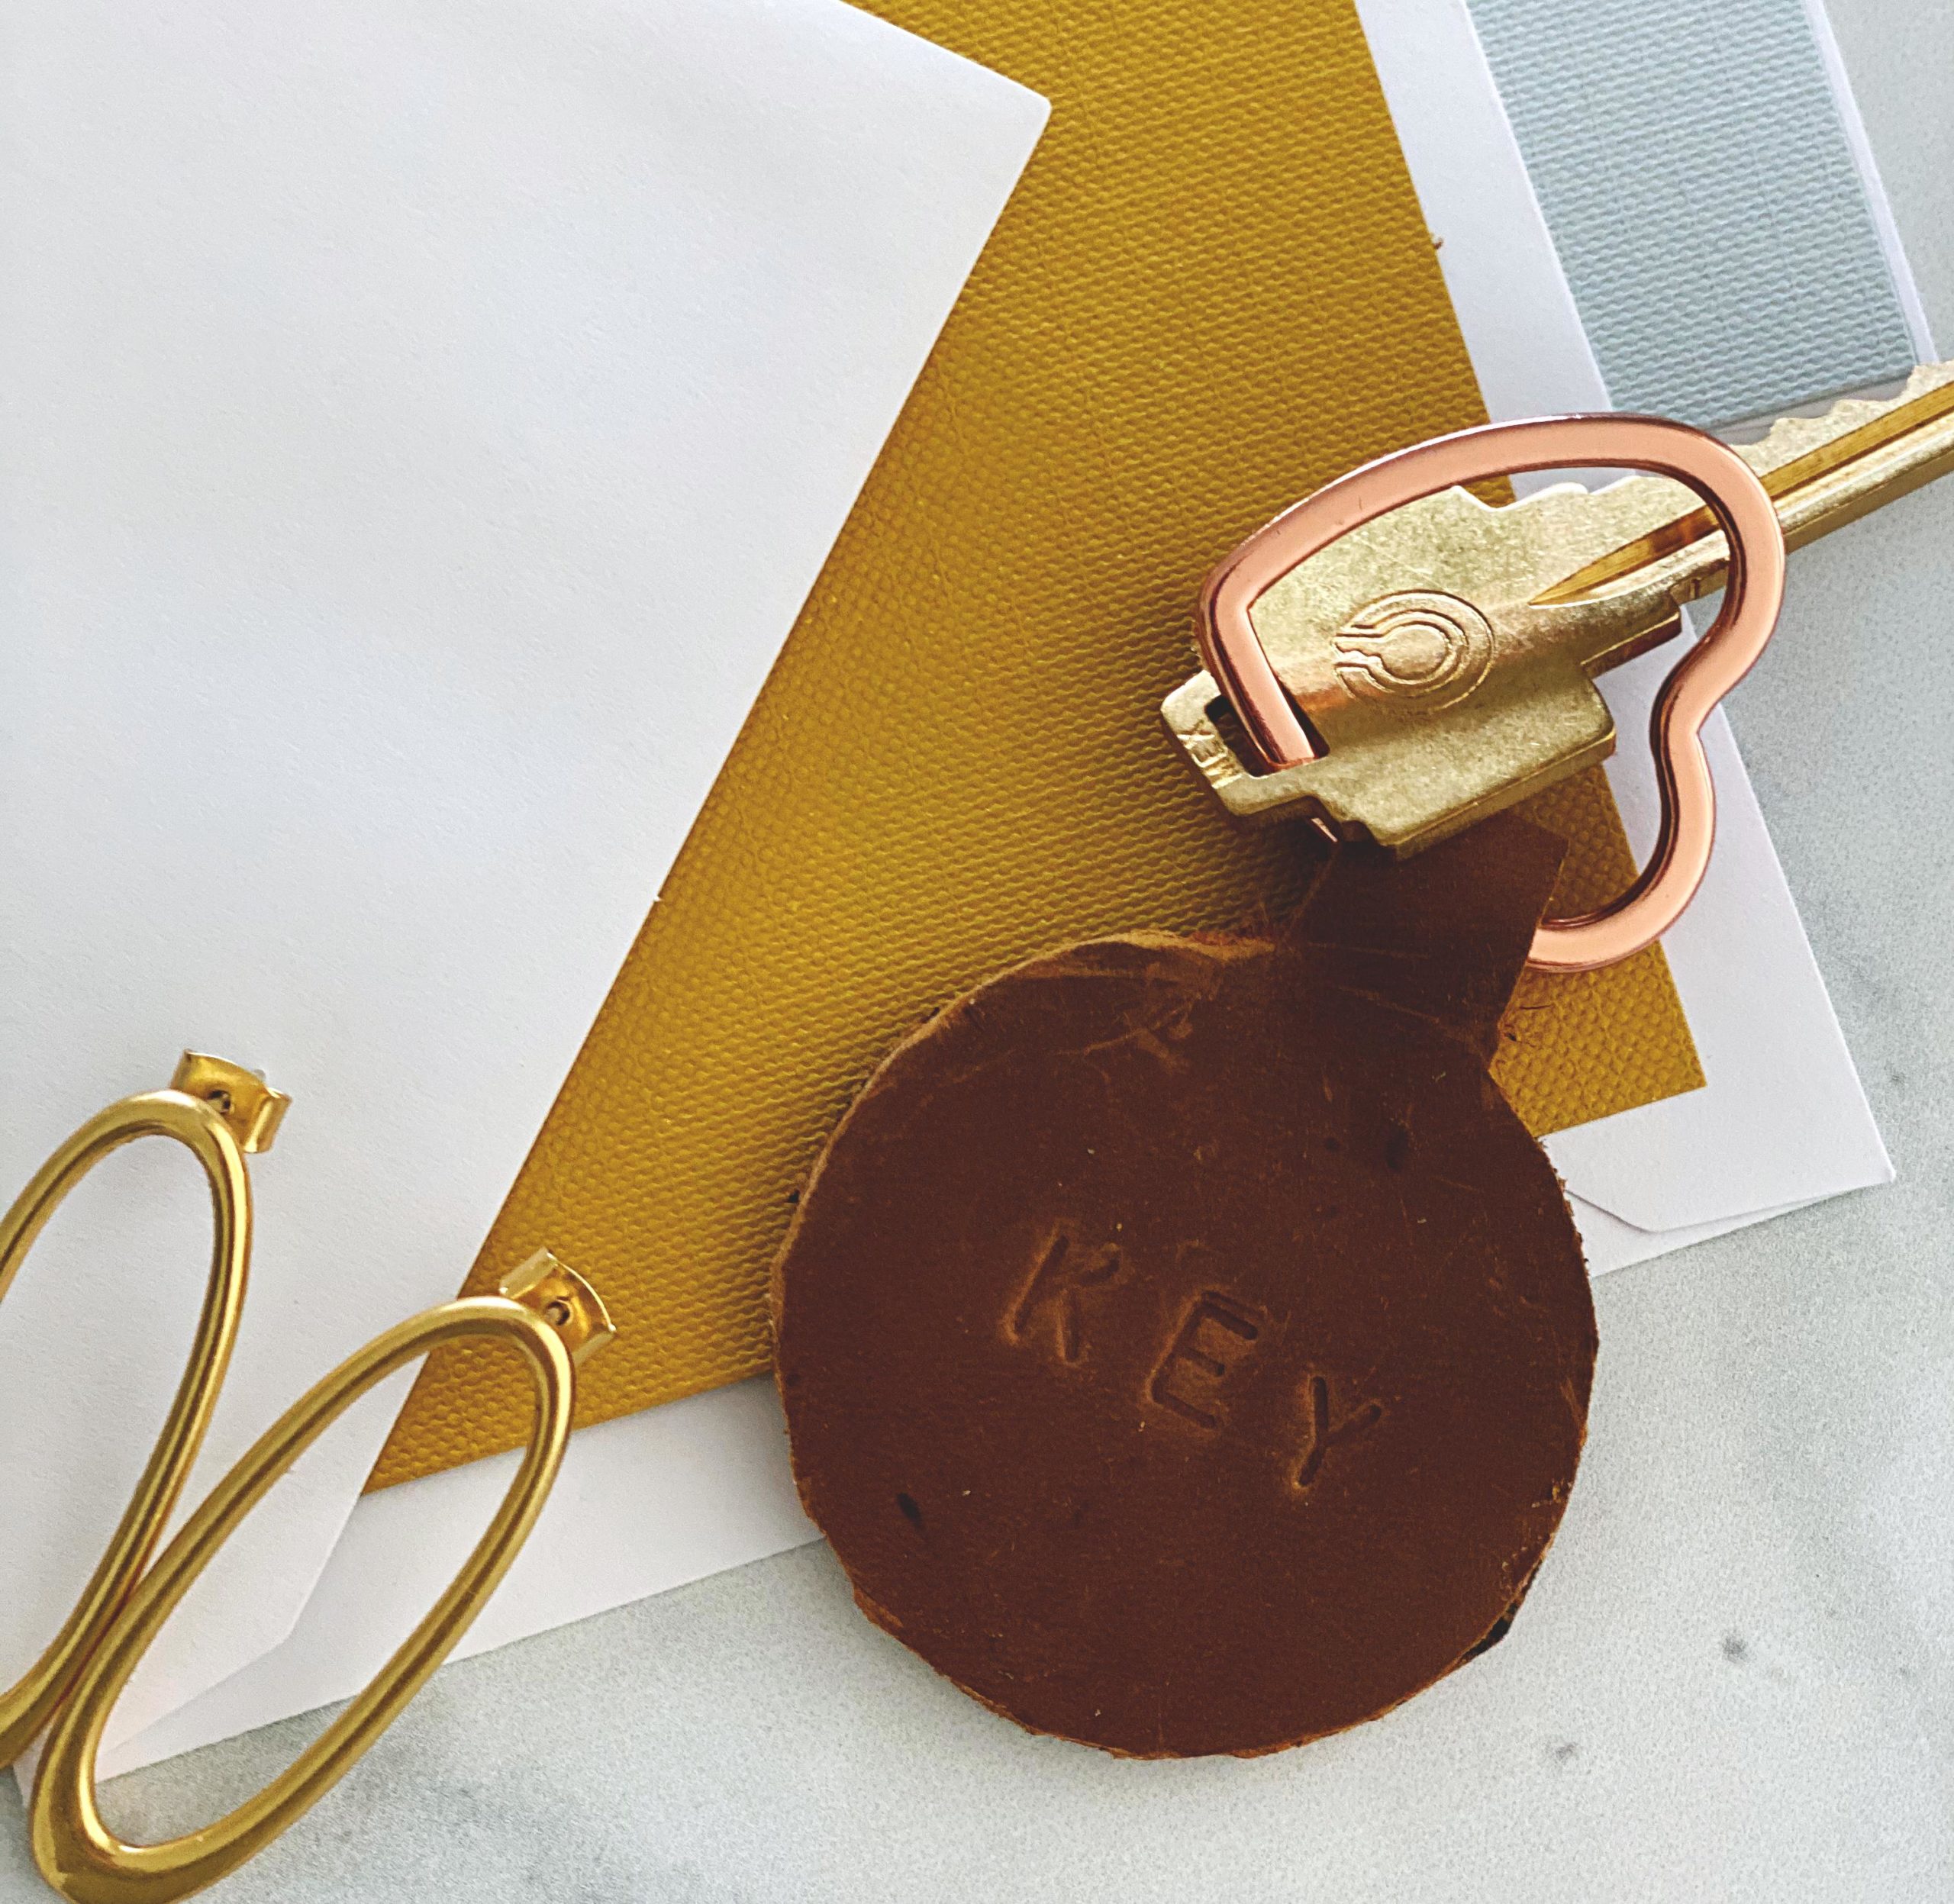
So I used a regular hammer to work the letters, and went over them a few times, after that, I folded my shape and put it through the keyring, and then applied a generous amount of glue to one side.
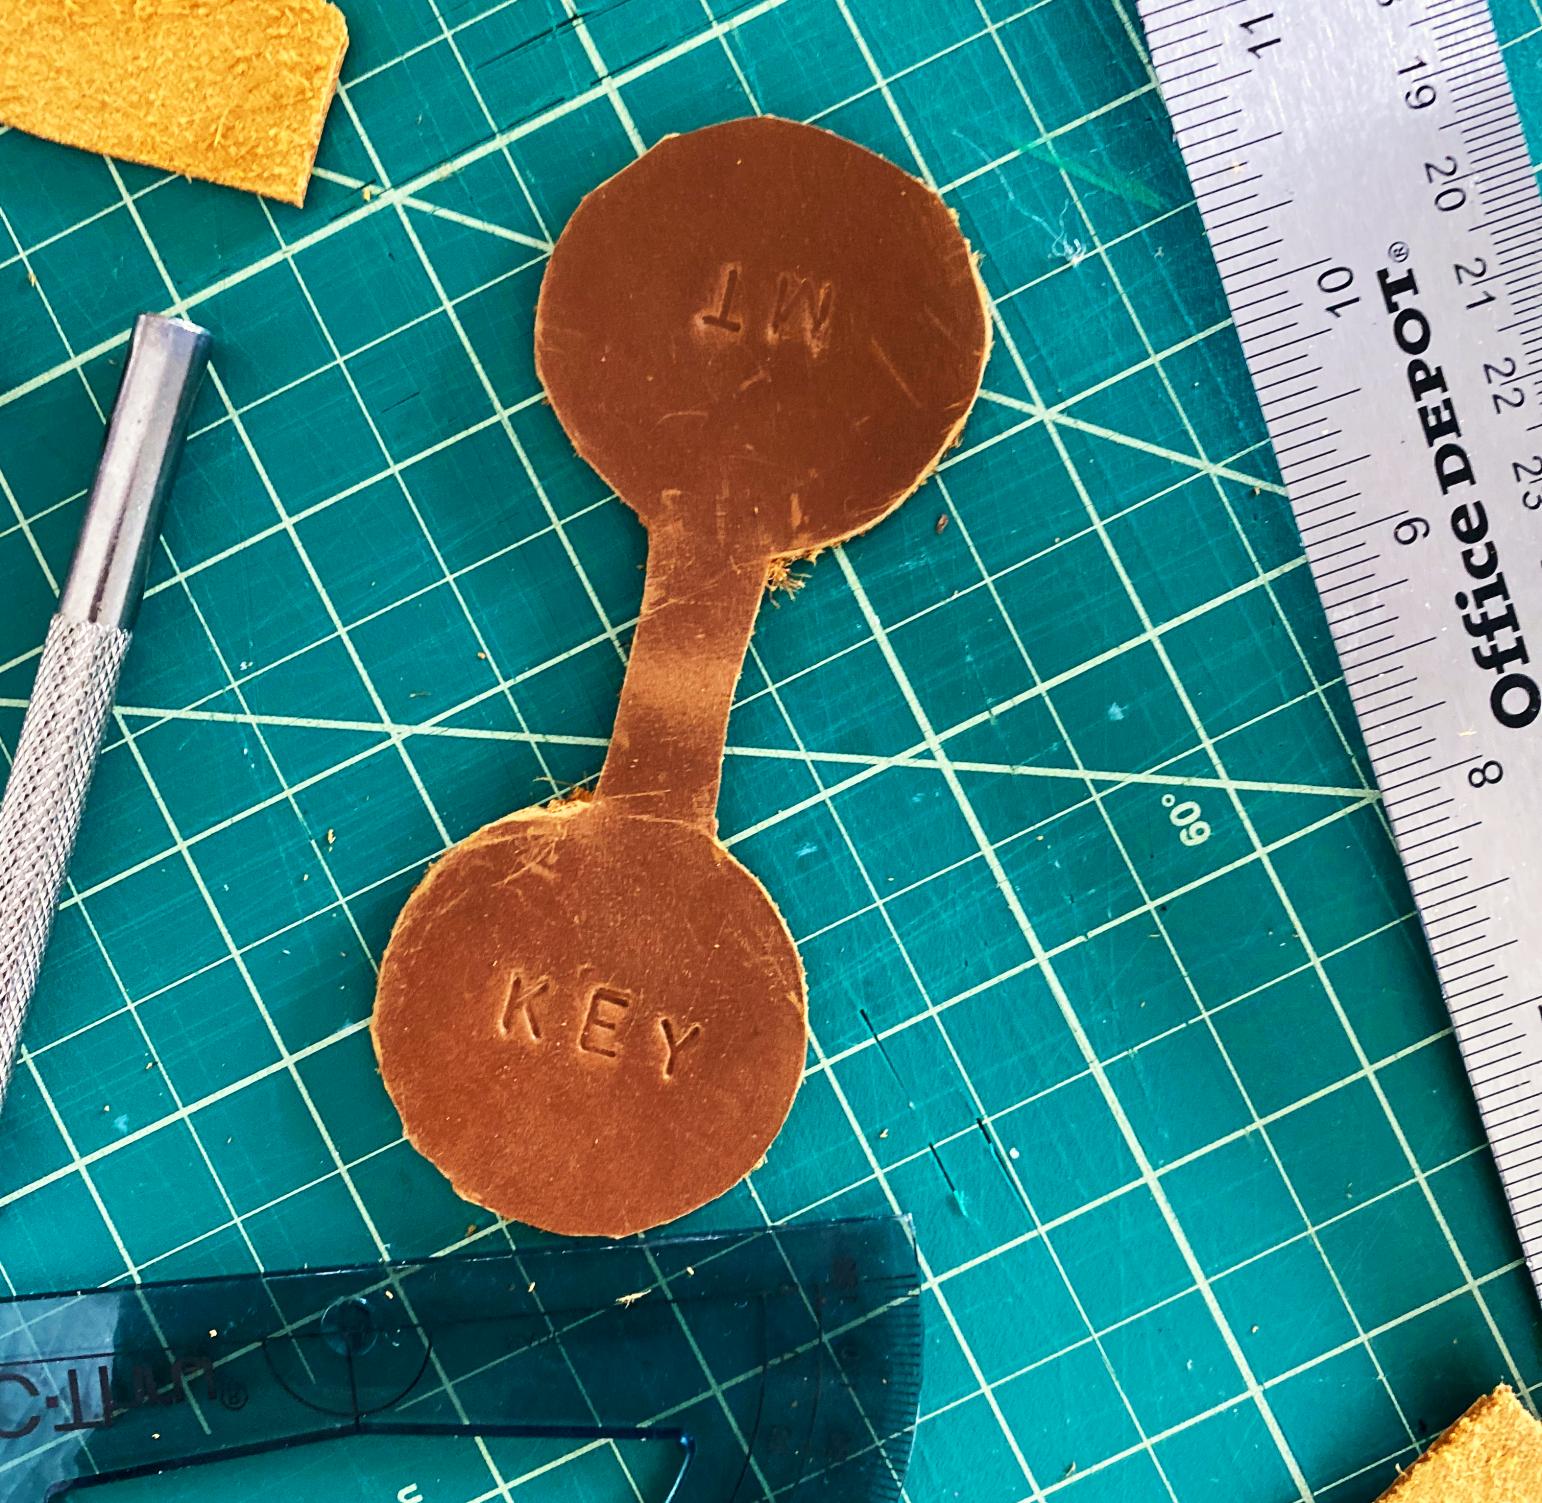
For my letters, on one side of the circle, it says keys and on the other side, I put M T for Maxy & Trinity … our departed pet family. Rest in Love.
It’s Done!
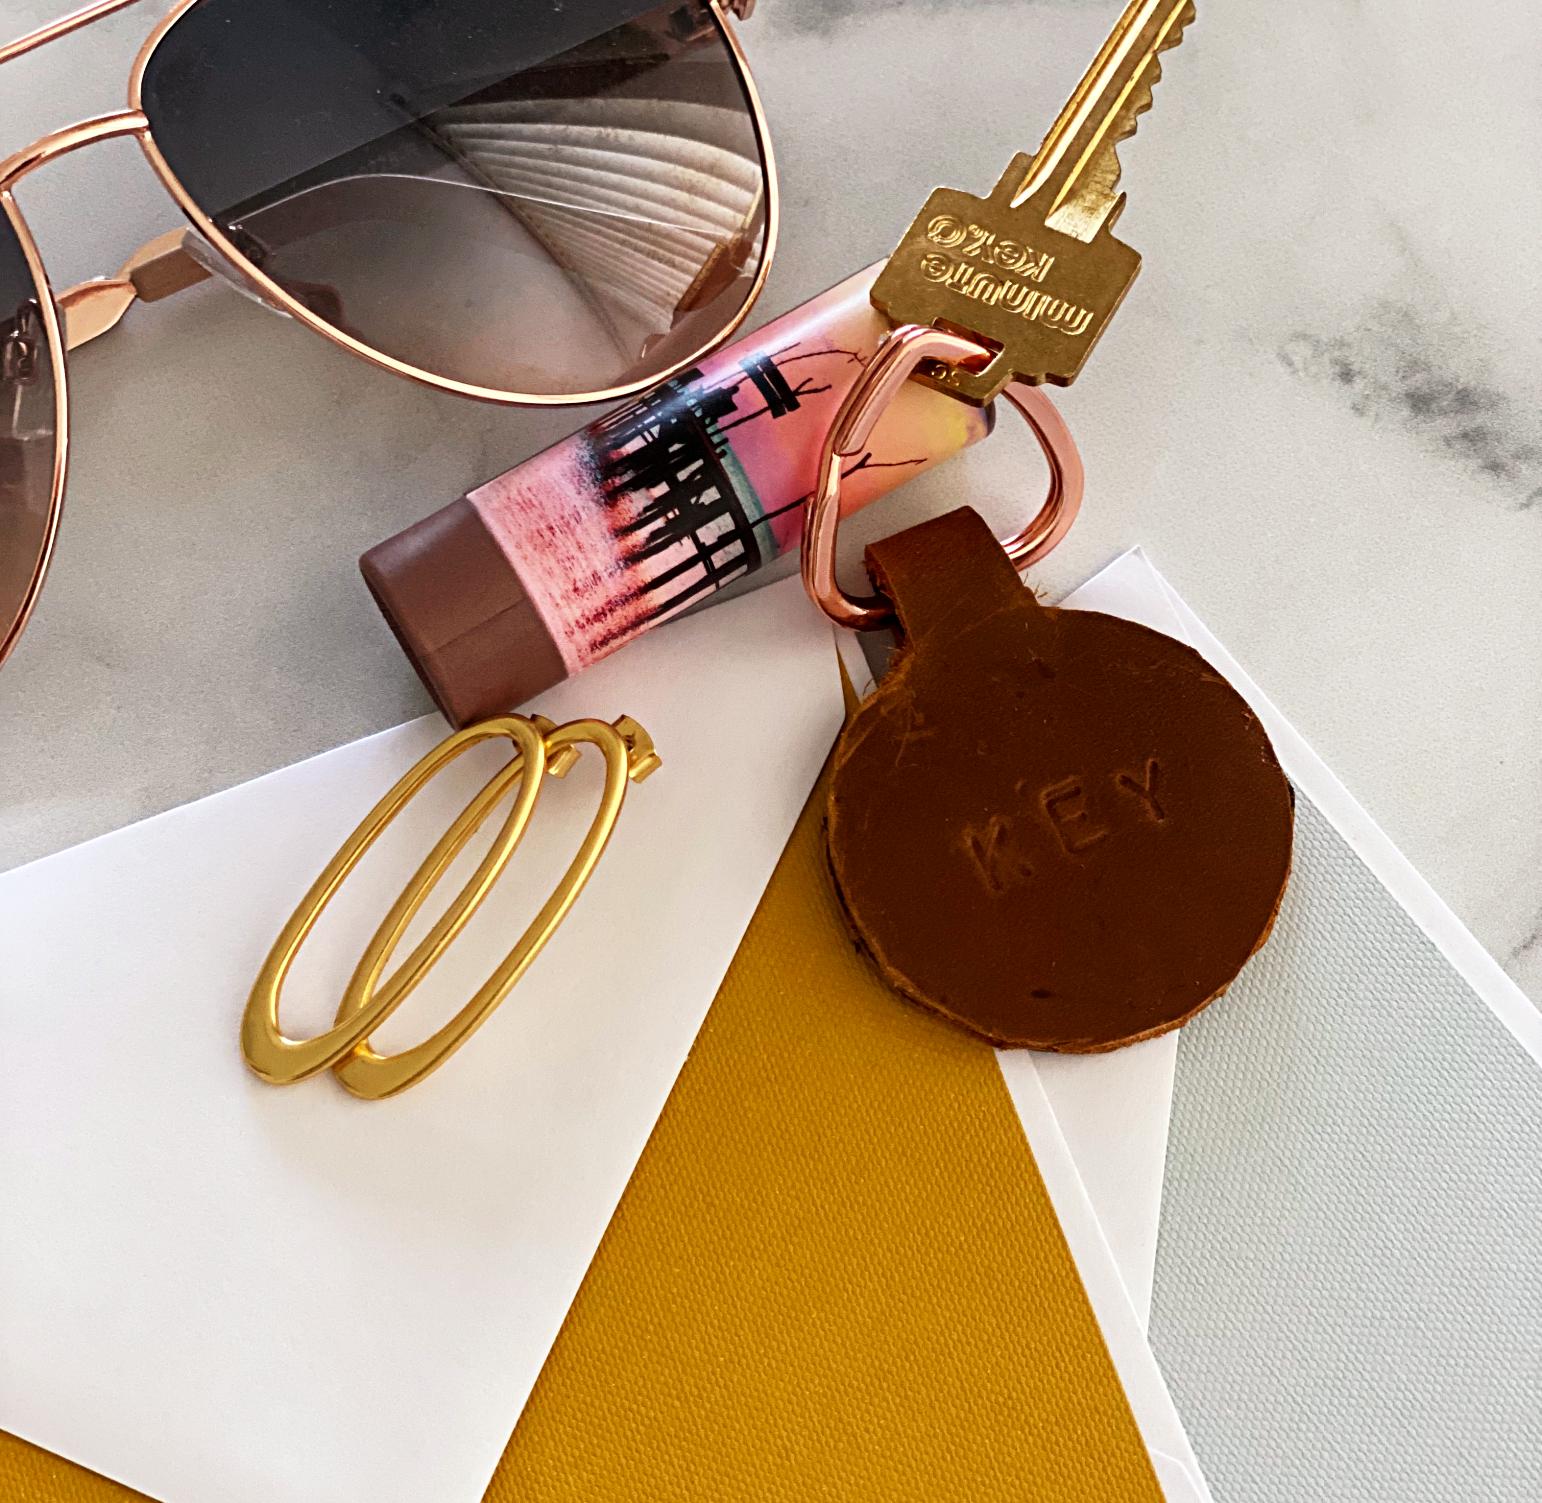
I used a hair clip (or you can use binder clips but I couldn’t find any) to hold my work together until the glue dried which only takes a few hours. Then it was done and ready to use.
******
******
Upcoming Project!
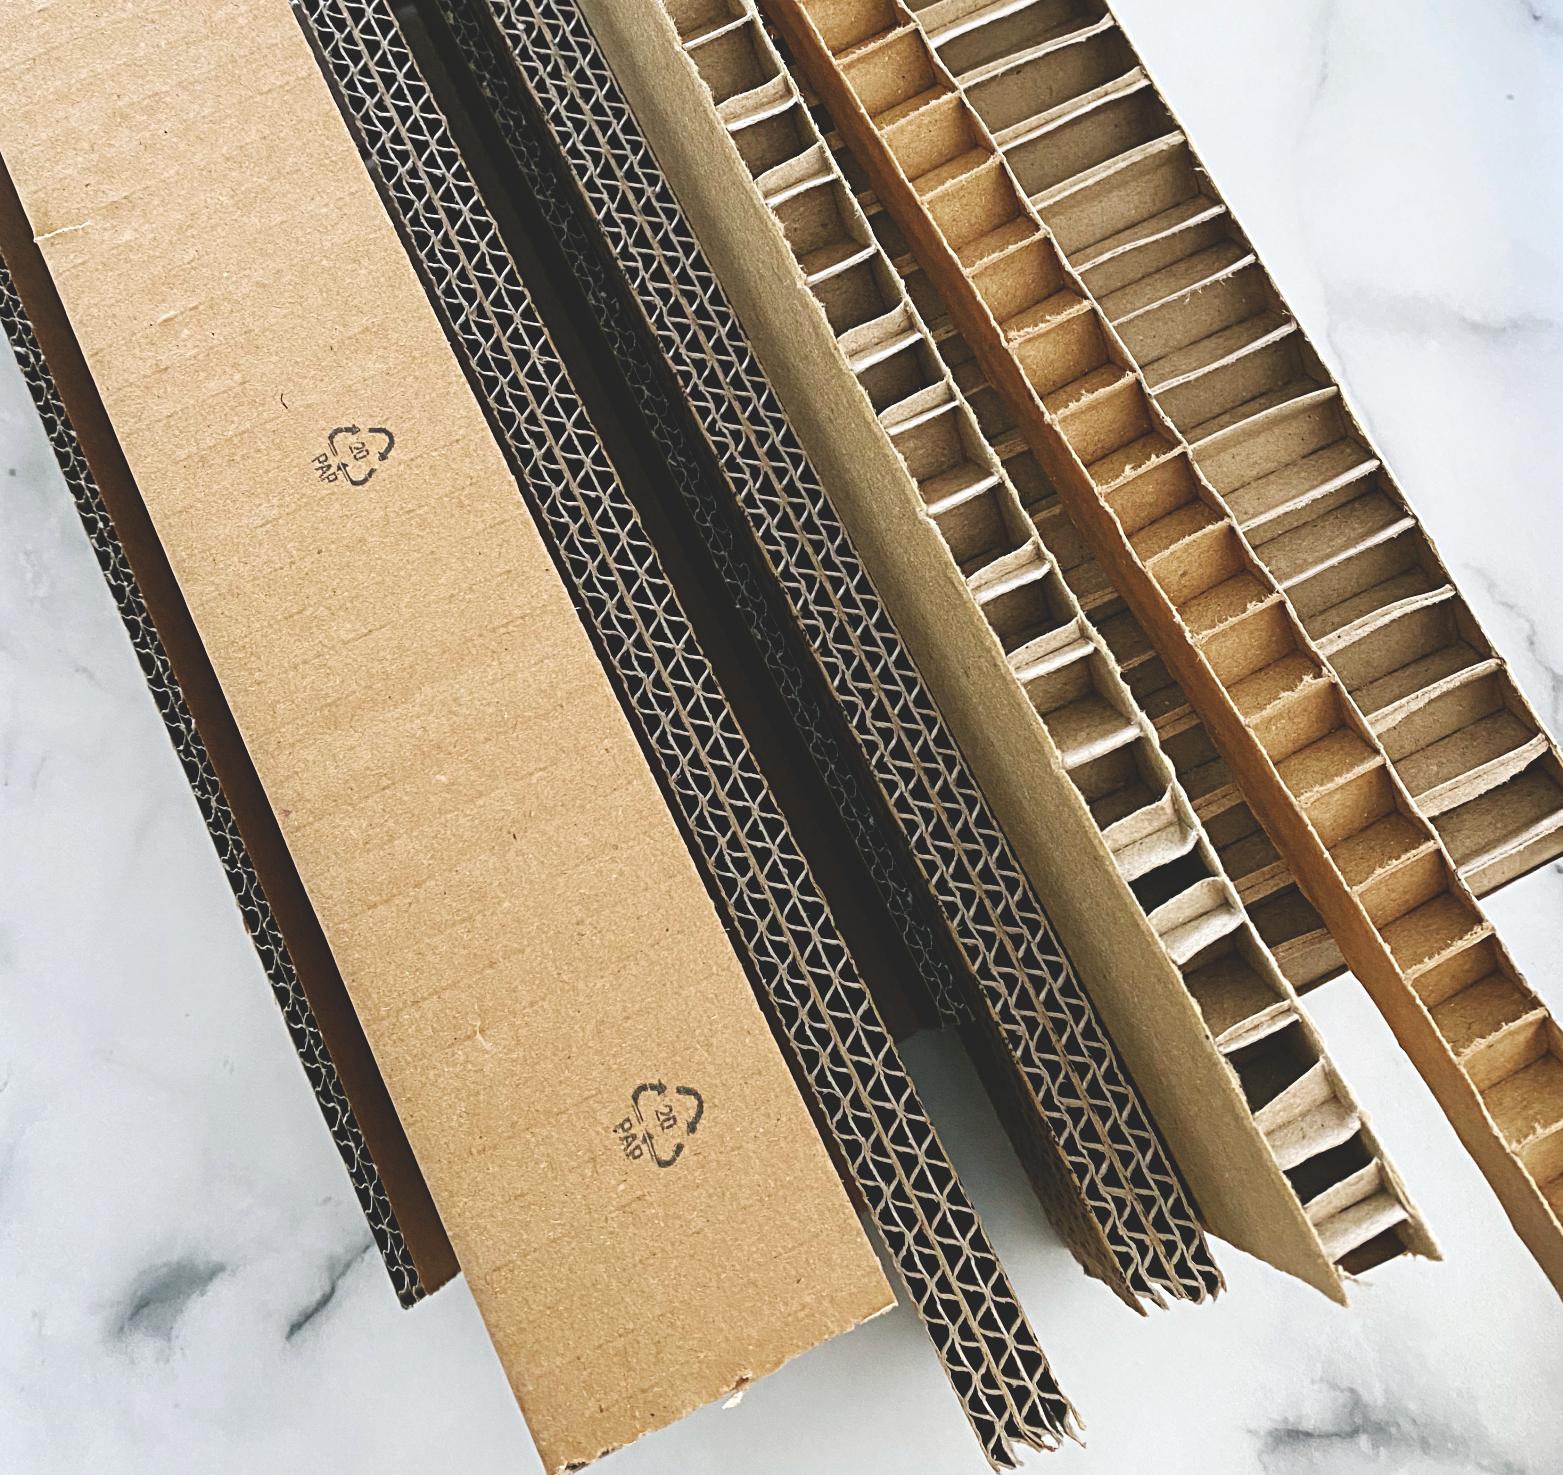
I know you’re wondering what am I doing with this cardboard. (Which came from my IKEA cabinets) Well, this cardboard is the perfect foundation to make a miniature sofa for my BJD’s. (Ball-jointed dolls) Now that being said I know this will take a minute because I have to order some cheap fabric and batting, so stay tuned.
Sharing is Caring
Staging pictures for your finished project can be a pain, and find the right background, and lighting can add to those issues, but I’ve got an easier way. I purchased this marble background from Ink & Elm a few years ago, and it’s not as expensive as you think.
So if your looking for backgrounds for items your selling like jewelry or backgrounds for those dishes you make and you want to post on your social media then check out Ink & Elm. They have hundreds of styles in assorted sizes and they start at about $14.95.
Here are a few images (I use this background whenever I stage) where I’ve used the Ink & Elm Backdrop, in the marble print.
There is no gallery selected or the gallery was deleted.
With that, I’ll end my post today. Are you making something this weekend? Heading out of town? Share it in the comment section. I hope everyone has a great weekend, and stay safe amongst the chaos. — Peace
Don’t forget to like, comment, and subscribe!
Check out my other DIY’s and Up|Cycles
Clip art for infographics | Canva
Discover more from
Subscribe to get the latest posts sent to your email.
Very nice! Where mine at? LOL
Yours will come with some thinner leather, that leather was hard to work with.