
Hello Friends … It’s Friday! and if this is your first time on the blog, “Welcome” and I hope you consider subscribing or following.
If you’re part of the family…then Welcome Back! … Hugs all around and a nice big glass of lemonade.
It’s Friday-Friday-Friday! Did you have a good week? Everyone OK? … I’m gonna assume your nodding in agreement so let’s move onto today’s DIY project.

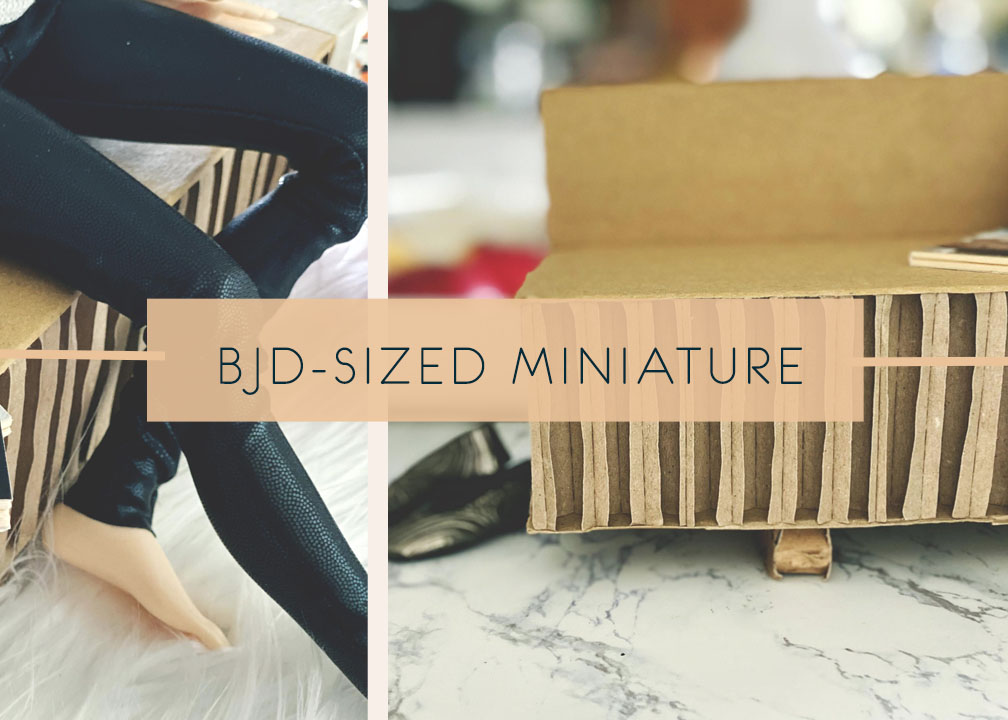
Today I’m working on a miniature for my dollhouse (or diorama). I had this big plan that would build a whole new house but the strains of the pandemic made that difficult as well as having a dedicated space where I wouldn’t have to clean up every time I did a little work on it.
It’s damn near impossible to get anything done that way so I’m working from the inside out and trying my hand at some seating (again). I got to give it up to people who can build miniatures because it’s so hard (to me). However, I’m taking the approach that it’s all in my head, and it’s time to get over that and try something.
Make It!
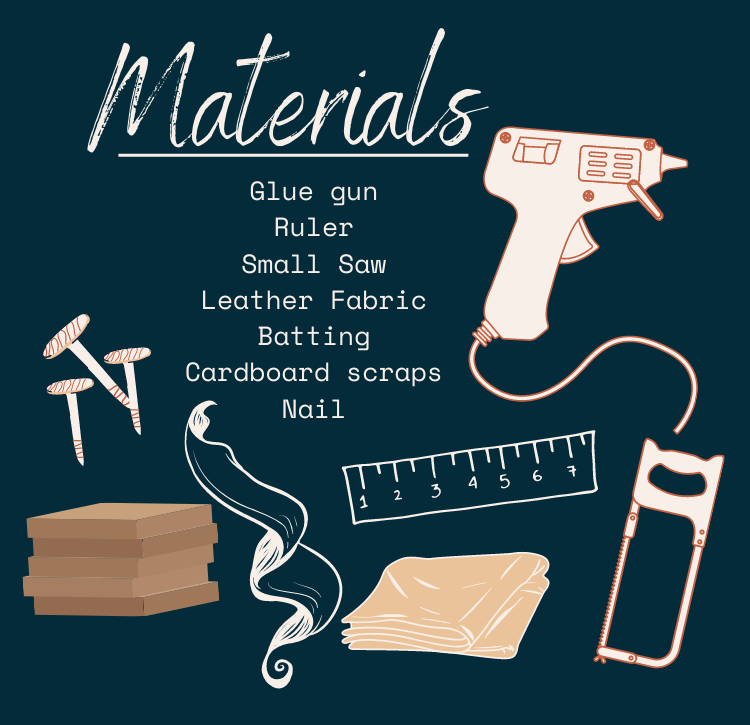
Working With Scraps
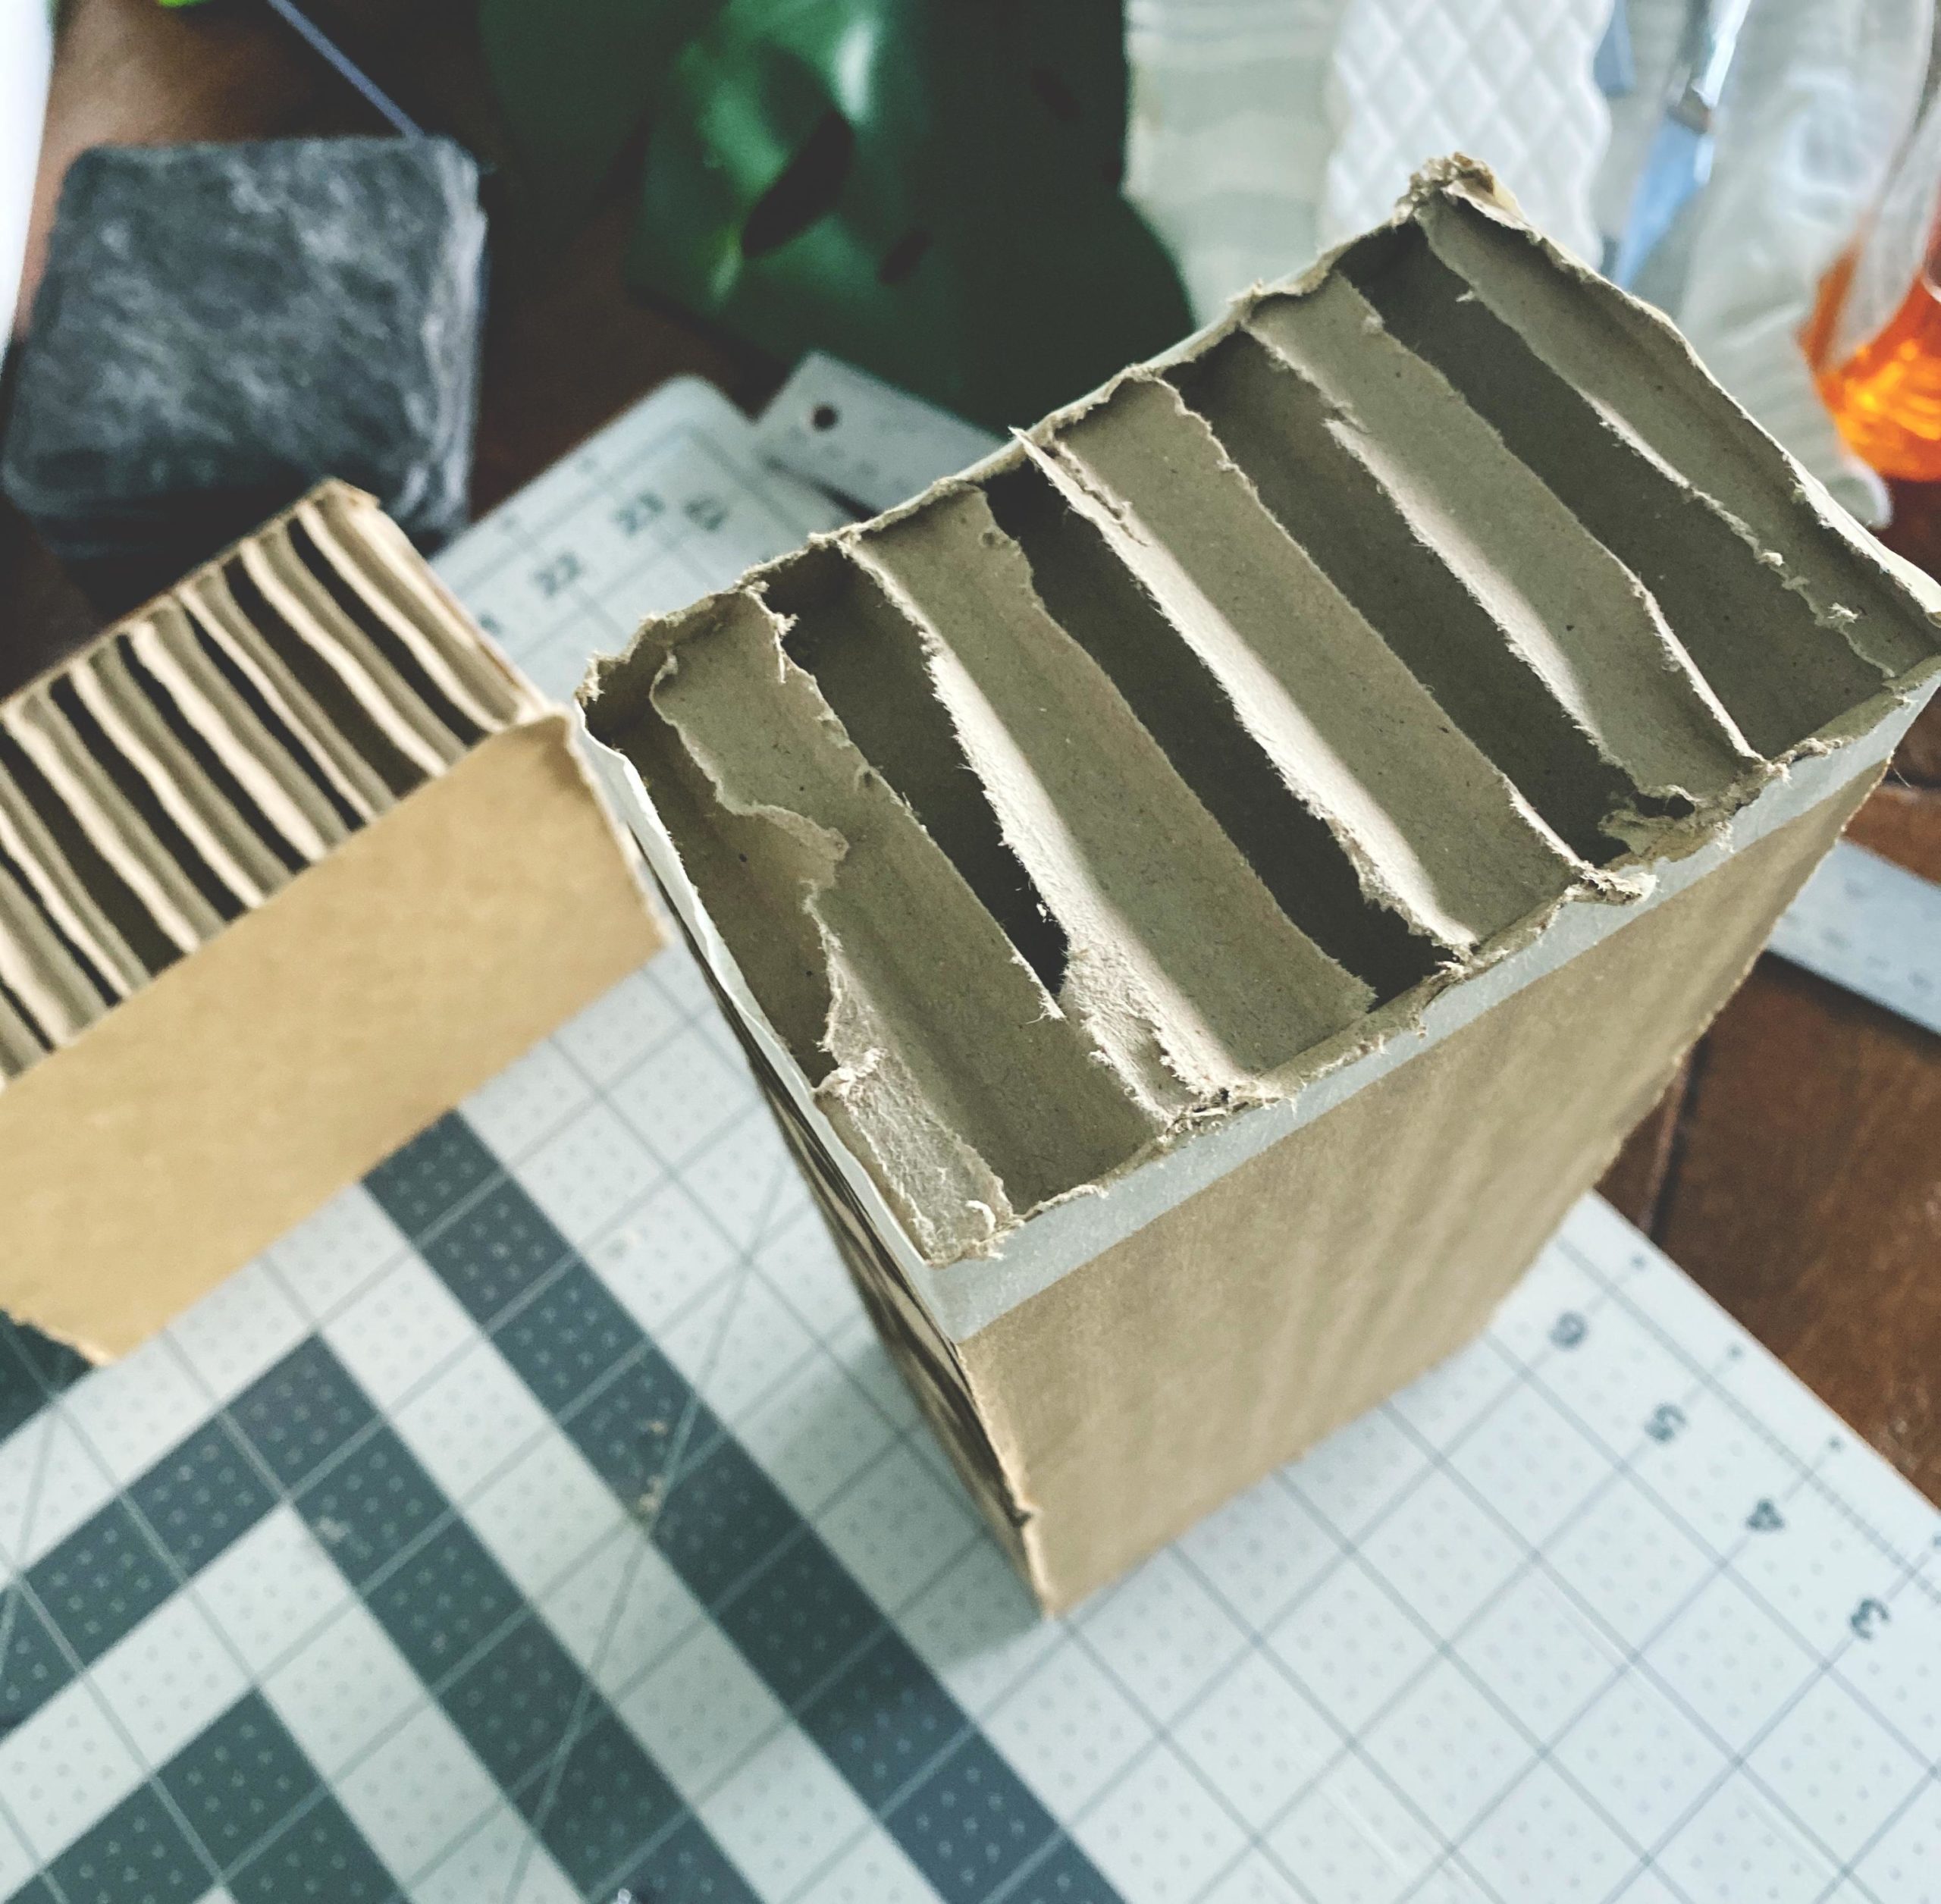
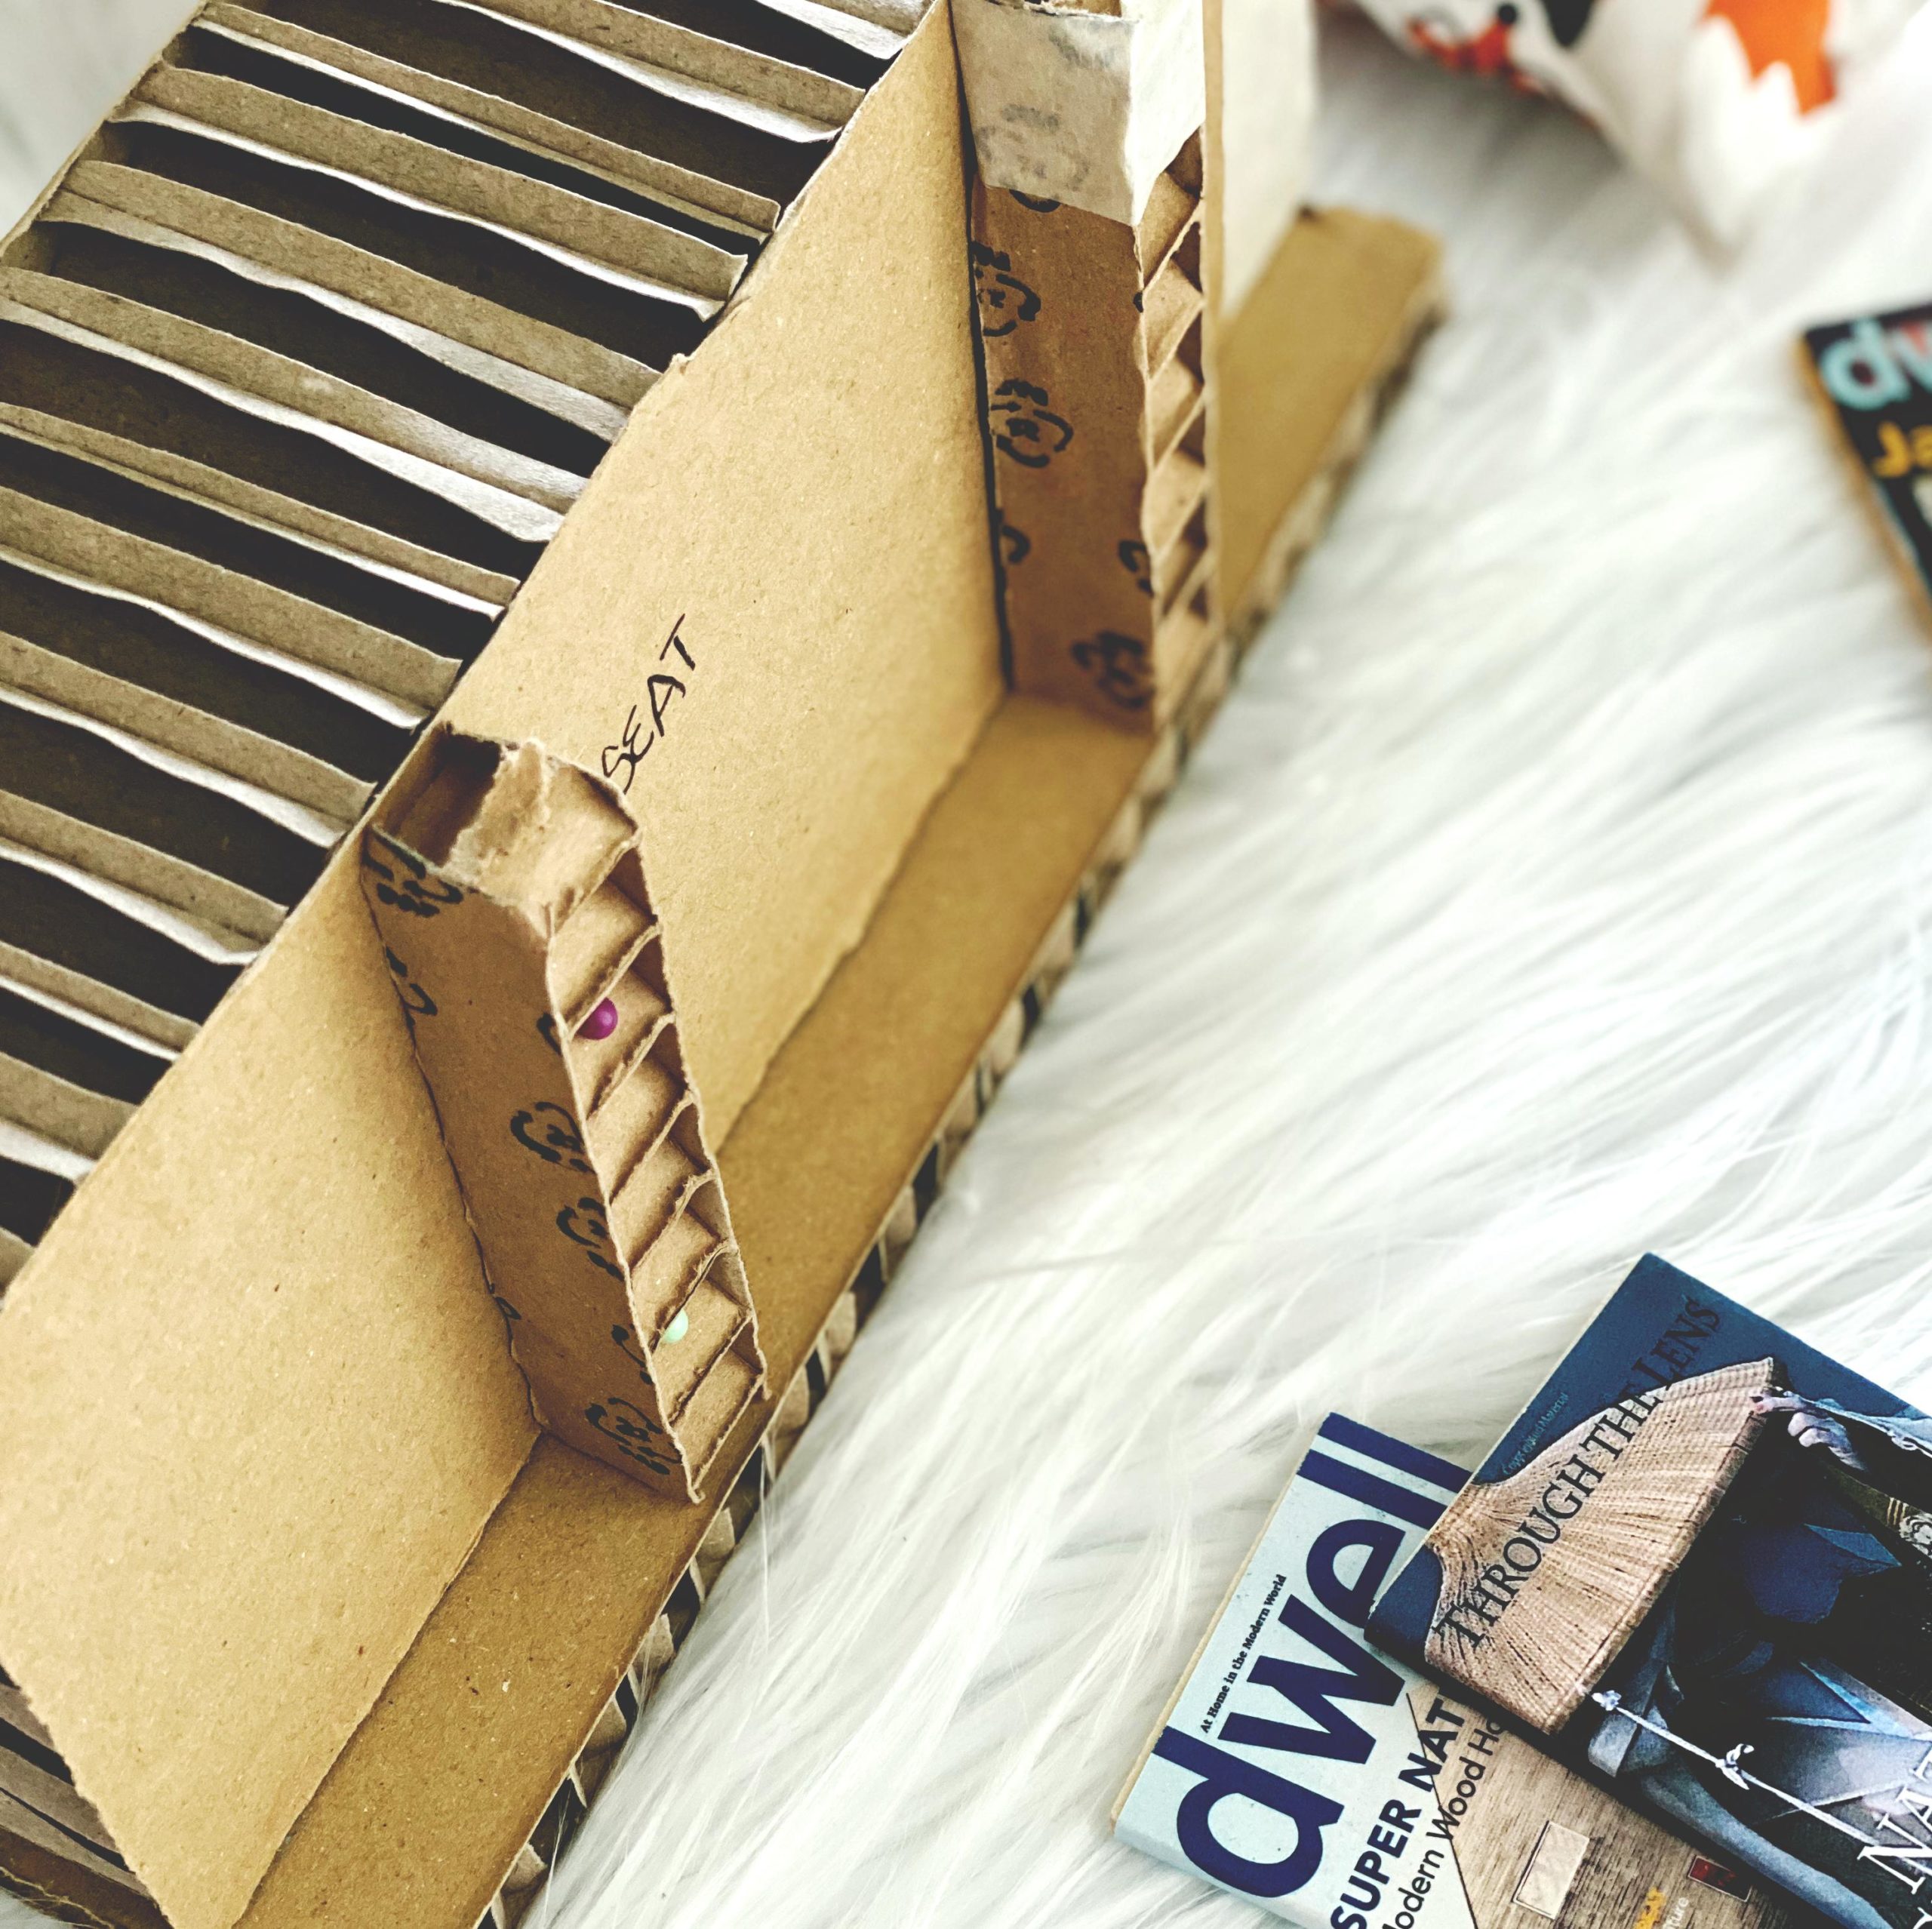
First I’m going to cut out the pieces using these leftover scraps, and temporarily pin these together to make the frame and to make sure my dolls can actually sit on it.
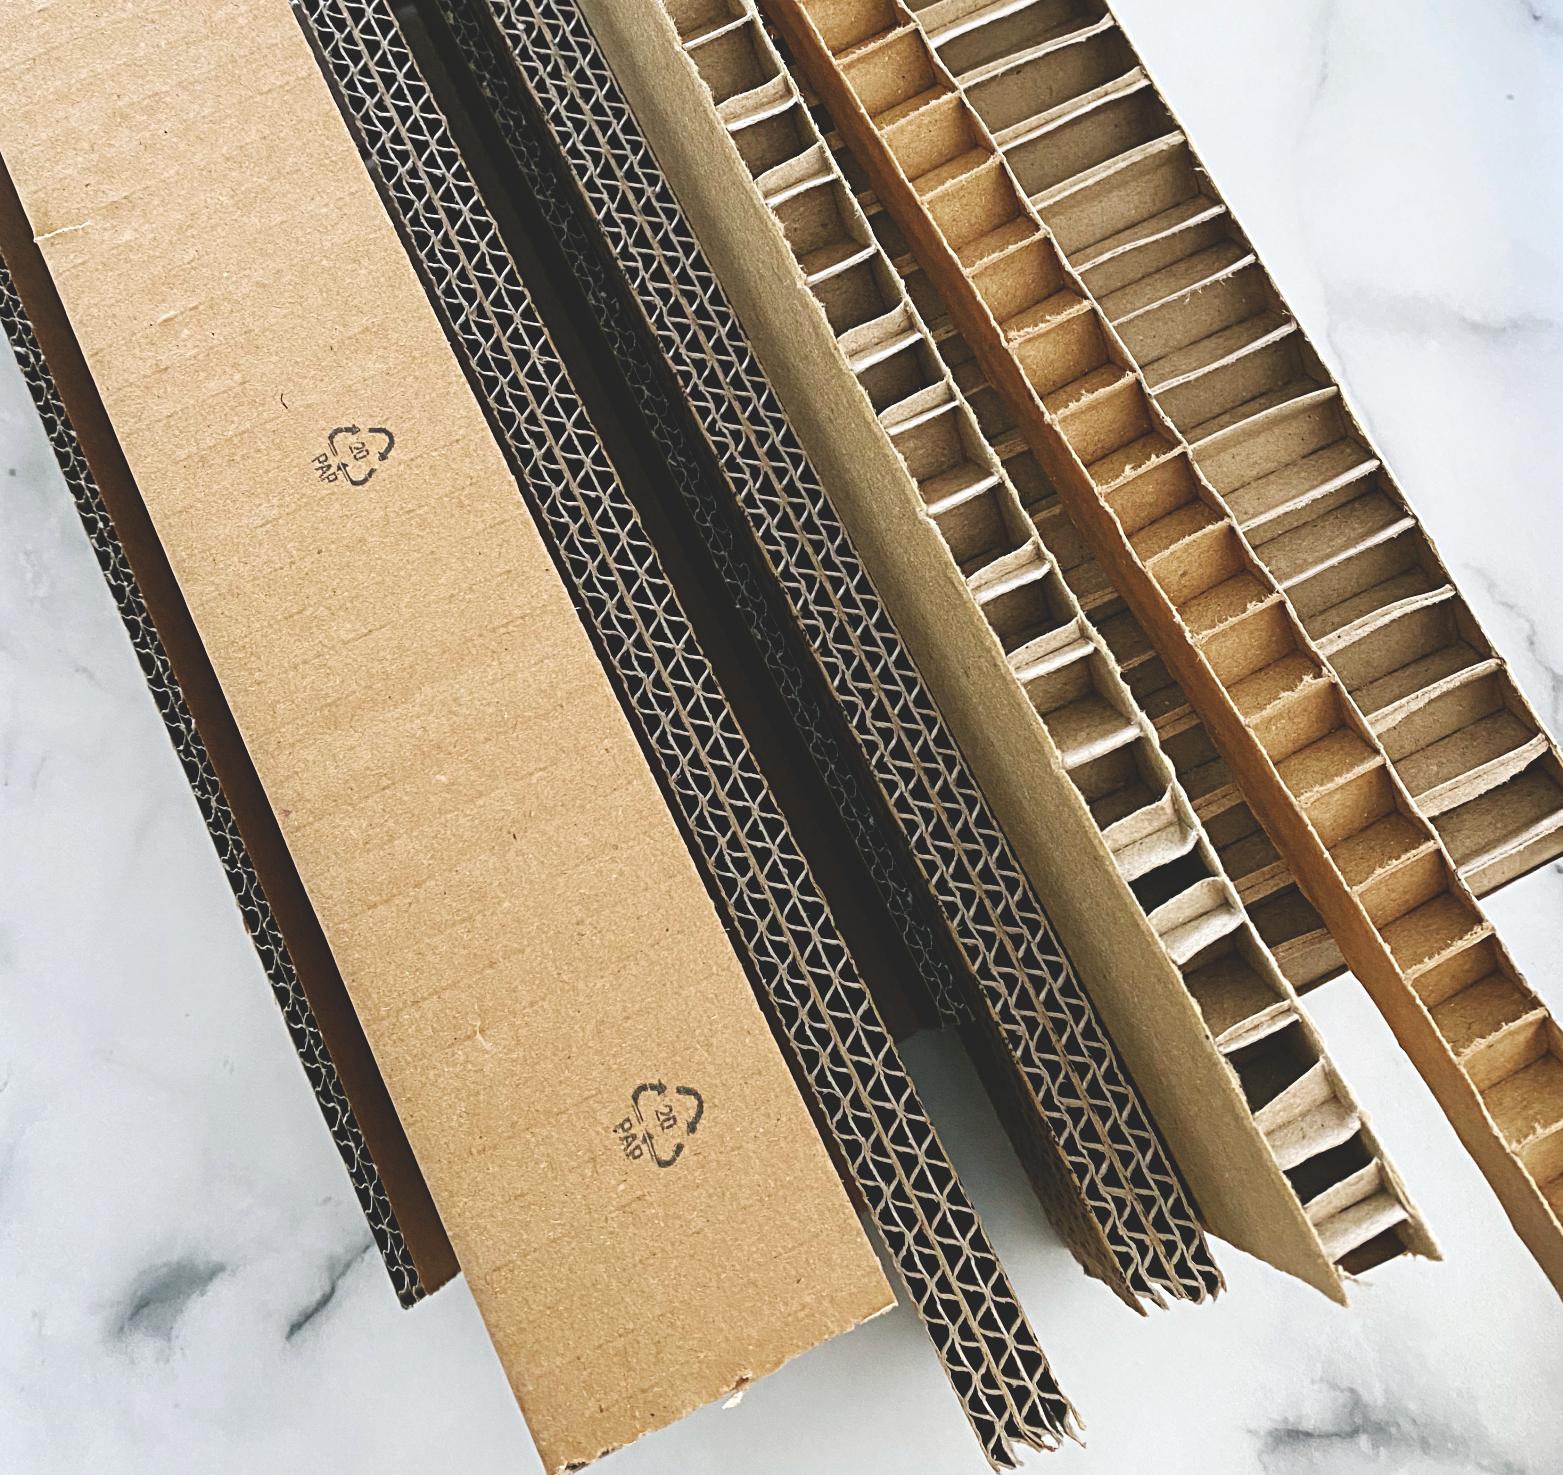
scraps from boxed furniture
working with the first big piece
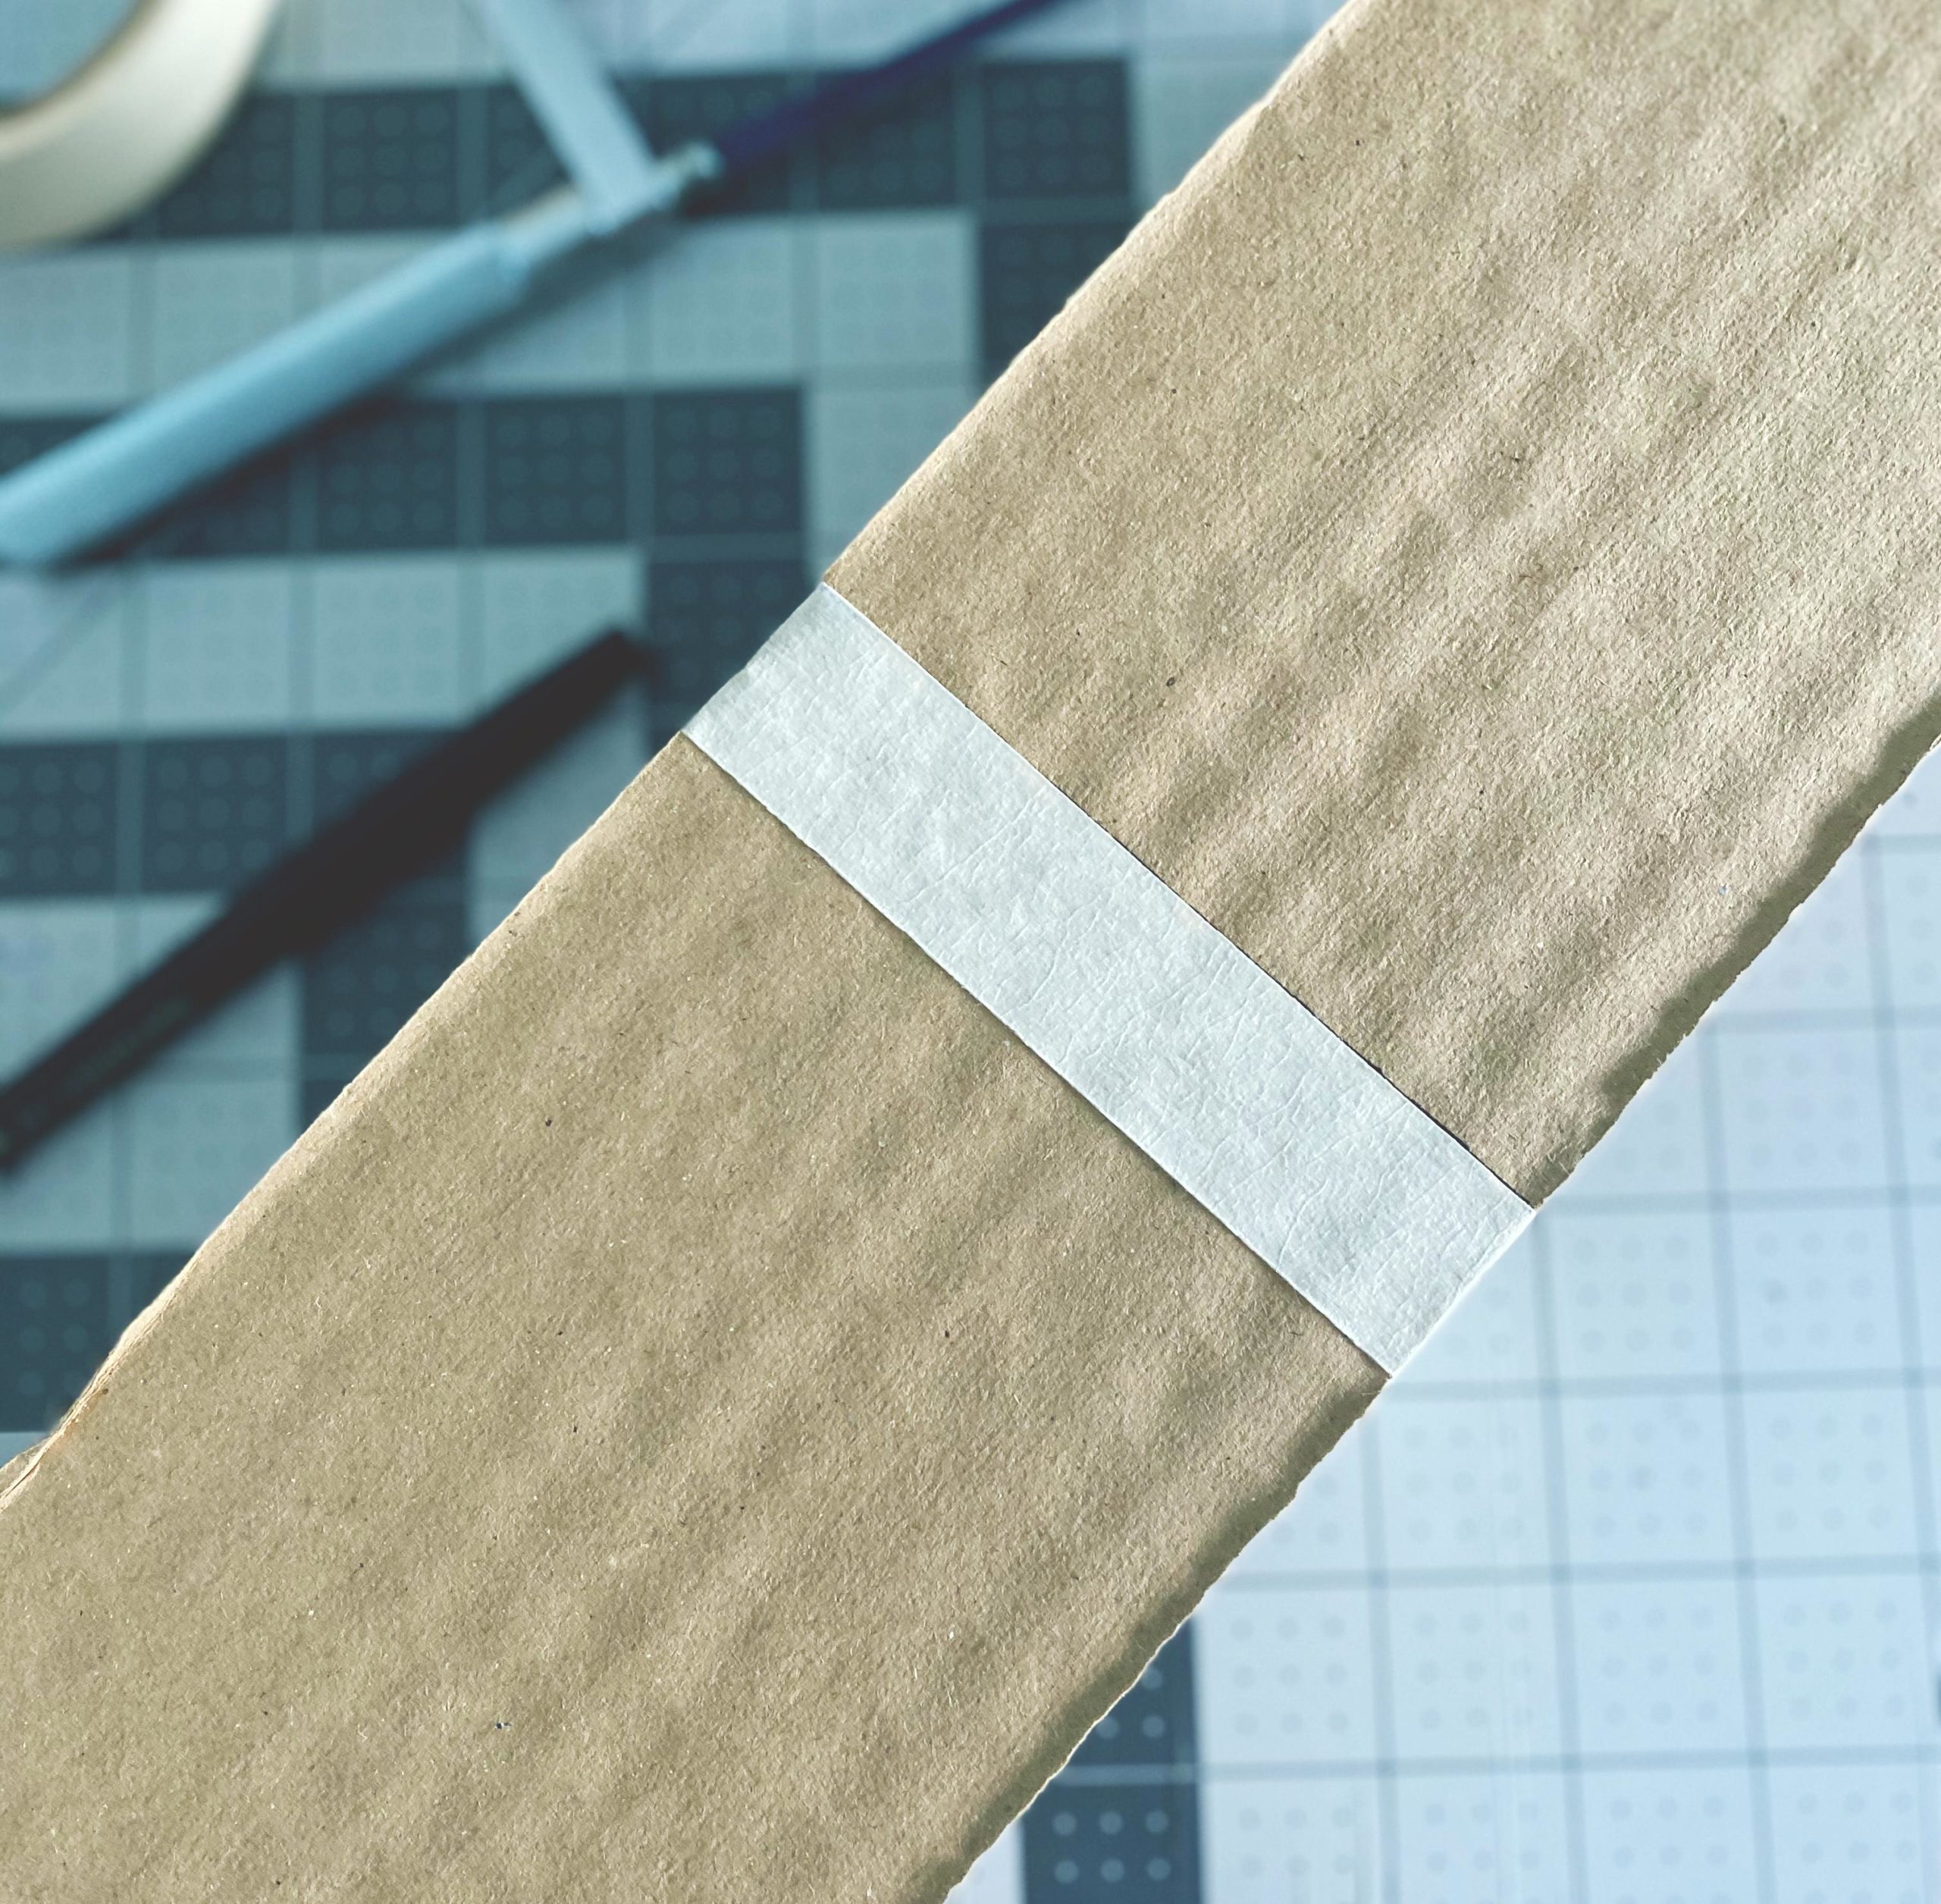
taping of where I want my cut
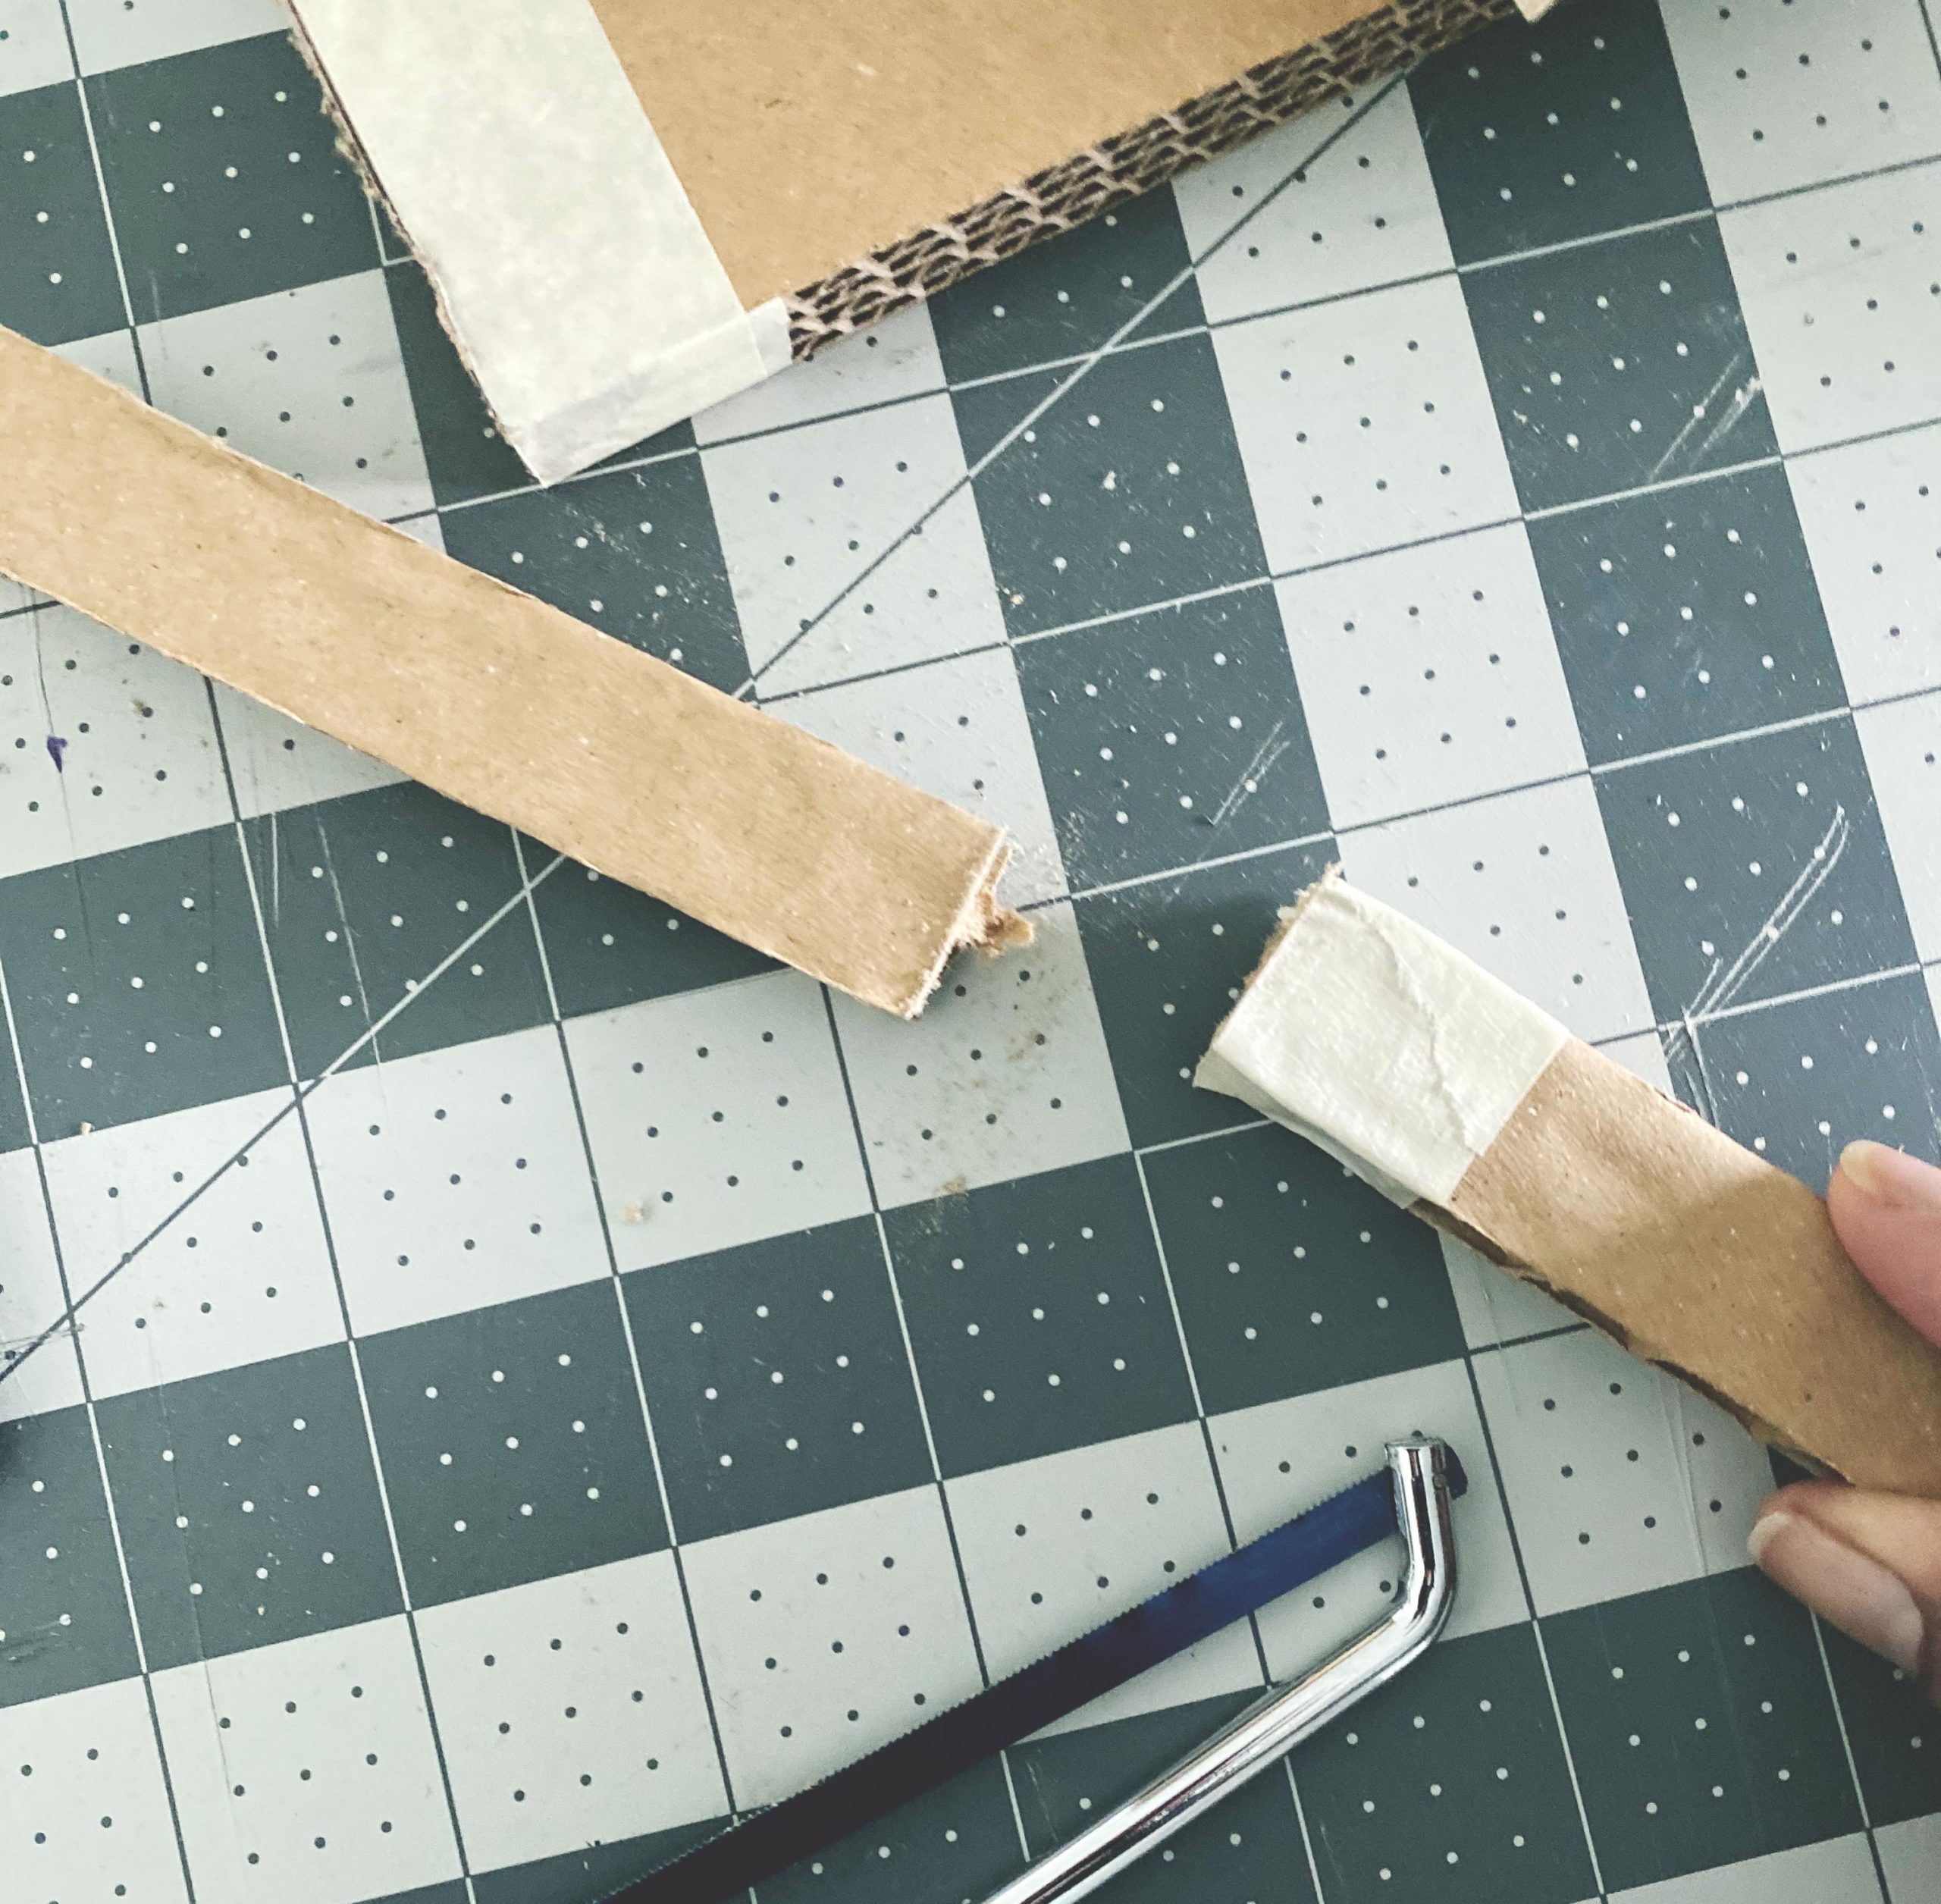
cut made to the base of the structure
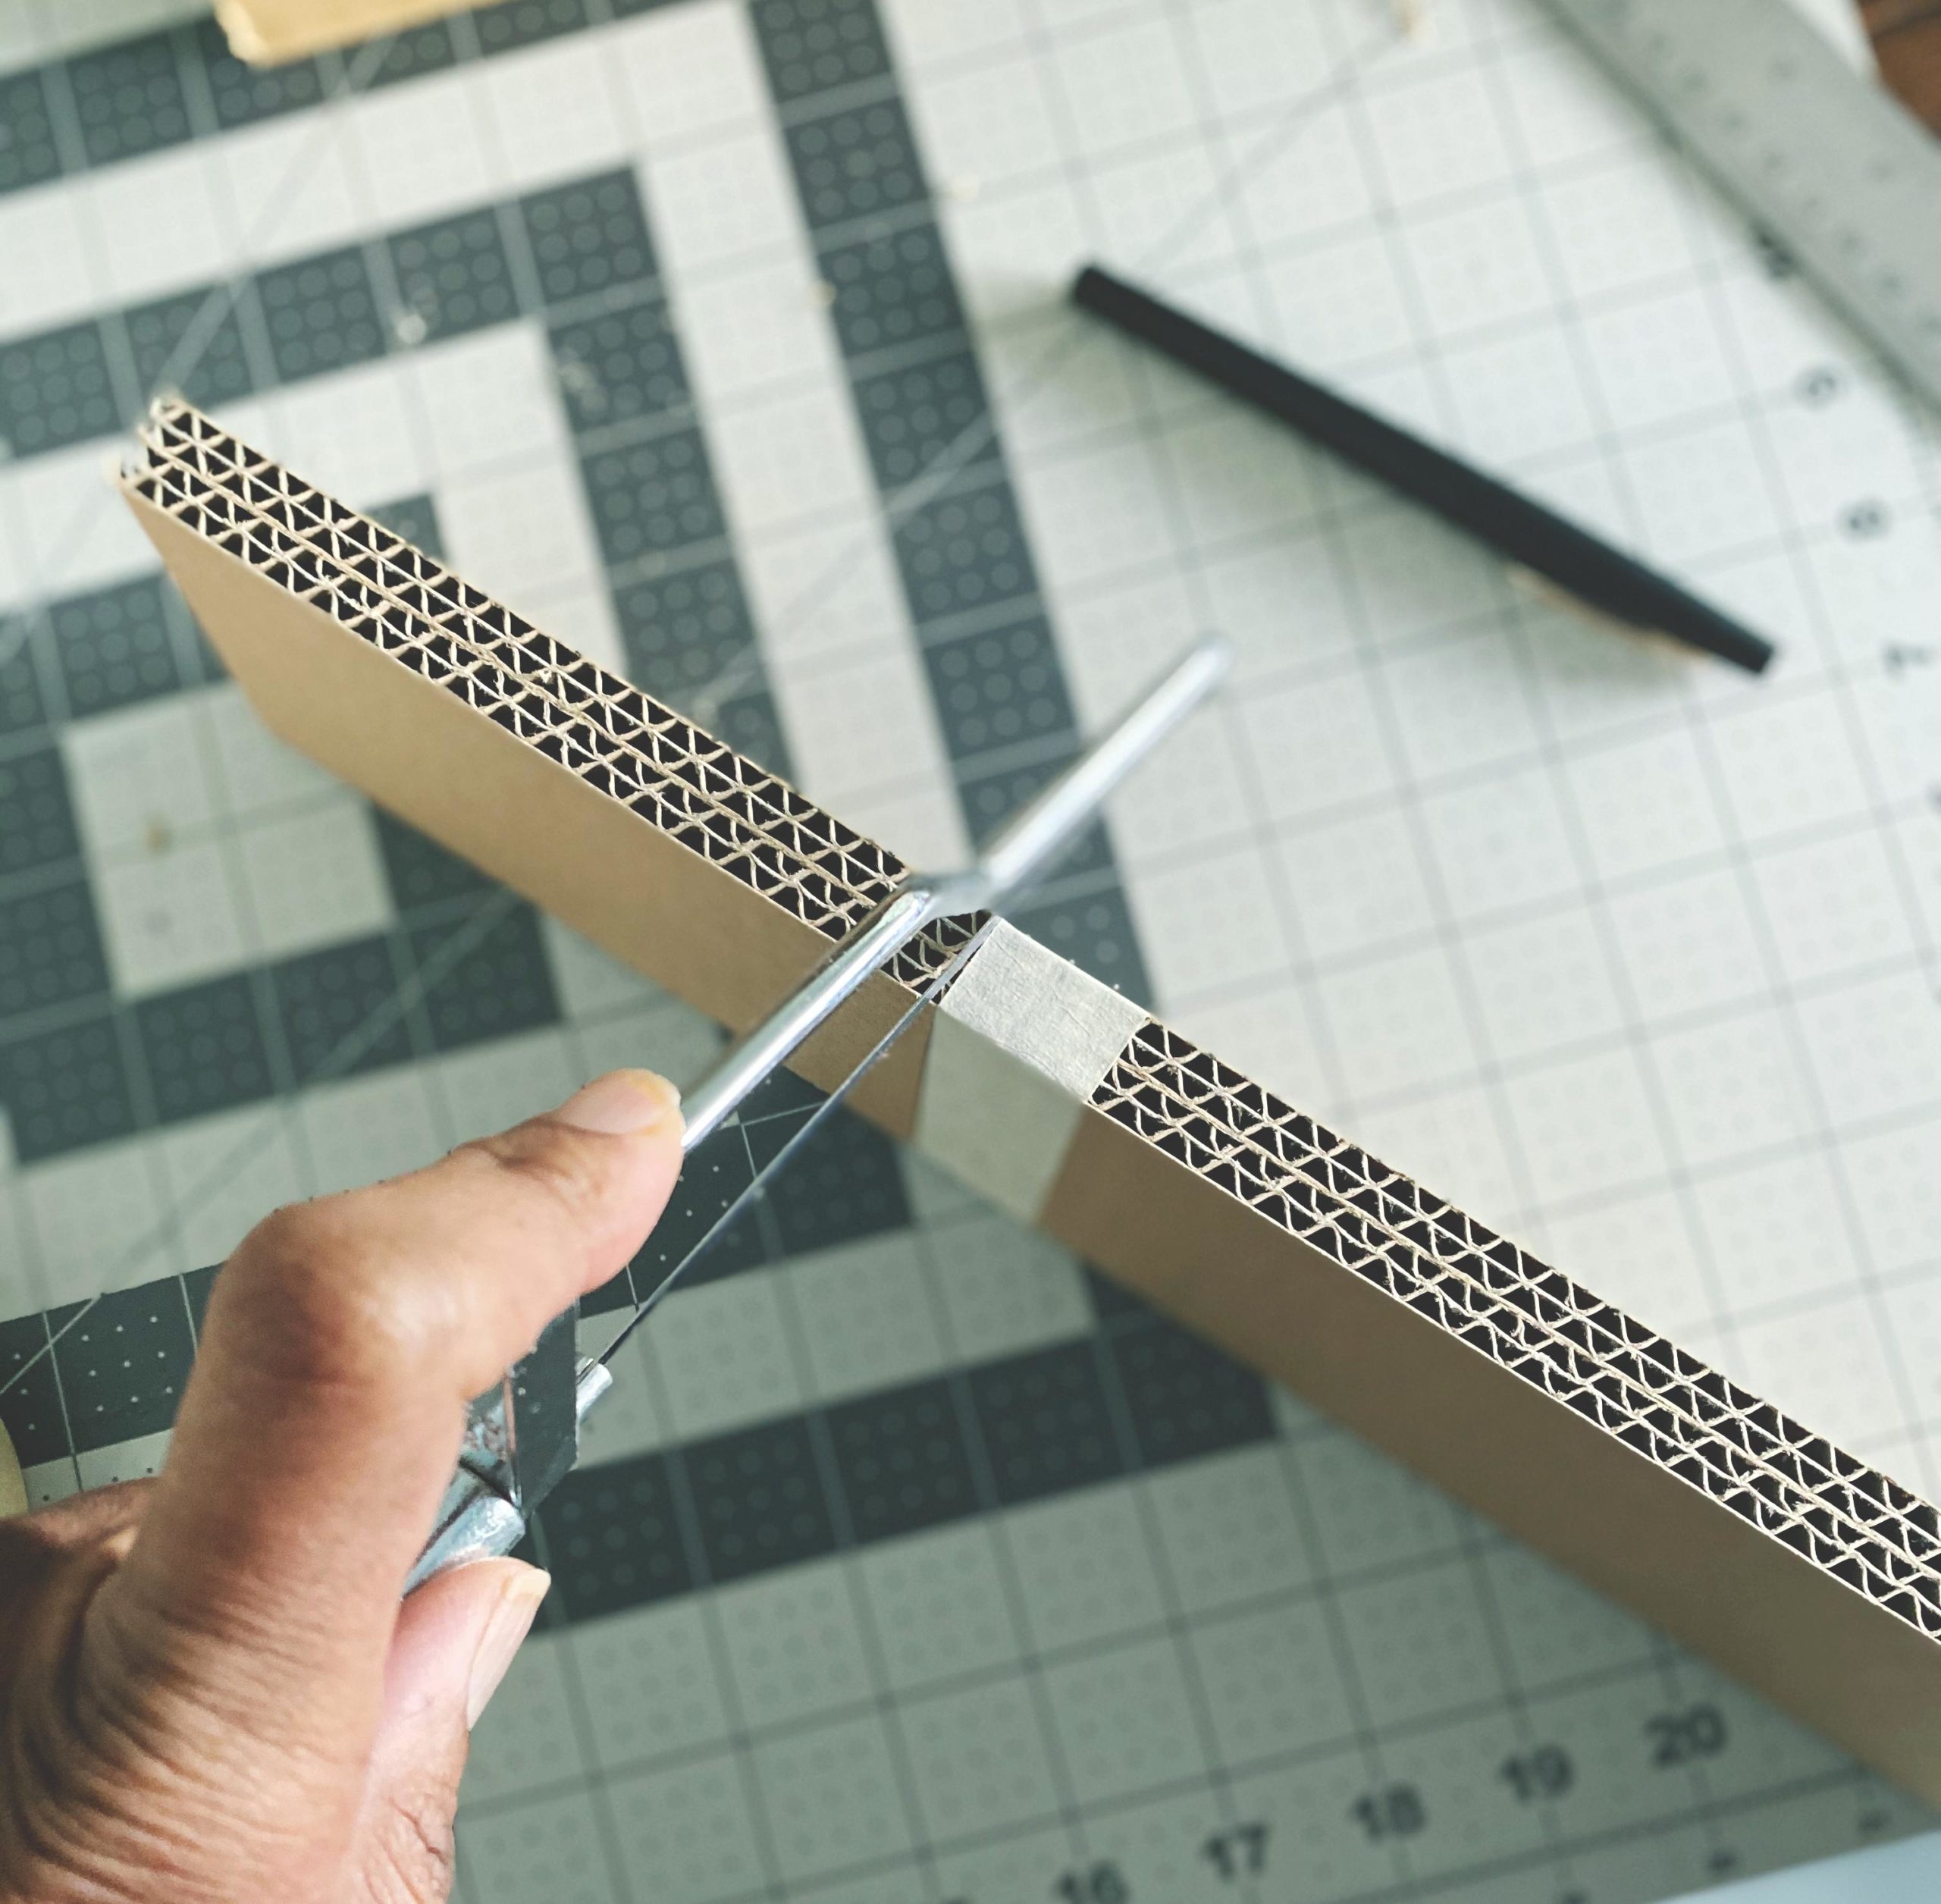
cutting the back support of the structure
I’m only dry-fitting these using sewing push-pins, and not gluing anything at this point because I need to cover (upholster) them before I glue them together. Doing this beforehand doesn’t allow for wrapping the fabric taut and smooth.
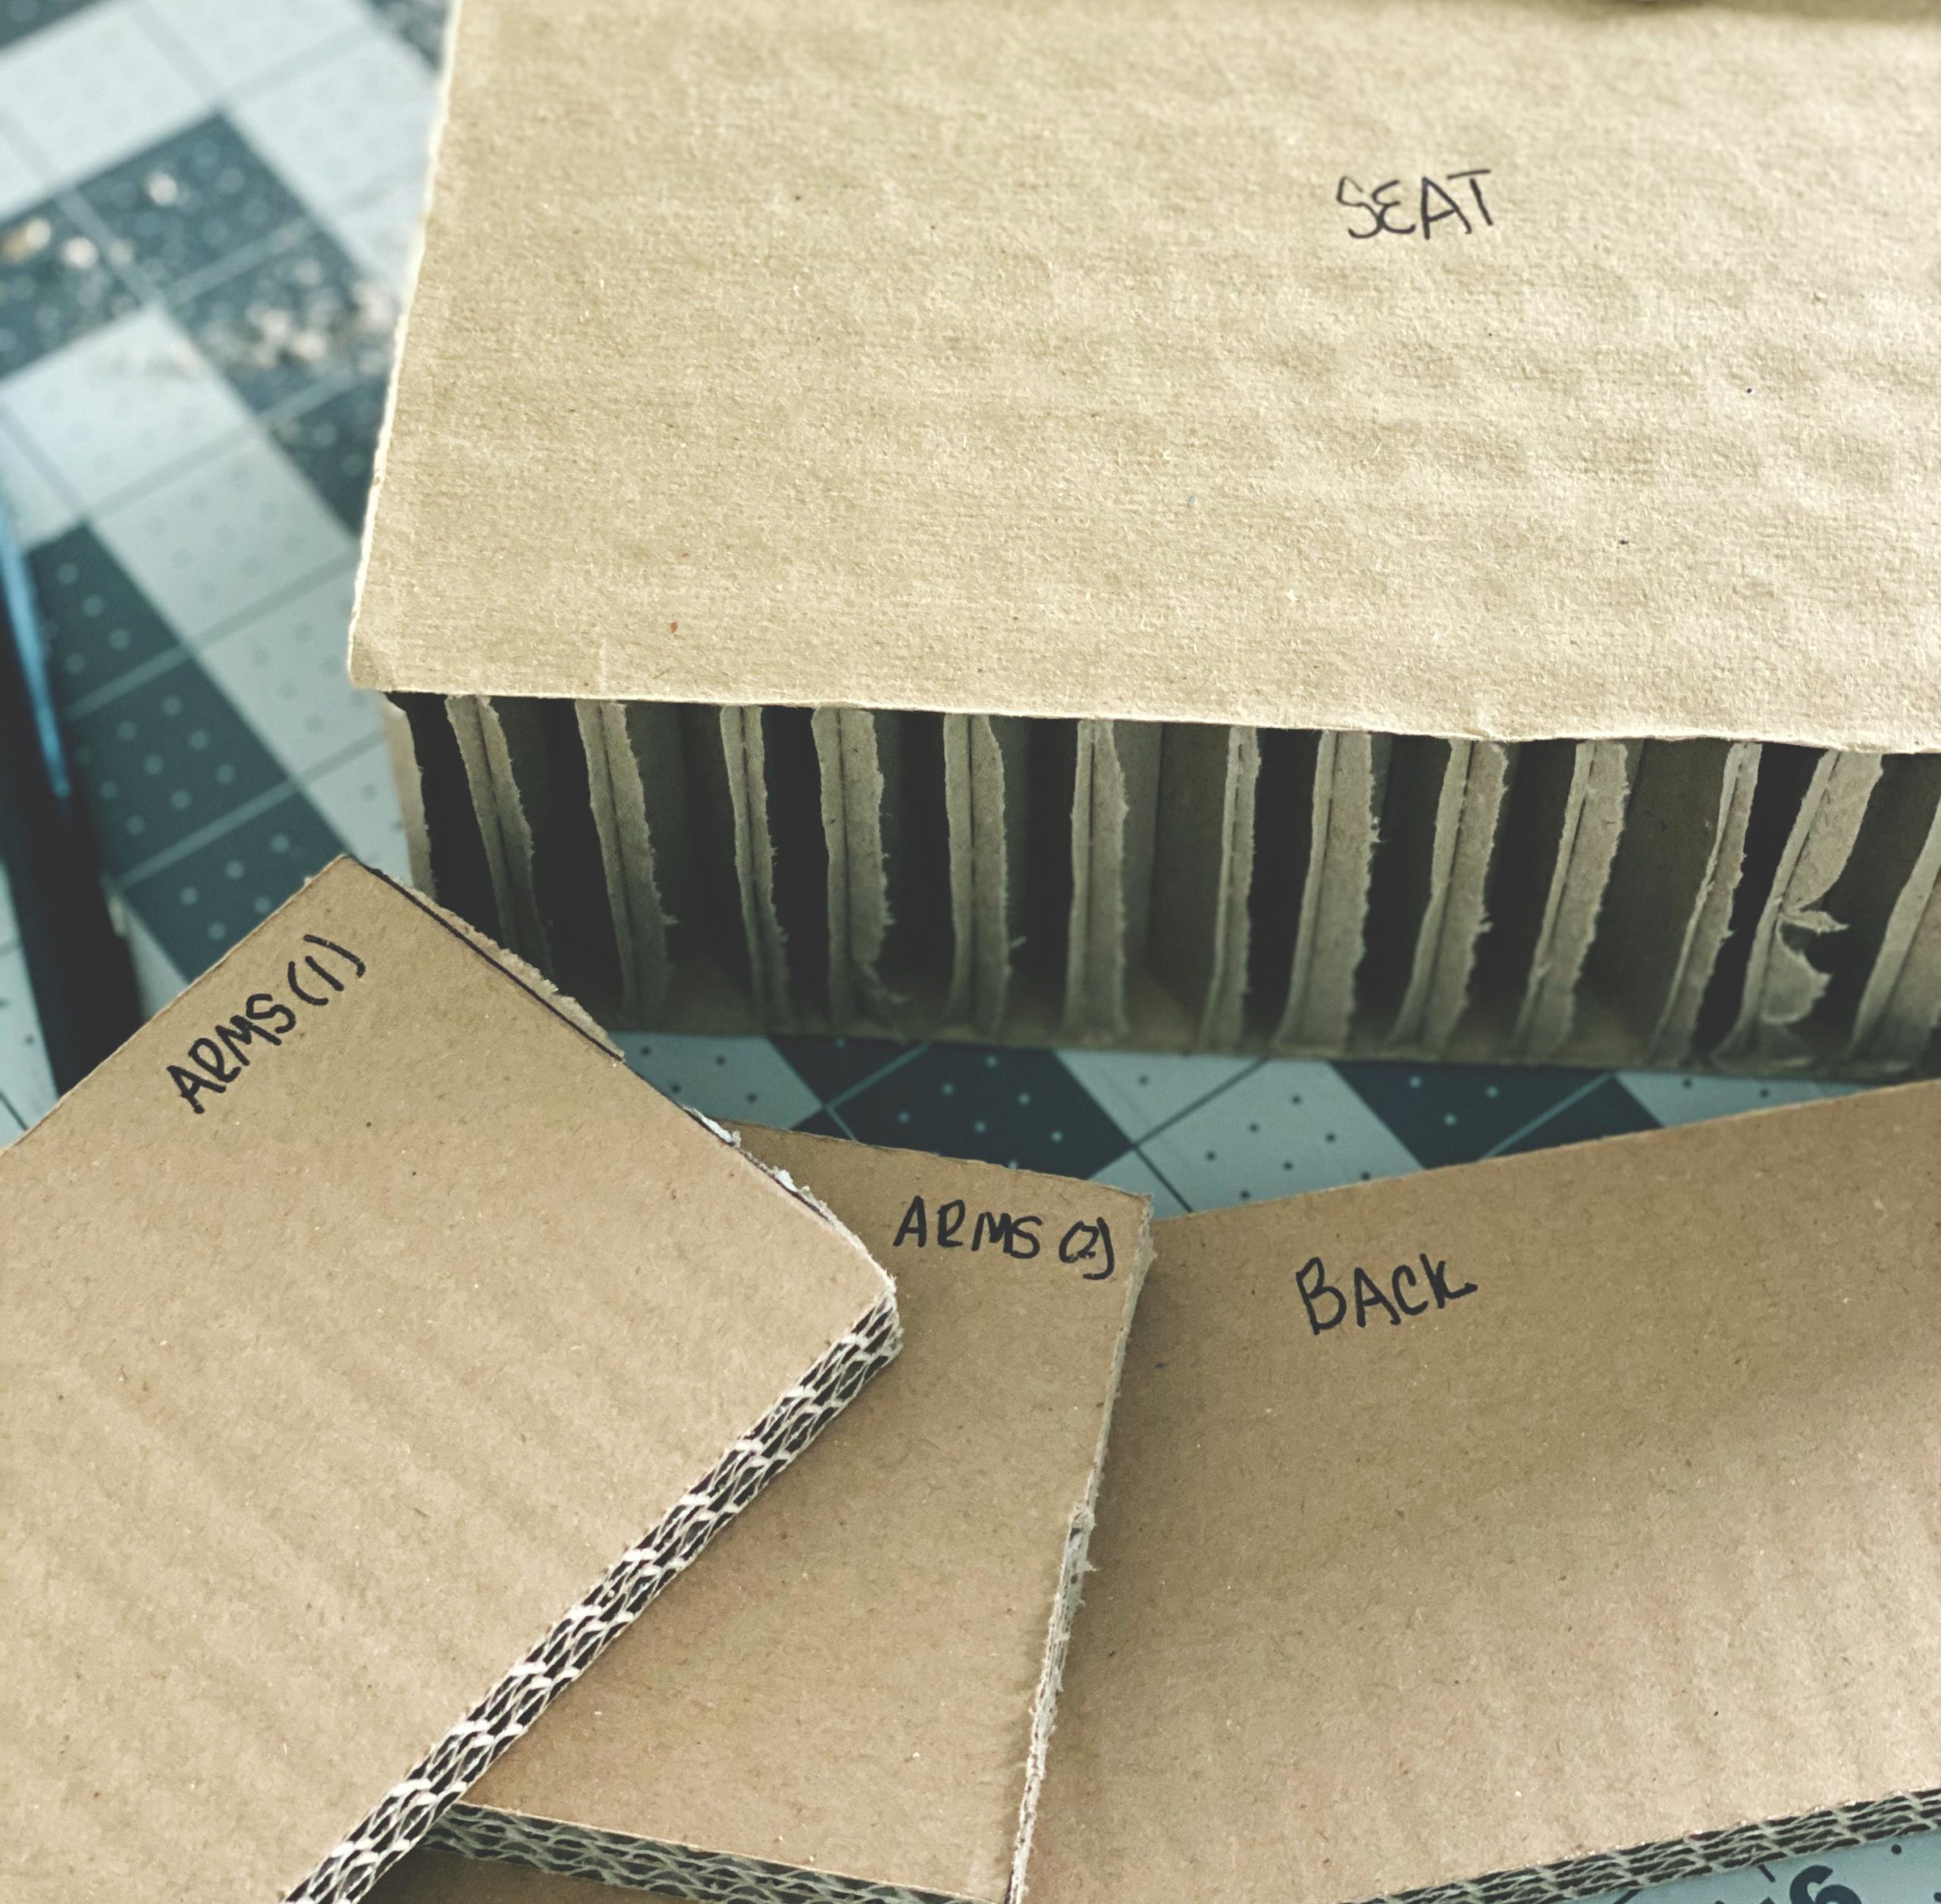
Above I’m cutting the footing, here are all the main pieces
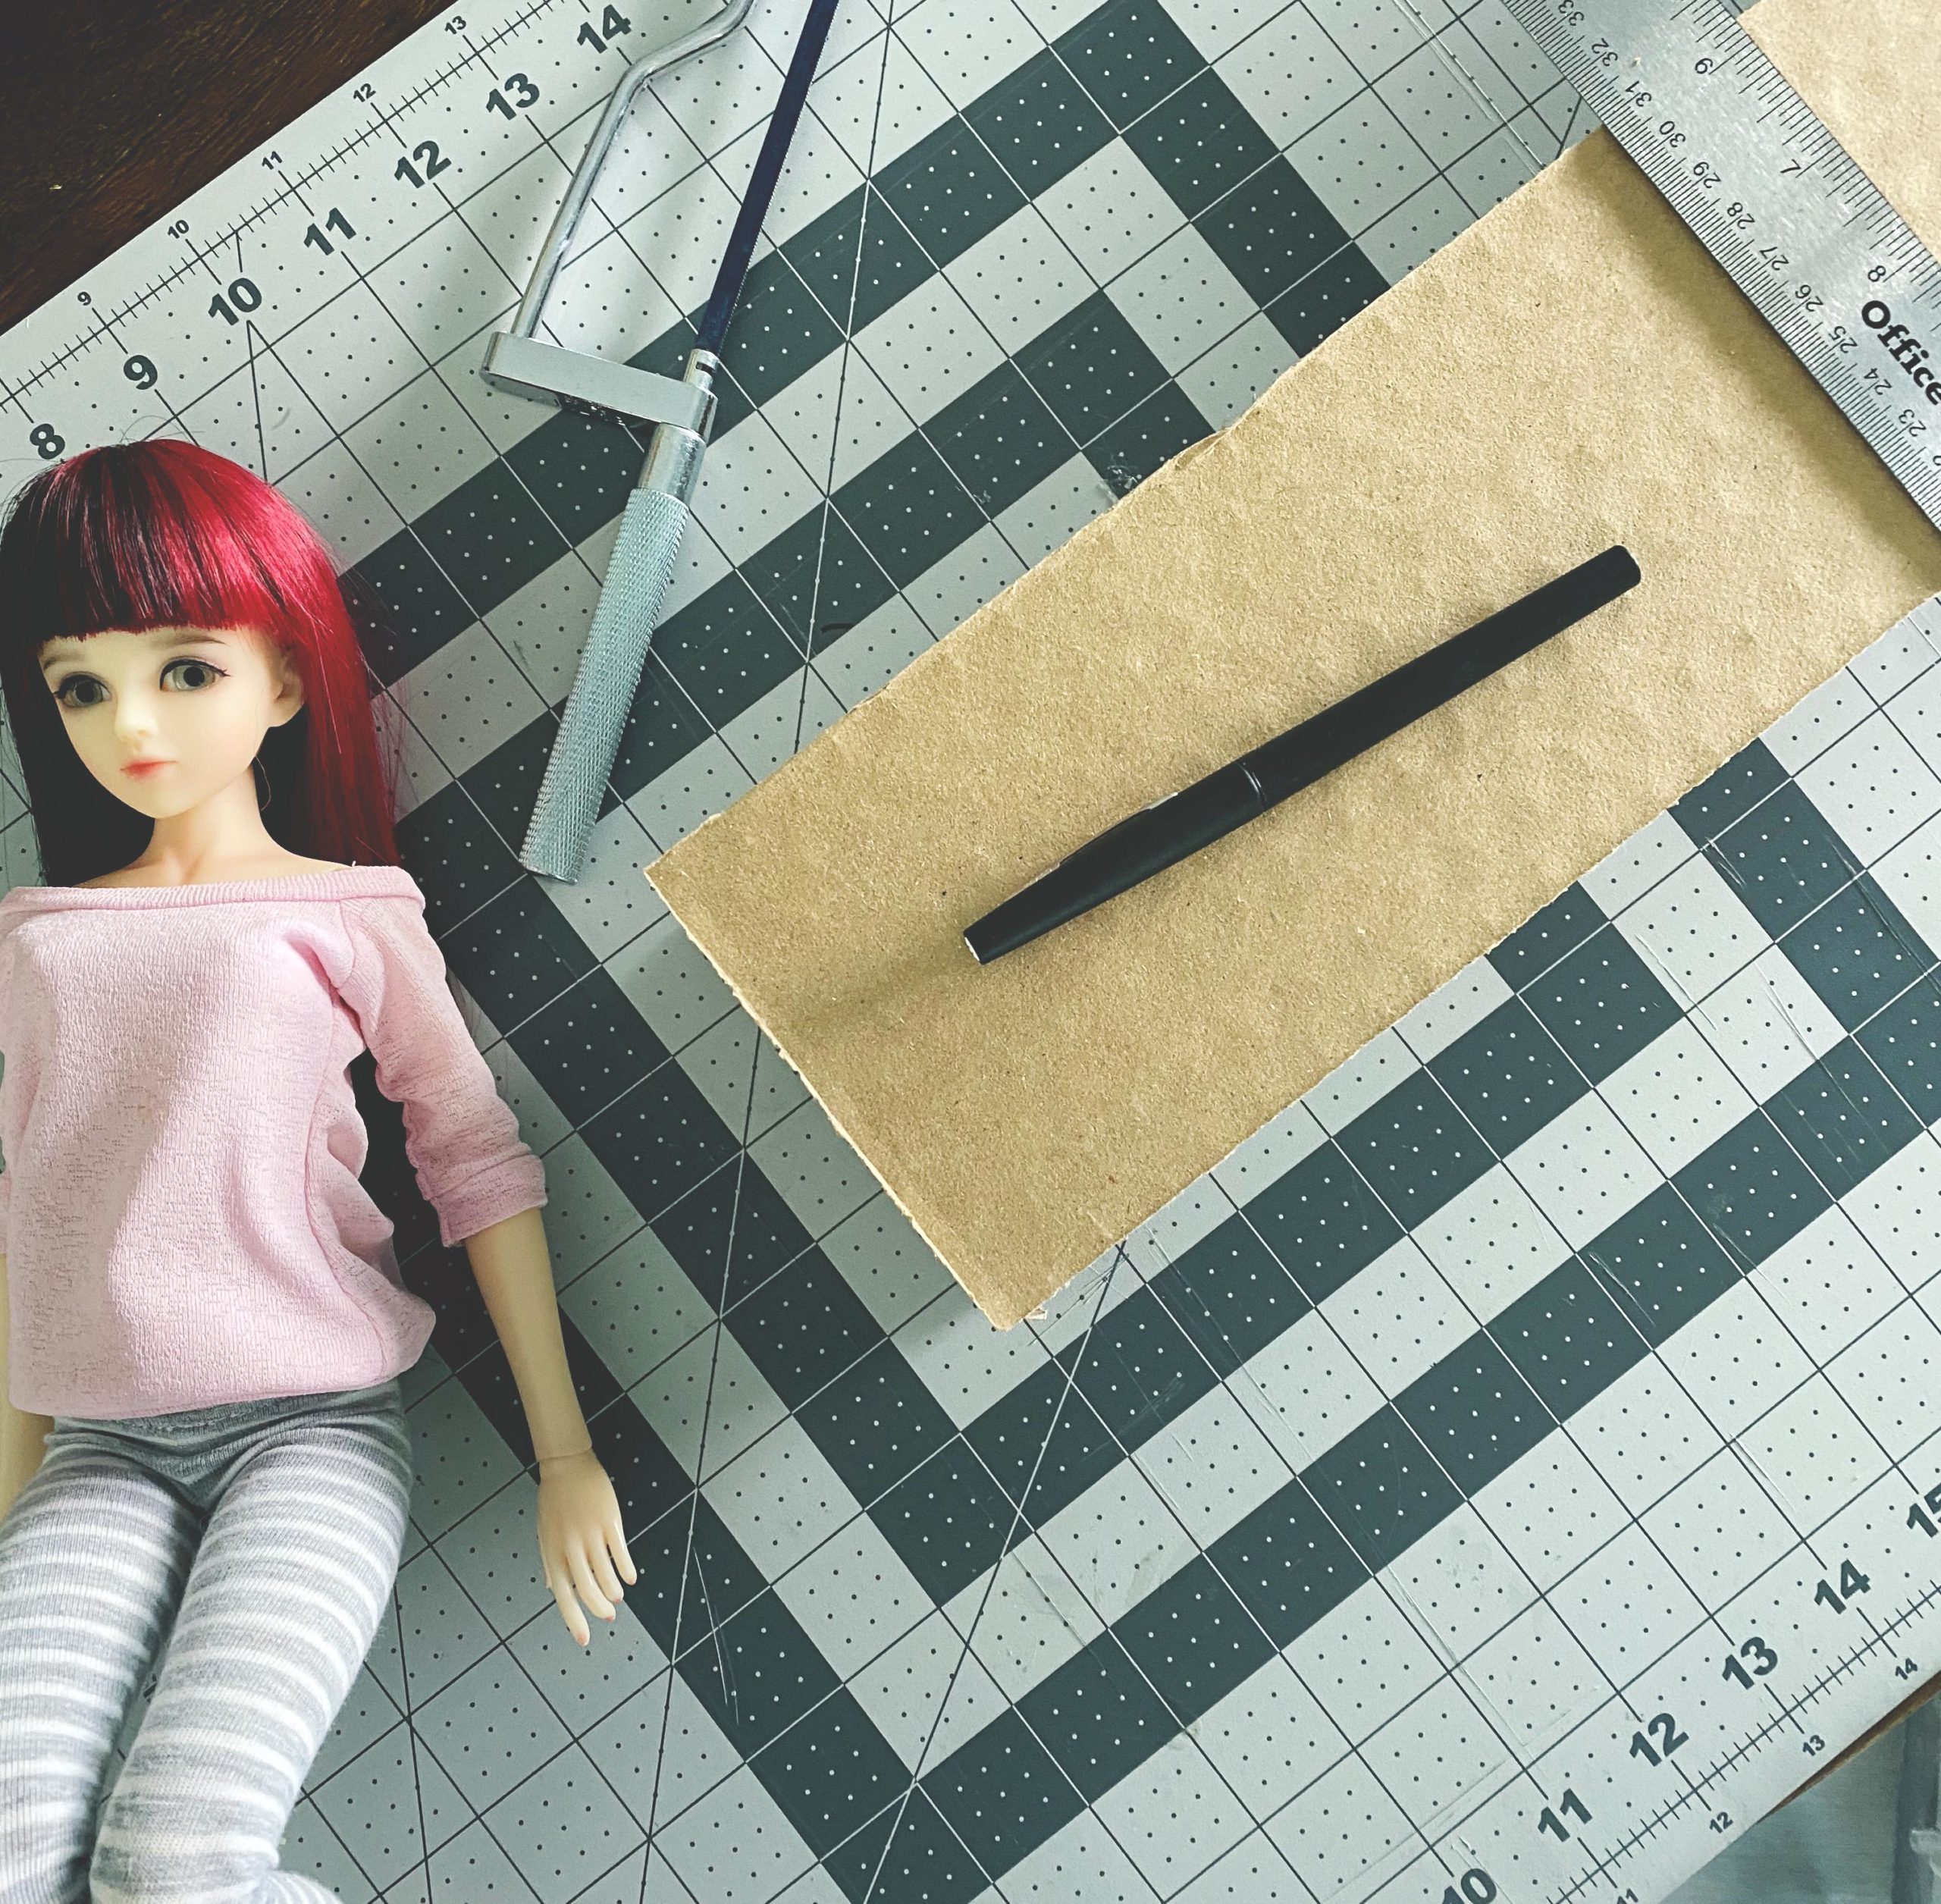
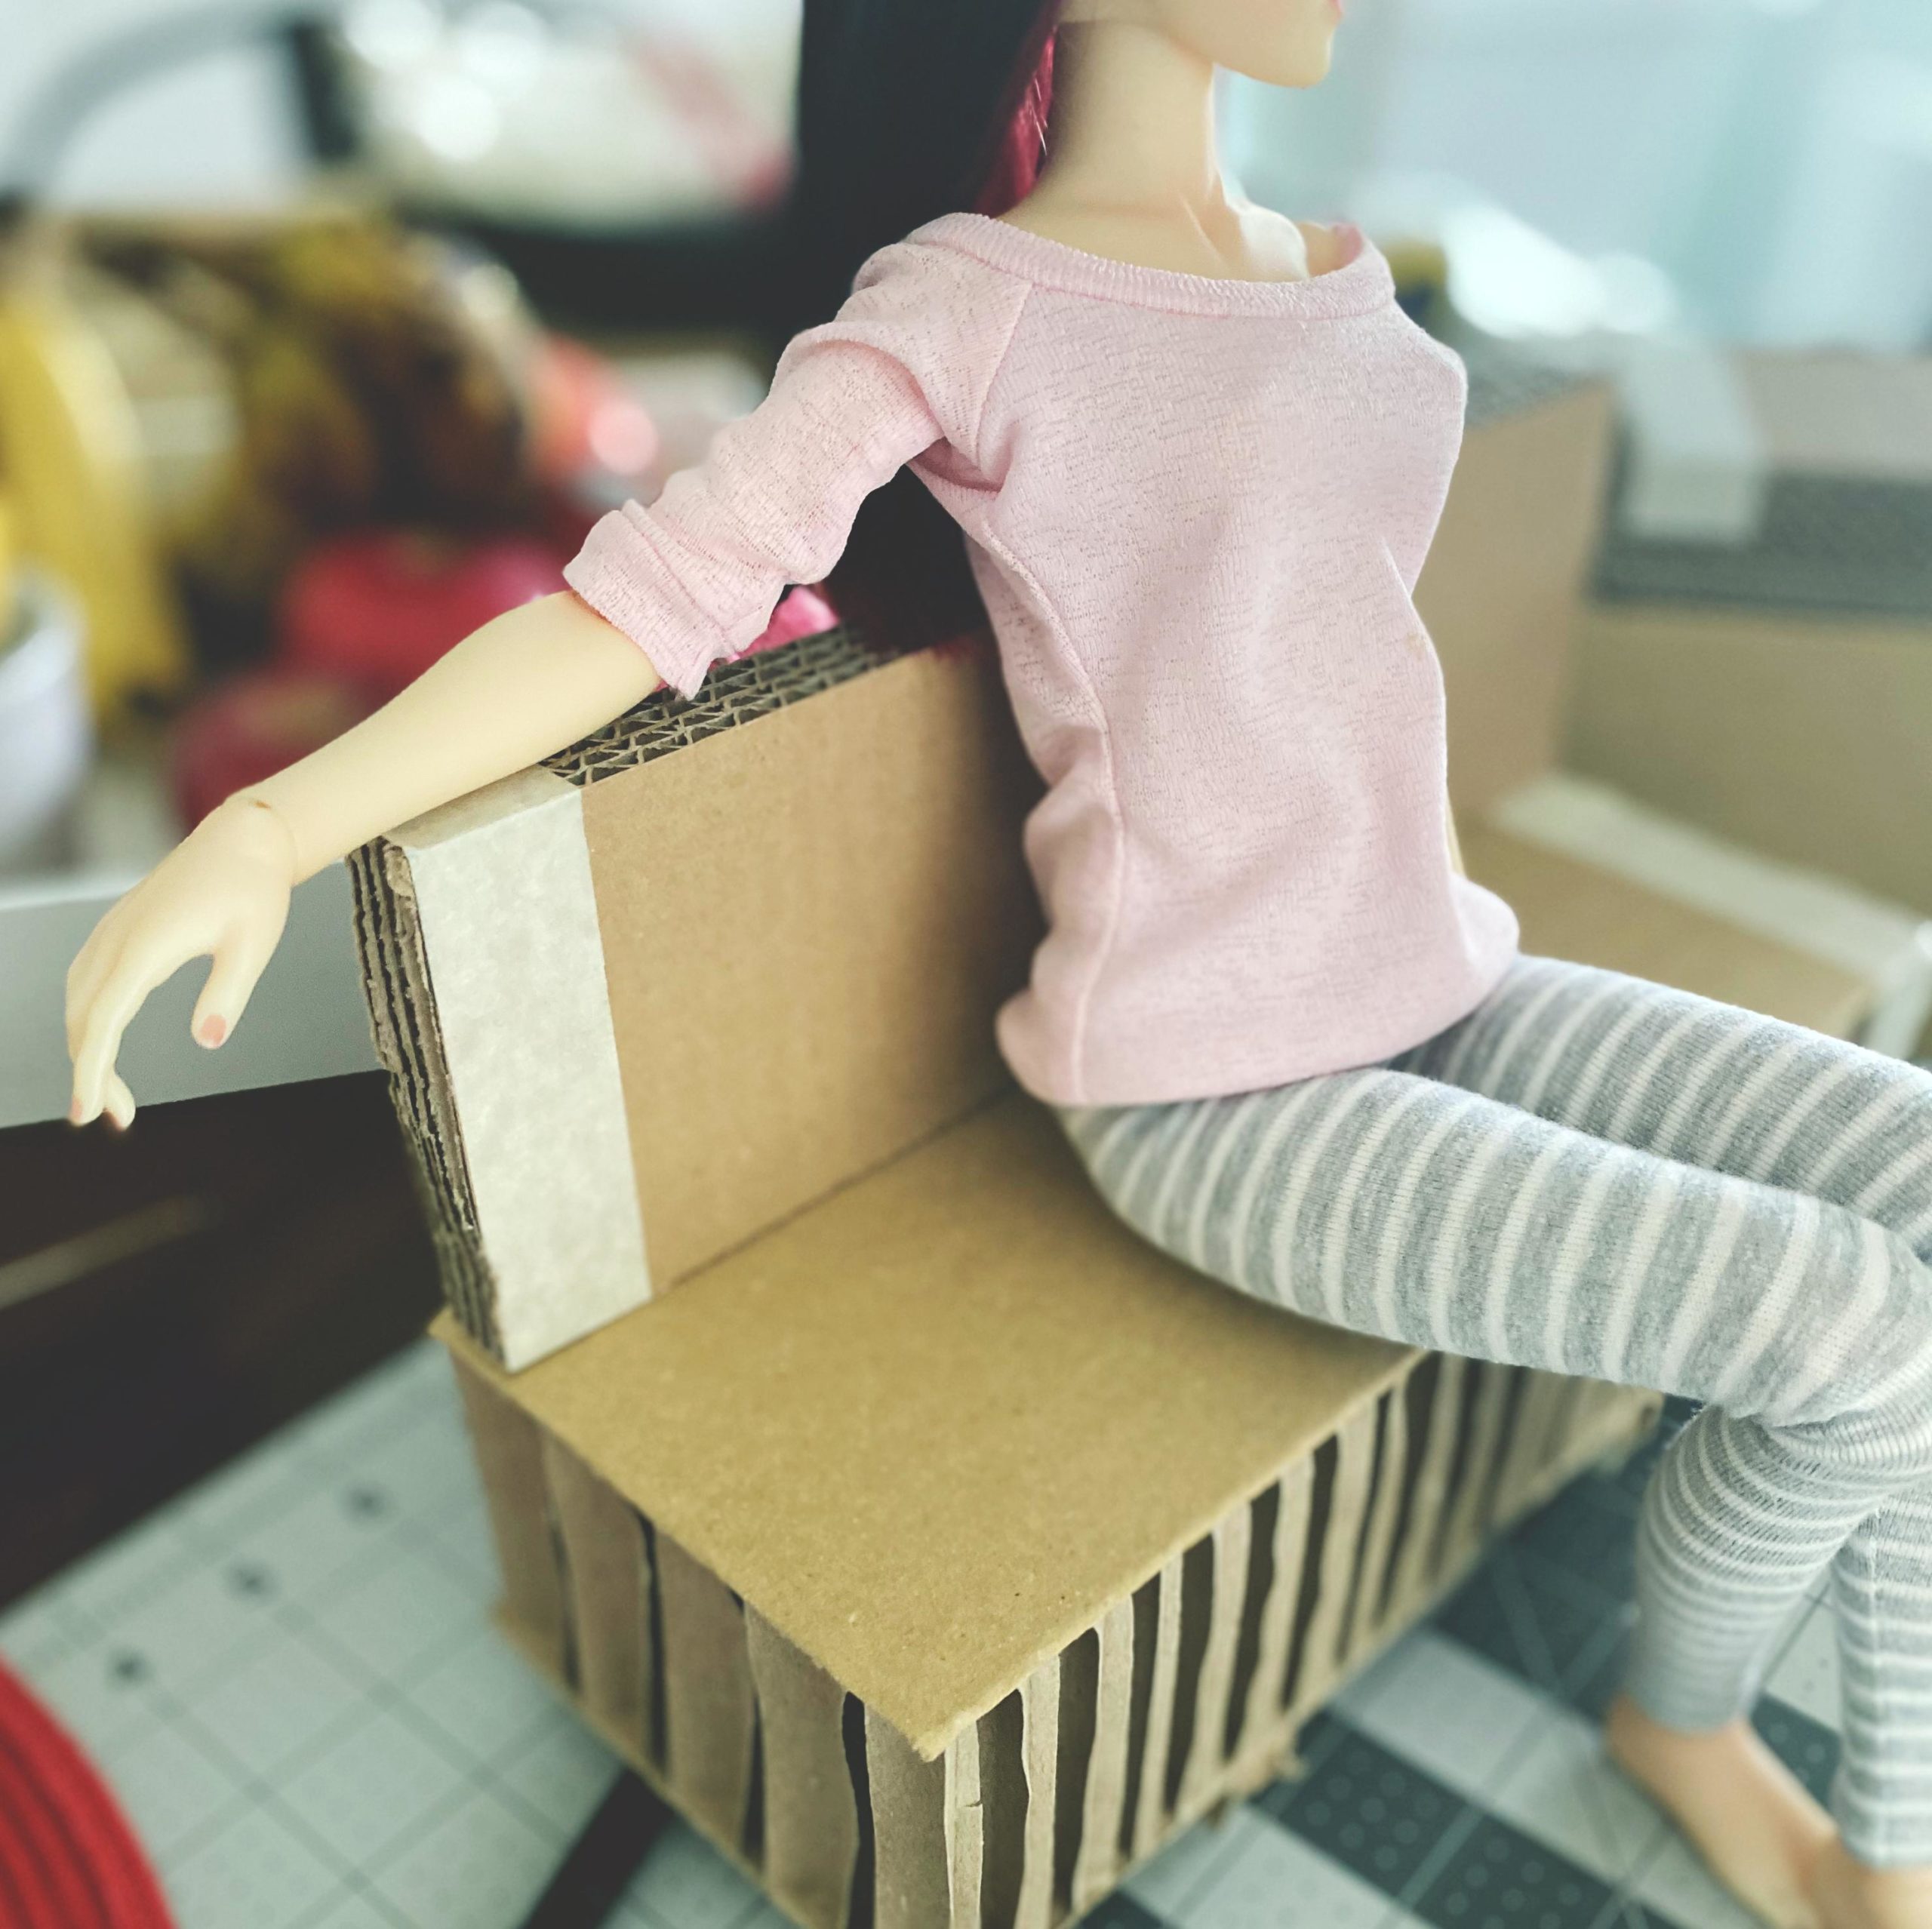
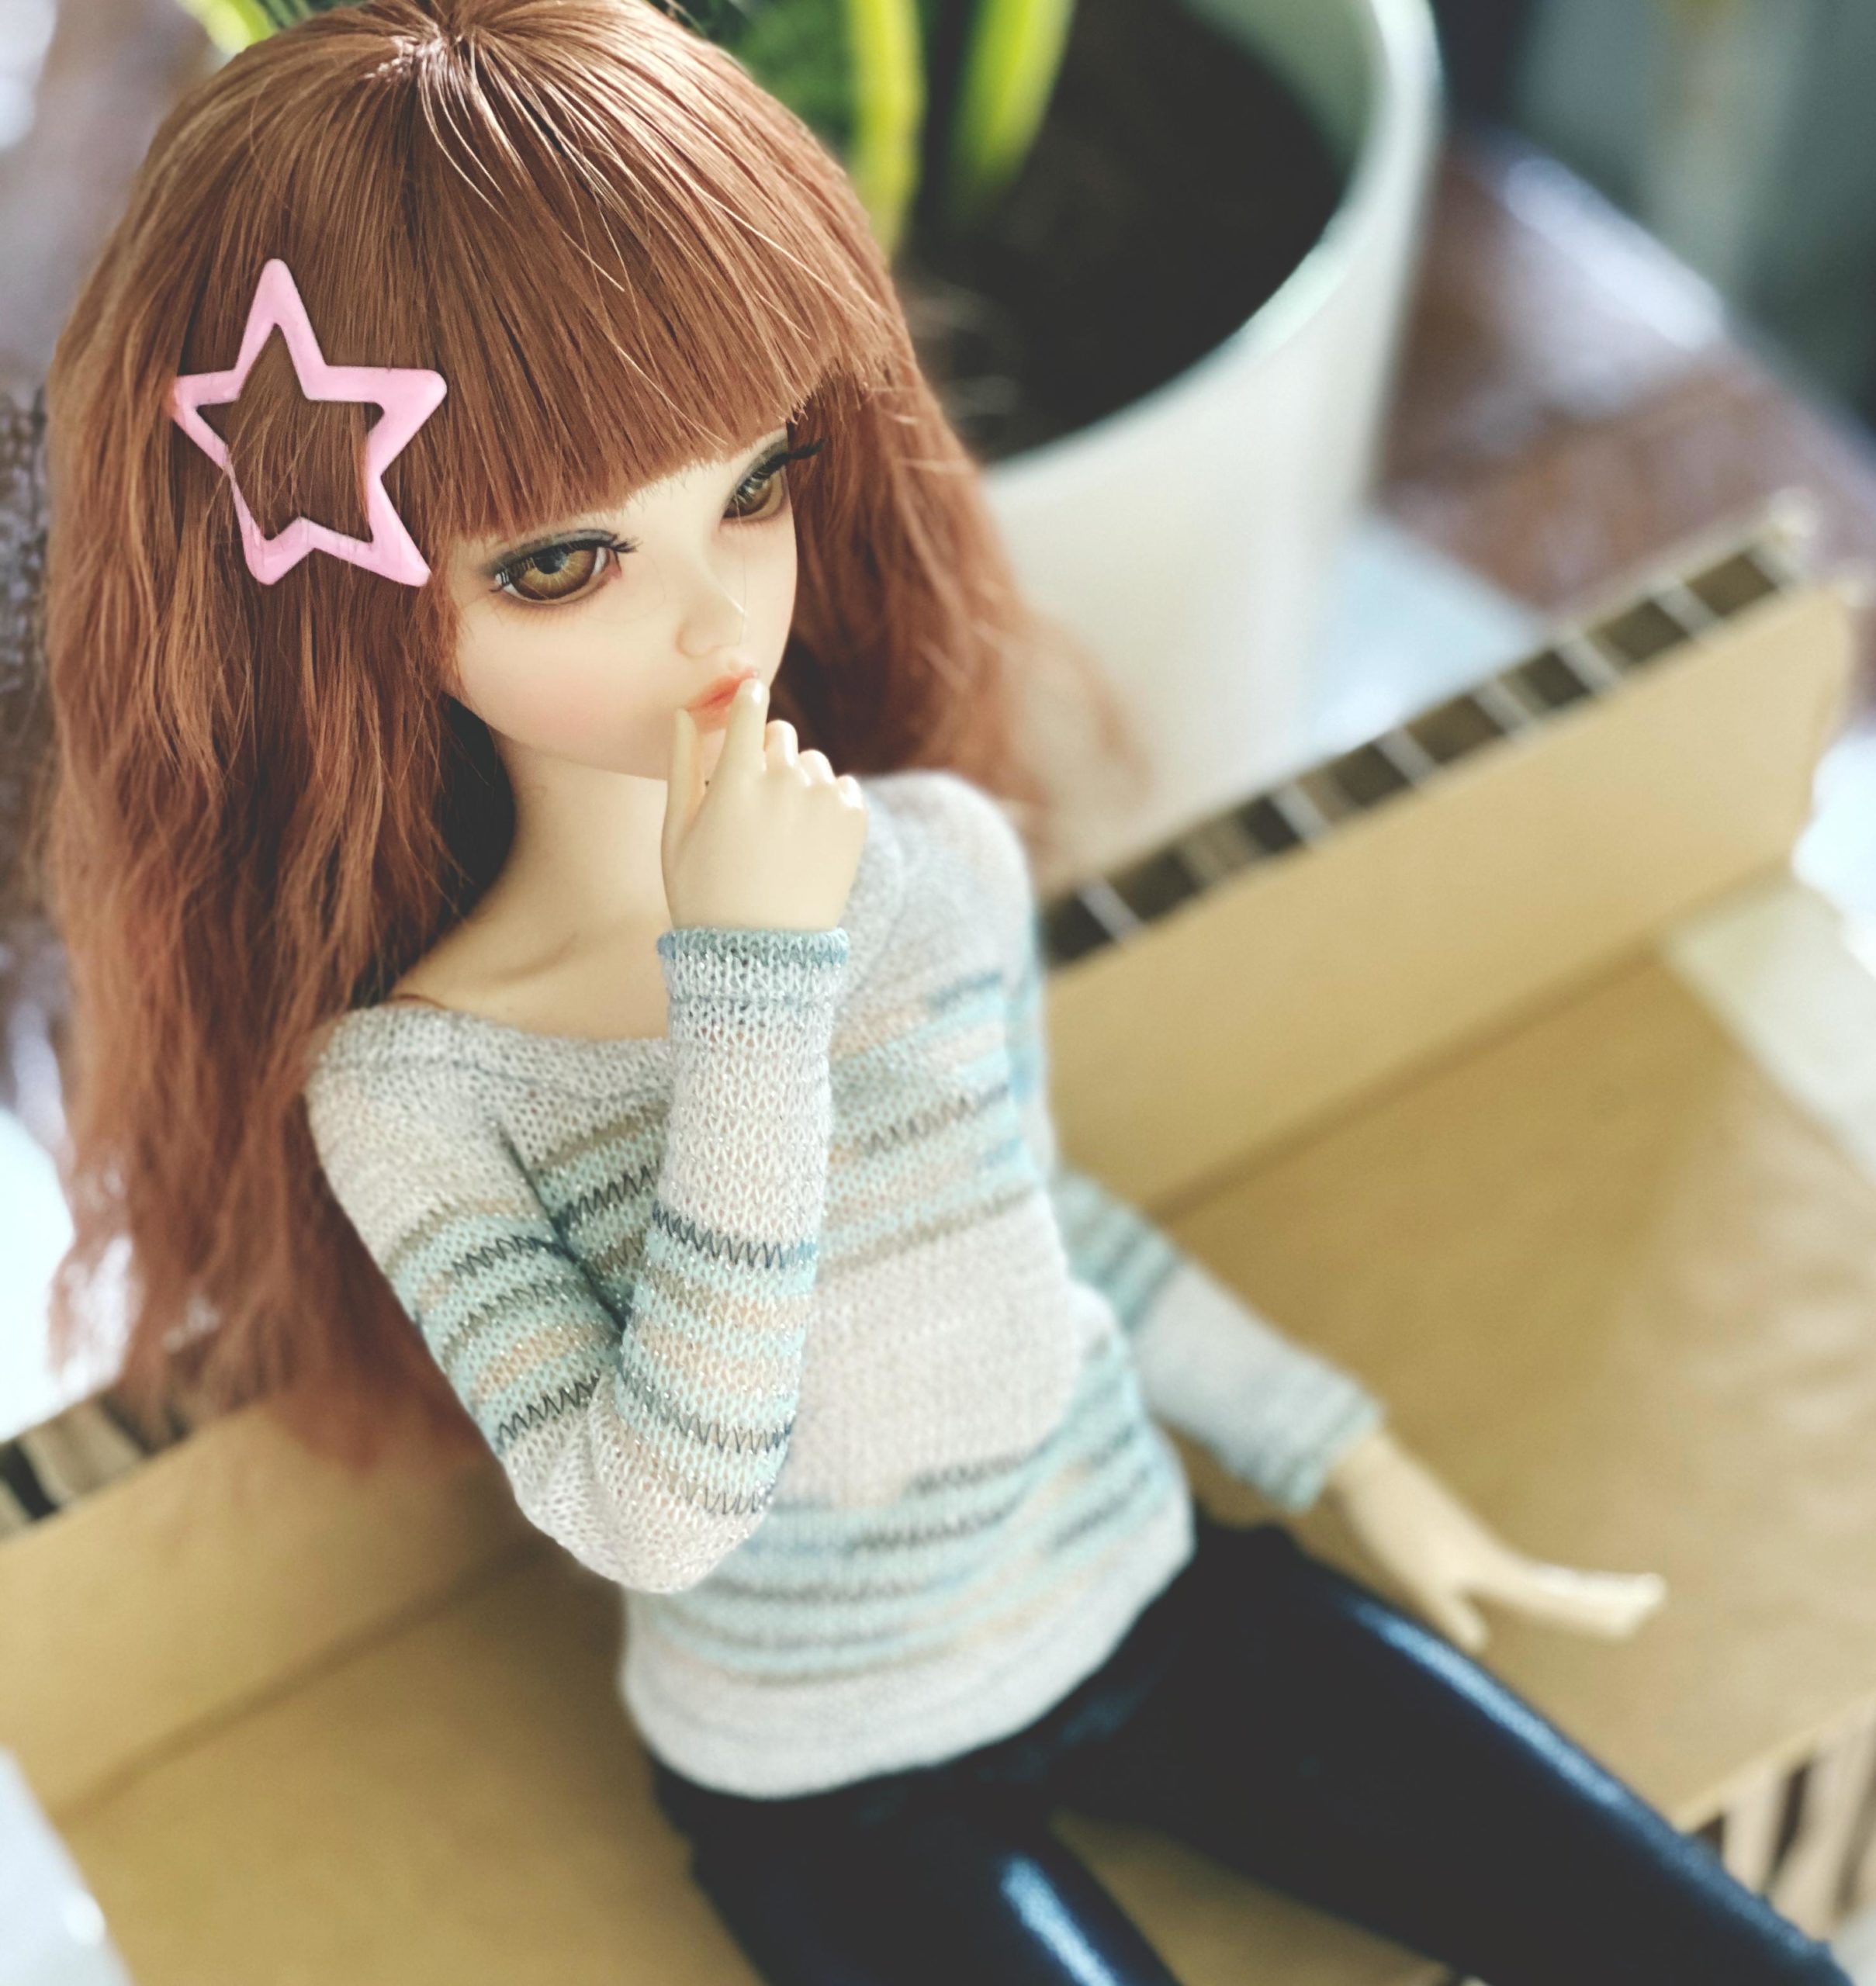
So at this point, I’ve made several cuts and I’m taking it apart, putting it back, and using one of my dolls as a reference. Since their bottoms are larger than the average doll (LOL…I have BJD’s so their average height is 16.5 inches … Barbies are 7.5), I want to make sure the bottom actually fits the doll.
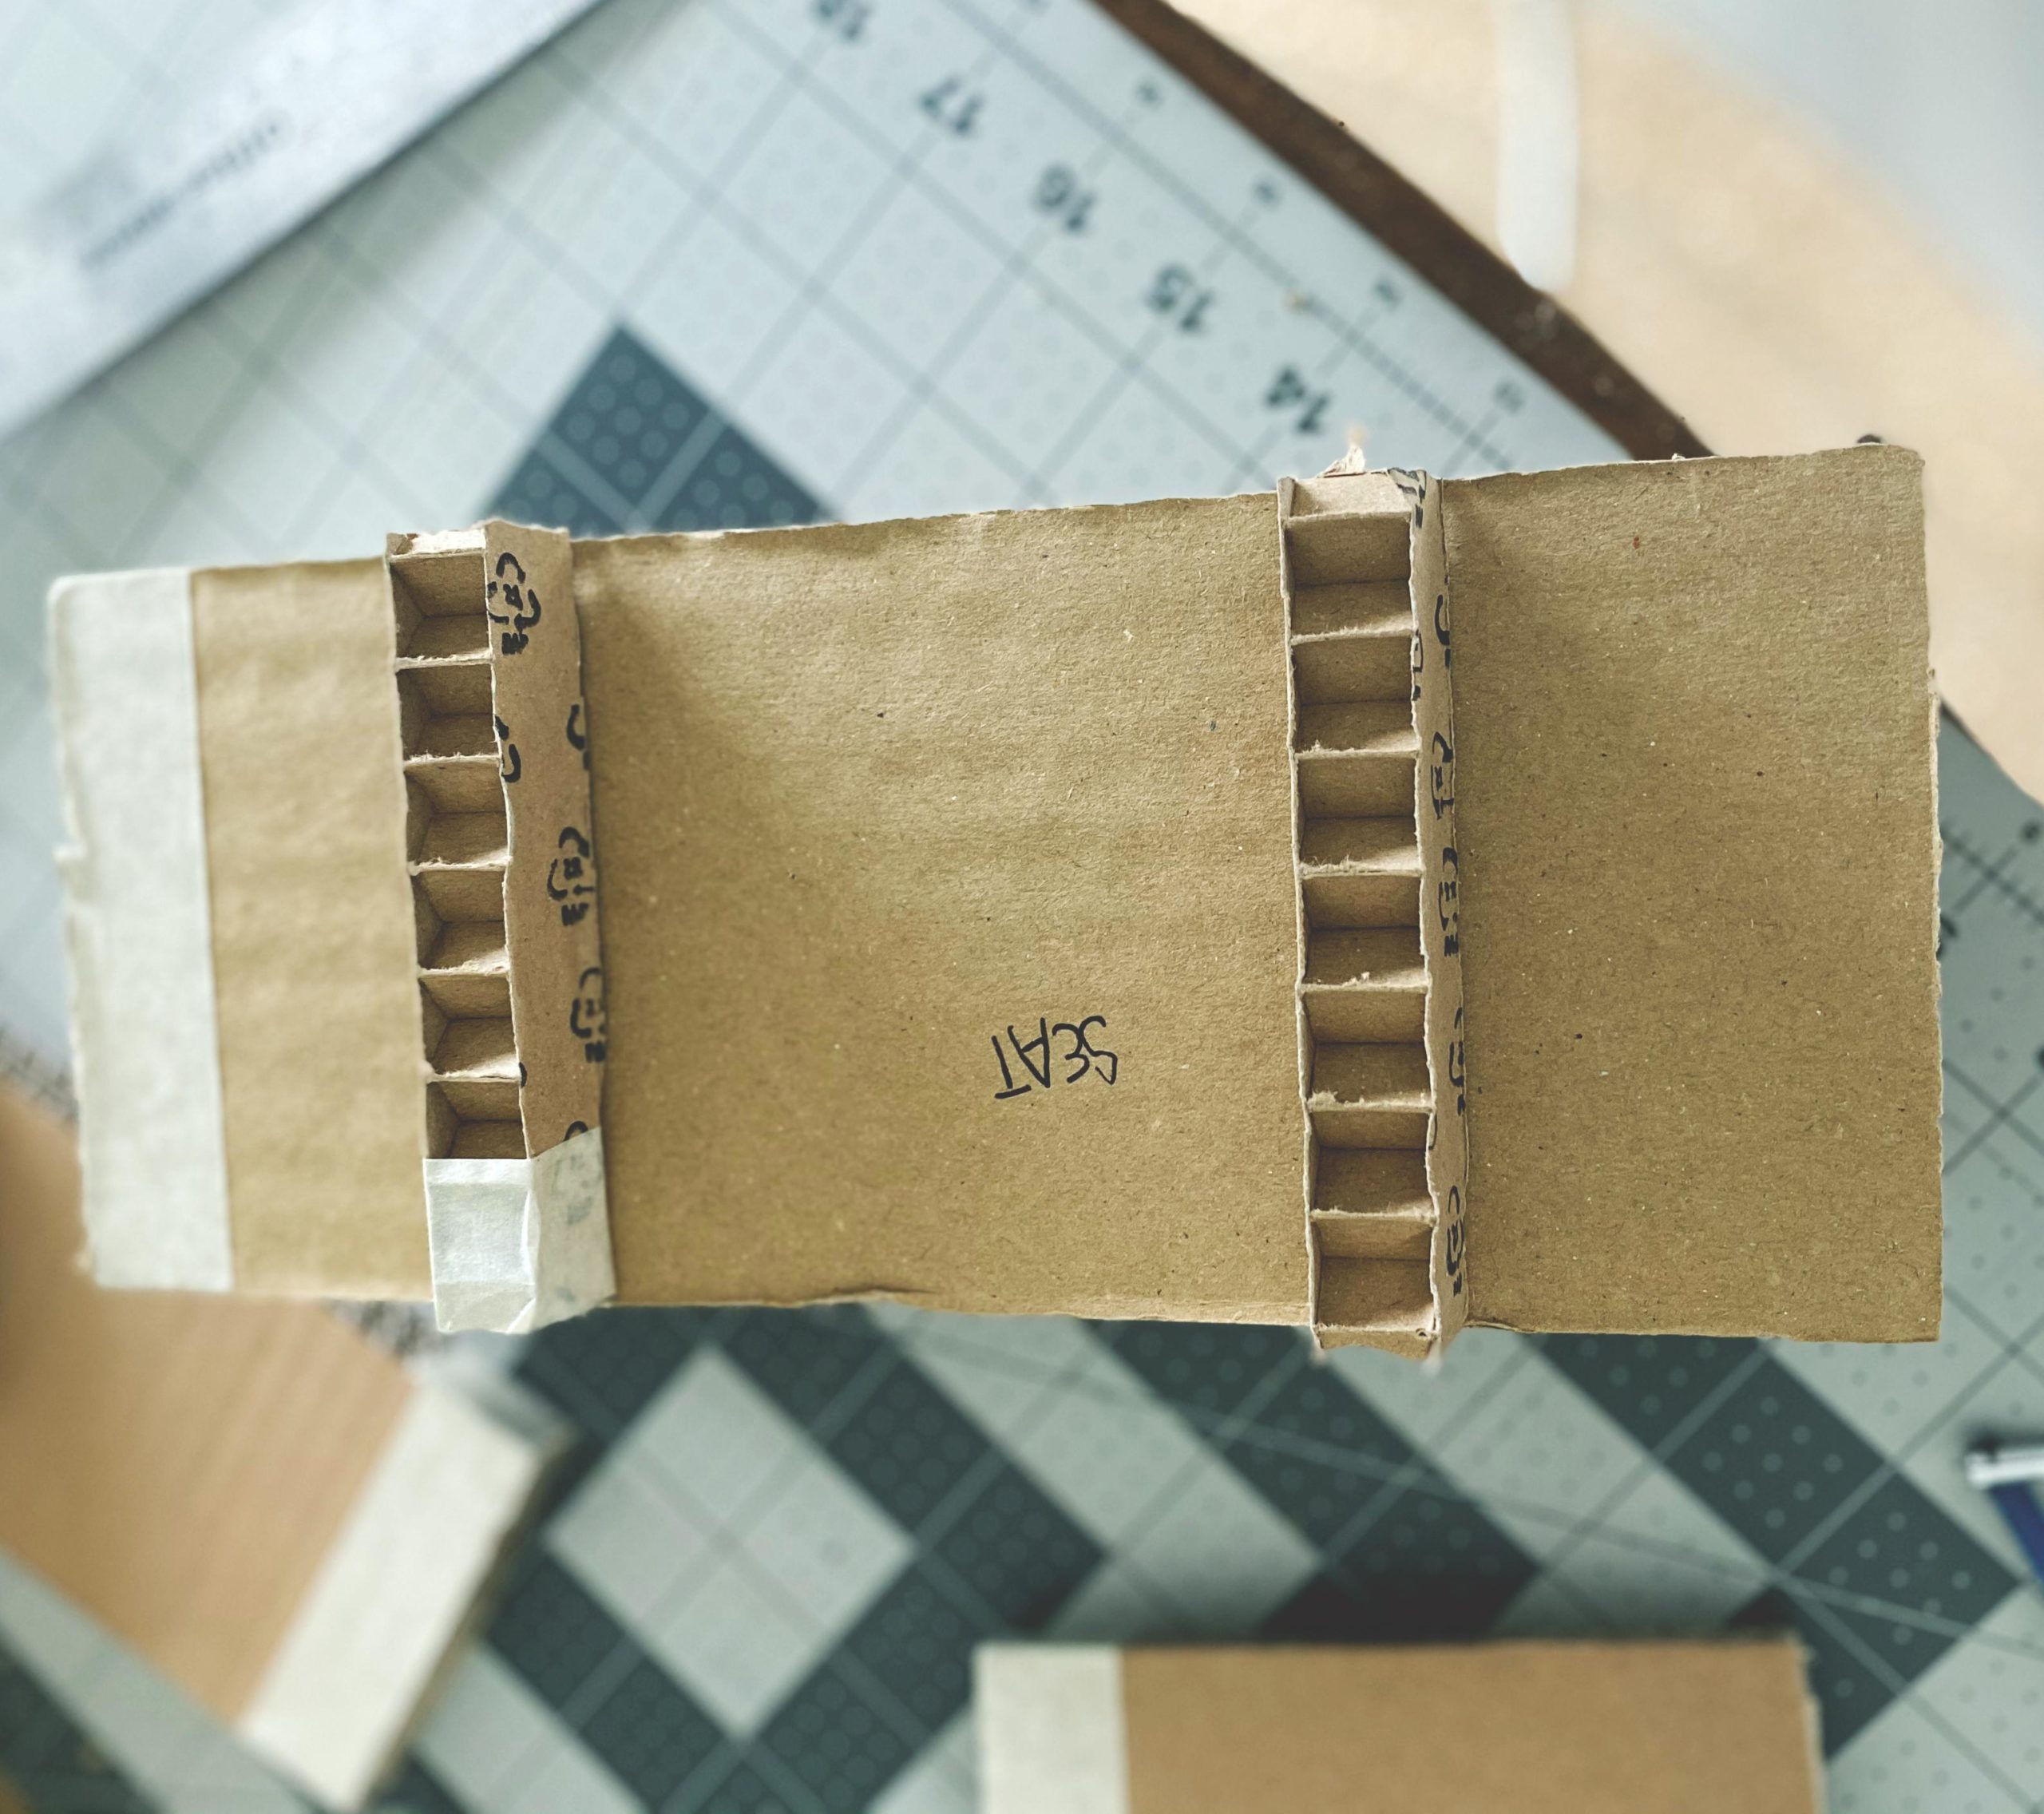
So after a day of tweaking, I have my basic shape. I’m also omitting the arms because I can’t get the shape quite right and I think it will look better when it’s done without them.
The Final Shape
Now that I have my basic shape to work with it’s time to add the batting and the fabric. It’s almost like wrapping a gift except it needs to be just about perfect. UPDATE: Of course you know how shipping goes, and my faux leather fabric just shipped and is not arriving until the weekend.
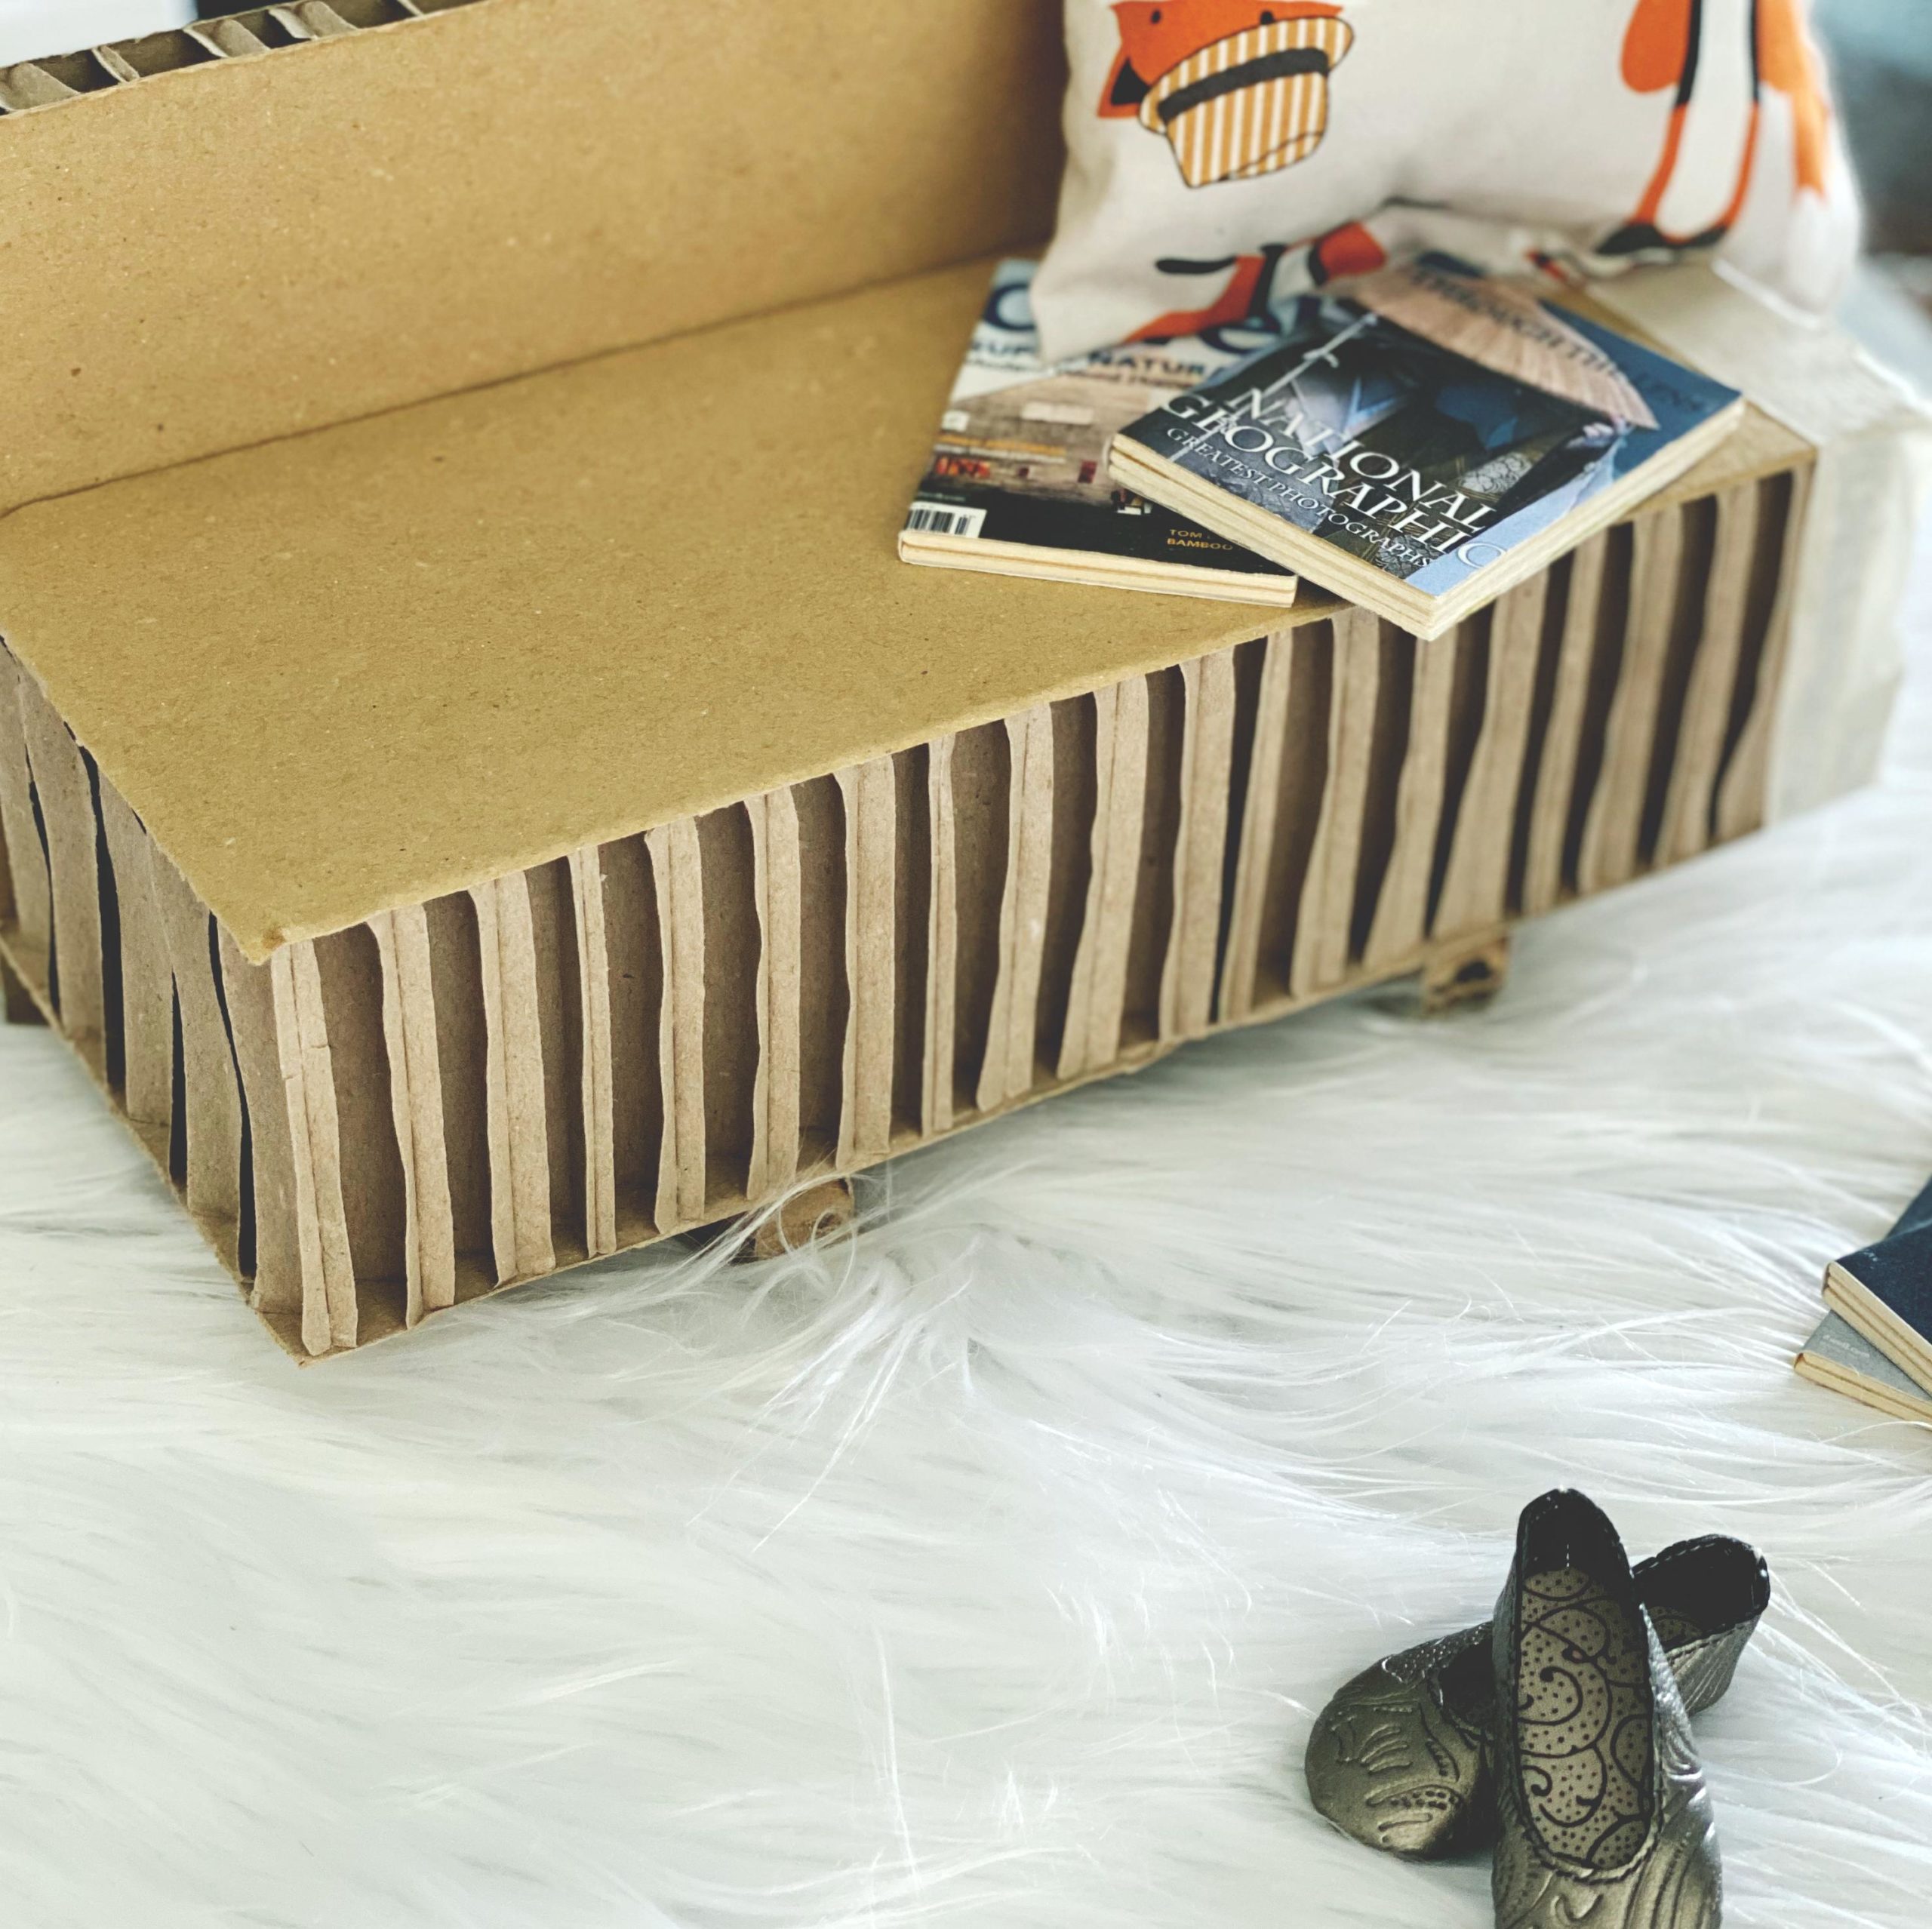
structure staged
I modified the bottom of the structure so the back support goes all the way to the bottom. I may have to adjust the feet to 3-pieces vs. 2.
So next week will be Part 2 when I complete the upholstering of my miniature and fit it into their little space. I’m also adding back pillows, that I can make using fabric glue. It’s so exciting!
Backdrops For Your Photography
Staging pictures for your finished project can be a pain, and find the right background, and lighting can add to those issues, but I’ve got an easier way. I purchased this marble background from Ink & Elm a few years ago, and it’s not as expensive as you think.
So if you’re looking for backgrounds for items your selling like jewelry or backgrounds for those dishes you make and you want to post on your social media then check out Ink & Elm. They have hundreds of styles in assorted sizes and they start at about $14.95.
Here are a few images (I use this background whenever I stage) where I’ve used the Ink & Elm Backdrop, in the marble print.
There is no gallery selected or the gallery was deleted.
With that, I’ll end my post today. Are you making something this weekend? Heading out of town? Share it in the comments section. I hope everyone has a great weekend, and stay safe amongst the chaos. — Peace
Don’t forget to like, comment, and subscribe!
Check out my other DIY’s and Up|Cycles
Clip art for infographics | Canva
Discover more from
Subscribe to get the latest posts sent to your email.
Oh no you even have the miniature magazines. Yes! I love it. Maybe a miniature cup of tea? ?
LOL! ? I’m working on it.