
Hello friends and welcome to the blog today.
I hope everyone had a fantastic week, because it went by in an Wonder Woman twirl. It’s been busy, it’s been strange, but it’s been productive.
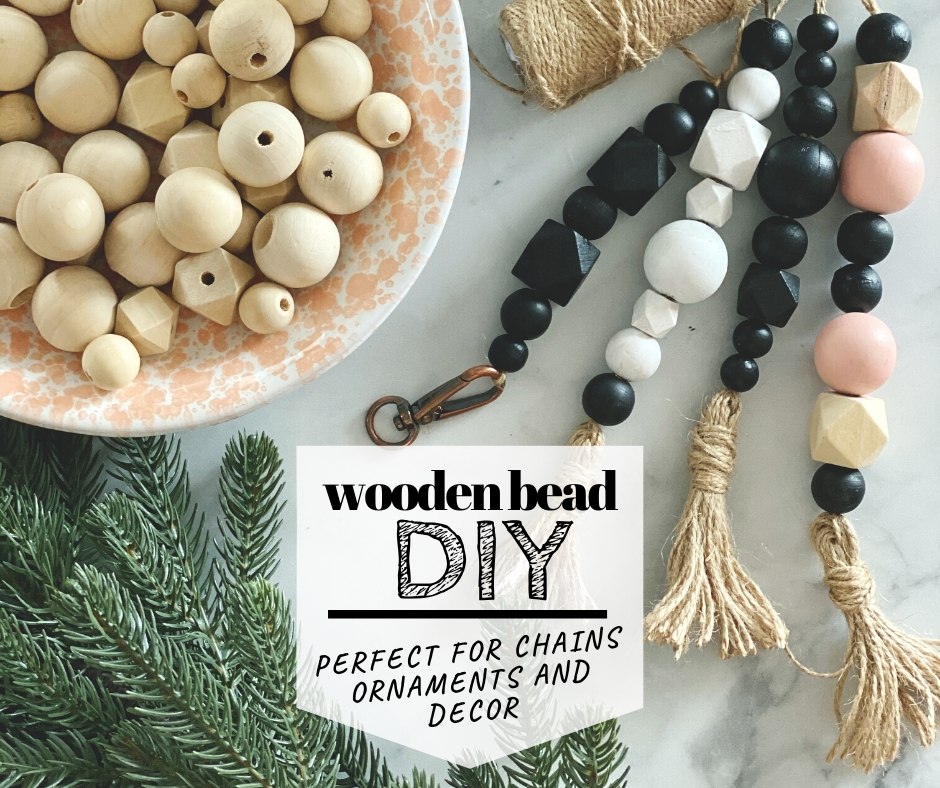
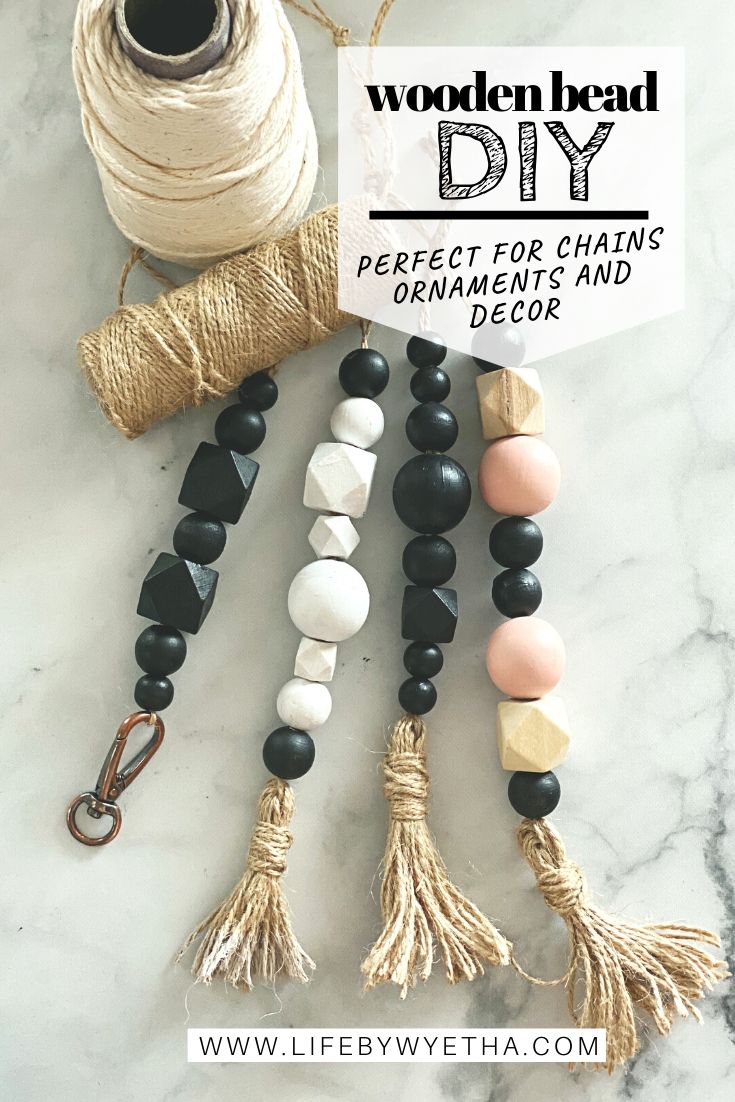
Today I’m bringing you another wood bead DIY, because beaded chains are so easy to make. I’m going to use mine for key chains, and Christmas ornaments, but you can create a high end wood bead chain, just like your Hobby Lobby or Micheal’s stores for half the cost.
Wood Bead DIY
Here’s what you’ll need (and this varies):
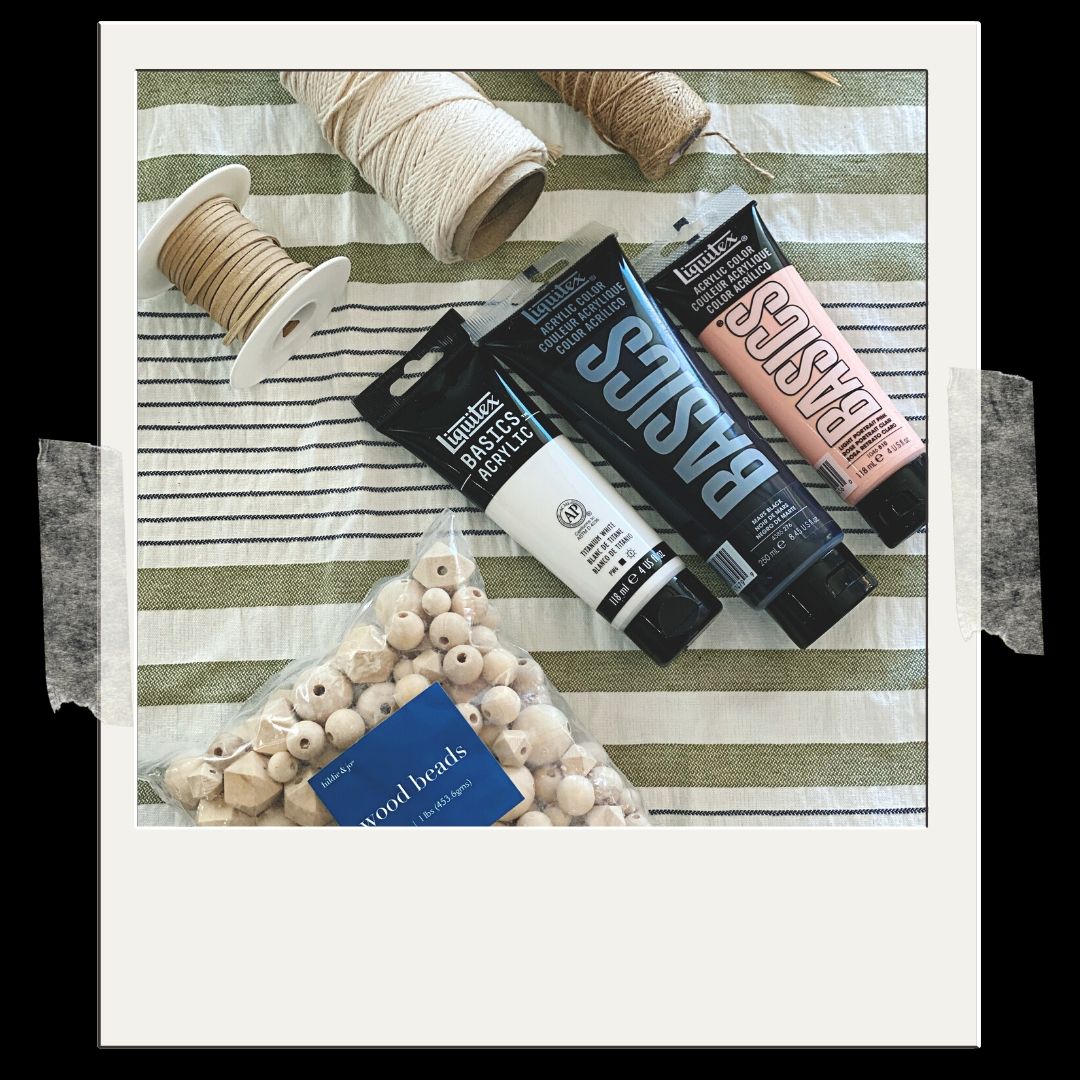
- Assorted sized wood beads (JoAnn Fabric & Crafts)
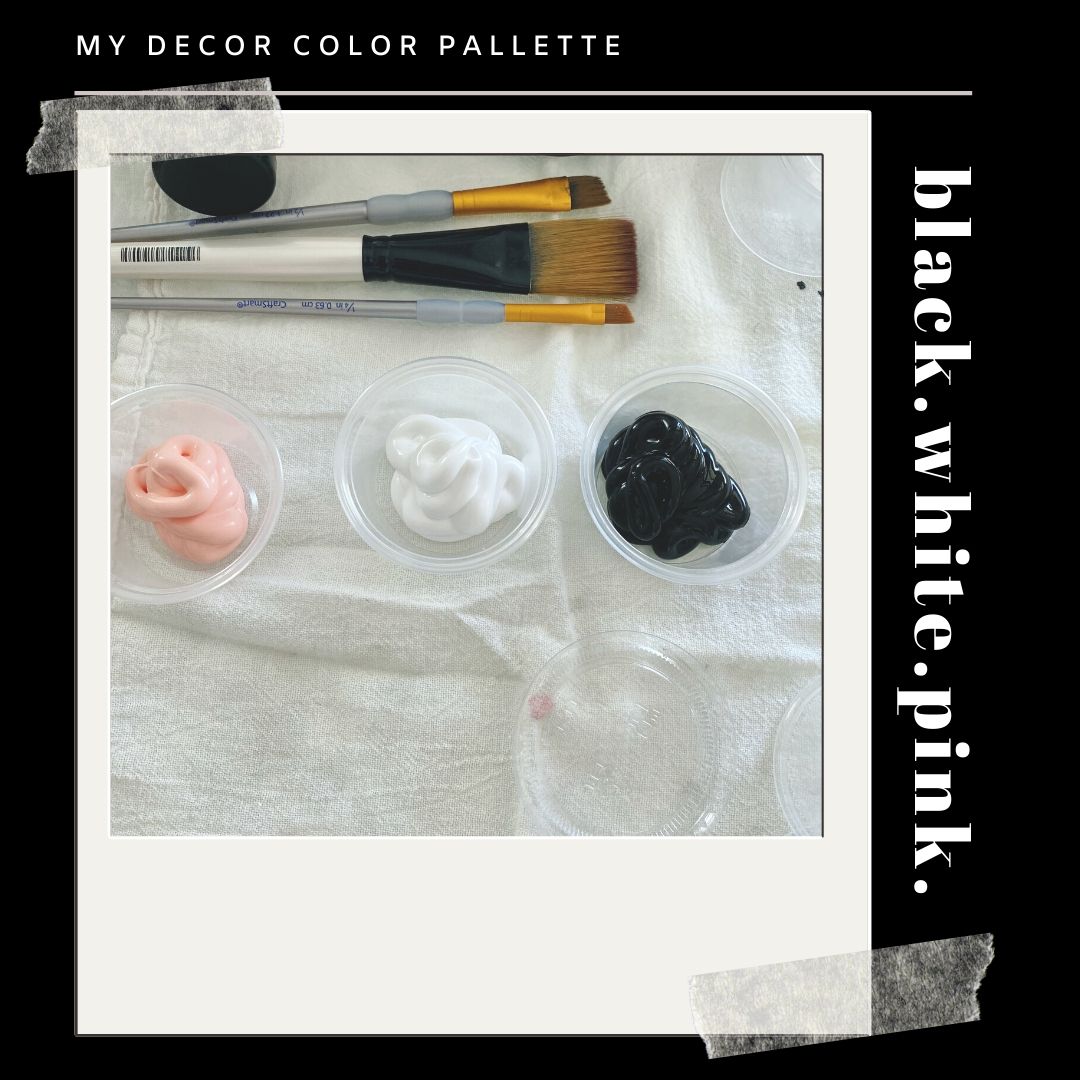
- Paint
- Paint brushes
- Twine, leather string, or yarn (The size and thickness is up to you but the hole for wood beads vary)
- Scissors
- Condiment Cups (I used these to separate my paint, and to hold the skewers)
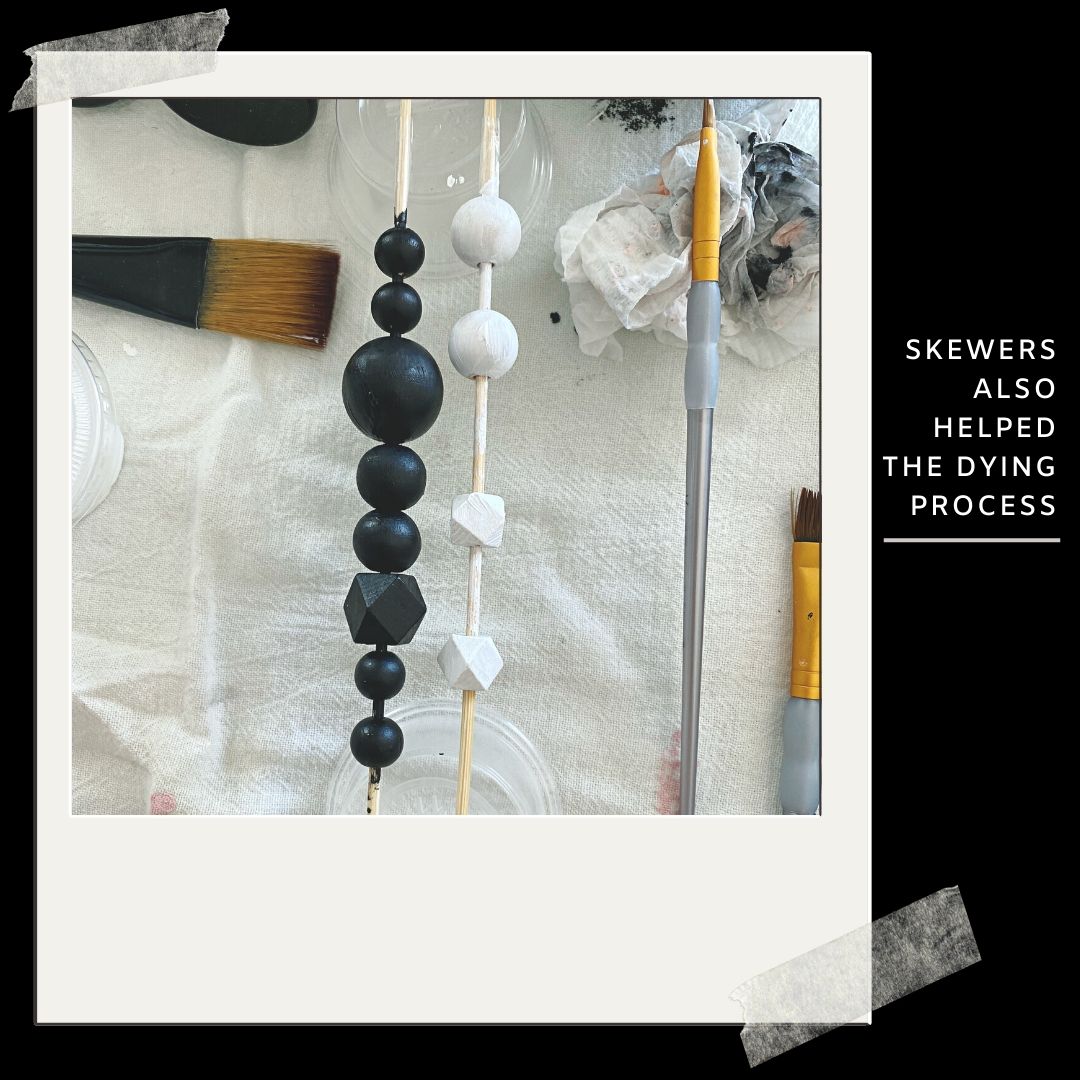
- Skewers (To hold the beads)
- Large yarn needle (I used this close my twine tassel but see the YouTube tutorial for the exact supplies)
- Parchment Paper (To dry the beads)
- Tape
[adinserter name=”Craft Supplies”]
Instructions
- I wanted a few different styles so first I sorted the beads on a skewer to create my designs.

- Then I painted the beads the desired color (for the chains that have different colors I painted those separately and let them dry on parchment paper).
- The condiment cups made great little holders to rest the skewers on during drying … again loose beads dried separately on parchment.
- Then I cut a 12″ piece of twine and looped it; bringing the two loose ends together.
- From there I took a piece of tape and wrapped the loose ends together; this will be used to tread the beads.
- Take the beads you want to use and thread them, leaving a 1 ½ inches at the bottom (this will be used for the tassel)
- Once you have your beads threaded, make a knot to secure the taped end, and another knot at the tassel end (don’t forget to leave 1 ½ inches at the bottom).
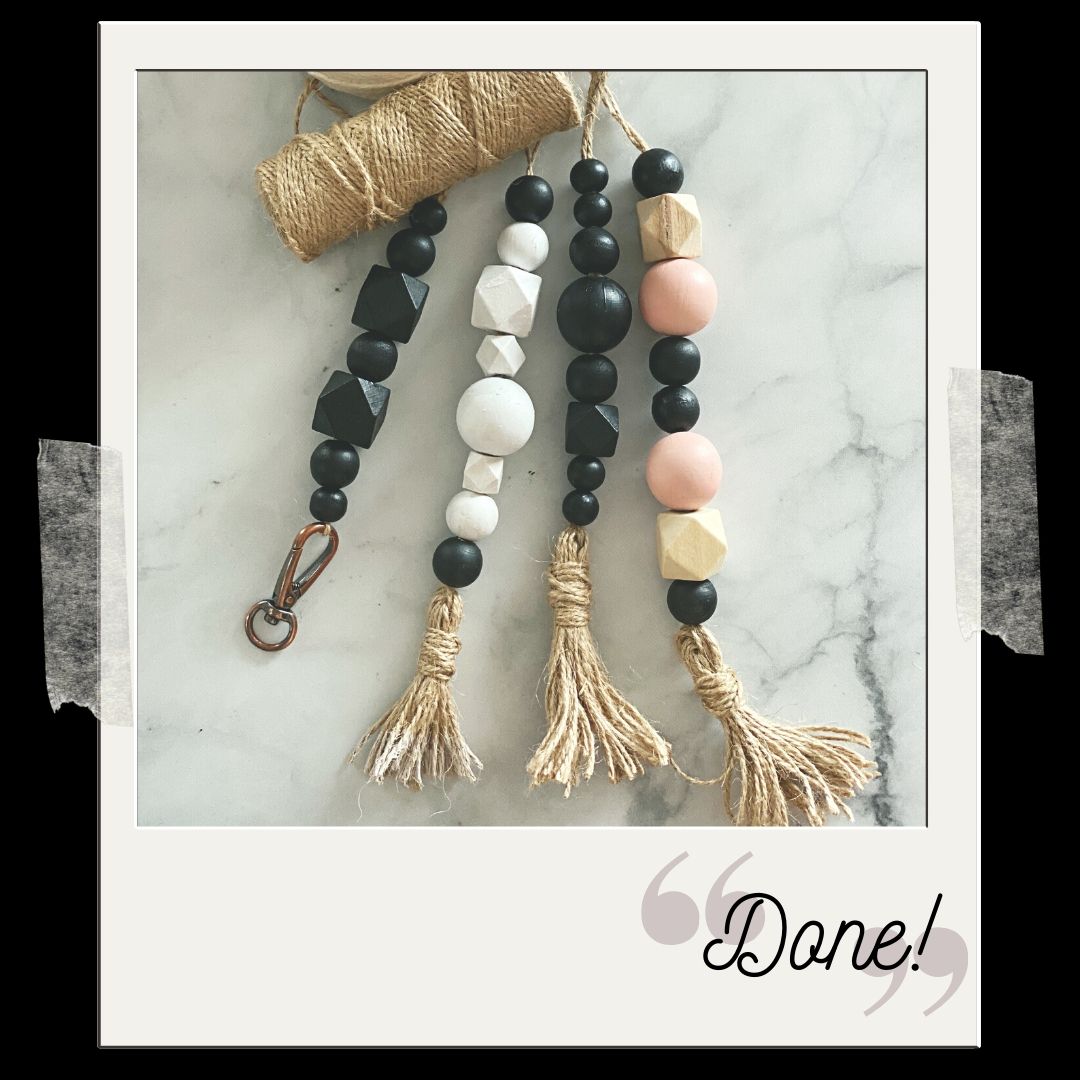
- From this point (except for the tassel) your basically done.
If your going to use these as ornaments make sure you leave enough space for a metal hook, or just use the twine as a loop that will slip easily onto your tree branch.
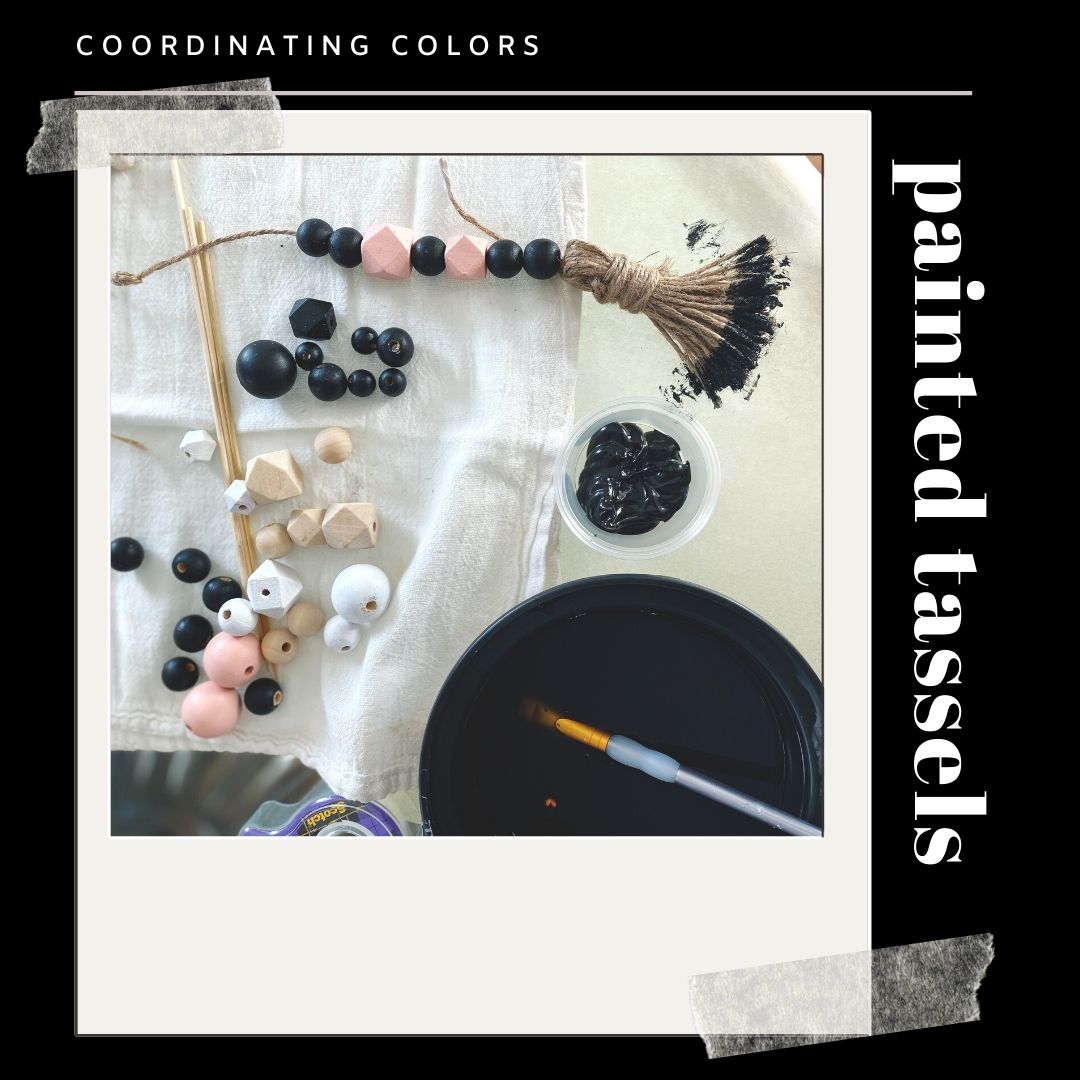
- I also painted the ends of two tassels to tie in my coordinating colors.
- The tassel is a but more cumbersome but not difficult. Here is a link to A Pretty Fix on how to make them.
That ends my Beaded DIY post today. Thanks so much for visiting the blog, and I hope you continue to hang with me. If you haven’t please consider subscribing to my blog, and if you’ve already subscribed thanks for coming back. — Peace (and) Have a great weekend!–
–Last Friday’s DIY Project–

Pin Me!
Links!

 |
 |
 |
DIY slides created with Canva
//DISCLAIMER//As an Amazon Associate I earn from qualifying purchases on this site.
Those are so cute! I love your pins as well.
Thanks so much!