
Hello friends and welcome to the blog today. If this is your first time stopping by, I hope you stay for a while and consider subscribing.
How was your week this week? I had a weird week, as I muddled through my daily tasks on auto-pilot. The holiday made it easier to get through the week but I guess I just feel like something is off.
This project was right on time as working because any type of DIY project takes me out of my head and helps me unwind. I’ve also been reading, studying, and meditating and the combination of all these things really helped me to unwind and focus my energy.
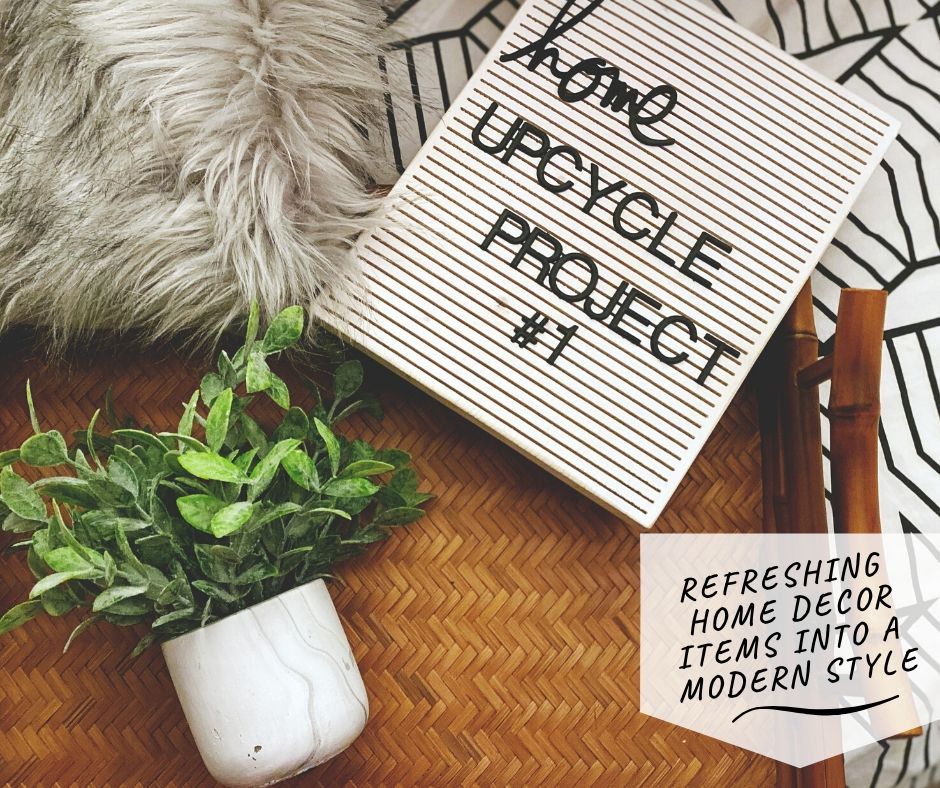
I wanted to work on a DIY project but I’m also slowing the pace of the items I bring into my home, because I know in a few months I’ll be packing them up. This was perfect time for an UP-cycle project for two items I’ve had for some time, that needed a little love.
UP-cycle Project #1
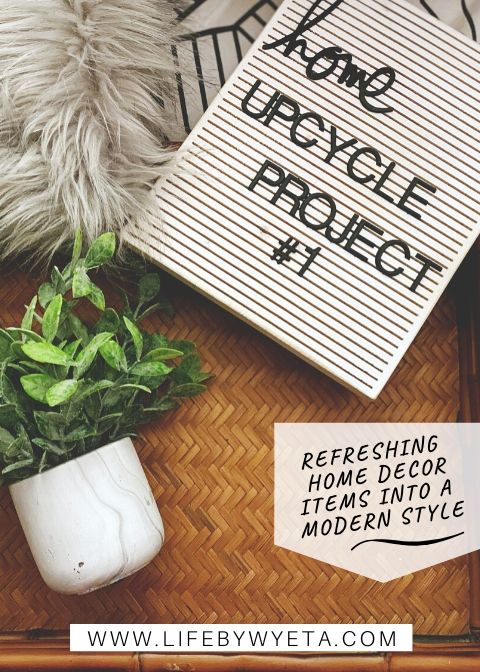
When I moved into my apartment I inherited a few decor items. One was this rattan style serving tray, that was falling apart. I did my best to fix it but otherwise it was just blah and plain. At some point I new I would get around to refreshing this item.
I’m also a TJ Maxx, Marshall’s, and Home Goods junky, and a few years ago I purchased this faux plant in a concrete holder, meant to mimic the style of refresh these two items to better match my decor style.
The supplies I used were:
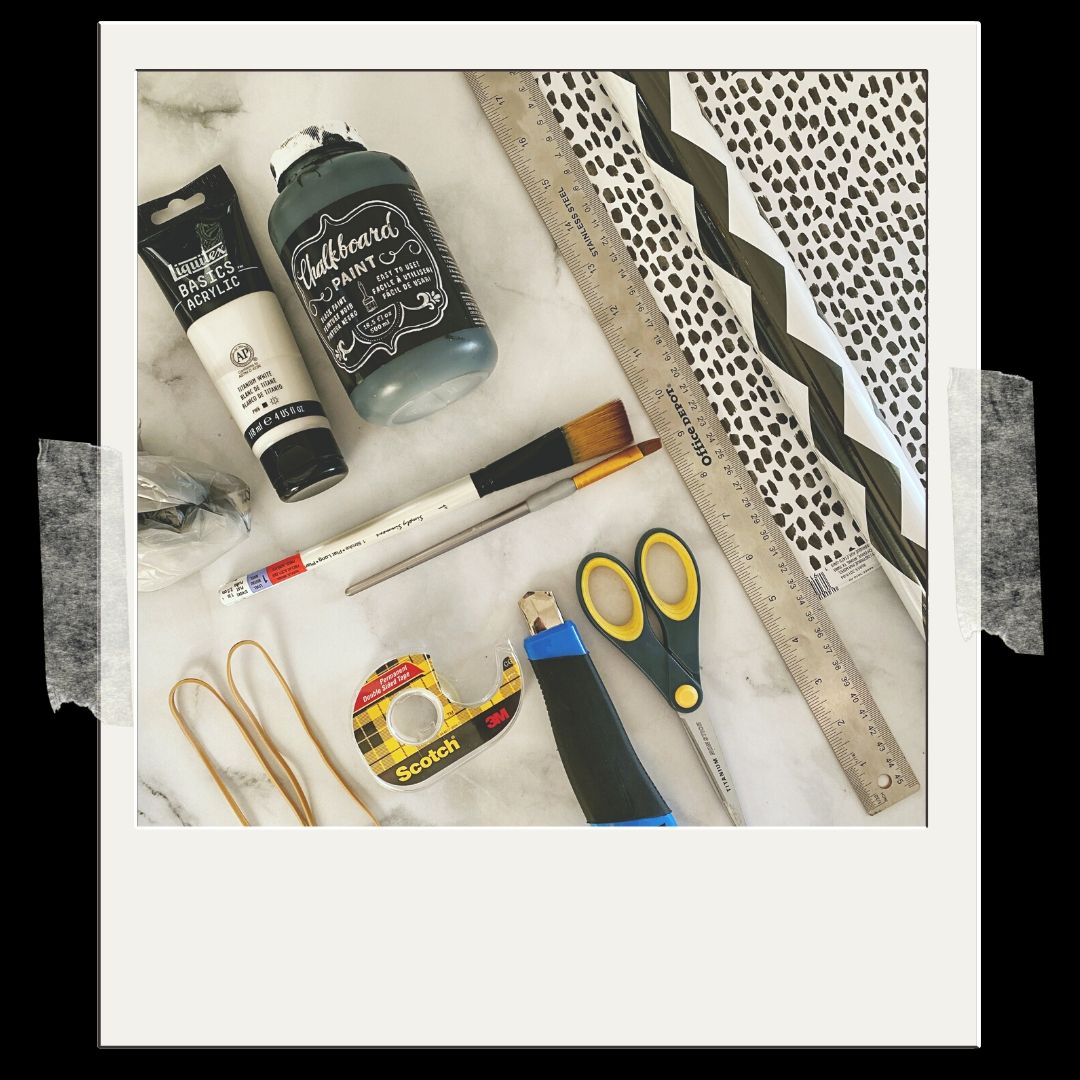
- Rattan Tray & Potted Faux Plant (on hand)
- Paint
- Paint brushes
- Double-sided tape
- Plastic shopping bag
- Large rubber band
- Xacto Knife
- Foam Core
- Decorative scrapbook paper
- Tape
[adinserter name=”Craft Supplies”]
Here’s what I did…
- I used a store bag to tie up the faux leaves, then secured a rubber band around it
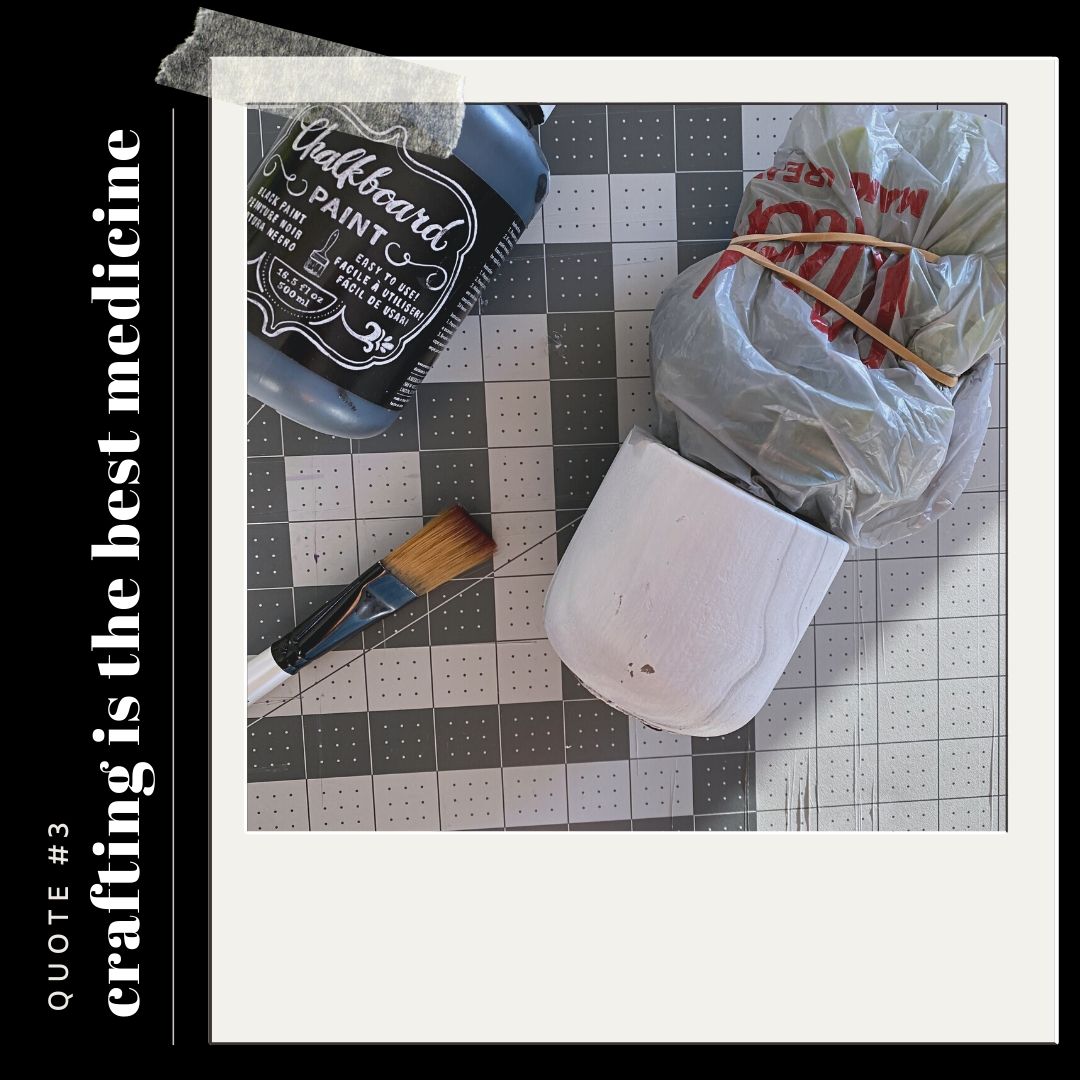
- I went with chalkboard paint because it has a smooth matte finish
- While that was drying I started on my insert for my tray
- I measured the back of the tray
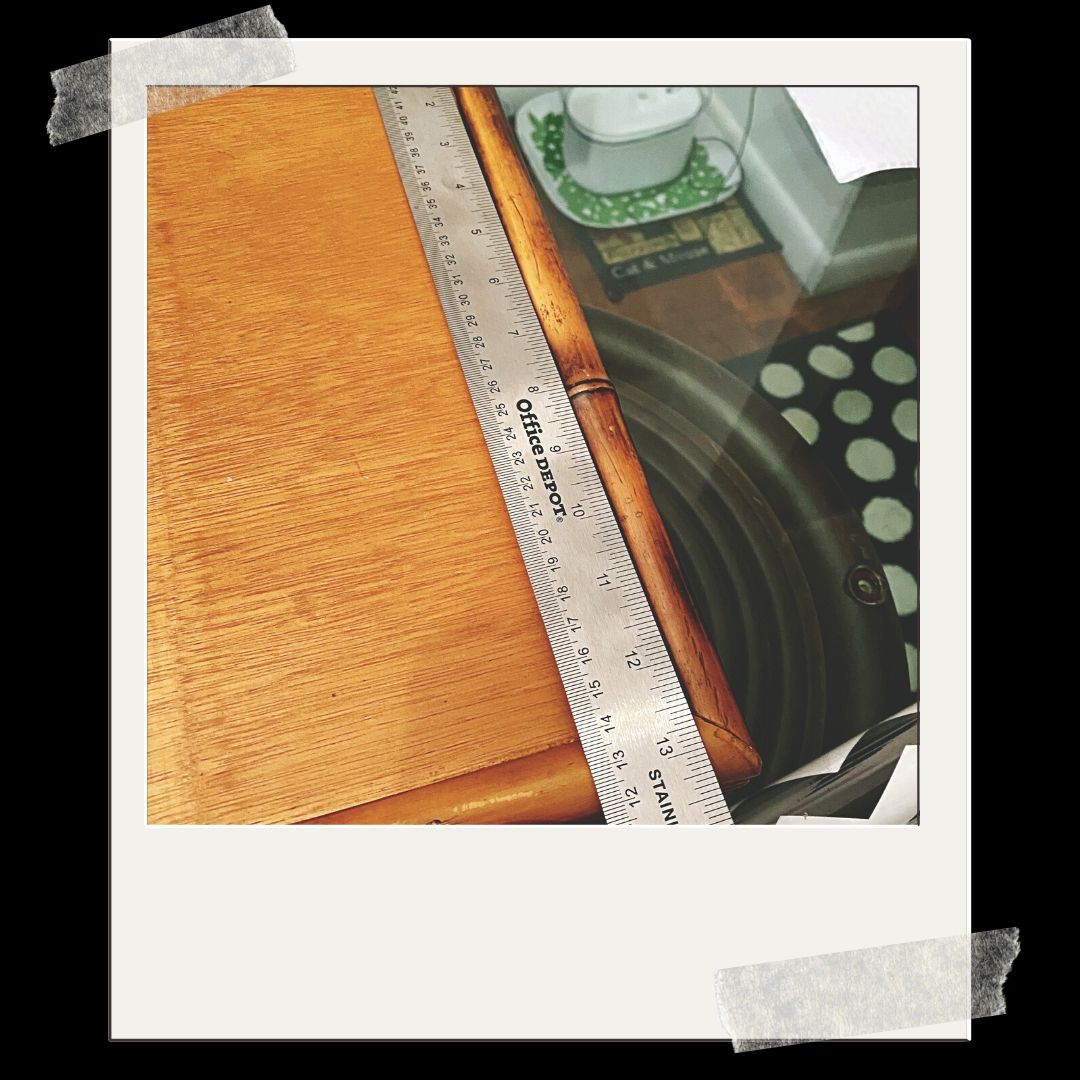
- Then cut my foam core down to size

- Once cut, I used the double-sided stick tape on the corners and middle
- I cut the scrapbook paper down to size to fit my foam core
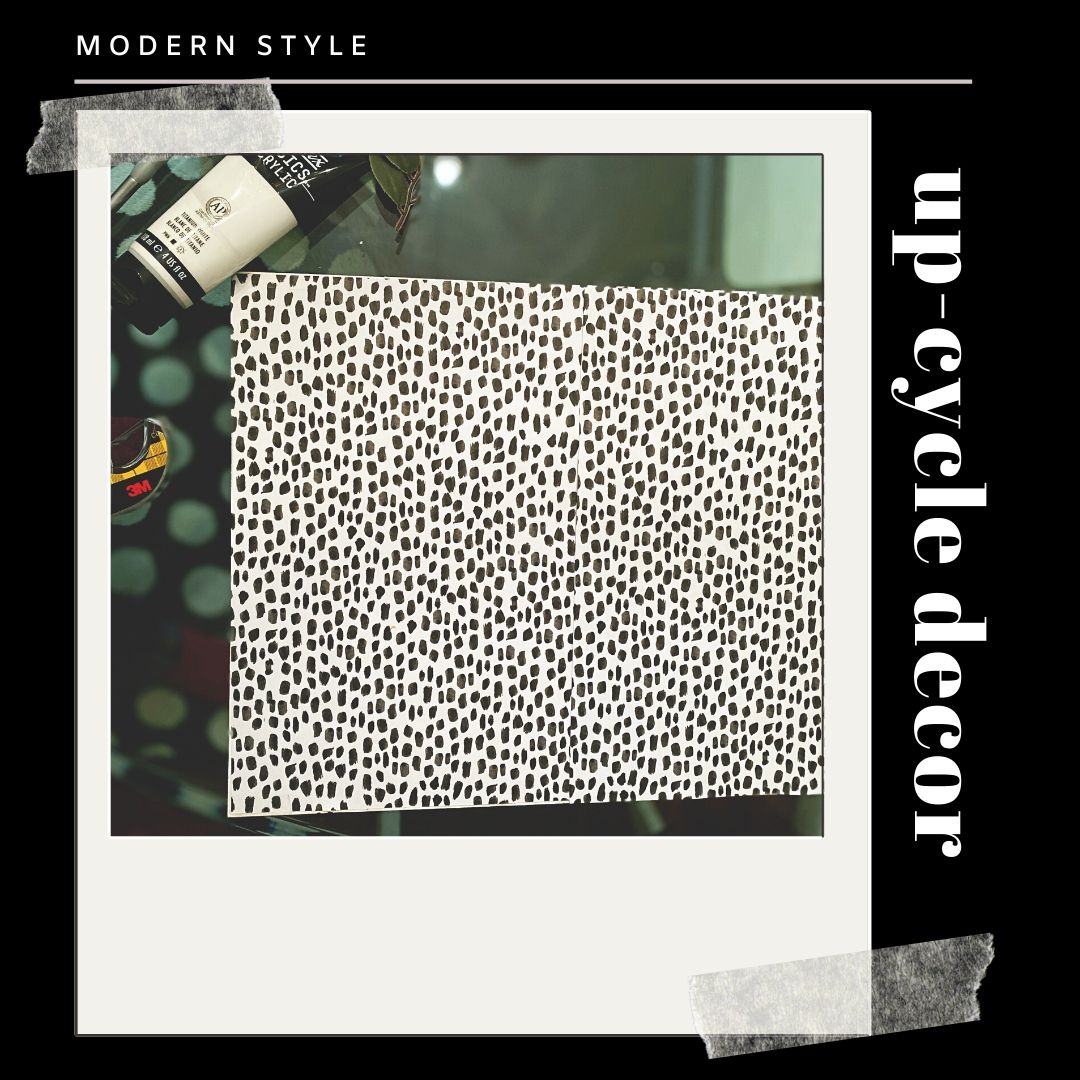
- Then just carefully lined up my edges and smoothed down the scrapbook paper
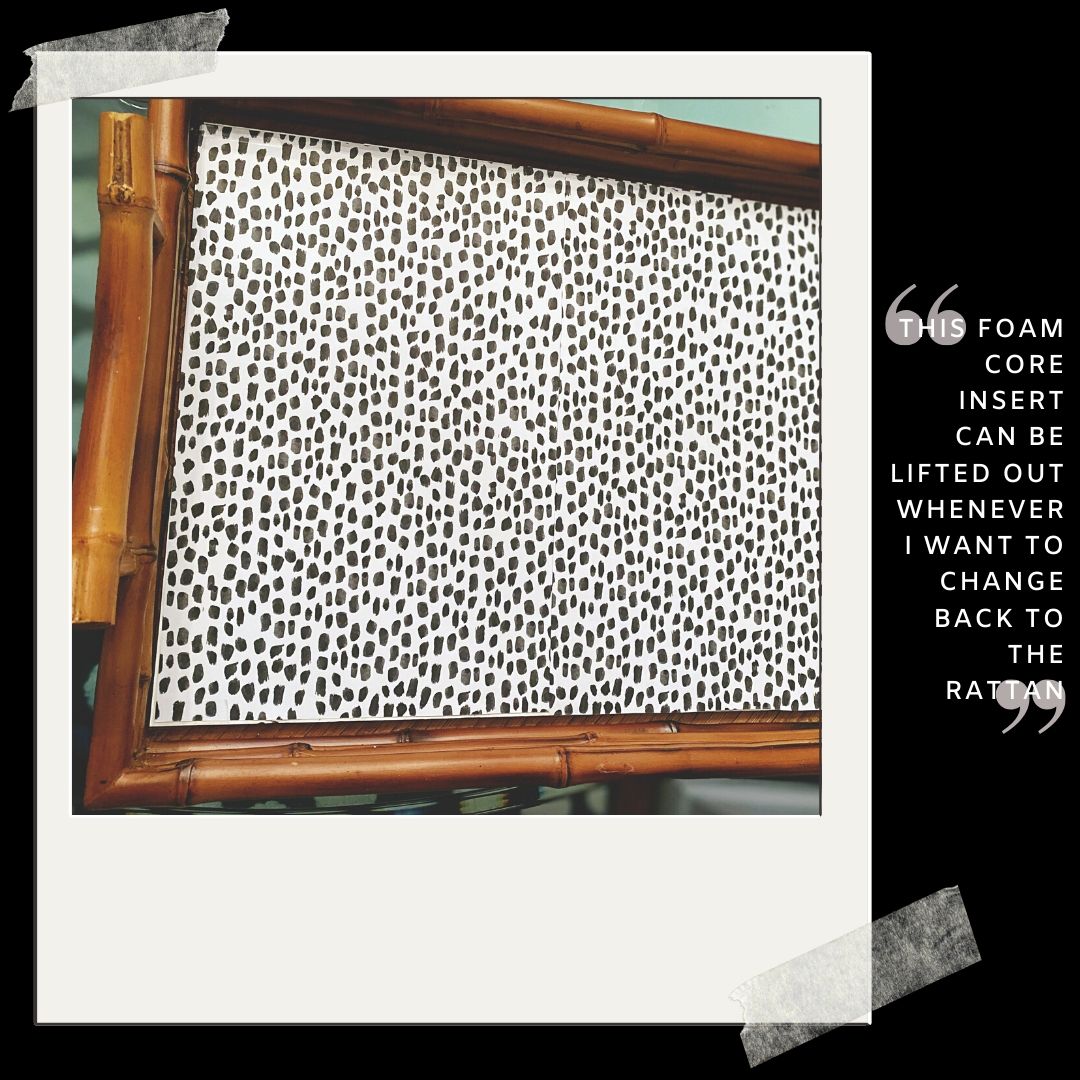
- Added tape to the corners and some of the rough edges of the foam core and that was it.
Finishing the potted plant
- The time I used to finish my tray allowed the paint on the plant pot to dry
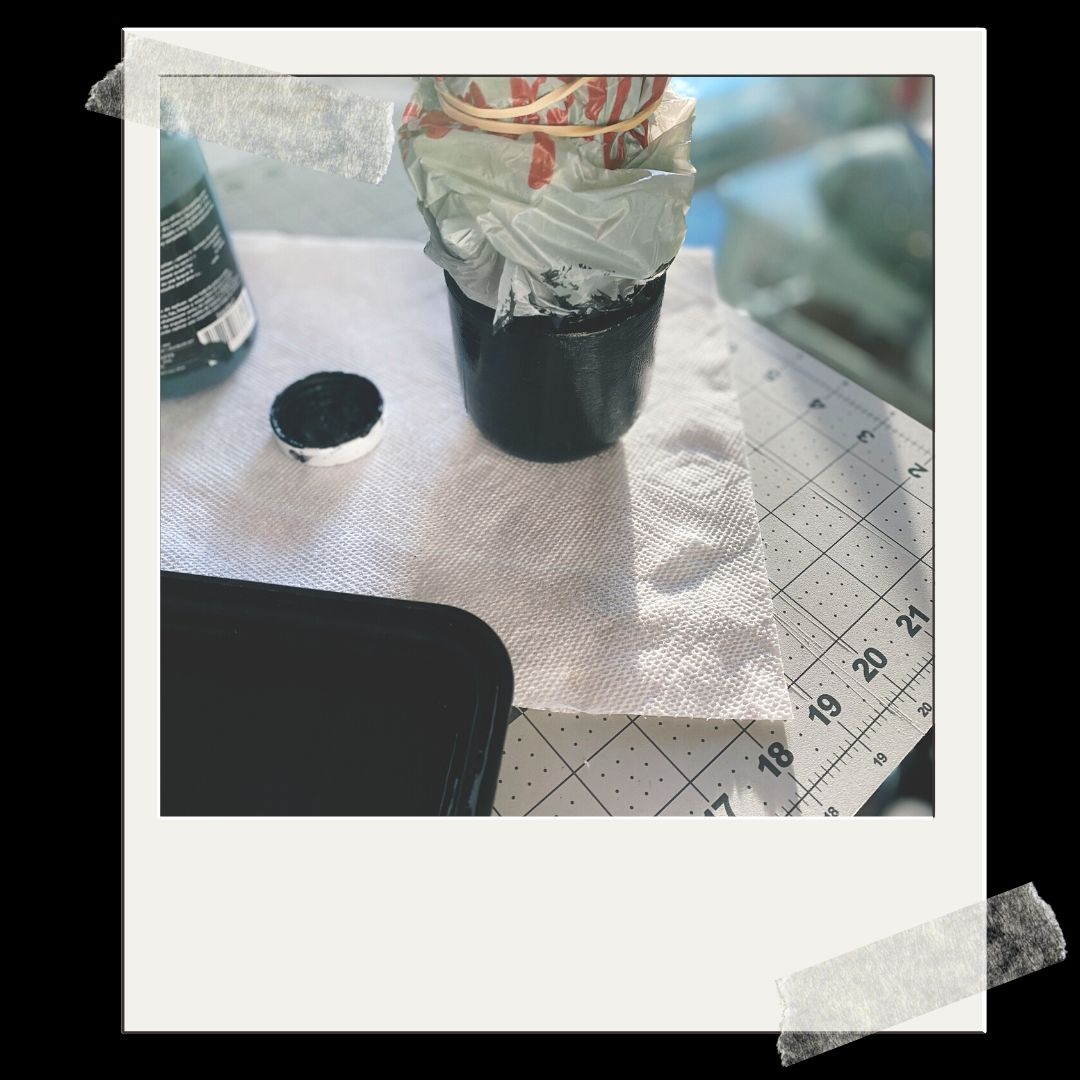
- I used the smallest brush I had to work with (in the future I would opt for a smaller one, with pen-like precision, and stiffer brush)
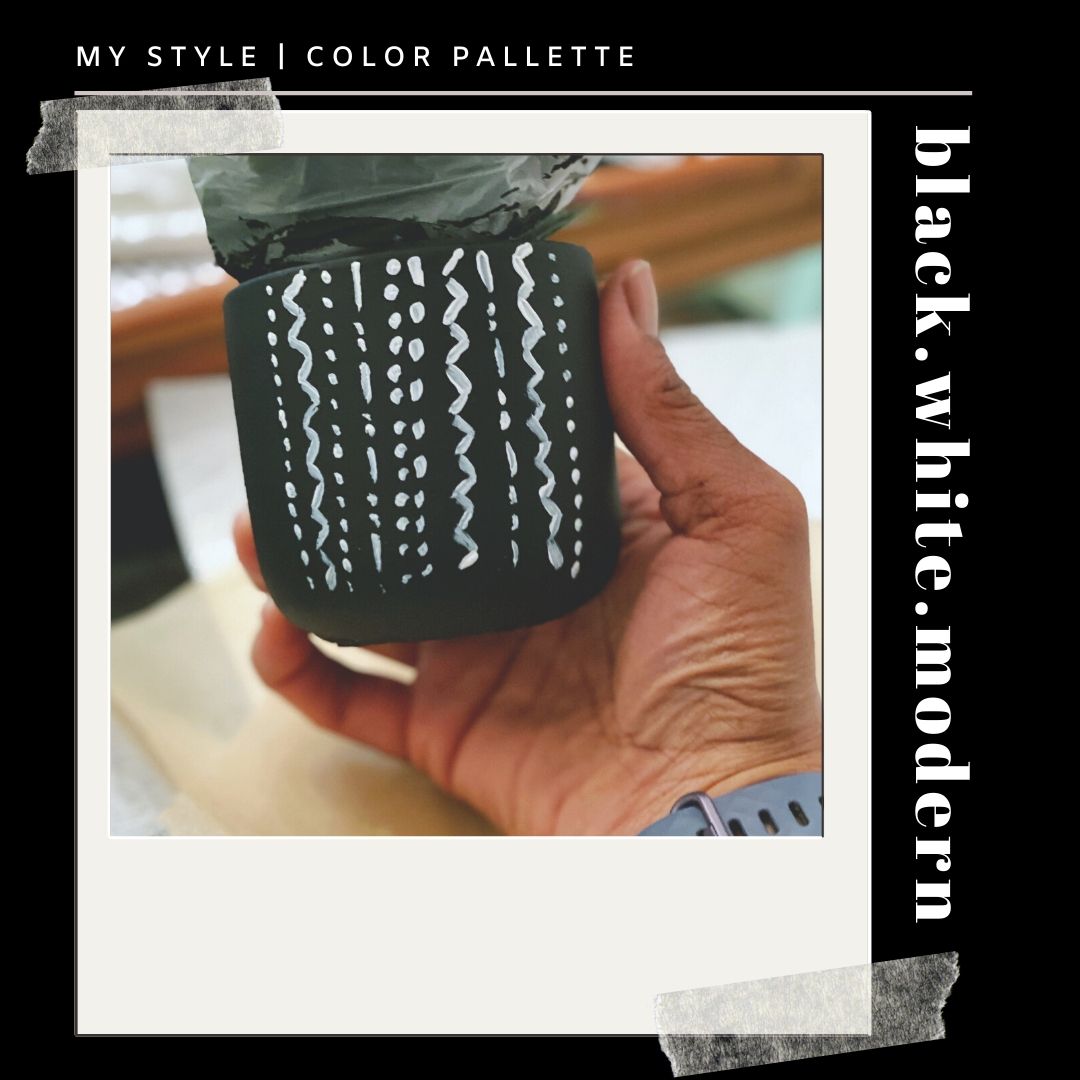
- The pattern inspiration is from several designs that I’ve seen on Pinterest.
- I only painted the front side of the plant pot because I wanted to keep the rest in that smooth matte black .. and that was it!
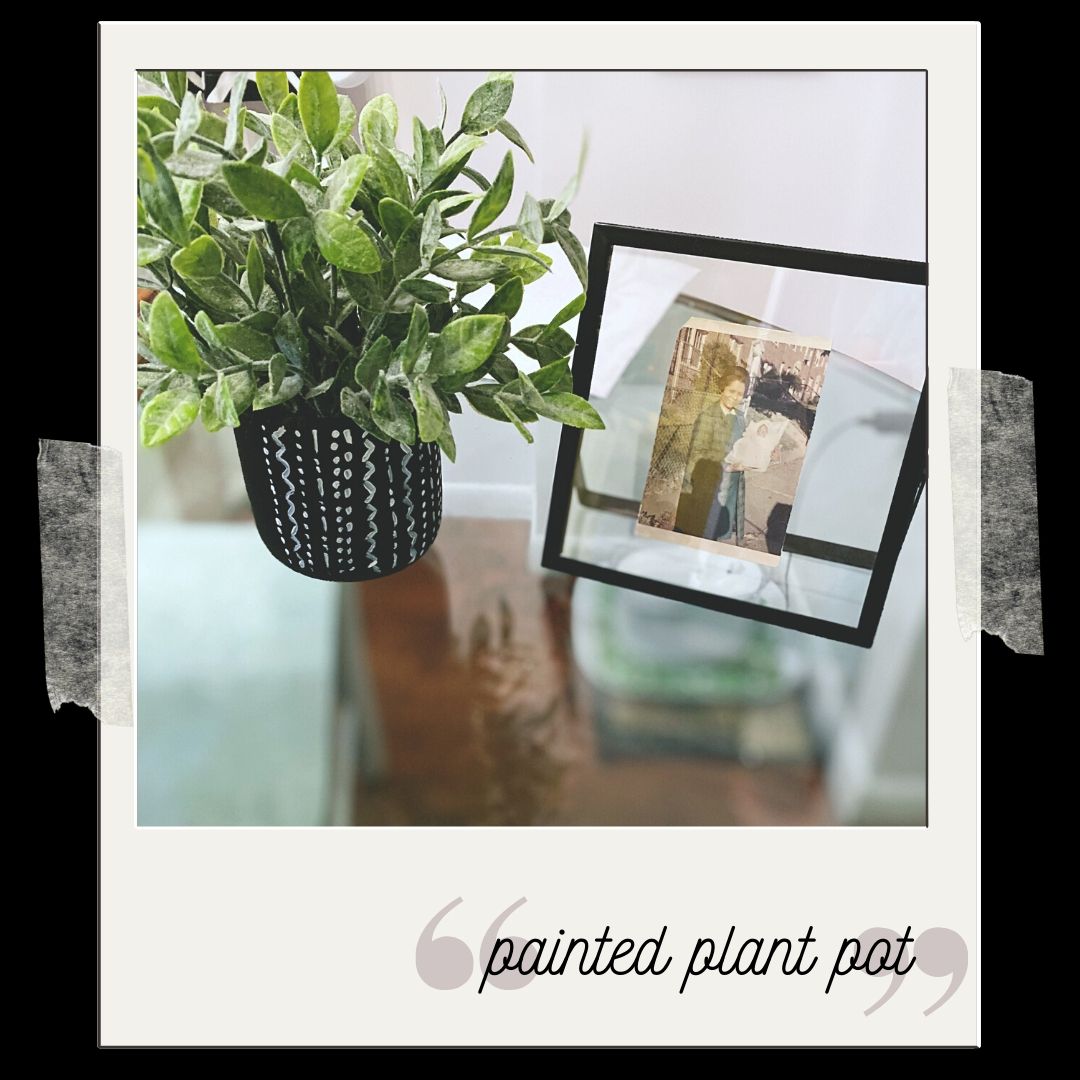
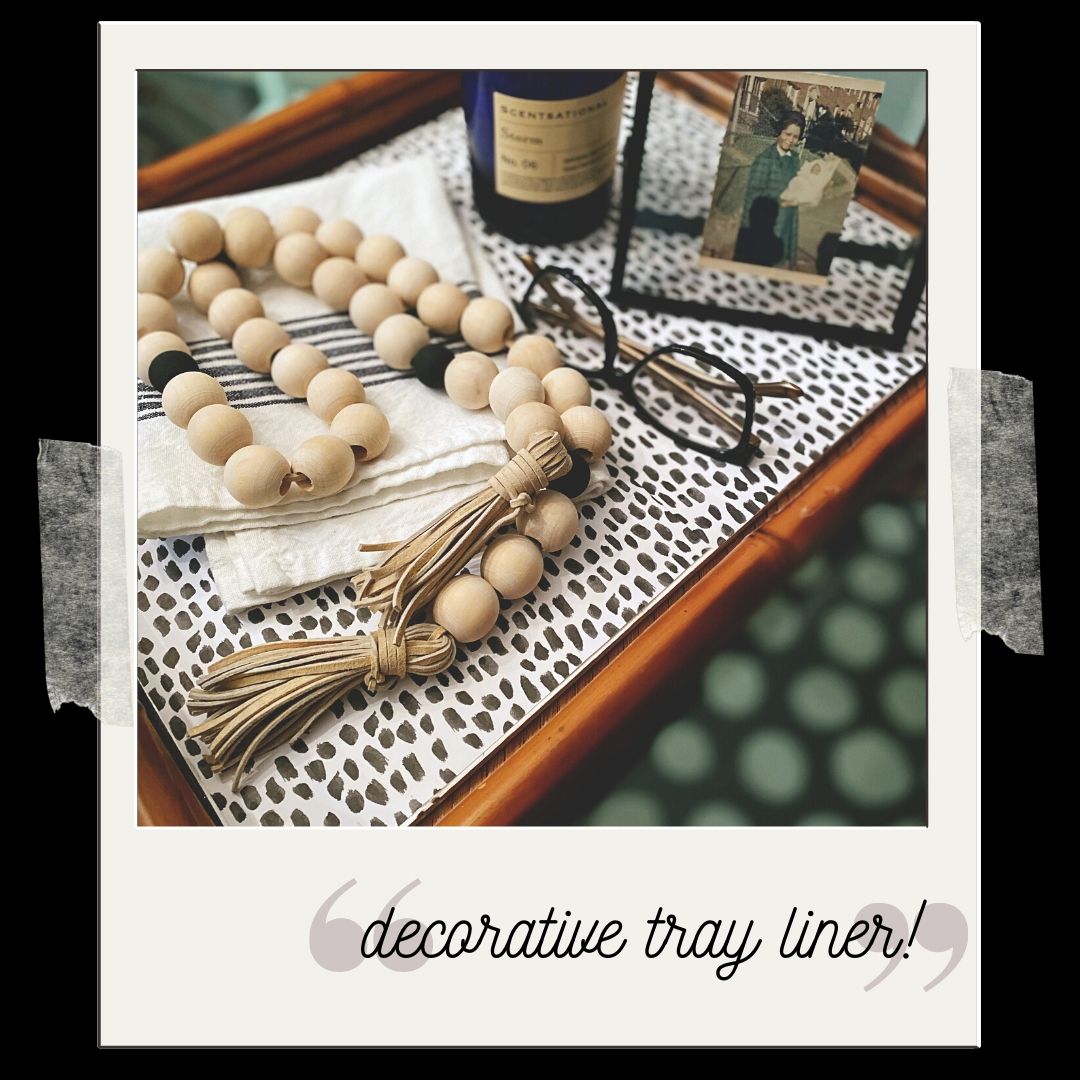
I’m super-happy about the way everything turned out, and I think I did ok for my first official up-cycle (that I’ve shared).
I hope you enjoyed my post today, and if your not already, please consider subscribe to the blog. Thanks again, and have a great weekend. — Peace —
–Other DIY Projects–
 |
 |
Pin Me!
Links!

 |
 |

//DISCLAIMER//As an Amazon Associate I earn from qualifying purchases on this site. |
DIY slides created with Canva
1 thought on “Happy Friday … UP-cycle Project #1”