

Happy Friday friends and welcome to the blog!
If this is your first time stopping by, I hope you stay for a while and consider subscribing. But, if you’re subscribed … it’s nice to be with you again.
Ah Friday, and basically back to normal … kinda, sorta … but at least the weekend is here. Planning on seeing The Invisible Man (if they haven’t shut it down) and just kicking back and maybe doing some meal prep.
FYI: I know there is A LOT going on the world and across our region so to everyone out there … be safe.
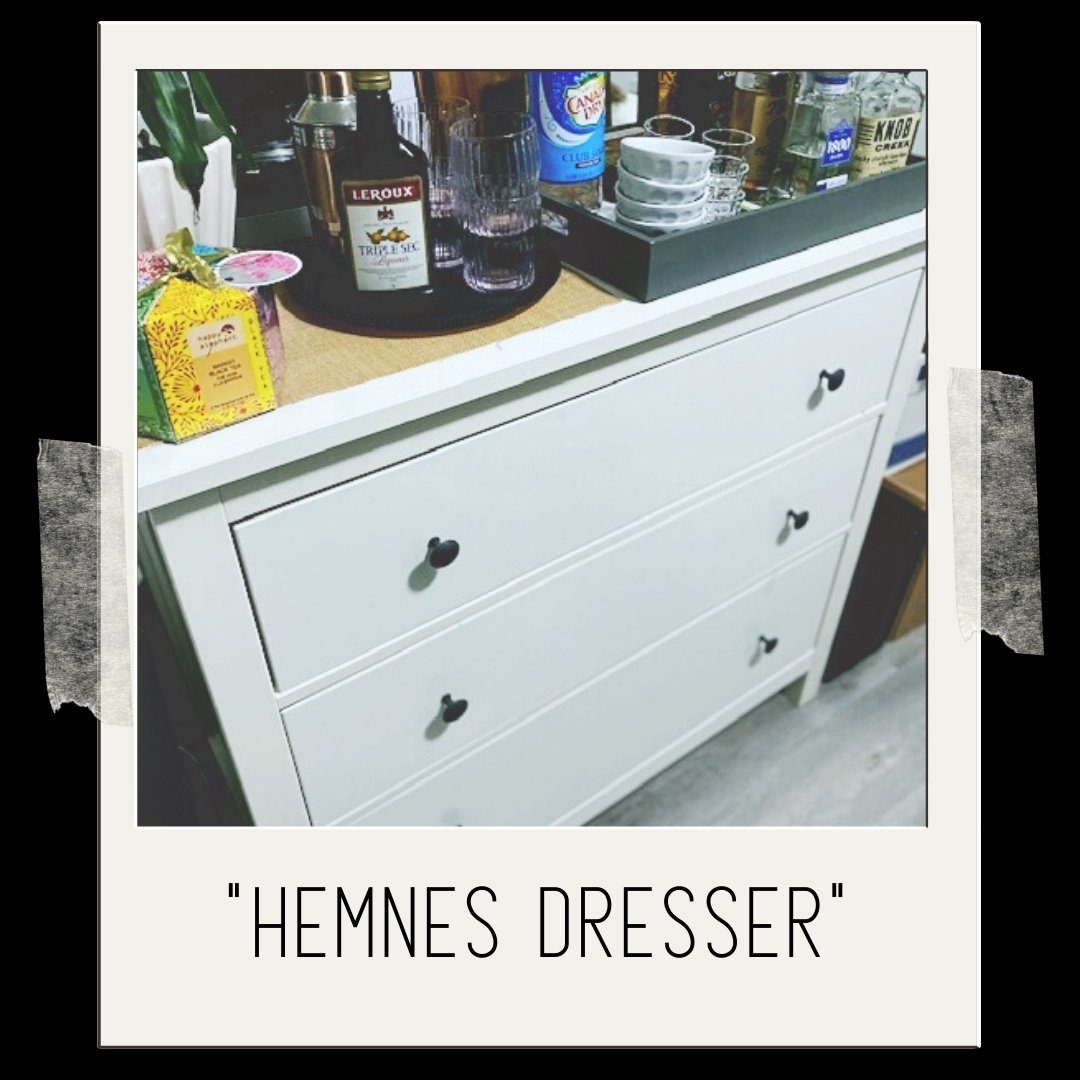
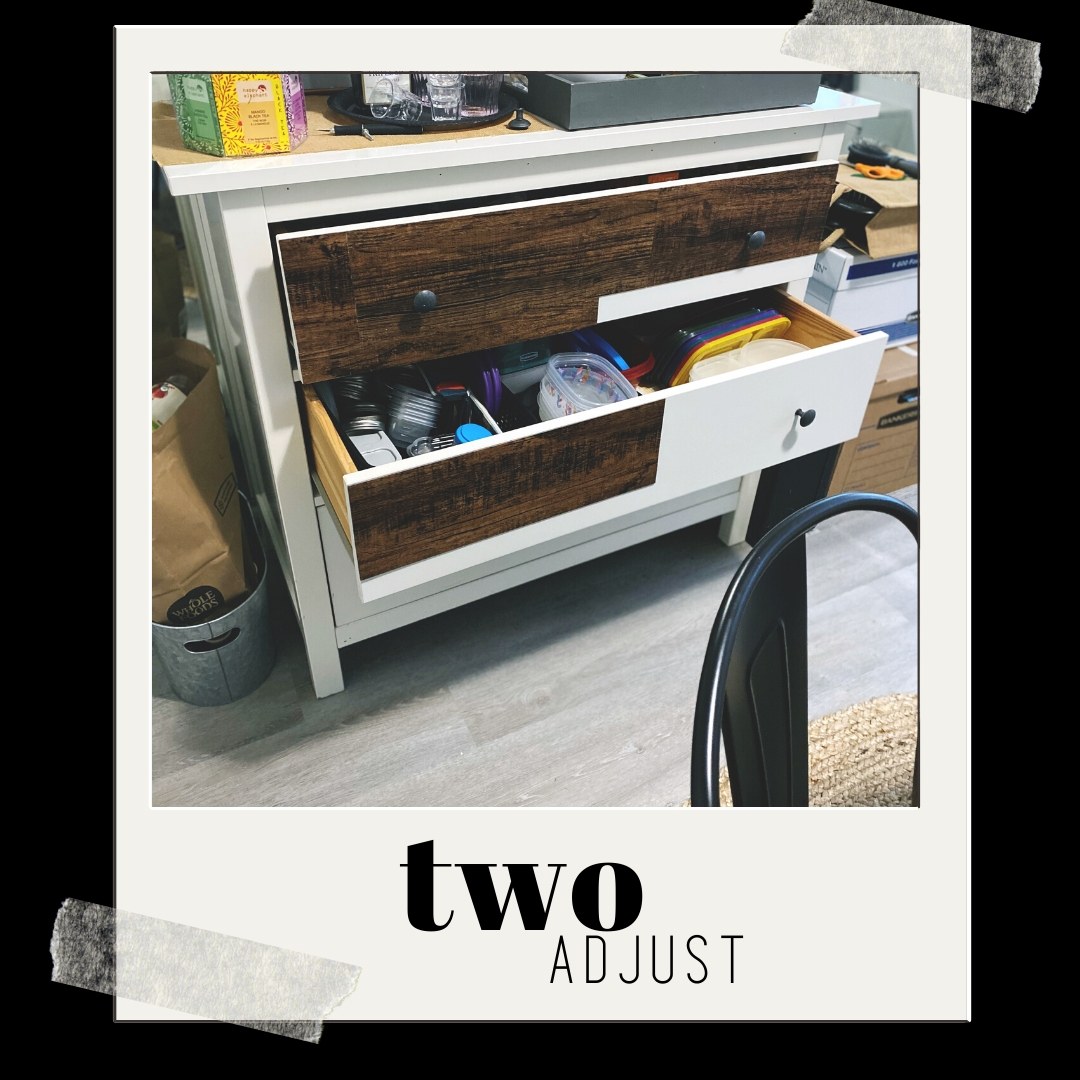
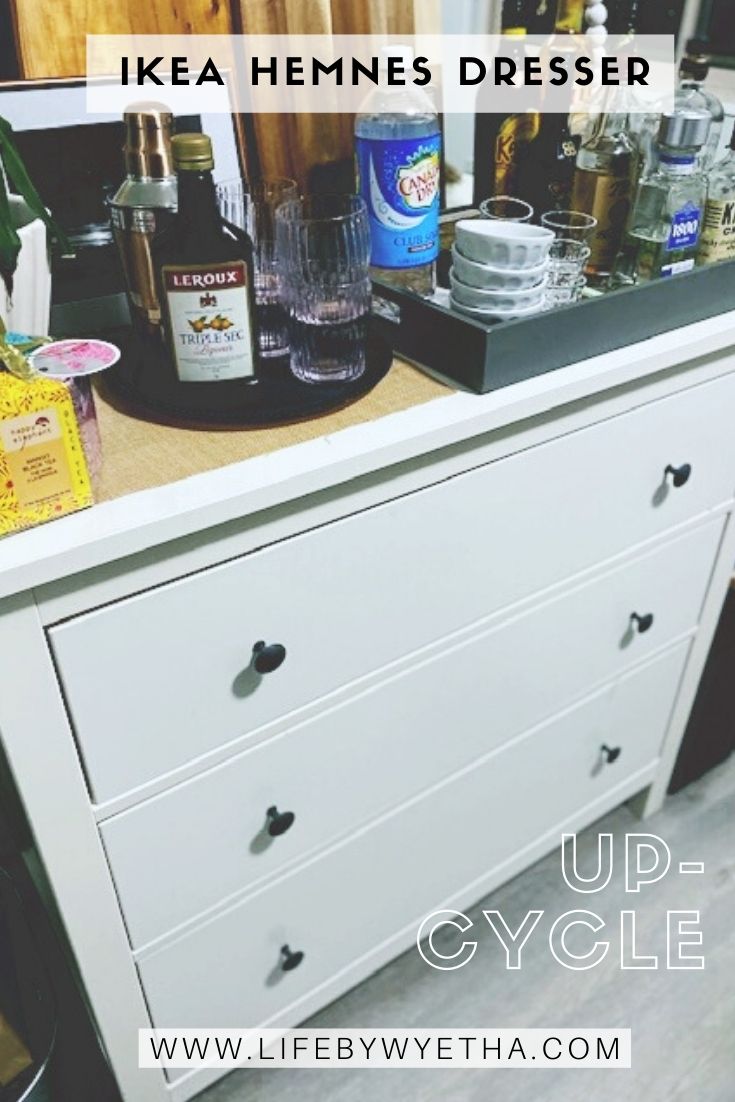
I’ve finally started work on my daughter’s old IKEA Hemnes dresser, which was previously used in my dining room for random overflow storage. This is where I would keep craft items until the bottom drawer started to bow, and it was gaping.
A temporary has worked until I get to home depot for some support wood to brace the bottoms and make them sturdy for years to come.
Right Now …
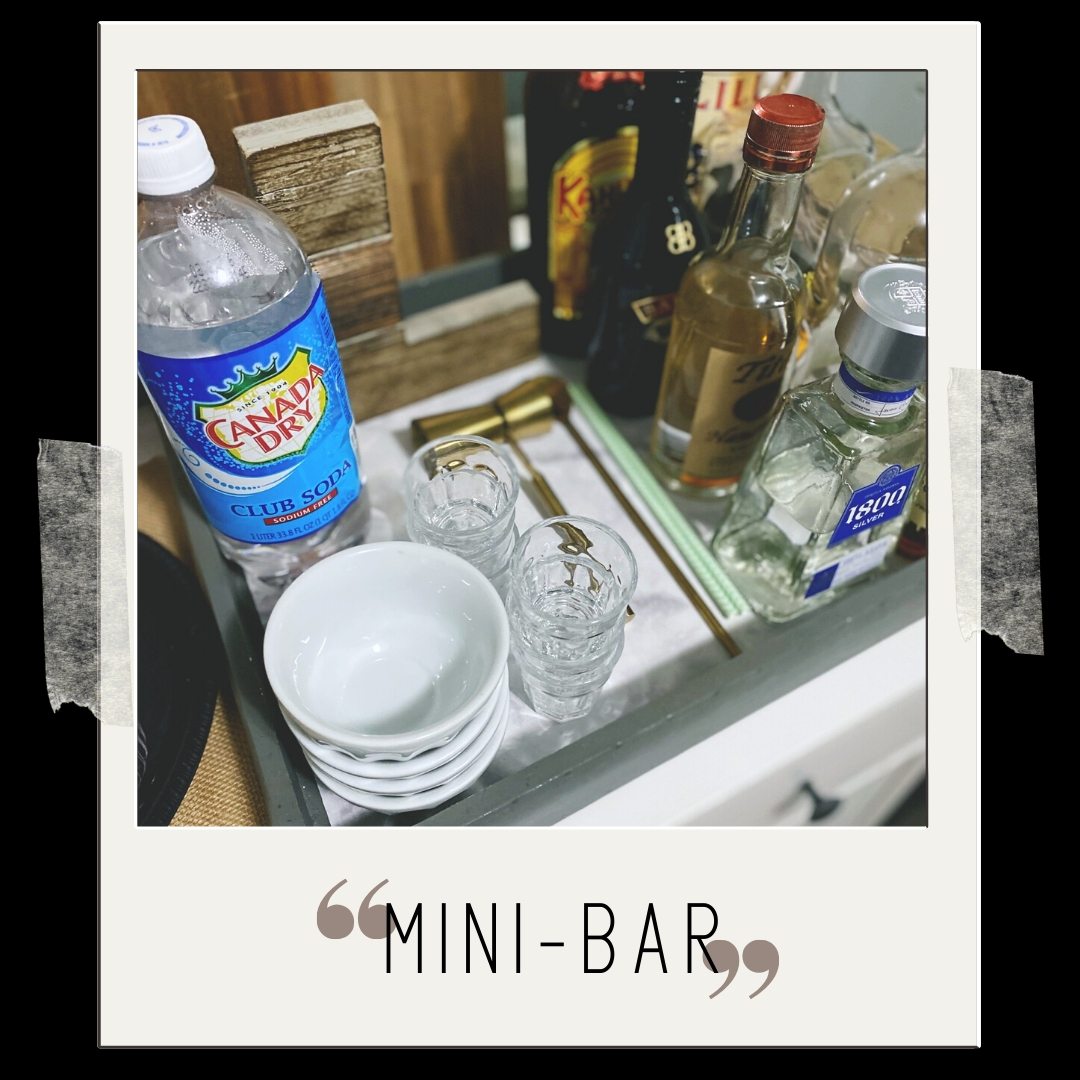
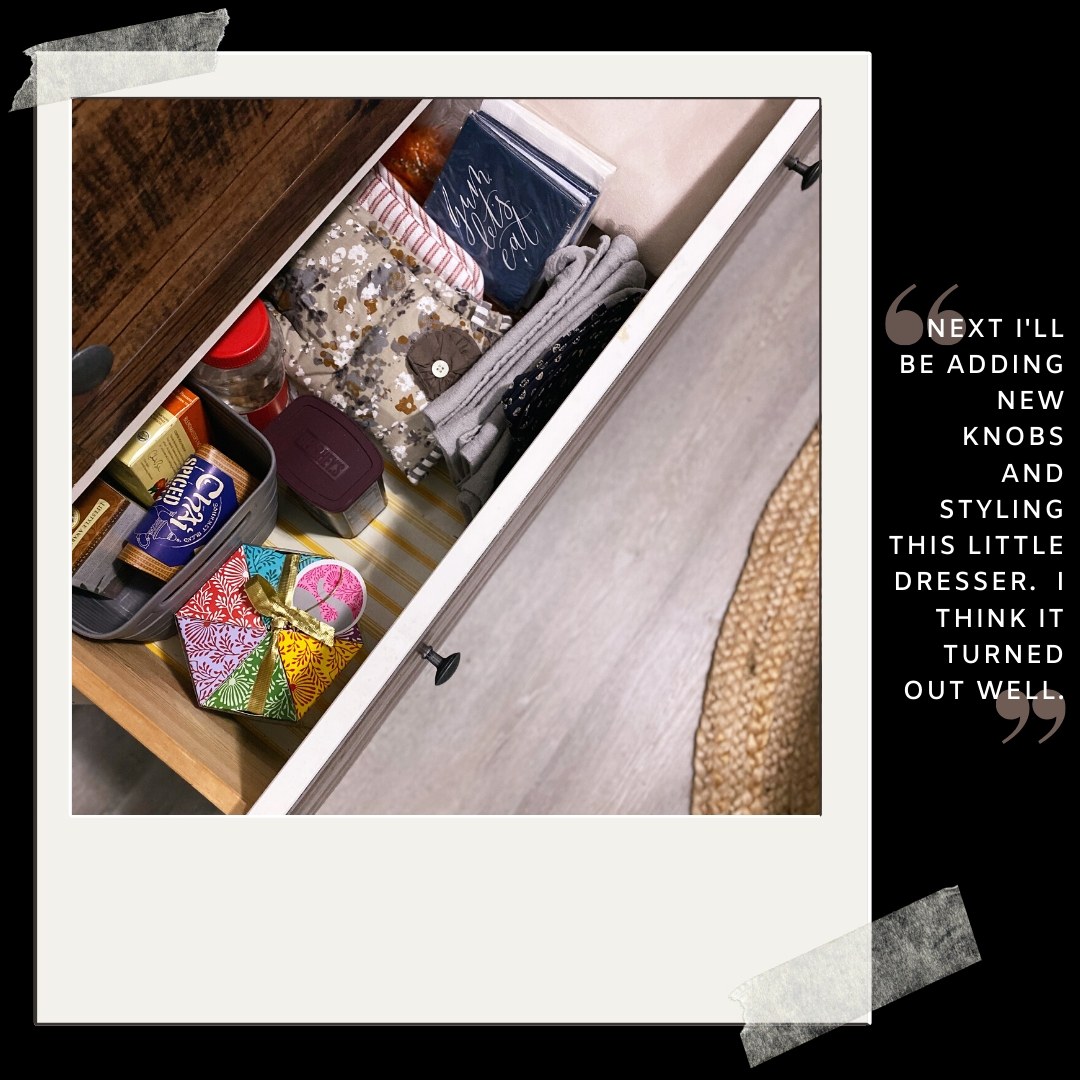
I’m using this dresser, for a makeshift mini-bar on top. The 1st drawer contains all our snack food, the 2nd drawer is plastic container storage, and the 3rd larger bottom drawer are my faux sheepskin chair covers, my special occasion black tableware, and dinner napkins.
—–
When it’s no longer useful in the dining area I will move to a future rec-room or guest bedroom.
My Plan …
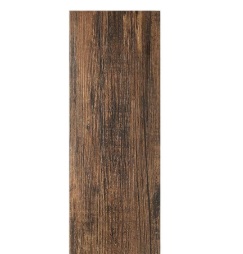
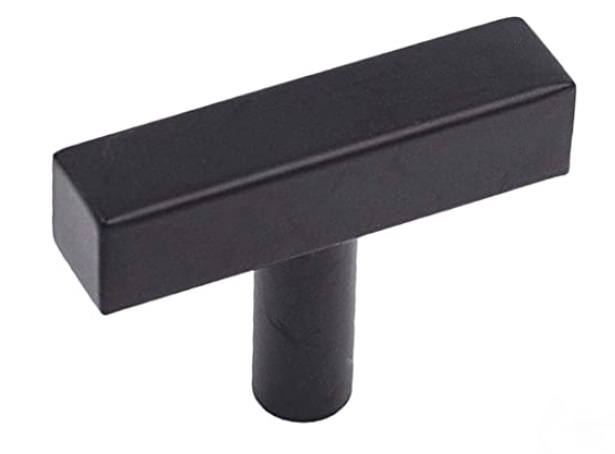
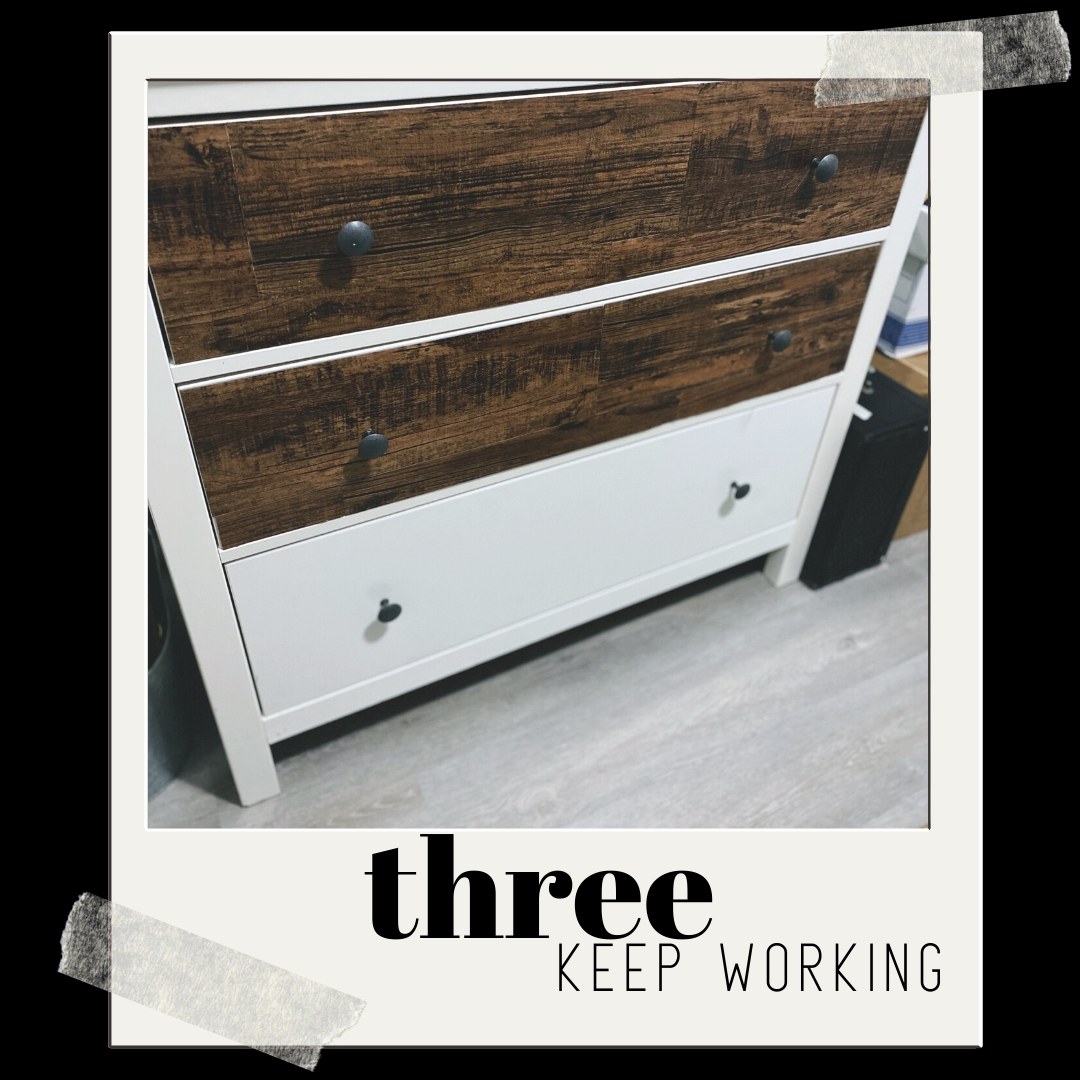
I want to reface the drawers with vinyl plank flooring to give this little dresser a rustic finish. Changing out the knobs and reinforce the bottoms so it’s more sturdy will be the final step. So far, I have no plans for the top, because I like that smooth surface.
 |
 |
PART + One | Supplies
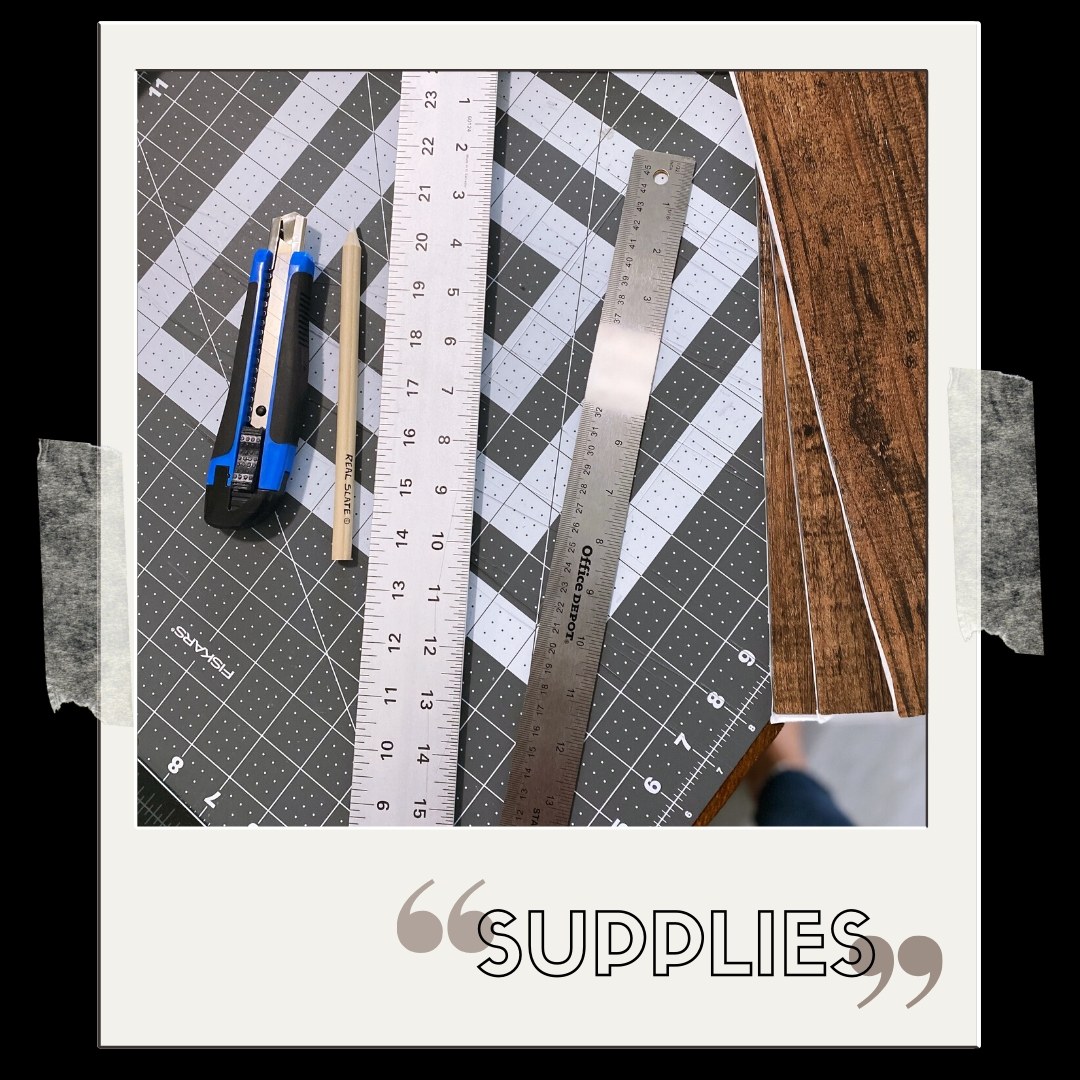
- HEMNES Dresser
- Xacto knife
- Sharpie
- Rulers
- Blue Painters tape
- Self-healing cutting matt
- All purpose cleaner
- Cleaning cloth
- Plank Flooring
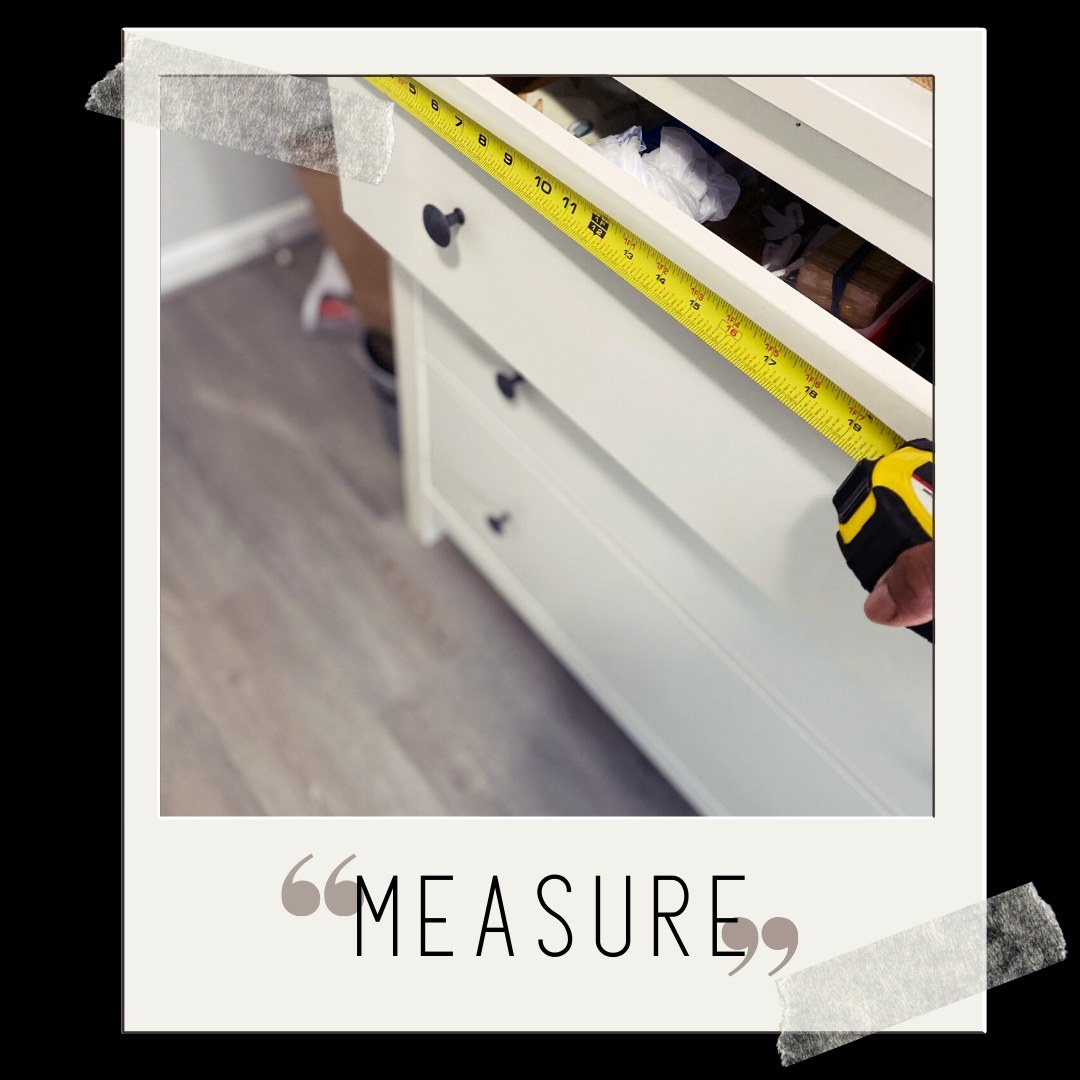
Here’s what I did…
- I wanted to plan out the direction of the flooring, so I measured the face the drawers, then used my xacto knife to cut the planks first in half horizontally, and then vertically. (I changed this once I got to the larger drawer, and because I don’t have the steadiest hand so some of the cuts are off)
- This was so I could stagger the planks
- I’m also noticing that I may have to reinforce the plank with glue as it’s not adhering the way it should
- I marked my measurement on the back, scored it twice with the xacto knife, then bent it forward and then backward until it snapped.
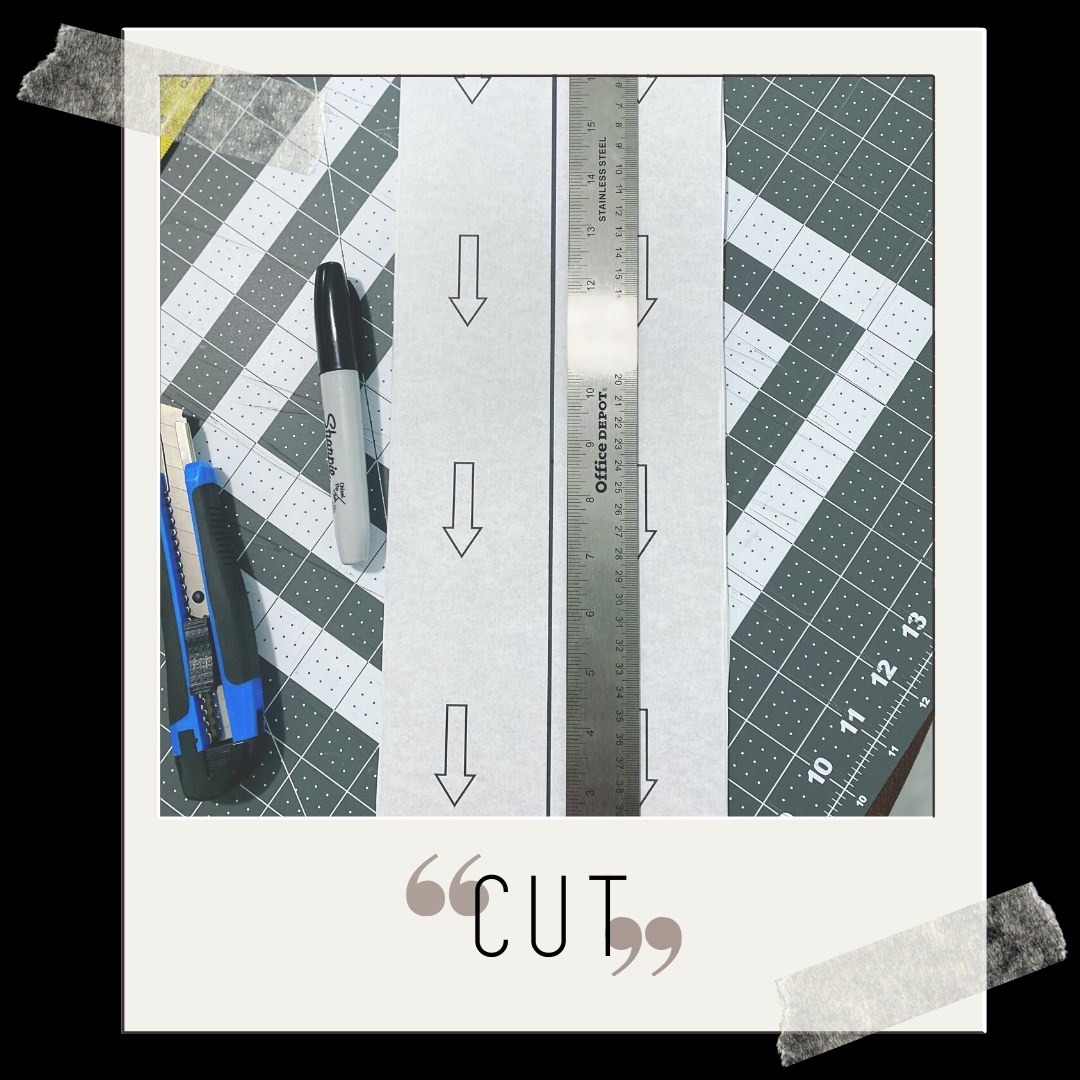
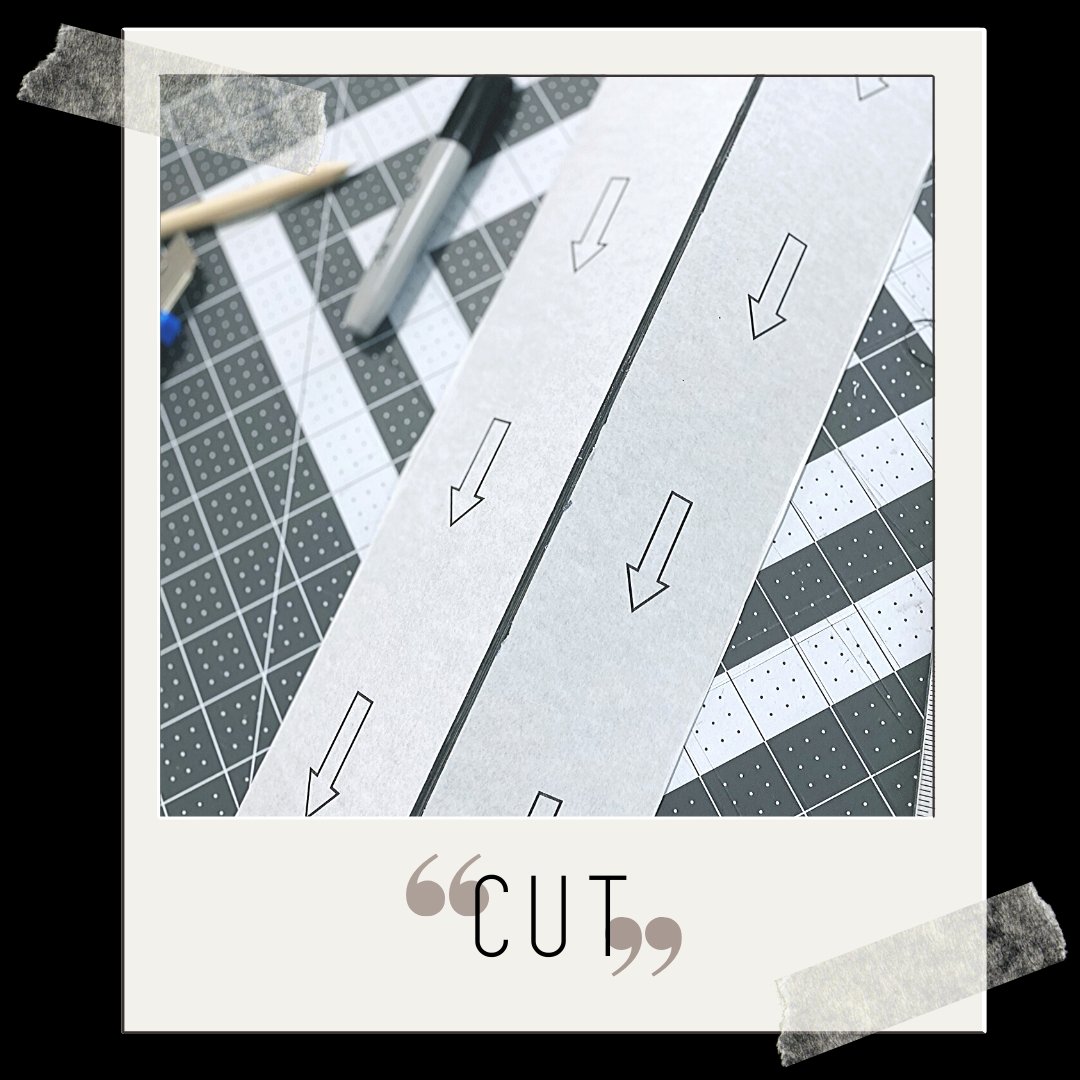
- And that’s it!
- I just worked my way down to the bottom

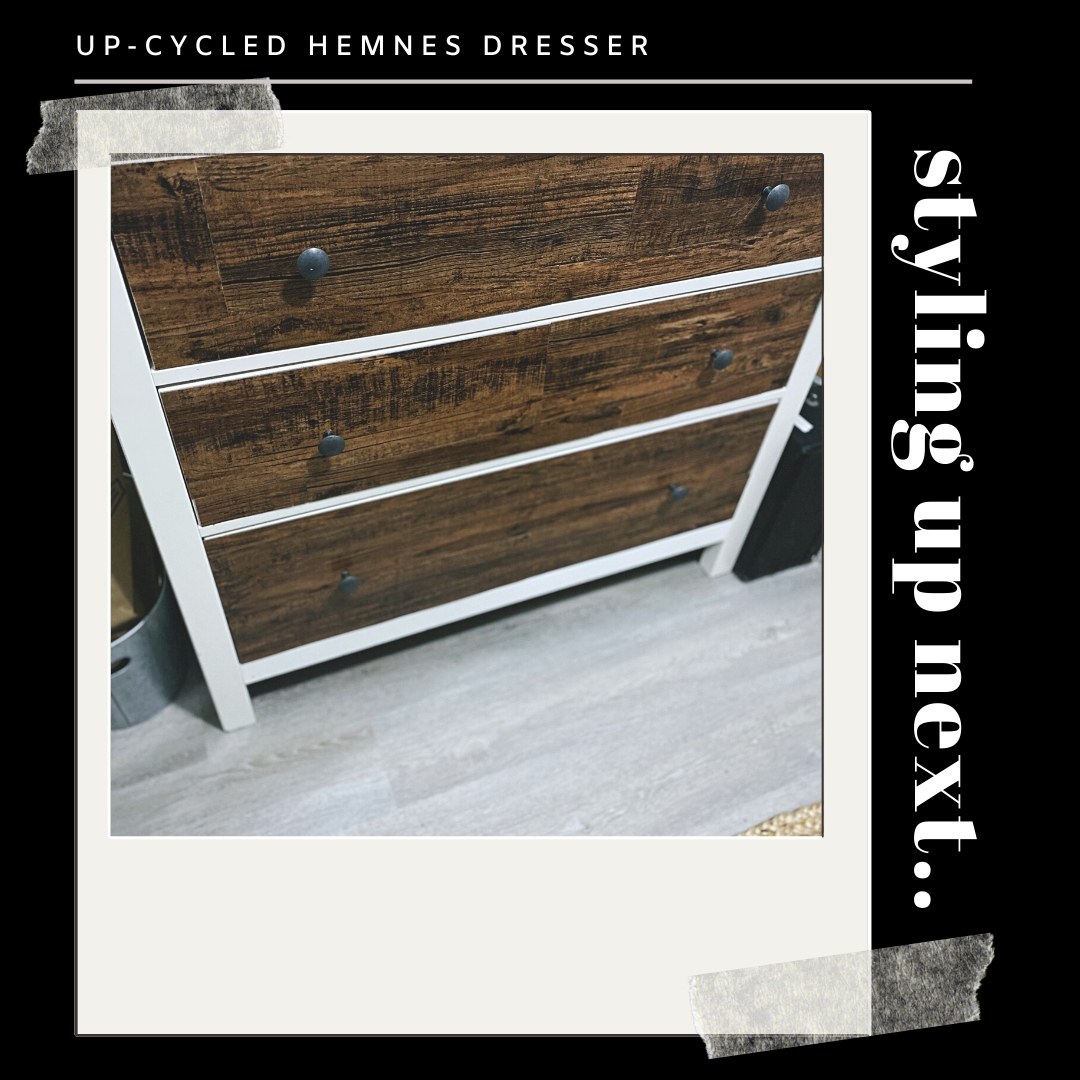
This took about 2 hours because of measuring, going back and forth and remeasuring, second guessing … ya know … all the stuff that goes into an UPCycle (LOL)
This project cost a total of $35.00 dollars which is the cost of the planks and the drawer pulls. Everything else I have on hand.
Part + Two | Knobs & Styling
- In part two I’ll add the knobs and style my little dresser. I don’t have them in yet, so I will show off the final UP-Cycle next Friday.
- I’m hoping to have the bottoms braced as well.
[adinserter name=”Block 13″]
With that I’ll end here. Thanks so much for checking out my blog today. Have a great weekend, and I’ll see you back here on Monday. — Peace
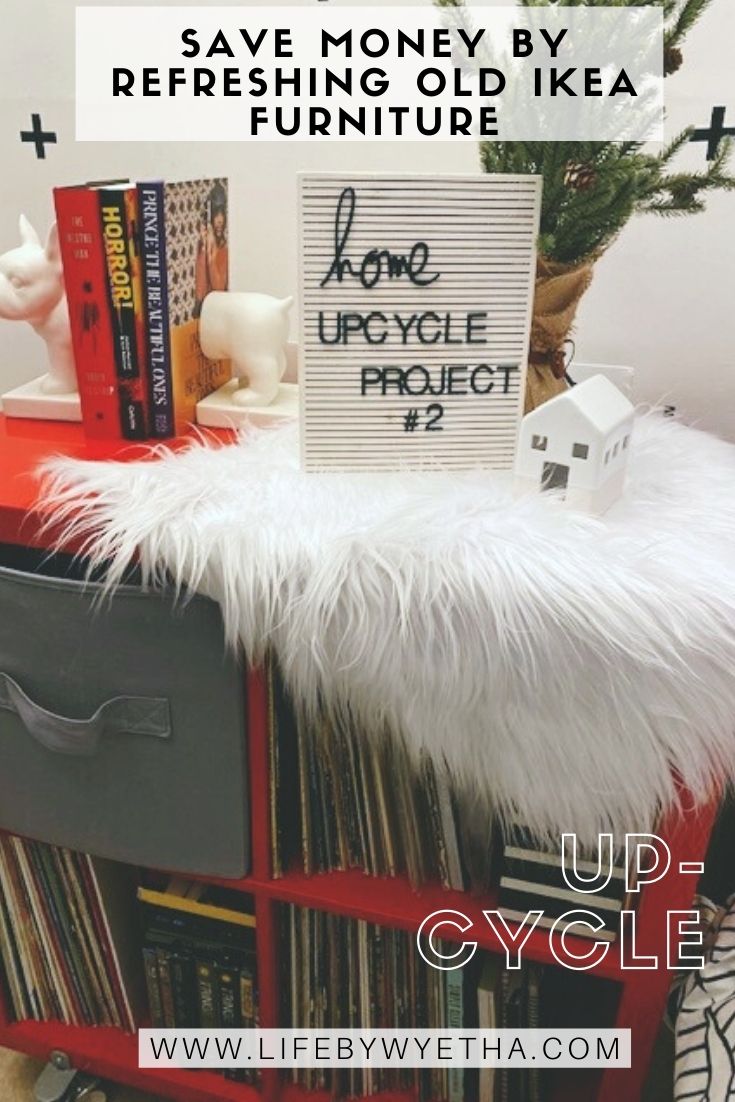
**Other UP-Cycle Projects**
 |
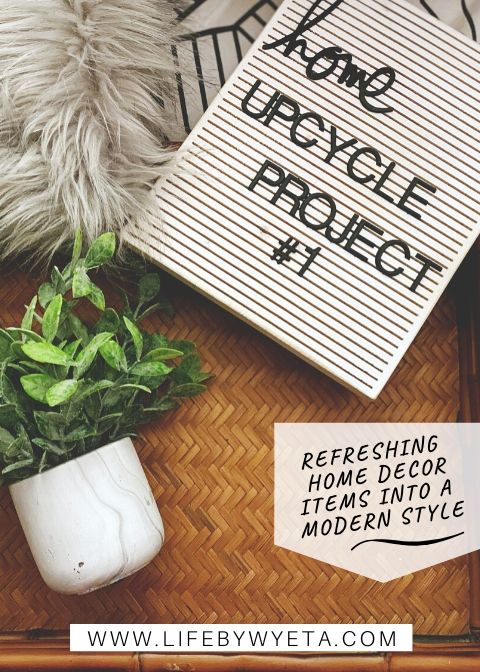 |
Pin Me!
Links!
 |
|
DISCLAIMER//As an Amazon Associate I earn from qualifying purchases on this site.
|