Happy Holidays Fam! Welcome or Welcome back to the blog.
Hello, my friends. I hope you are doing well, taking care of your body and mind, and checking in with friends and family this season. The temps have evened out a bit and we’re back to the 40s which trust me is better than 29 degrees.

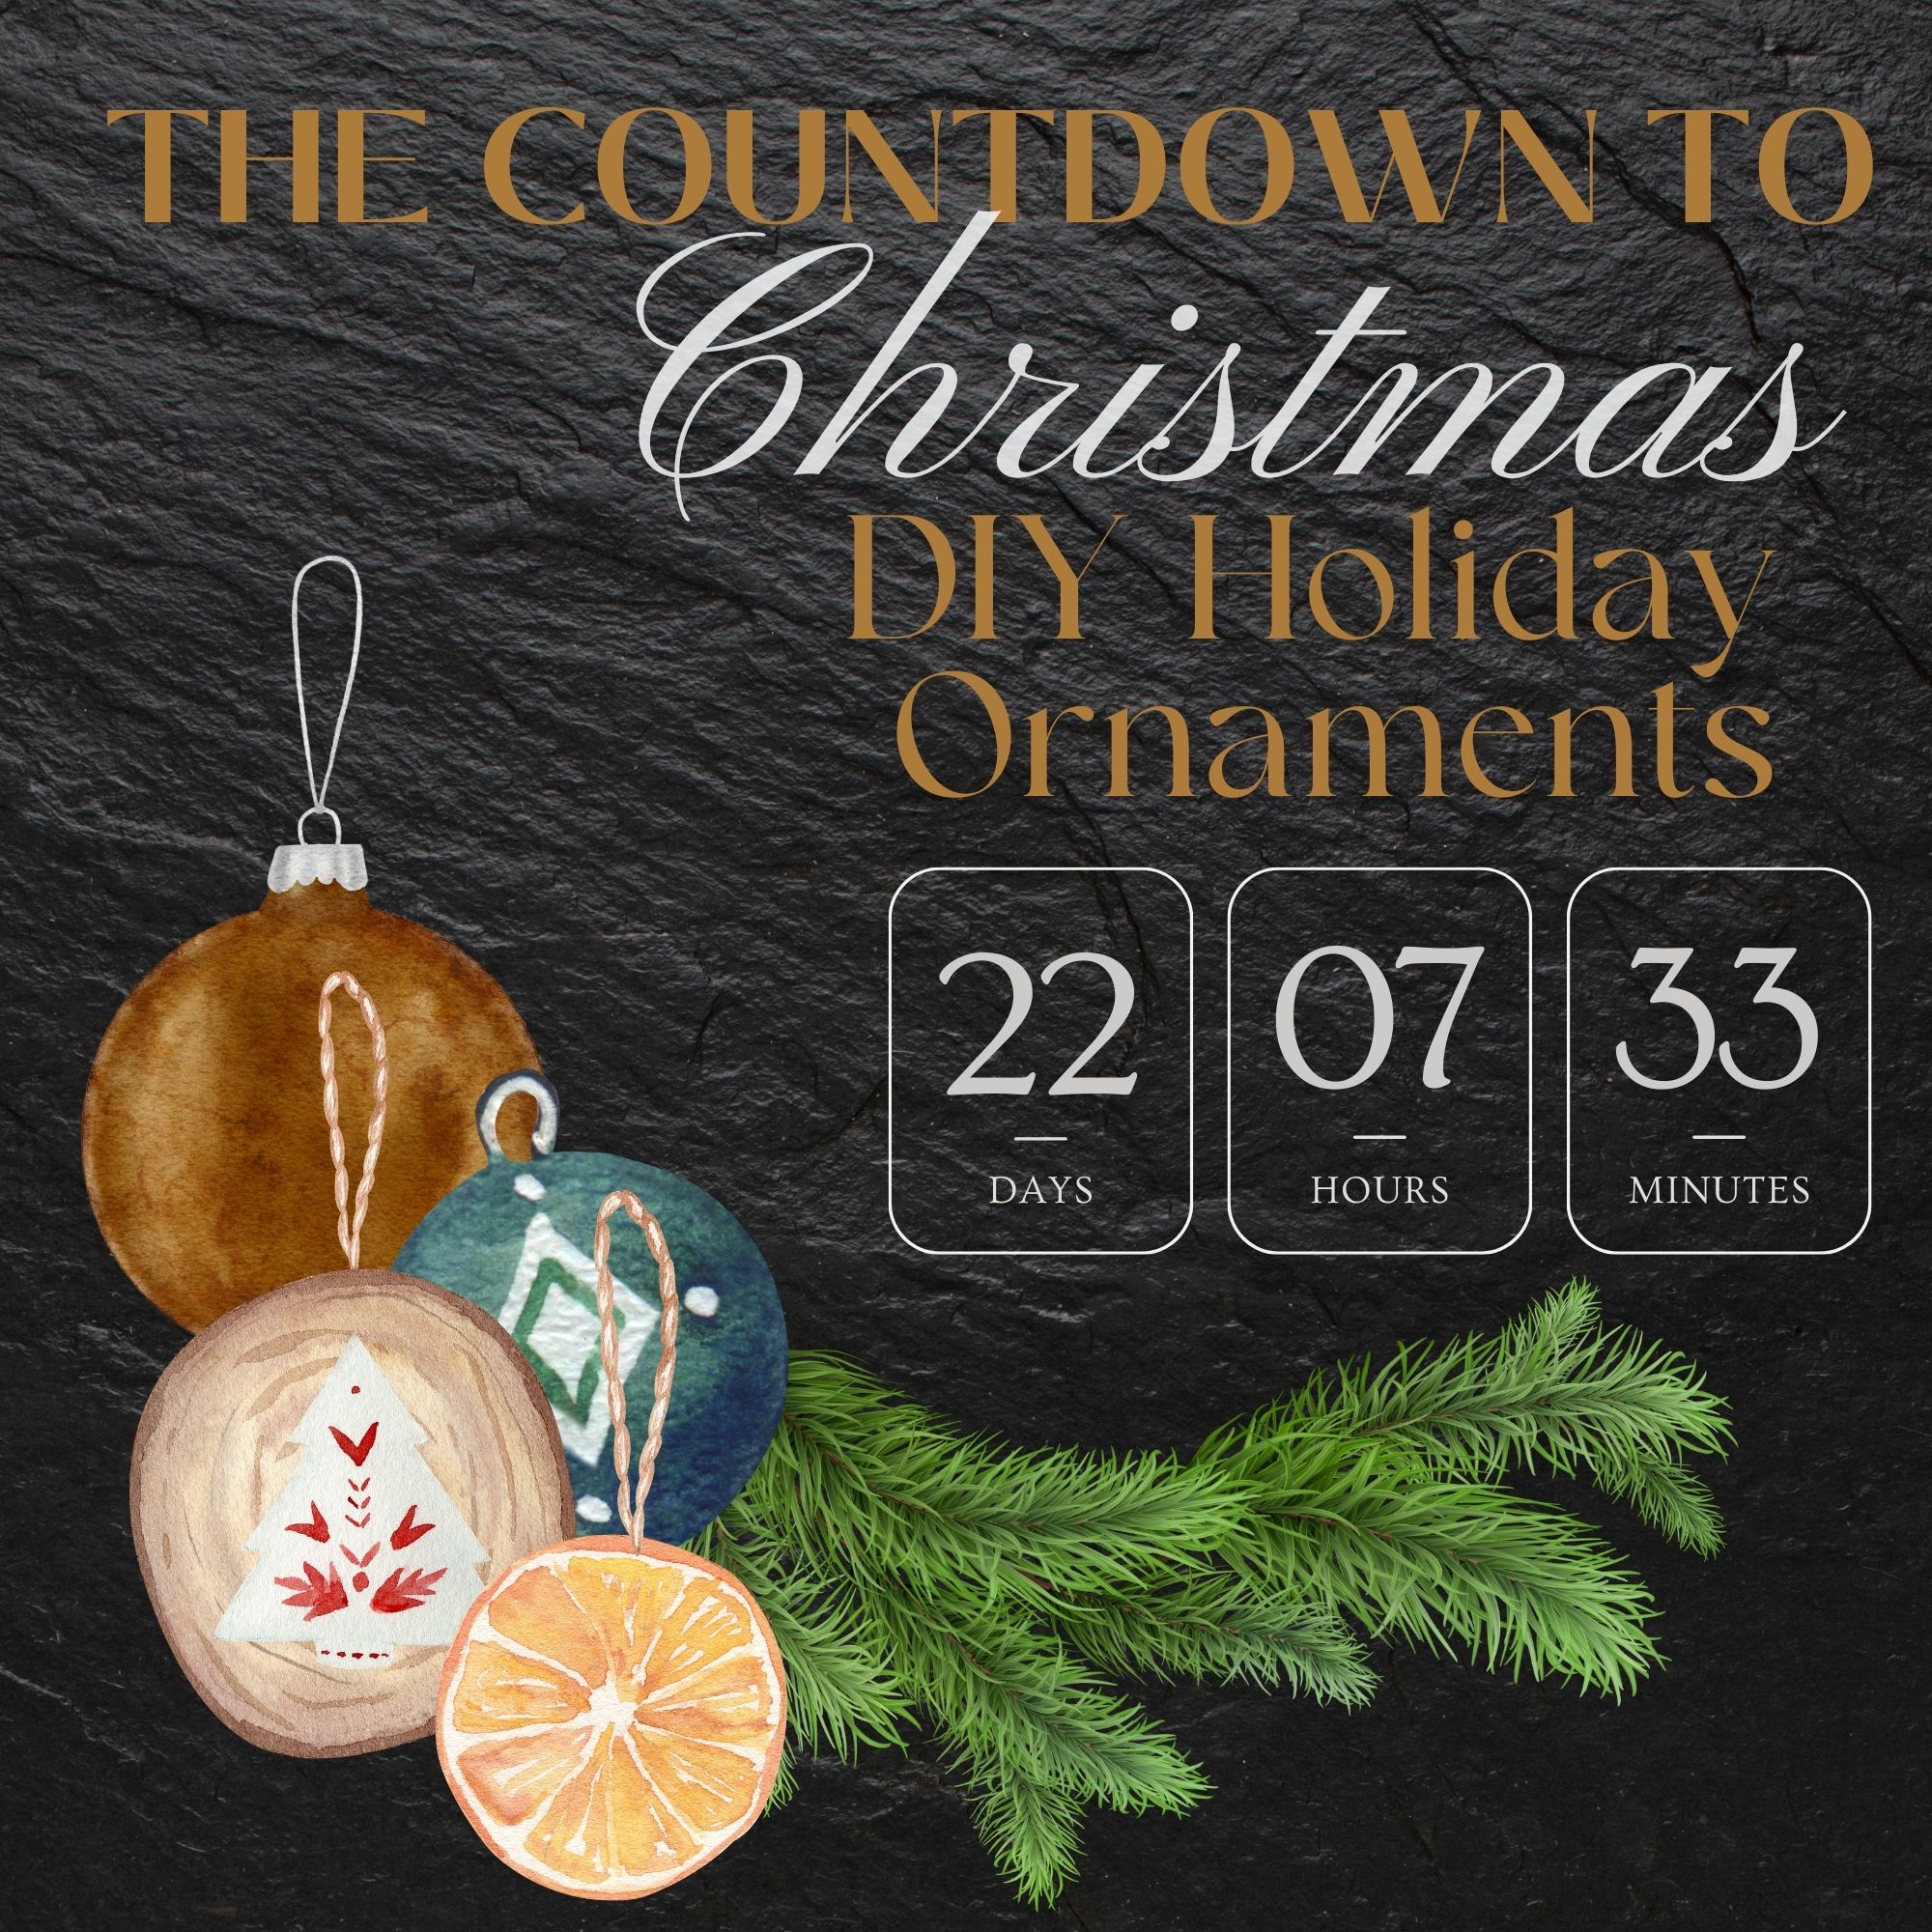
From my last post you know I’m counting down, and if time permits I’ll be able to do my 12 days of Christmas series, right up until the Holiday eve. Friday I pulled the last of my decor from my storage unit. Unfortunately, the ornaments from Macy’s were not the color that I wanted so back to the store they went.
Pinterest has been coined as America’s Catalogue of Inspiration, so below there is a quick YouTube video tutorial of the first set of ornaments I finished.
The supplies needed were simple but there were some CONs to this. I made several attempts at what the video shows but I’m not achieving the results I want.
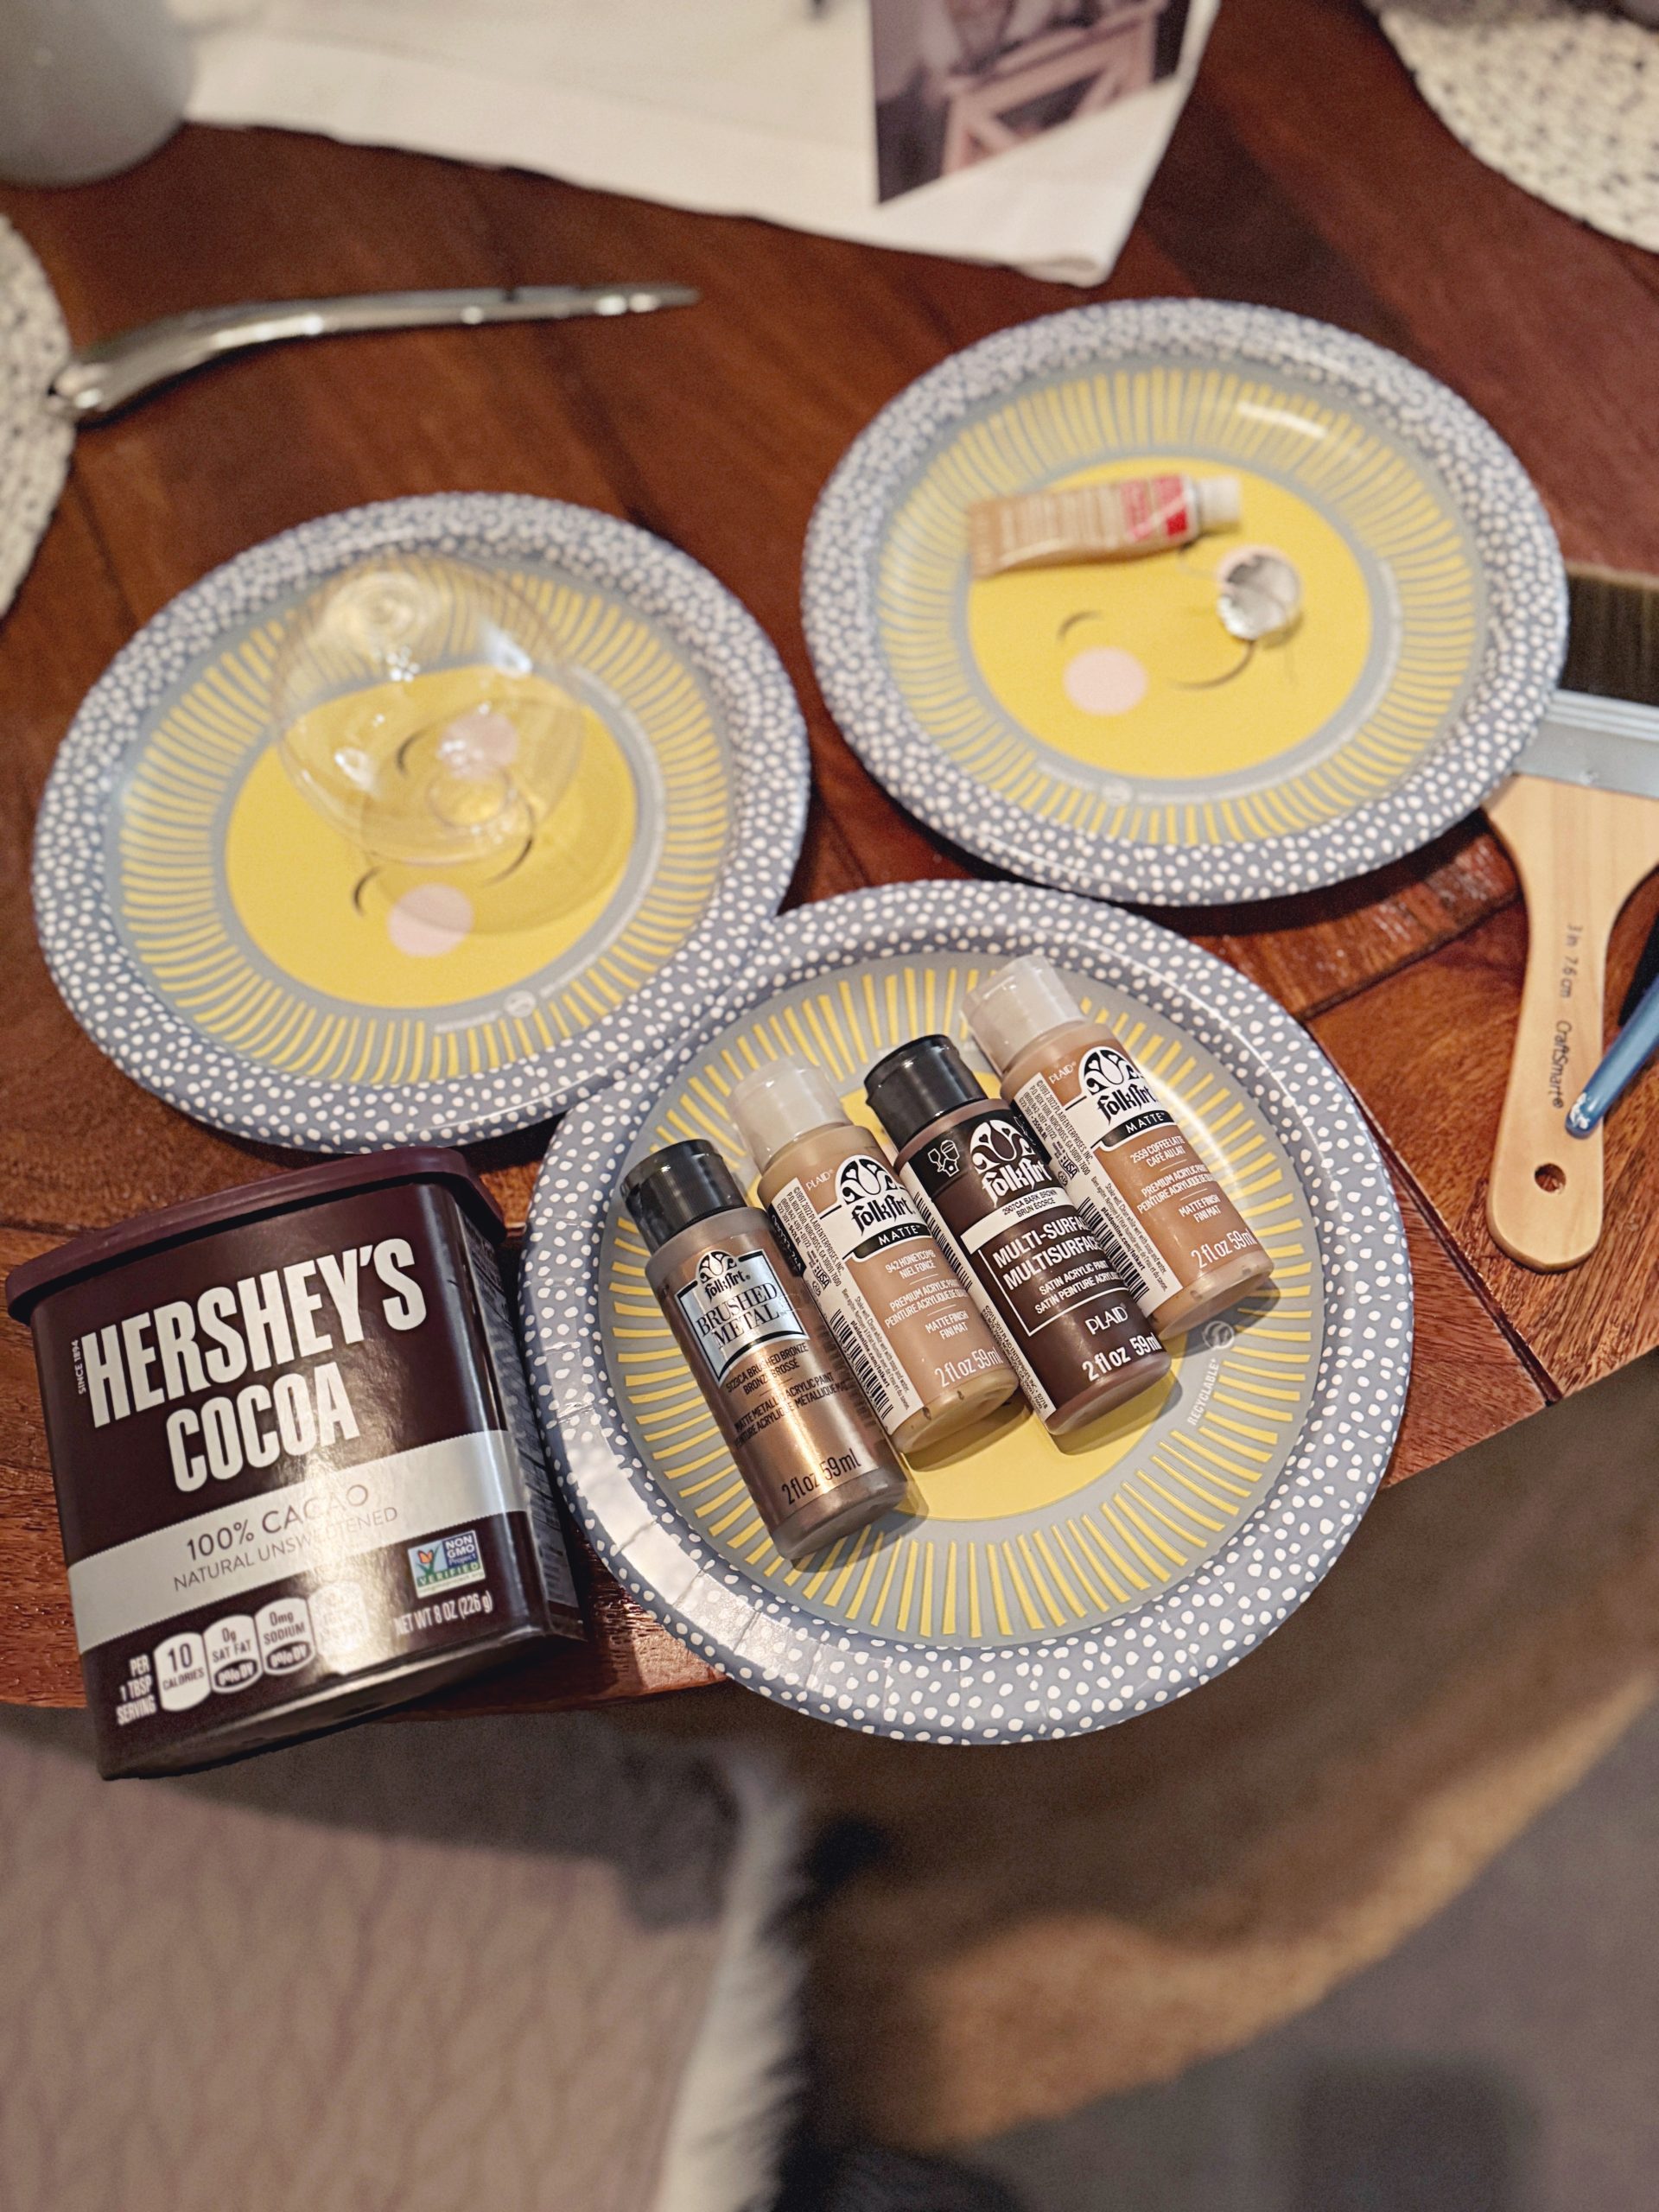
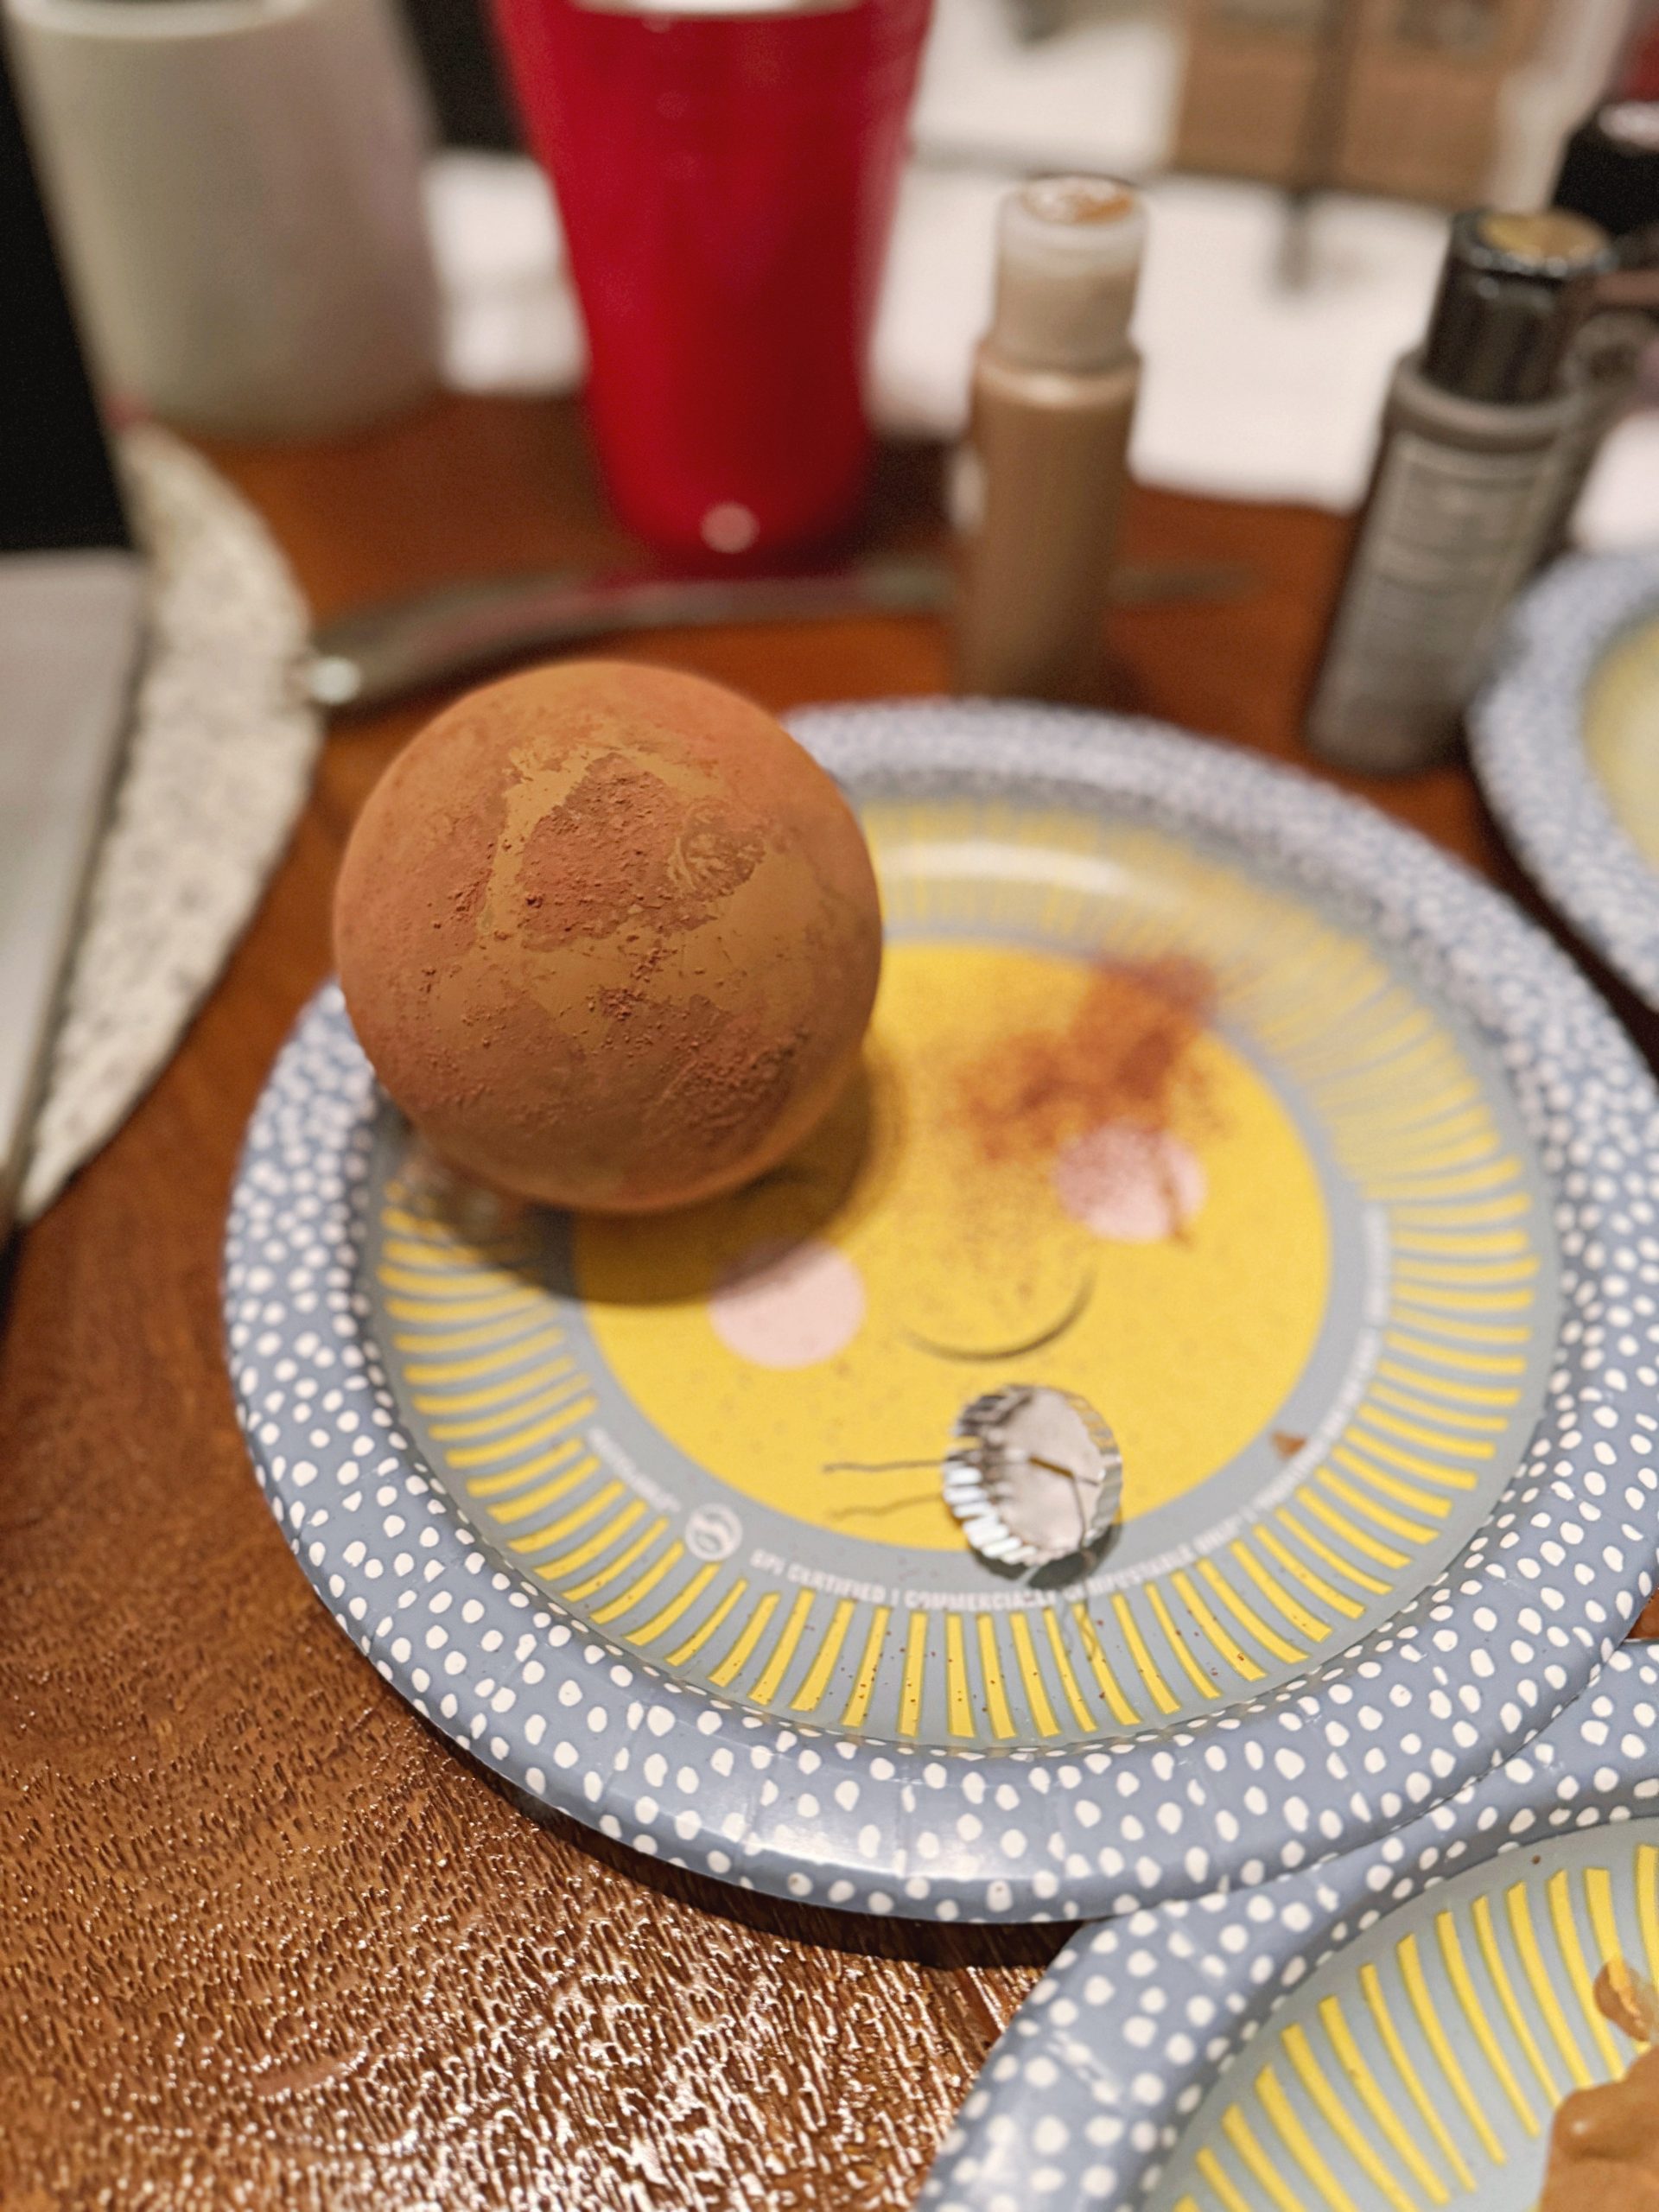
Now …after tying this a few times, I’m not sure these will last. What I’ve found is that while I love the rich color of the cocoa powder, the dust is still coming off, hence when I hang them that same dust will come off onto my tree and gifts. So I used Mod Podge to paint over them to seal it in but that changes the color (and texture) of the ornament.
CONS
- The cocoa powder goes everywhere
- Cocoa powder continues to flake (even when it’s dry)
- While the smell is nice it’s overwhelming over time
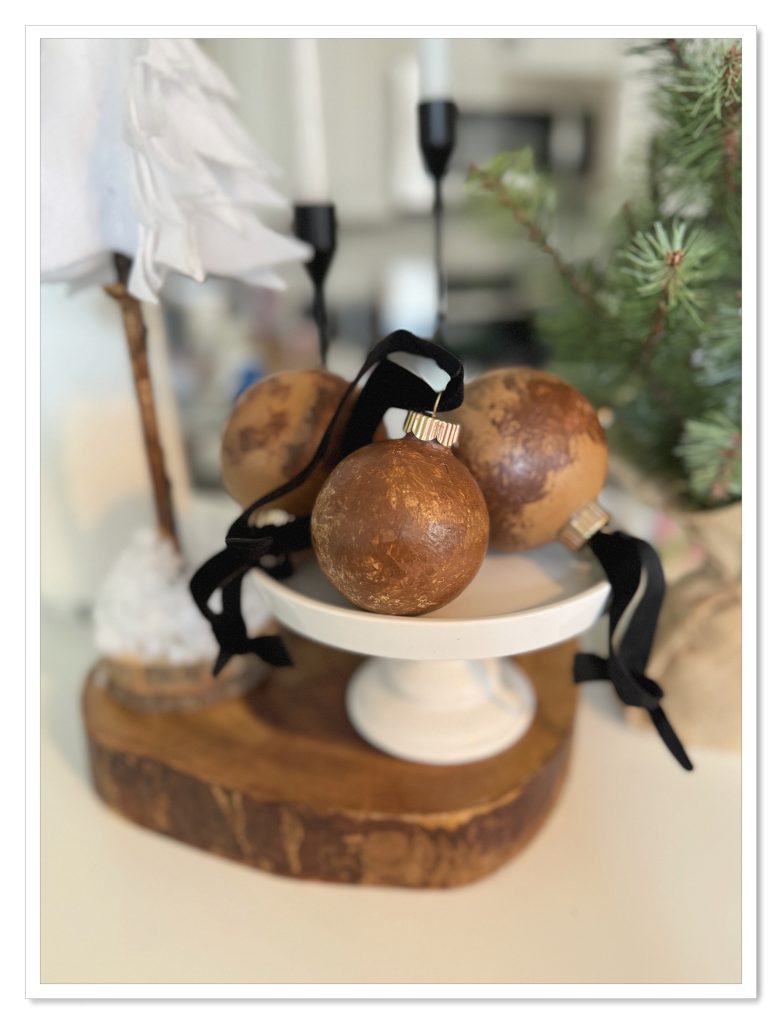
PROS
- Color is lovely
- Items were easy to find
- Makes a great statement piece
Here is the final result, and I must say they are lovely.
I didn’t like that process so I found another tutorial from AccordingToMandy (Pinterest via Instagram).

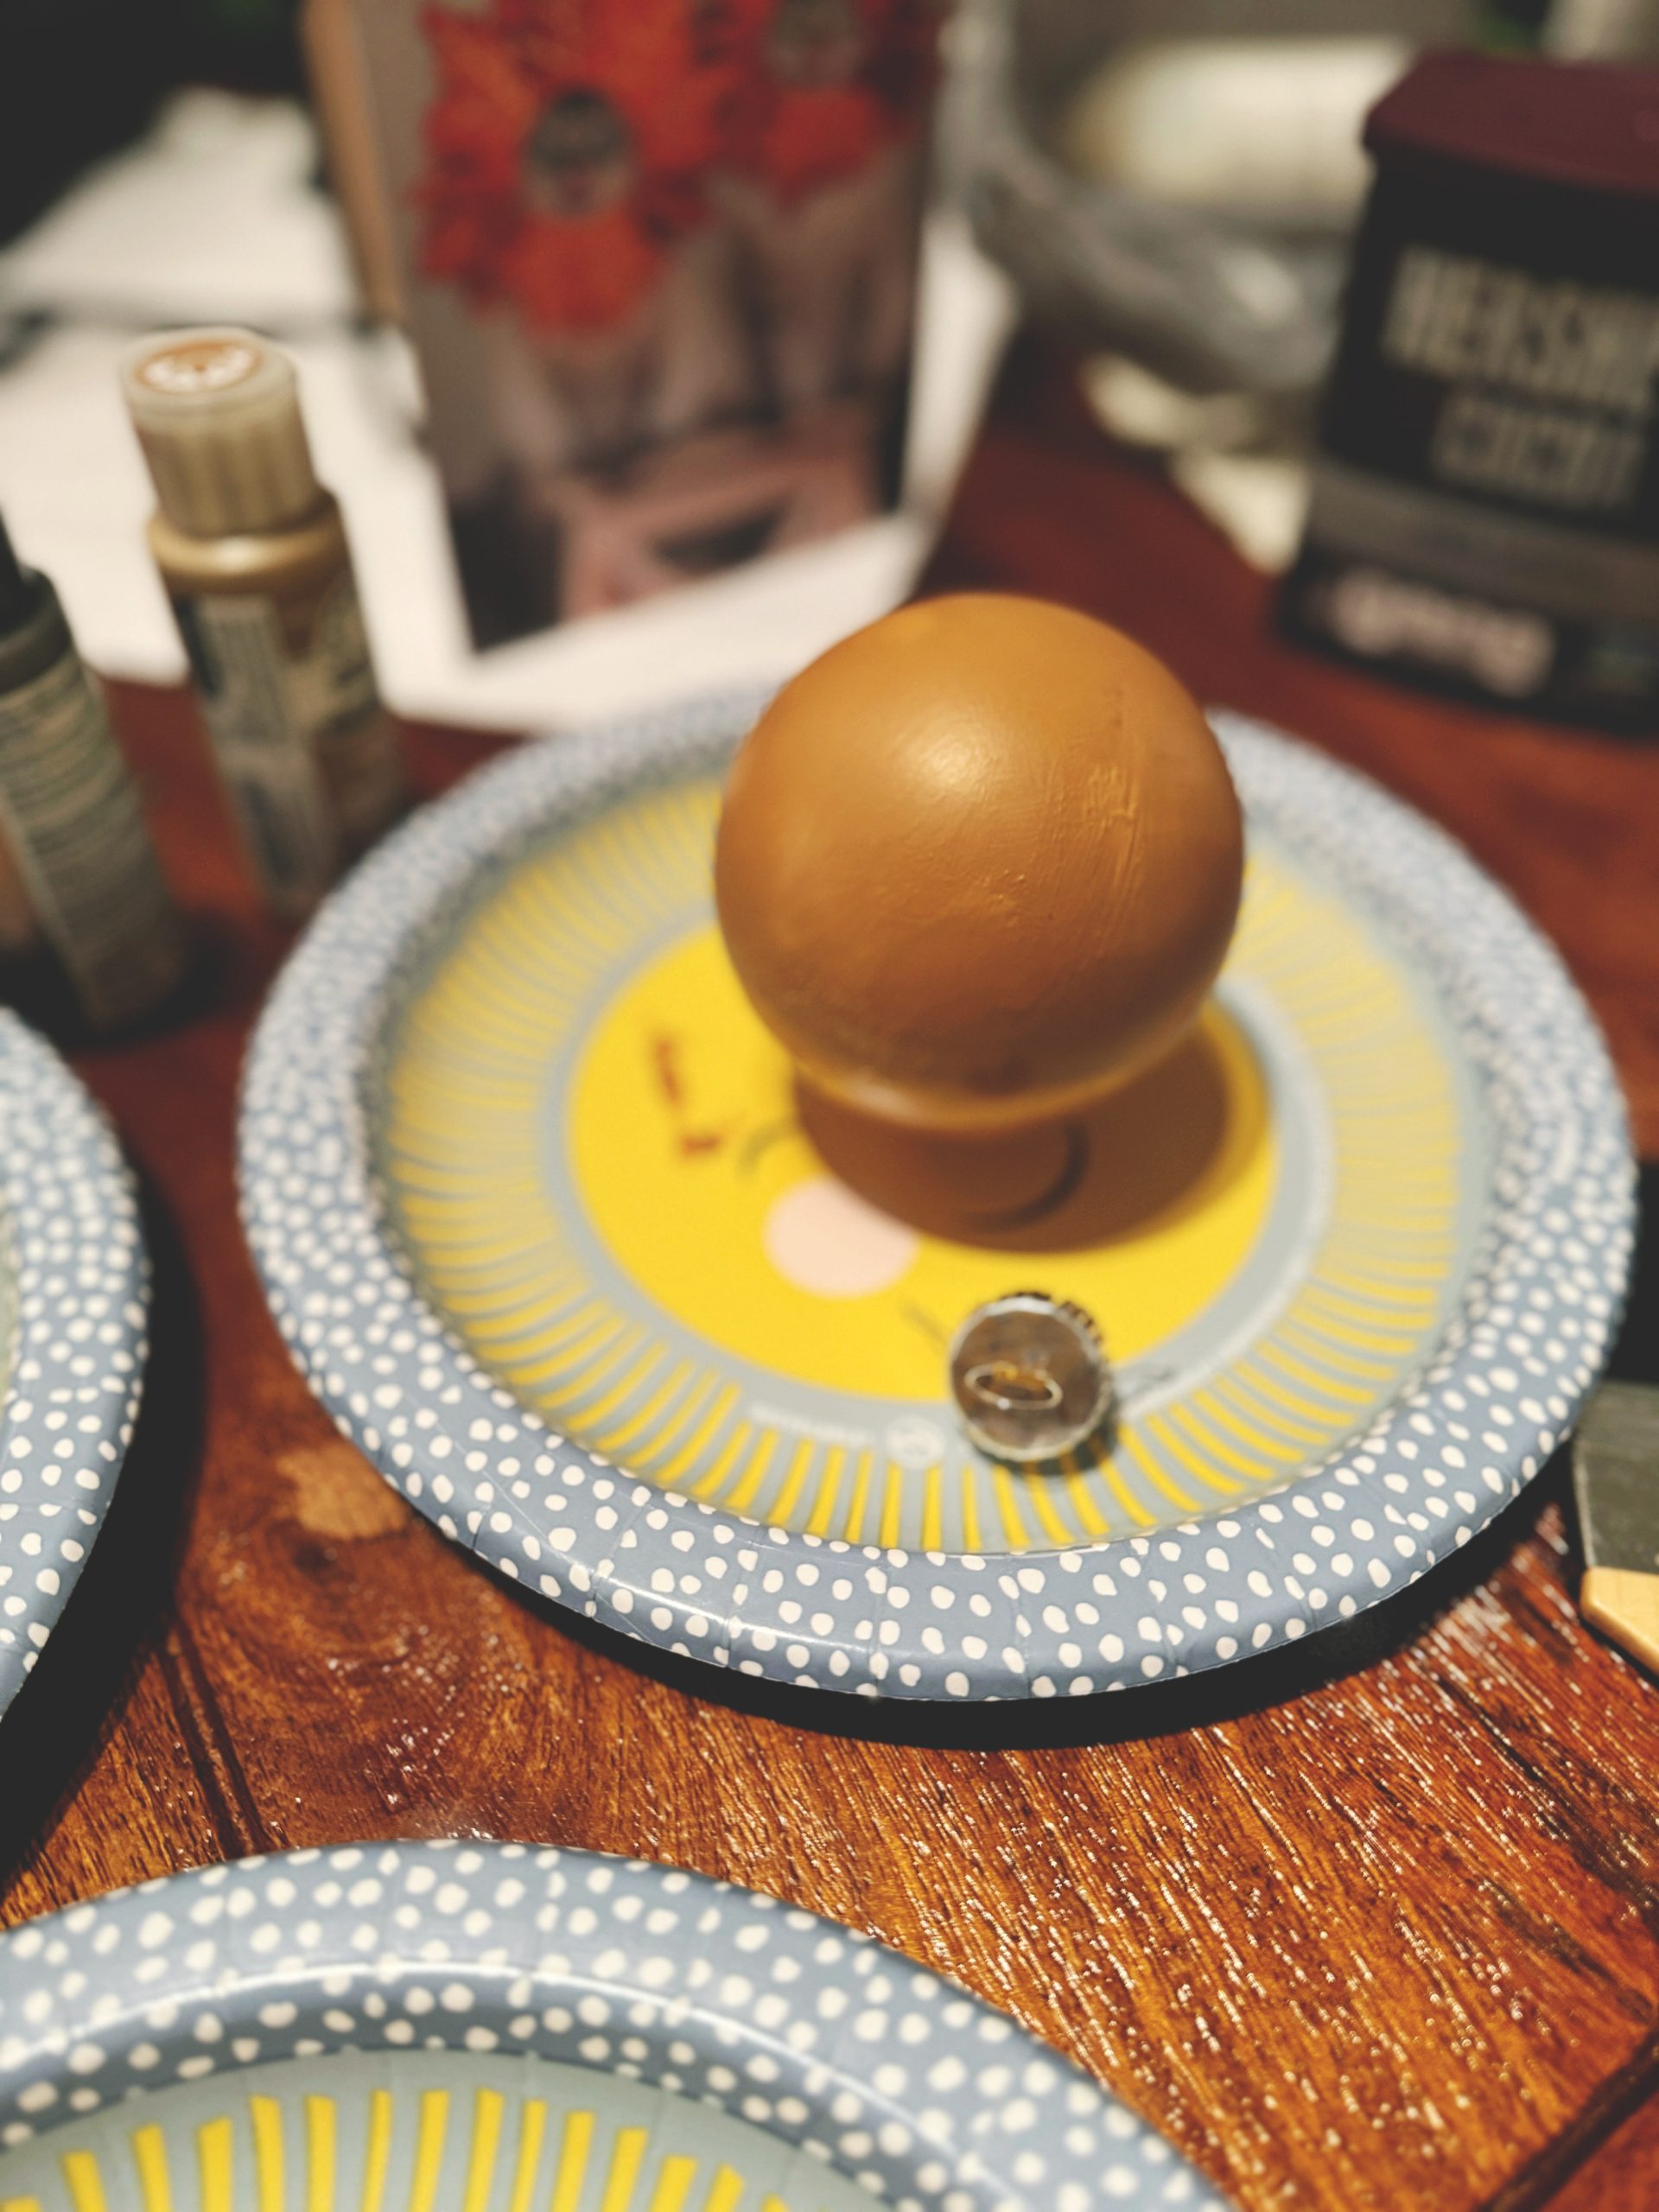
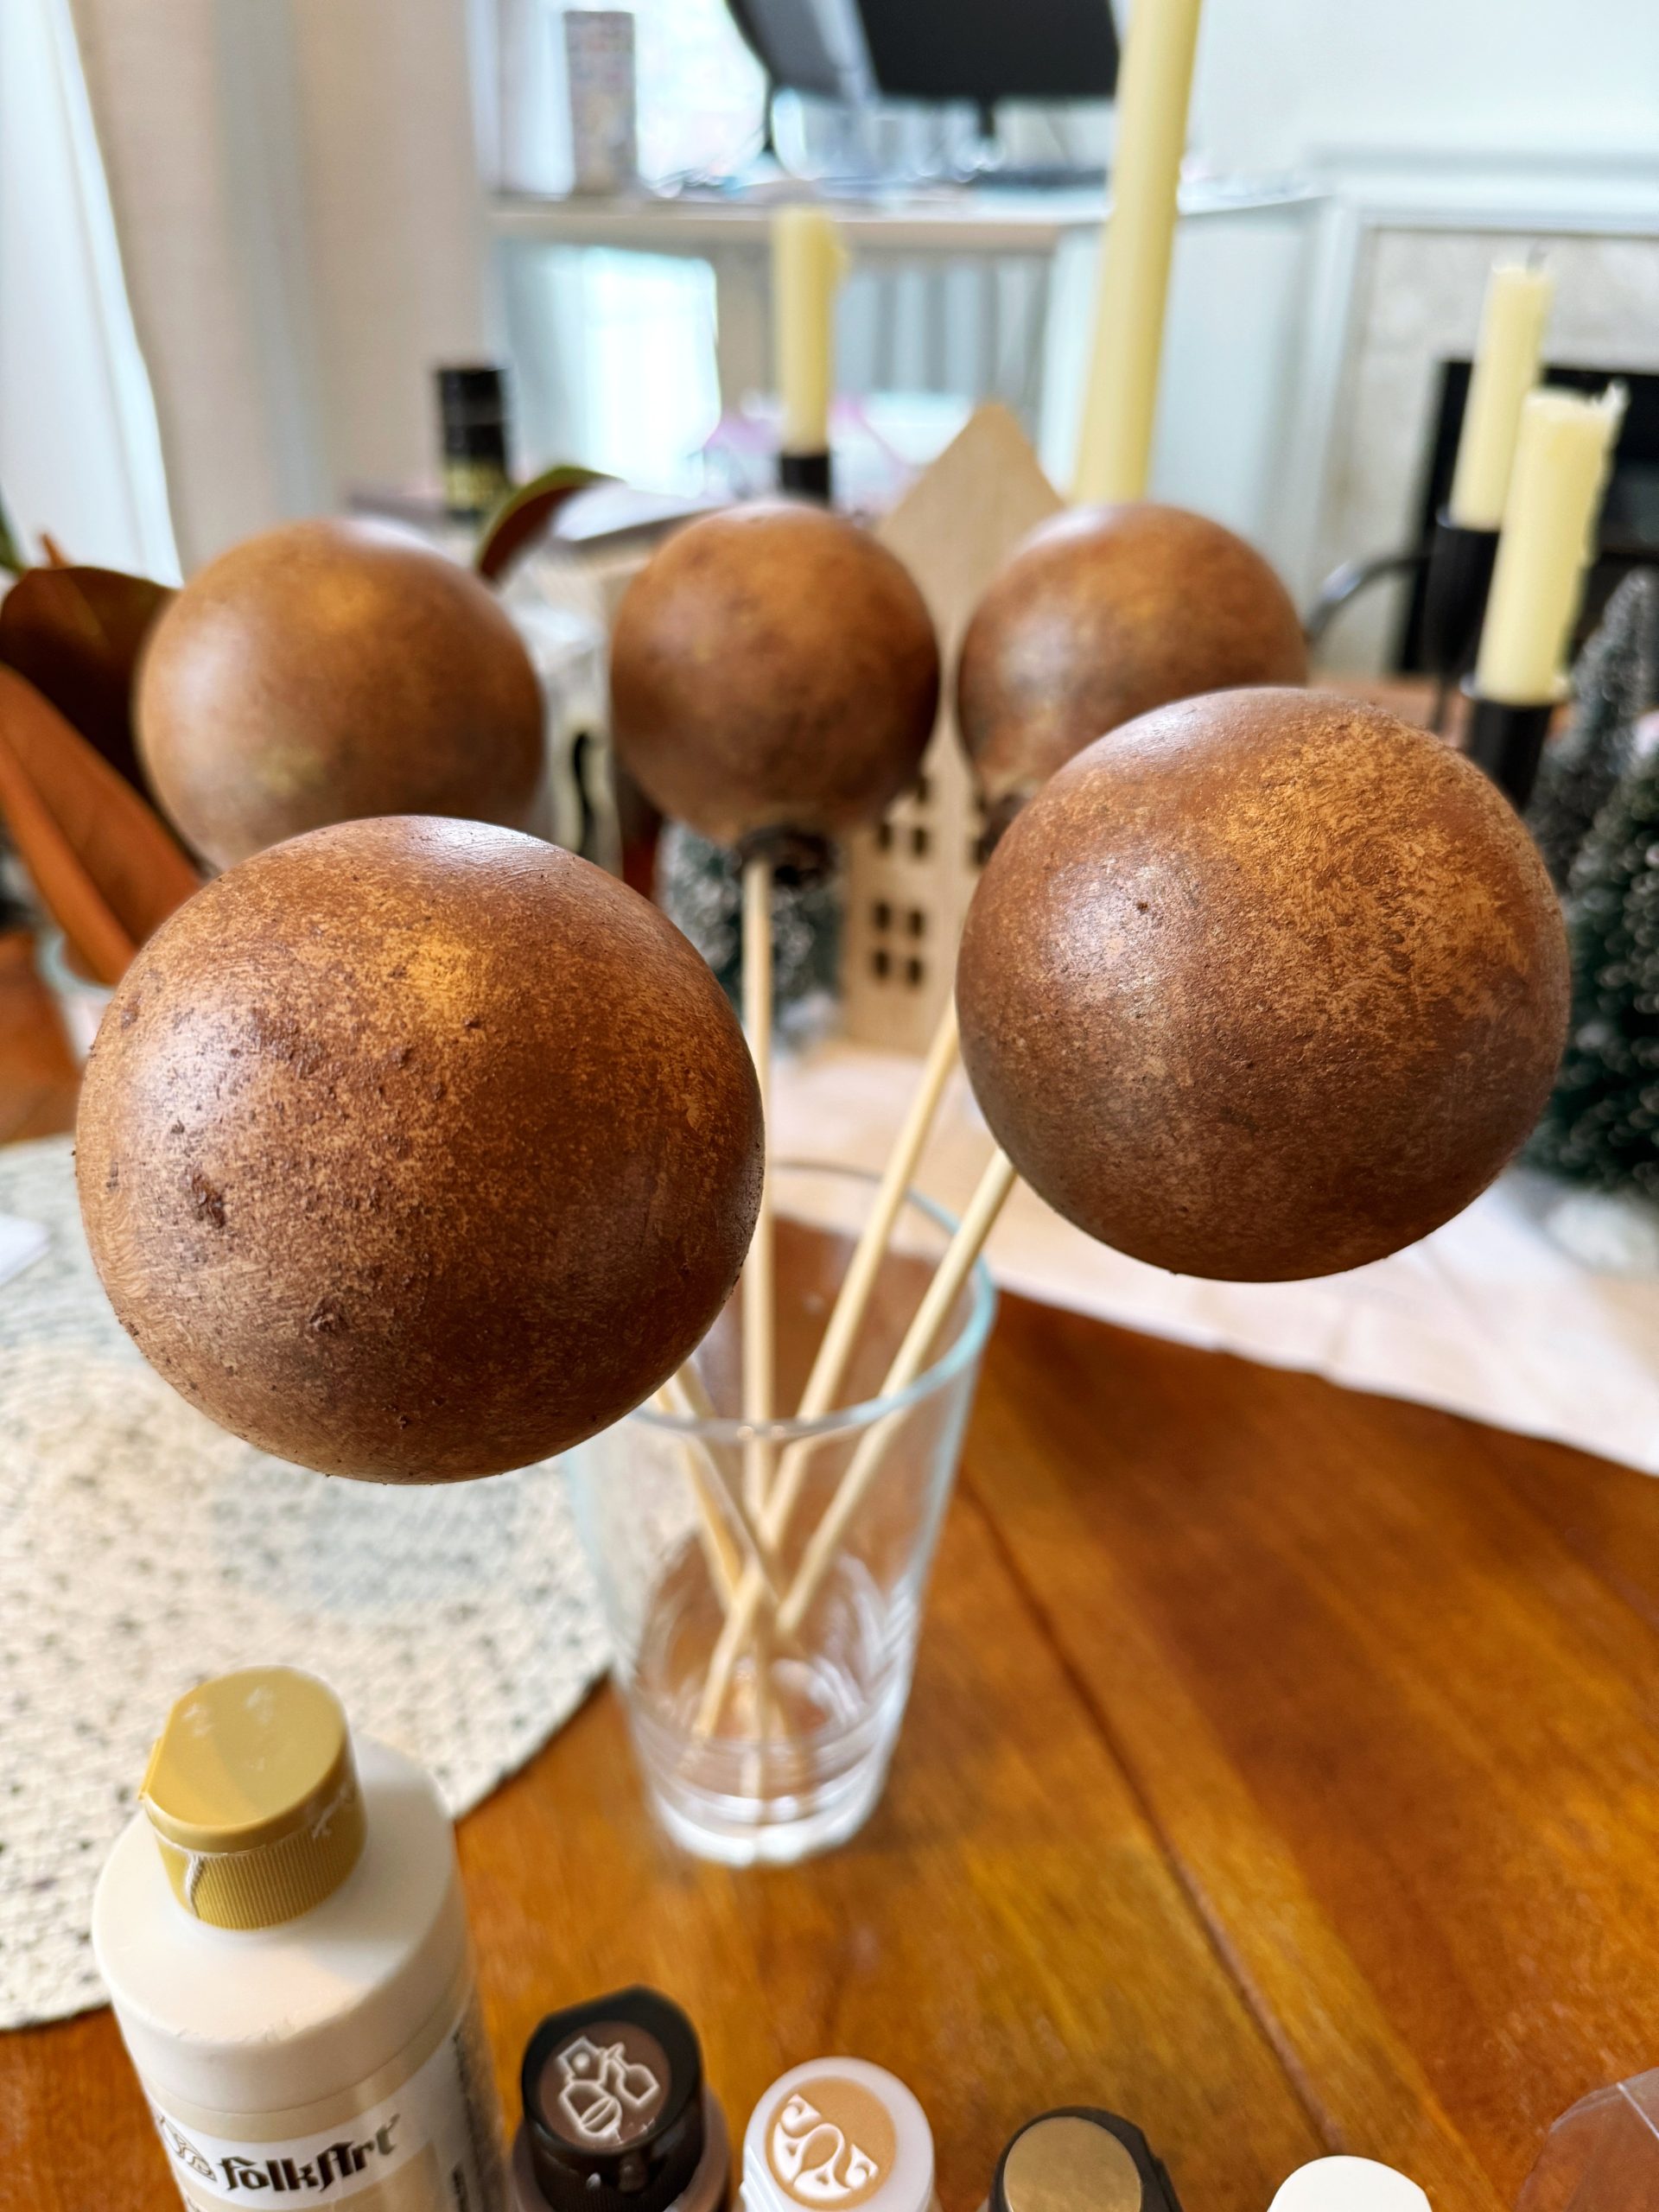
I used the same colors but this time I propped all the ornaments on skewers which made drying so much easier. I started with my lightest color (2 coats) and let that dry. Then used a sponge to blend in my brown color. Before the brown dried I used a small brush to stipple in little dots of Rub ‘n Buff, black, and rubbed bronze, and this is the result.
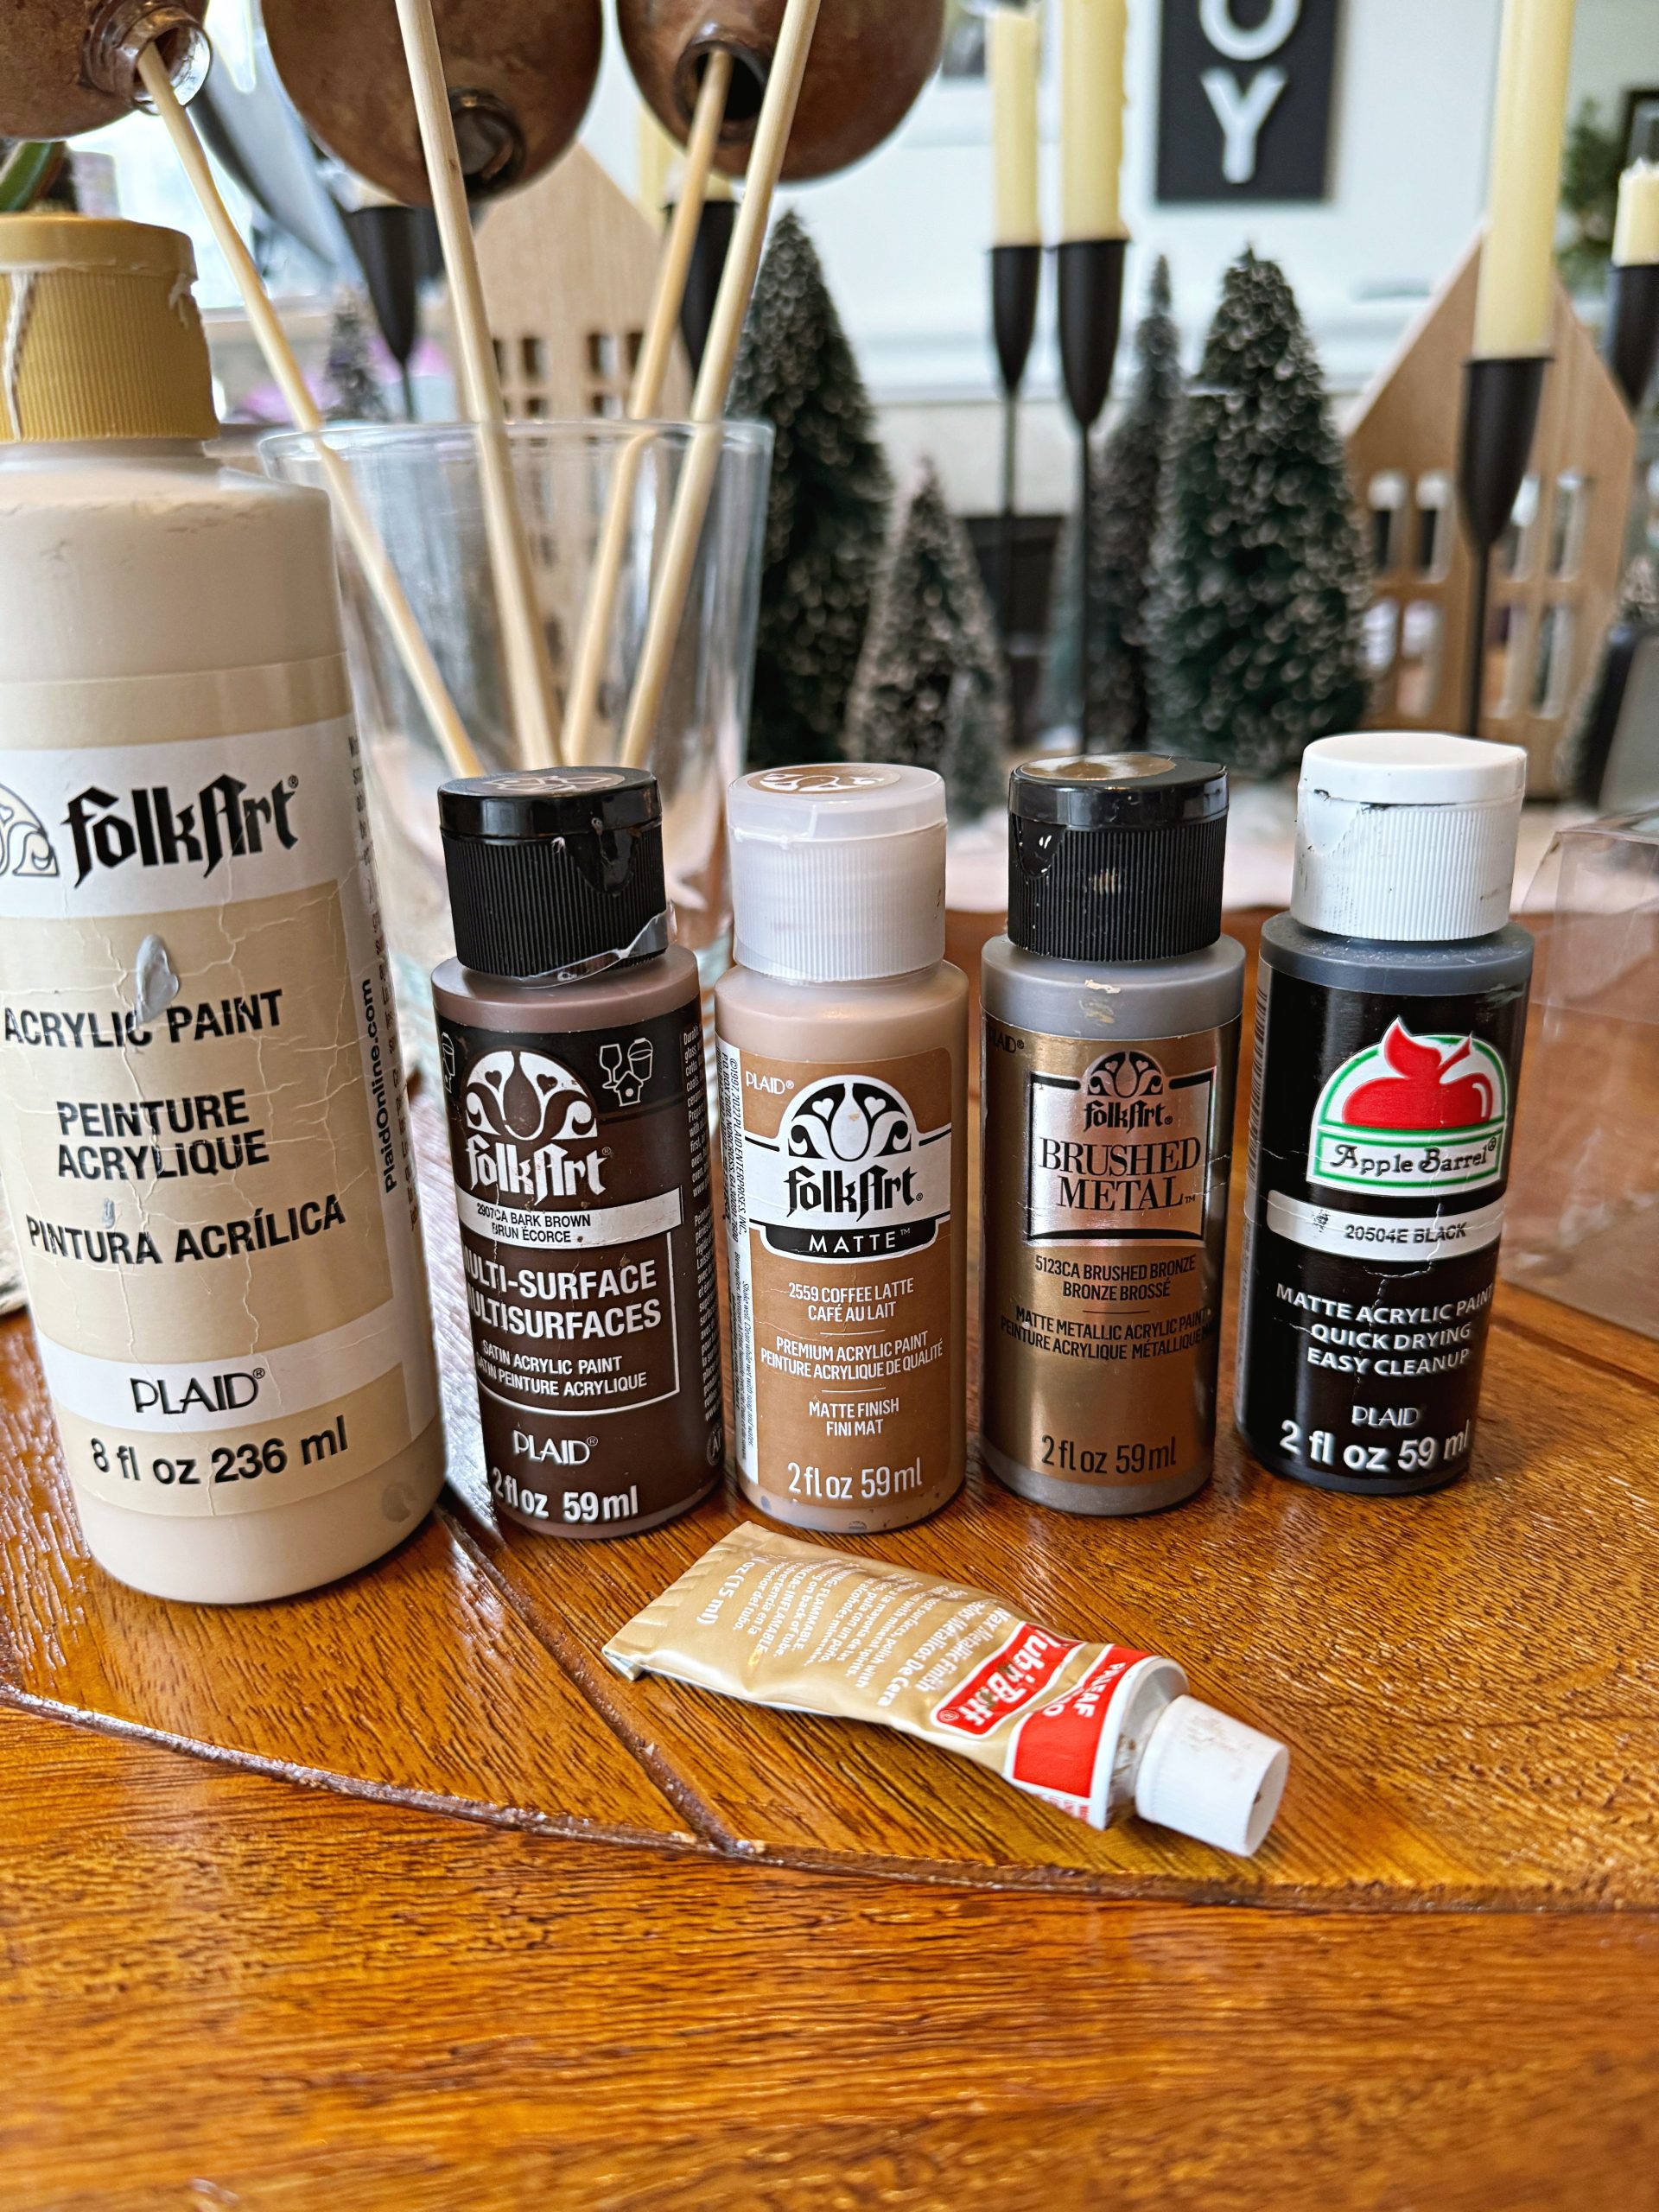
I also tried to use the Rub ‘n Buff on the silver toppers but that didn’t work so I used some gold spray paint I had on hand. I’m so glad it worked because it’s at least 5 years old. (LOL)
The Final Result
![]()
On the stand are the originals, and in the black bowl are the new ones. Which one do you like better? This DIY was challenging but it forced me to try something different to get what I wanted. I do love them all and I can’t wait to incorporate them in my tree.
Thanks so much for visiting the blog today. Don’t forget to like, or comment, and I’ll see you back here soon with more holiday prep.
