

Hello Friends and Happy Friday from wherever you are! Thanks so much for visiting my blog today. I hope you stay awhile and consider subscribing.
If you’re part of the family…then Welcome Back! How are you today?
Hi Friends! How is everyone doing? I know that everything you’ve been hearing throughout the weeks is daunting but just hold on. God’s got you.
I’ve wanted to work on some kind of DIY for a while, but time just wouldn’t allow. Or, I couldn’t find the right Cricut template and got distracted with other things, and ended up not doing anything. The bad thing about having extra time is just that. DOING TOO MANY THINGS. ?
This week I worked on something simple … a bookmark. I have A LOT of materials on-hand such as wrapping paper, craft paper, balsa wood, pressboard you name it, but I wanted to work with my Cricut. (Which I’m still learning).
I went through two pieces of wood and lots of yarn for the tassels because I’m really out of practice. Making things like this use to be easy, but after 3 failed tassels, I managed to get two done.
Make It!

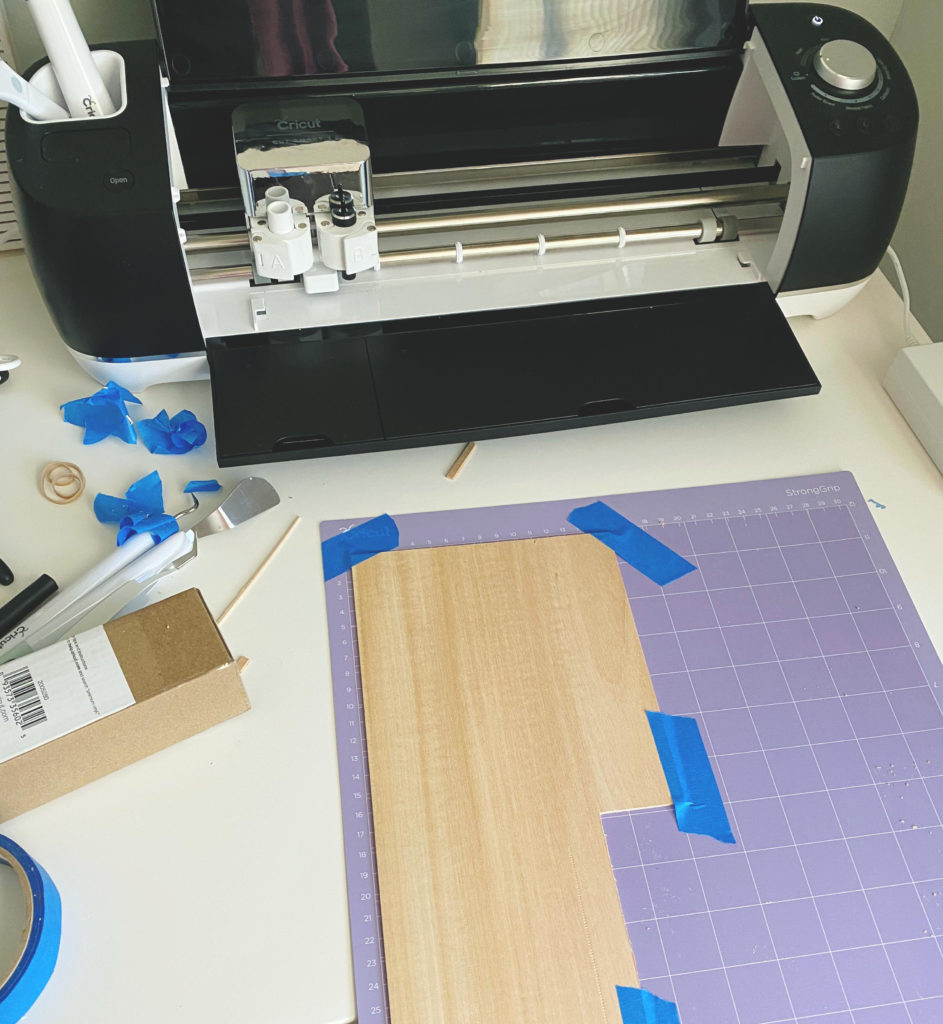
You don’t need a Cricut Maker for this DIY, I used mine because I wanted to work with the balsa wood. Balsa wood is very thin so you can cut it down with an X-acto knife.
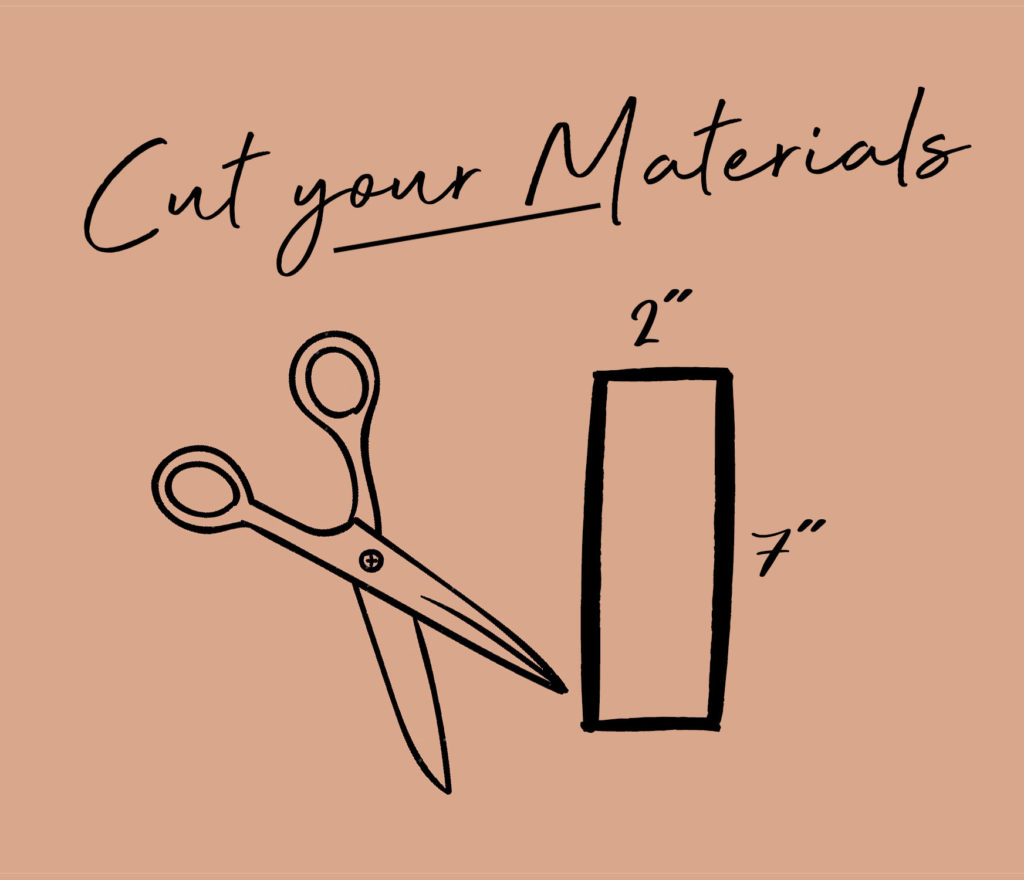
First I sized my bookmark in the program (the 2nd time round…LOL) to 2″ x 6″ (err 5). You can also use scissors or your knife to cut down your material to your bookmark shape and size. (My wood had to be sanded around the edges because the cut was rough)
adinserter block=”11″
To make my hole I used the small X-acto knife, placed it where I wanted the hole, applied pressure, and turned it several times to make a little the hole. Once I could see through it, I inserted a wooden skewer to make it bigger, to allow for a large craft needle. If your using cardboard, a craft needle should work or a heavy-duty hole punch.
I should also note that if you’re wrapping your bookmark in craft paper to make your hole after your wrap it.
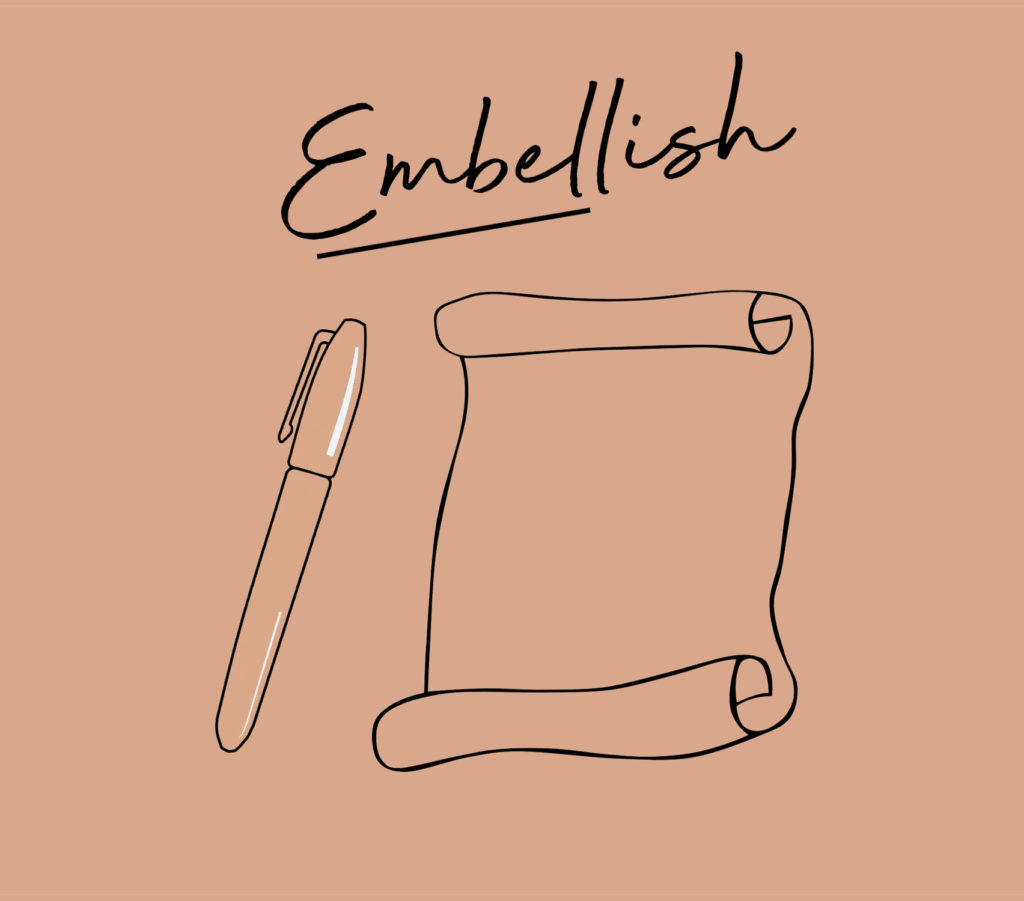
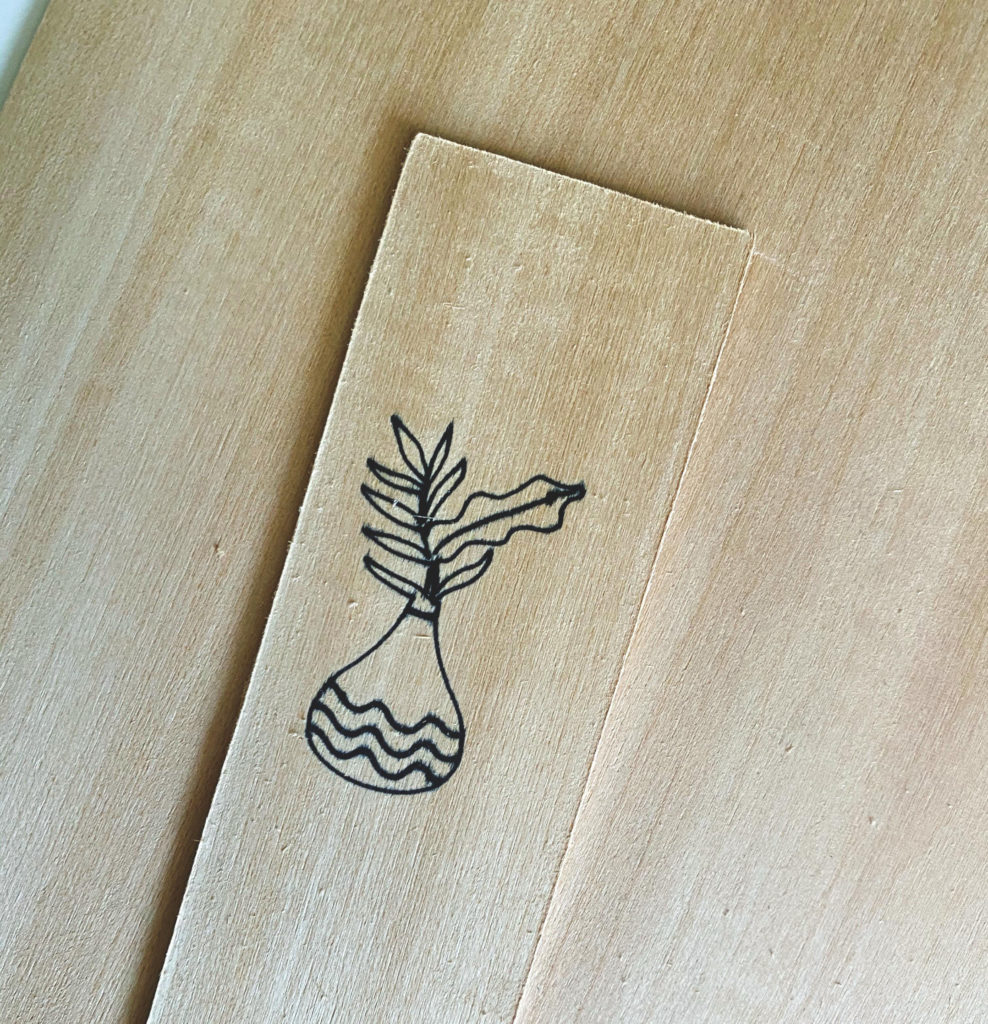
From here you can embellish your bookmark however you like, by using wrapping or decorative, craft paper, or paint. You can also use a black marker to make a design, and if your really “fancy” you can hand-draw your art. Remember that if your using paint to let if fully dry before you use it.
I used a tassel for decoration, but you could use a scrap leather cut into a strip, or add some wooden beads to embellish your bookmark.
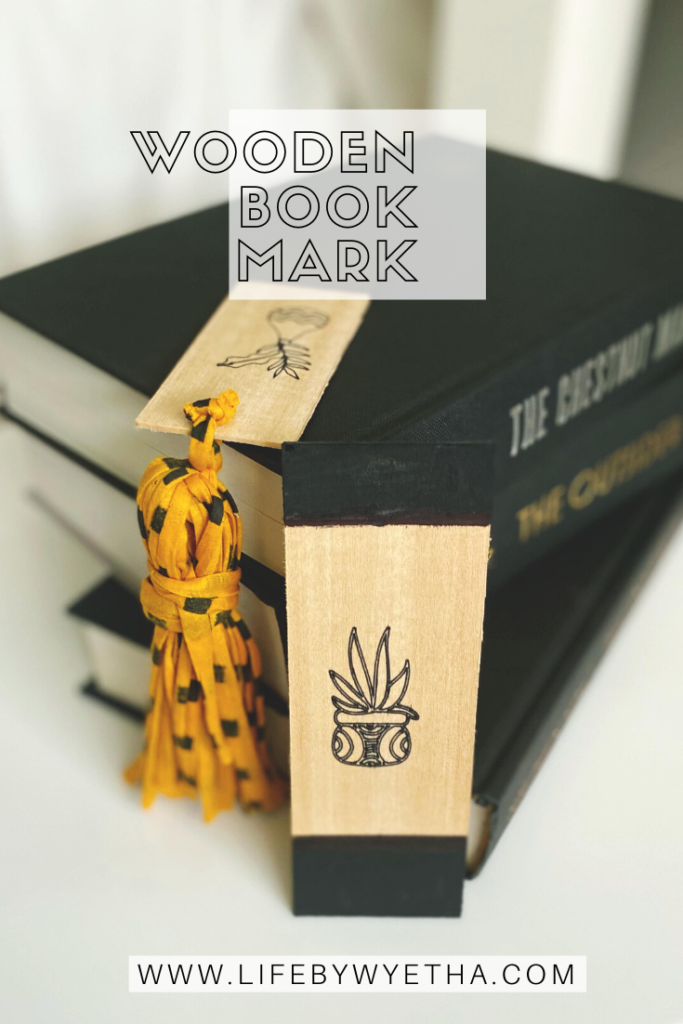
Here is how mine turned out.
*****
*****

*****
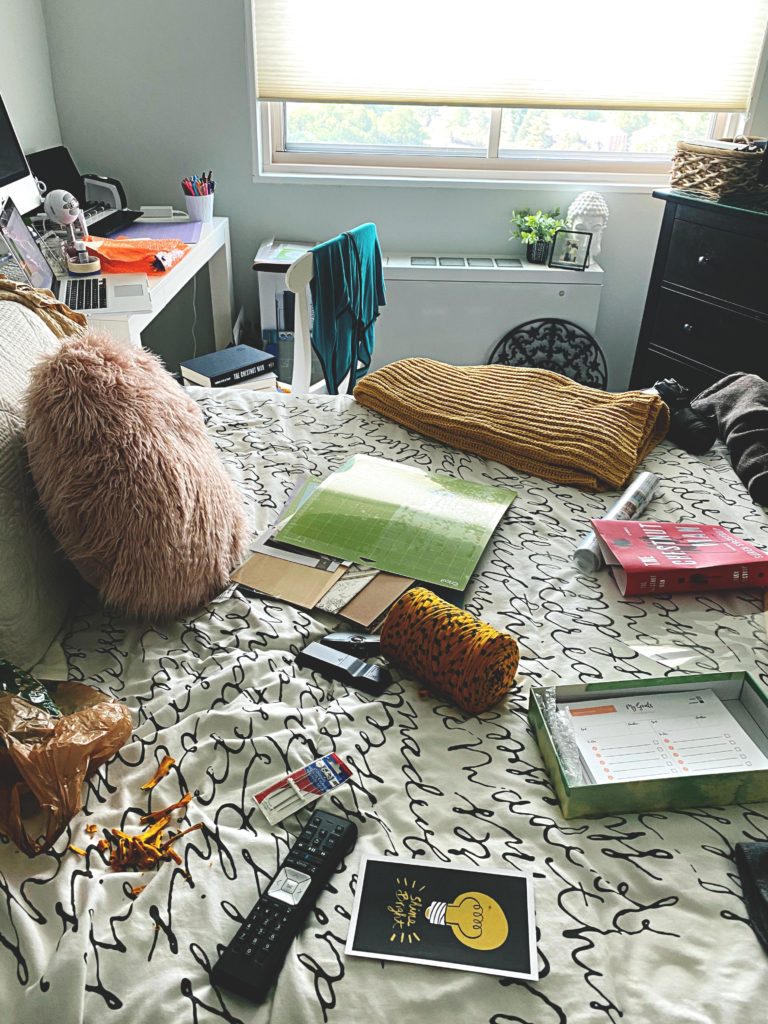
So let’s talk about the aftermath. Most folks don’t show what the after looks like, so here is my after. When I pull supplies from all the storage spaces in my room (because yes friends they’re still not all in one place) my space looks like a twister hit it. Also because I stage pictures for the header image and PIN, I pull items from everywhere.
I’ve also included some cool bookmark DIYs in these links.
Tatertots & Jello
Pottery Barn Teen
Hallmark…Think.Make.Share
With that, I’ll end my post today. I hope everyone has had a great week, stay safe amongst the chaos. Don’t forget to like, comment, and subscribe … have a great weekend. — Peace —

Check out my other DIY’s and Up|Cycles
Pin Me!
**As an Amazon Associate I earn from qualifying purchases on this site.**
Clip art for infographics | Freepik
Color Scheme | Brazil Coffee … Adobe Color