
Hello, beautiful people … It’s Friday! and if this is your first time on the blog, “Welcome” and I hope you consider subscribing or following.
If you’re part of the family…then Welcome Back! … Hugs all around and a nice big glass of Pinot.
We have arrived at yet another Friday! Did you have a good week? Everyone OK? … I’m gonna assume your nodding in agreement with your glass of Pinot, so let’s move onto today’s DIY project.

Today is Part 2 of my BJD sofa and the reveal. I’m really excited to share this with you because this will be the first time that I was semi-successful in a furniture build. If you missed Part 1 of how this humble little project began … I’ll link that here —> Part 1.
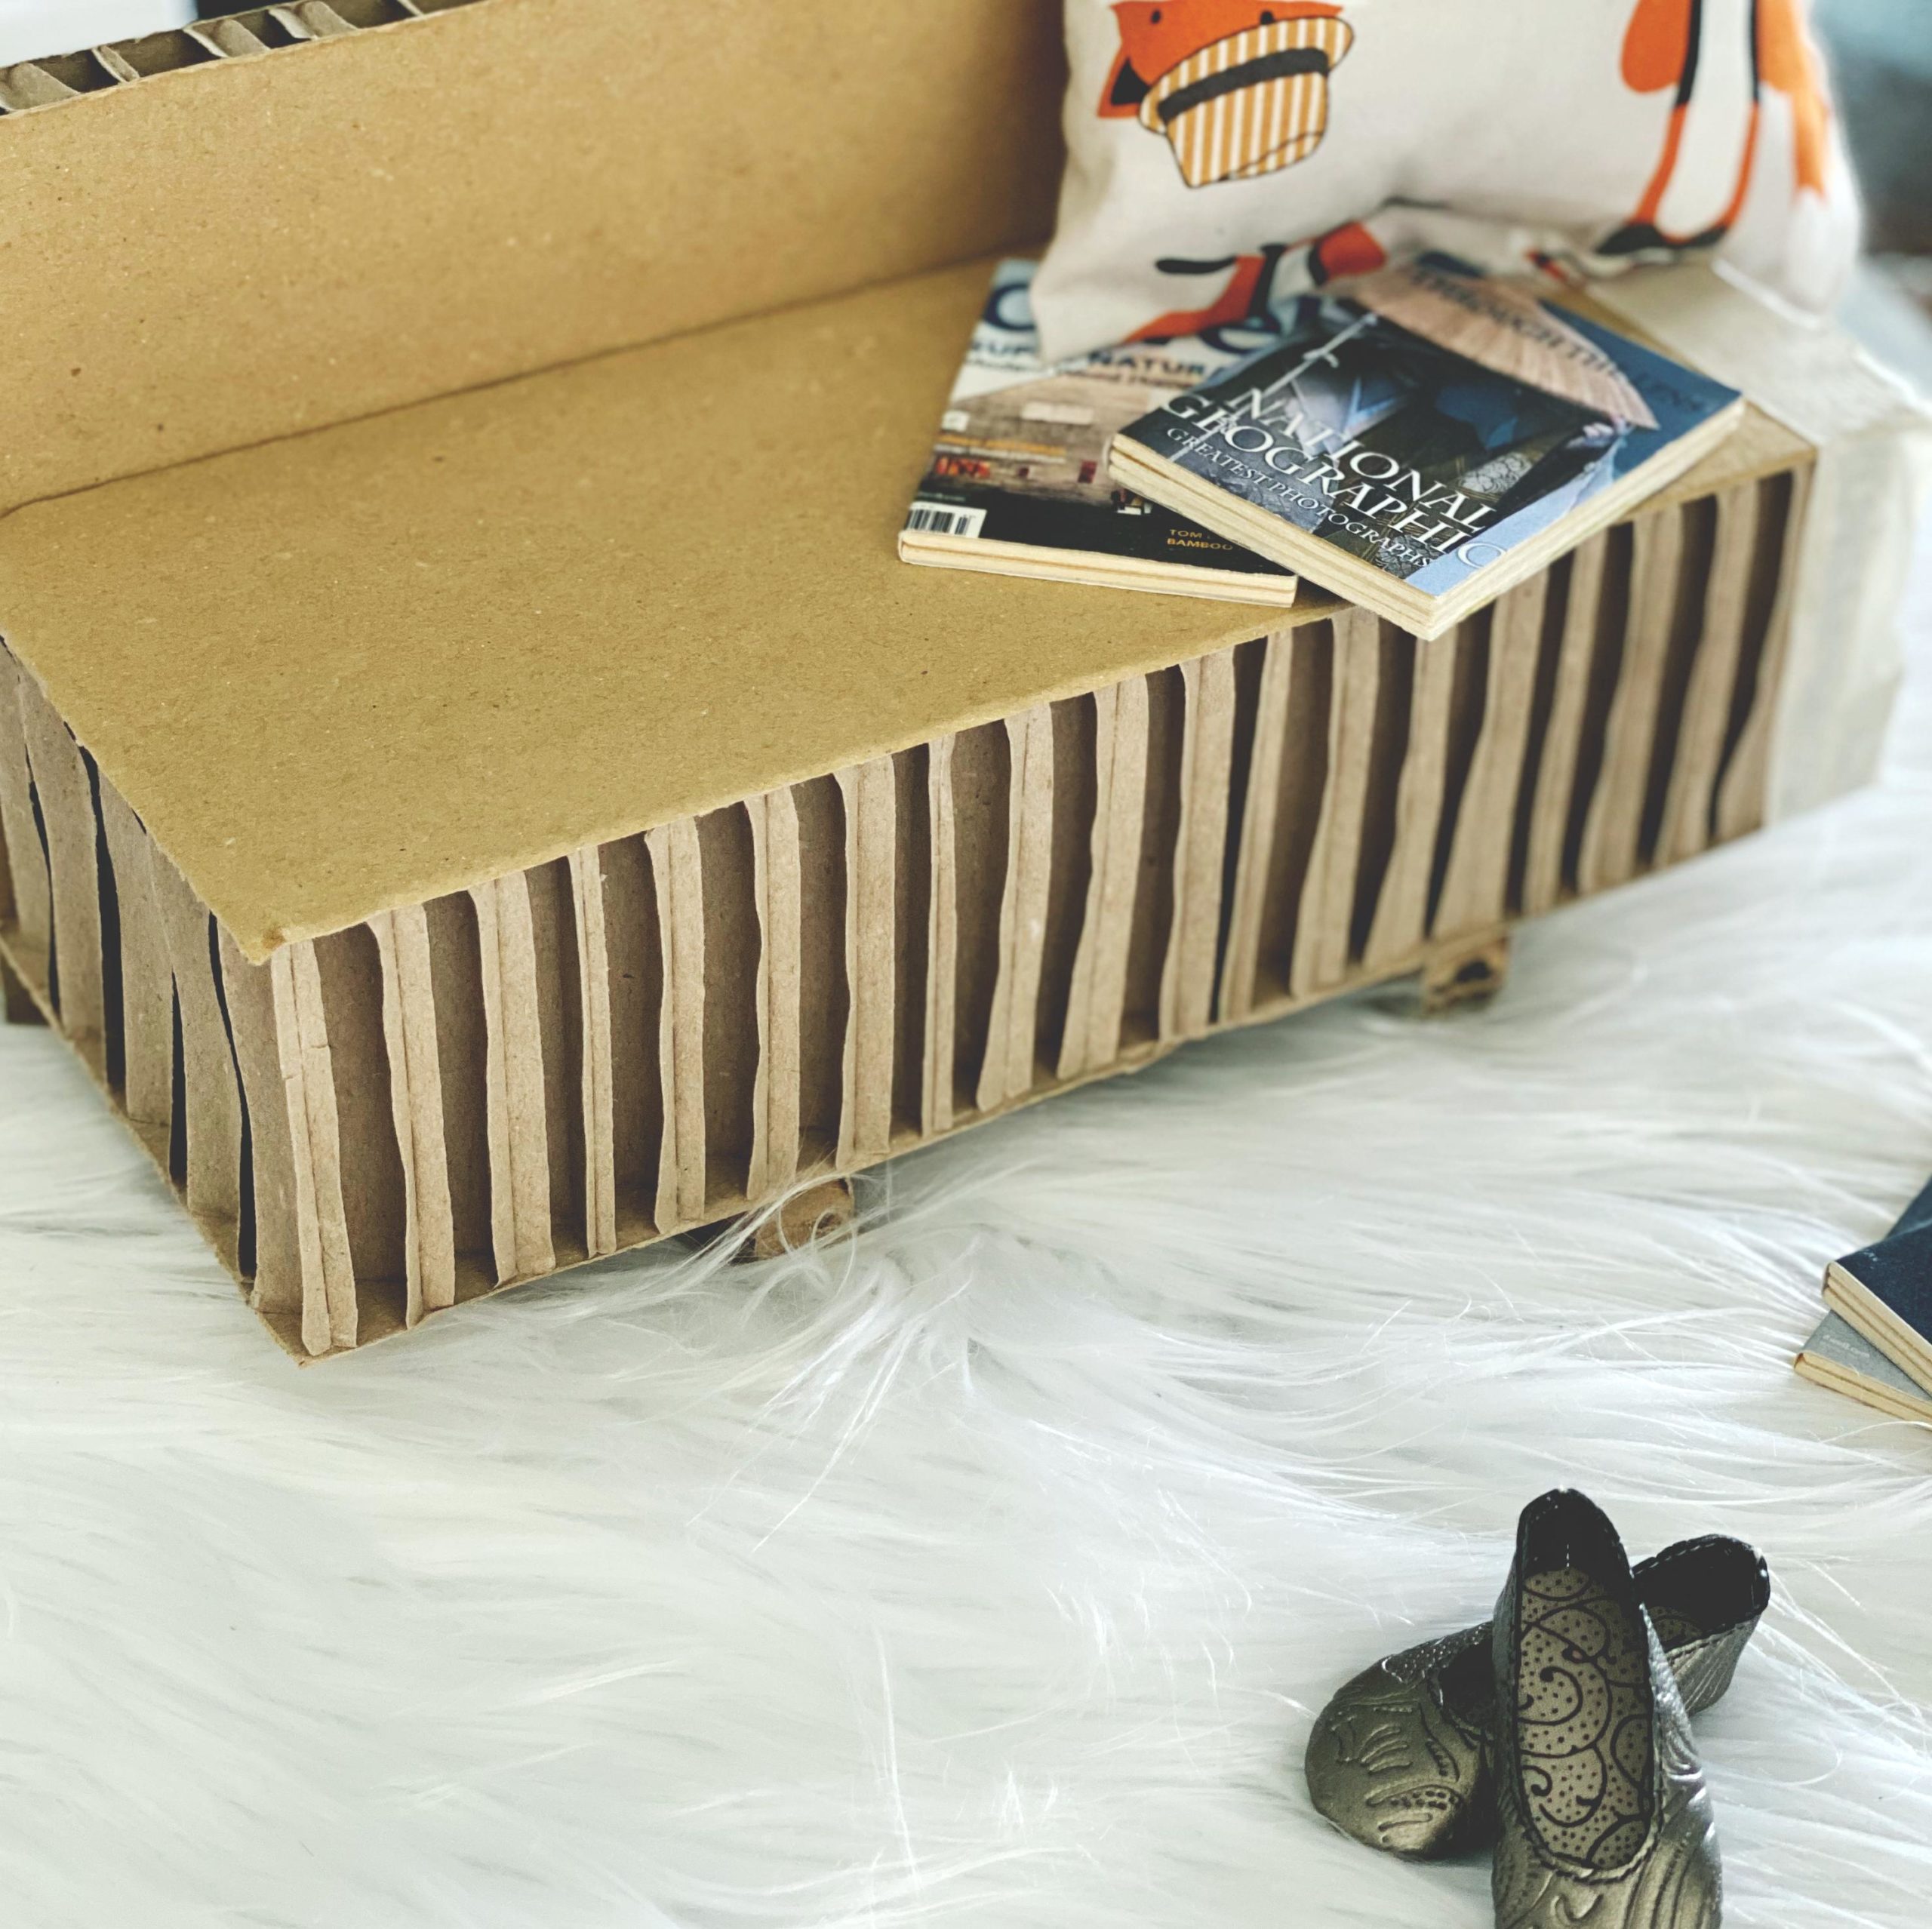
Starting with the feet supports …
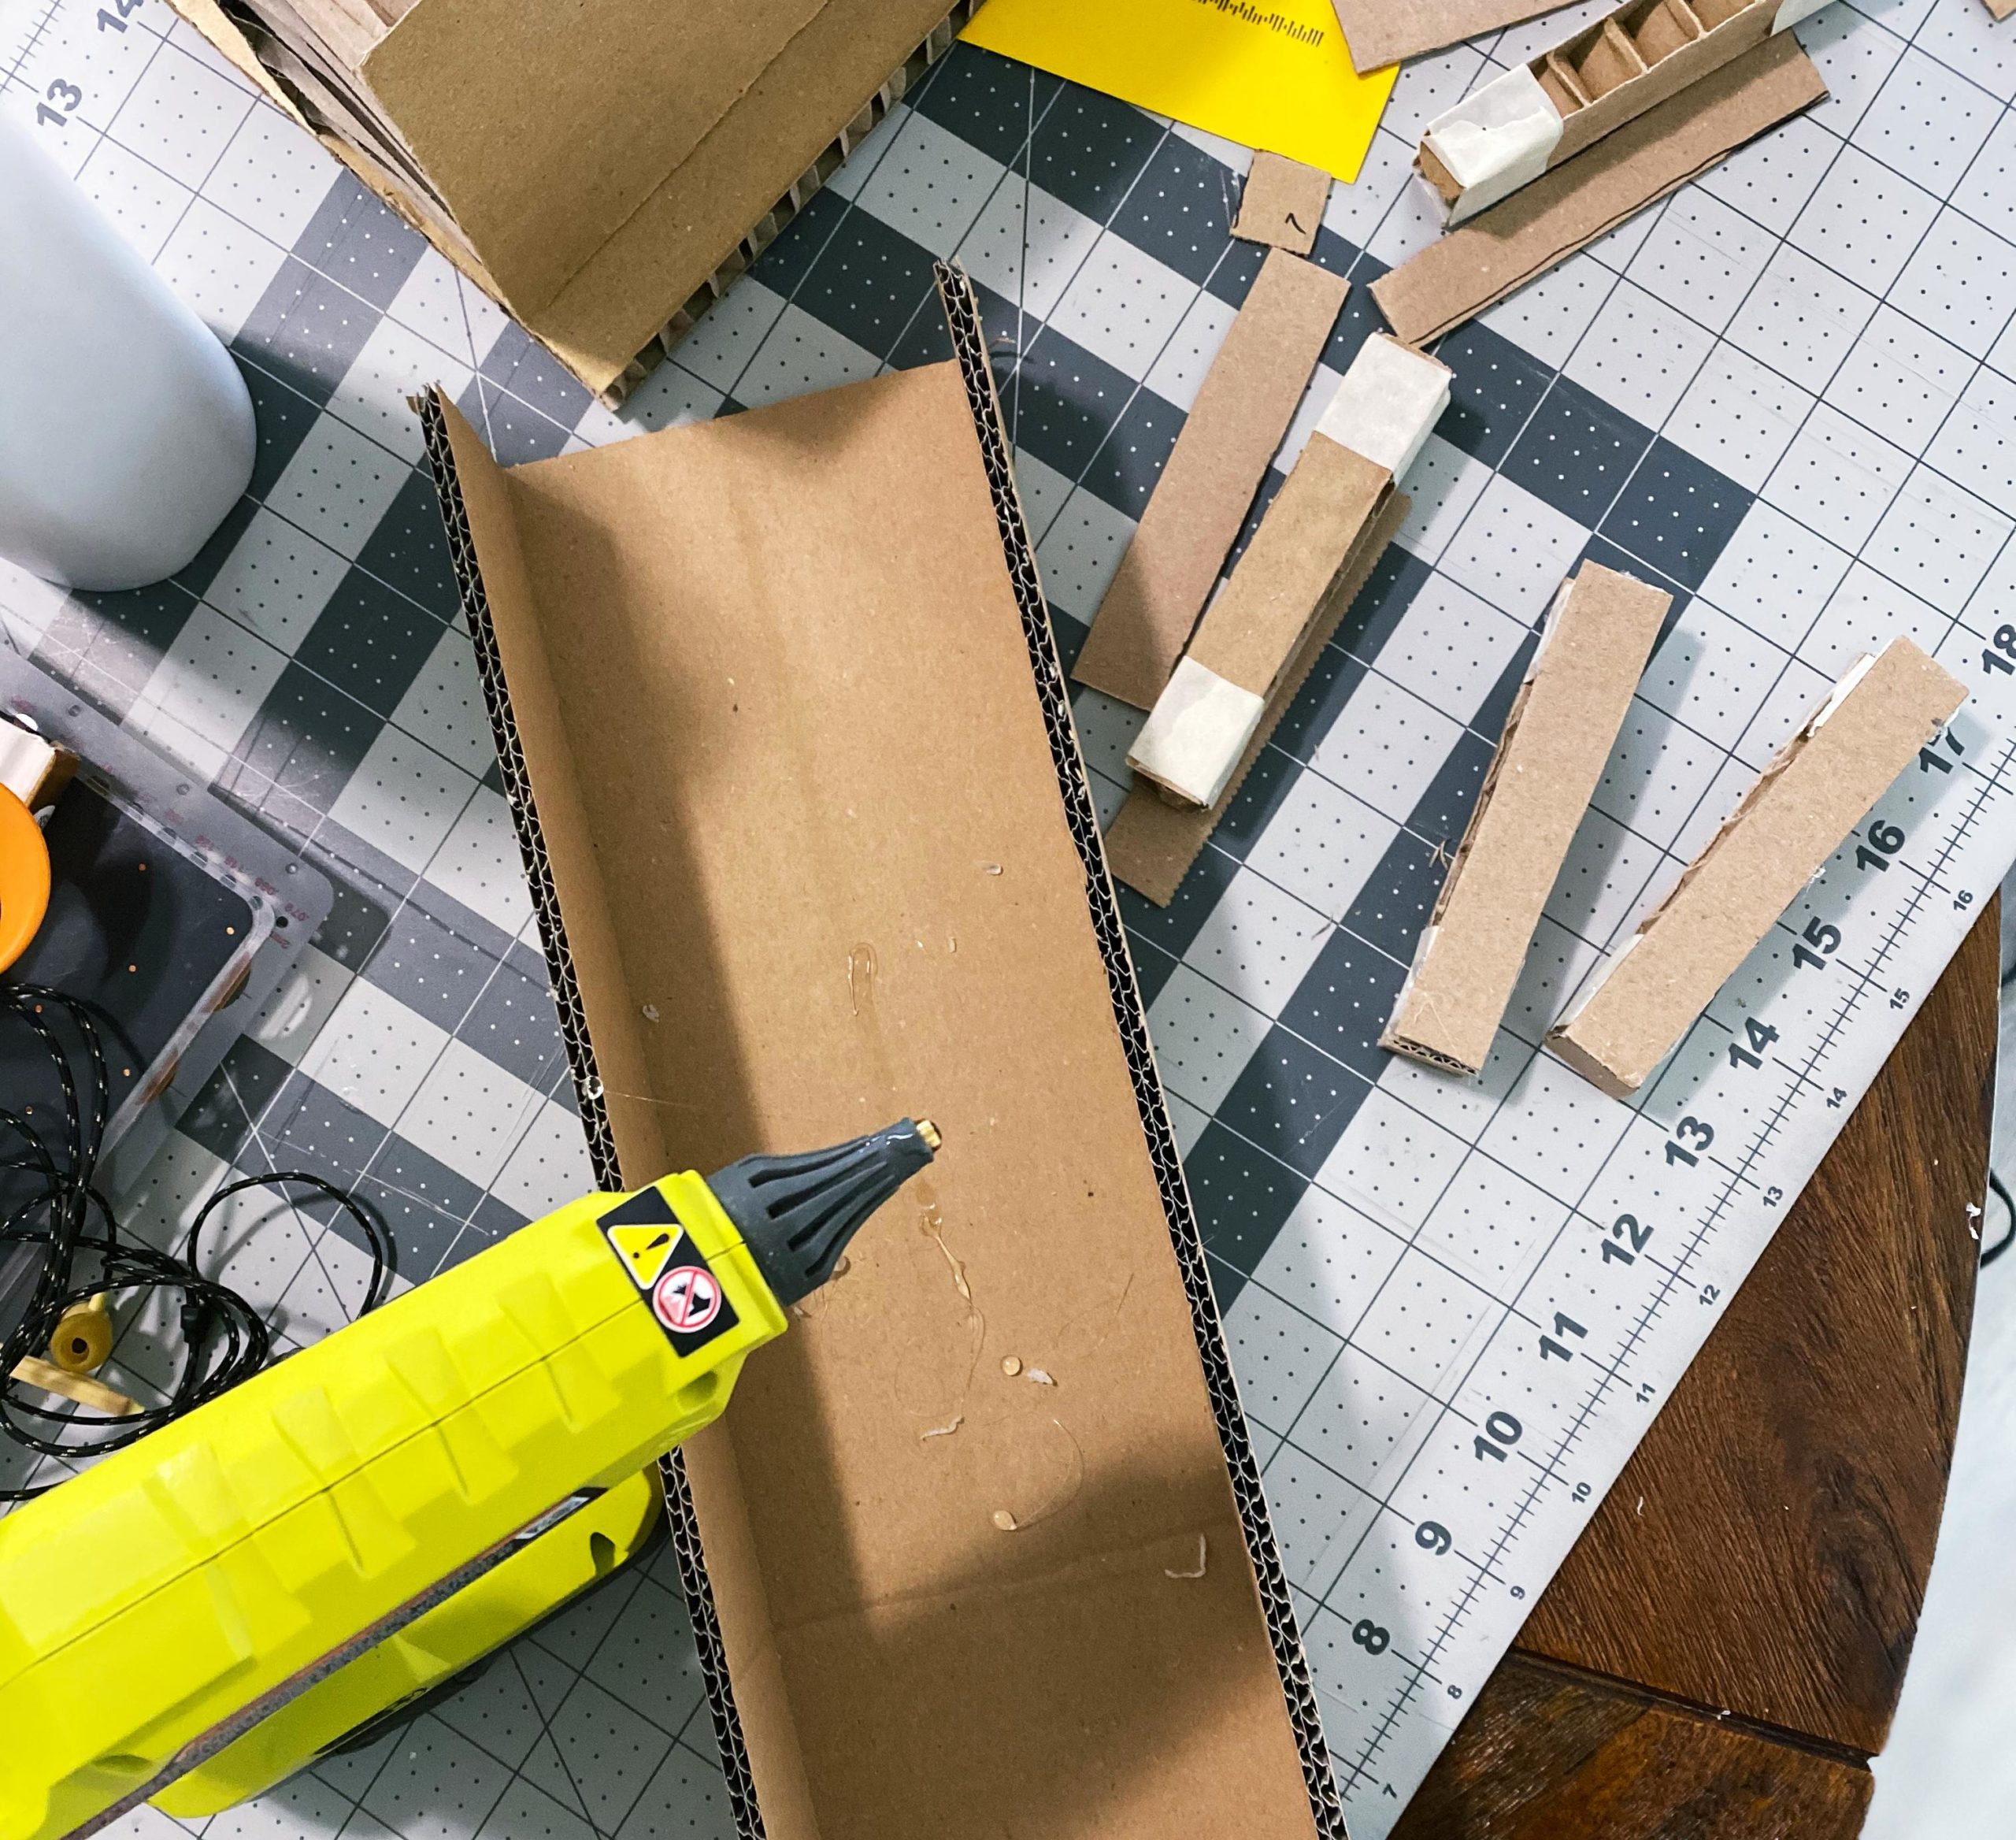
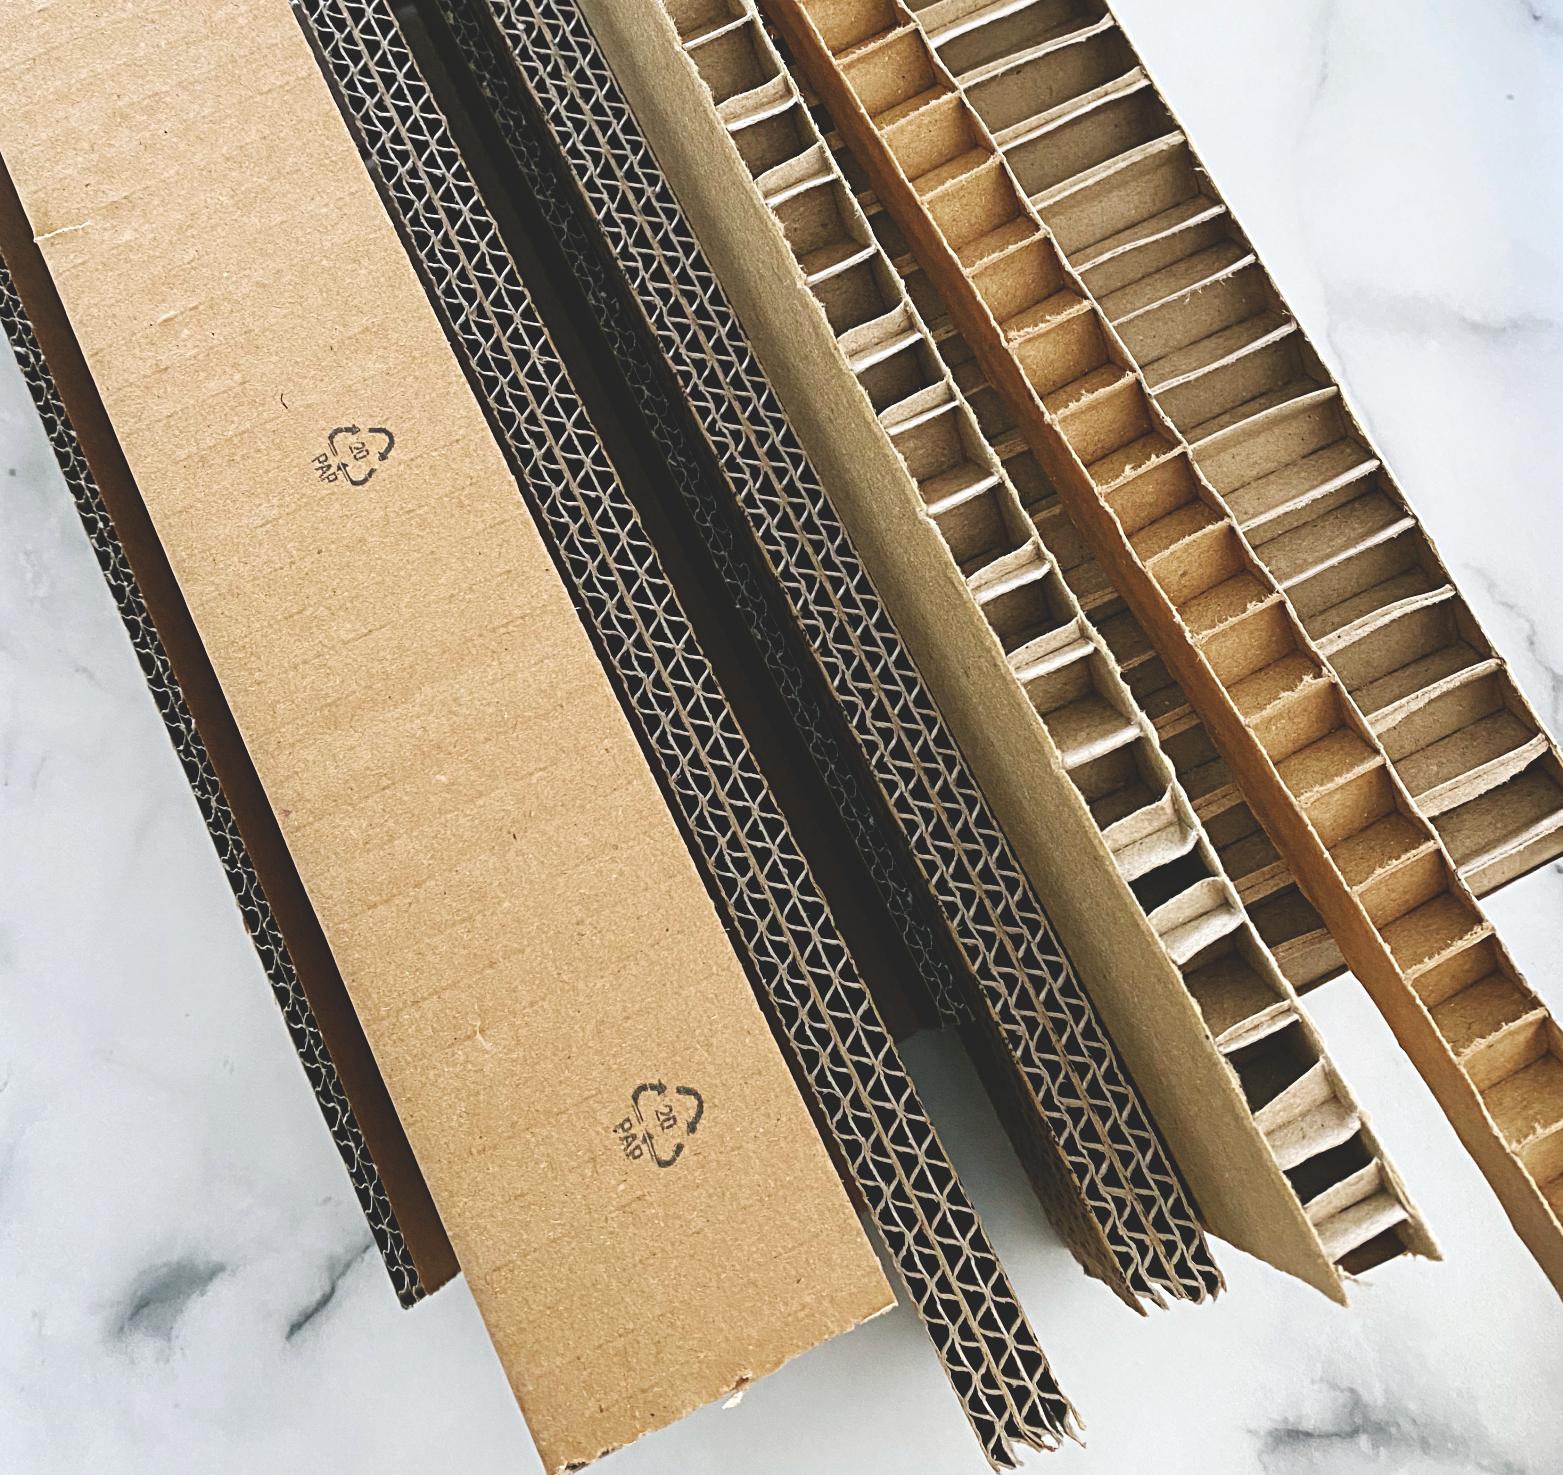
I started with the supports because at the time my fabric hadn’t arrived and I wanted to have this part completed. For this, I cut down some extra cardboard and wrapped that around the existing front and sides as the back wouldn’t be seen. I wanted a smooth finish for painting.
Once I cut down all the cardboard sides, I glued them to the footings and painted them with black chalk paint. Now they were ready to add to the bottom once I completed the fabric portion.
Adding the fabric …
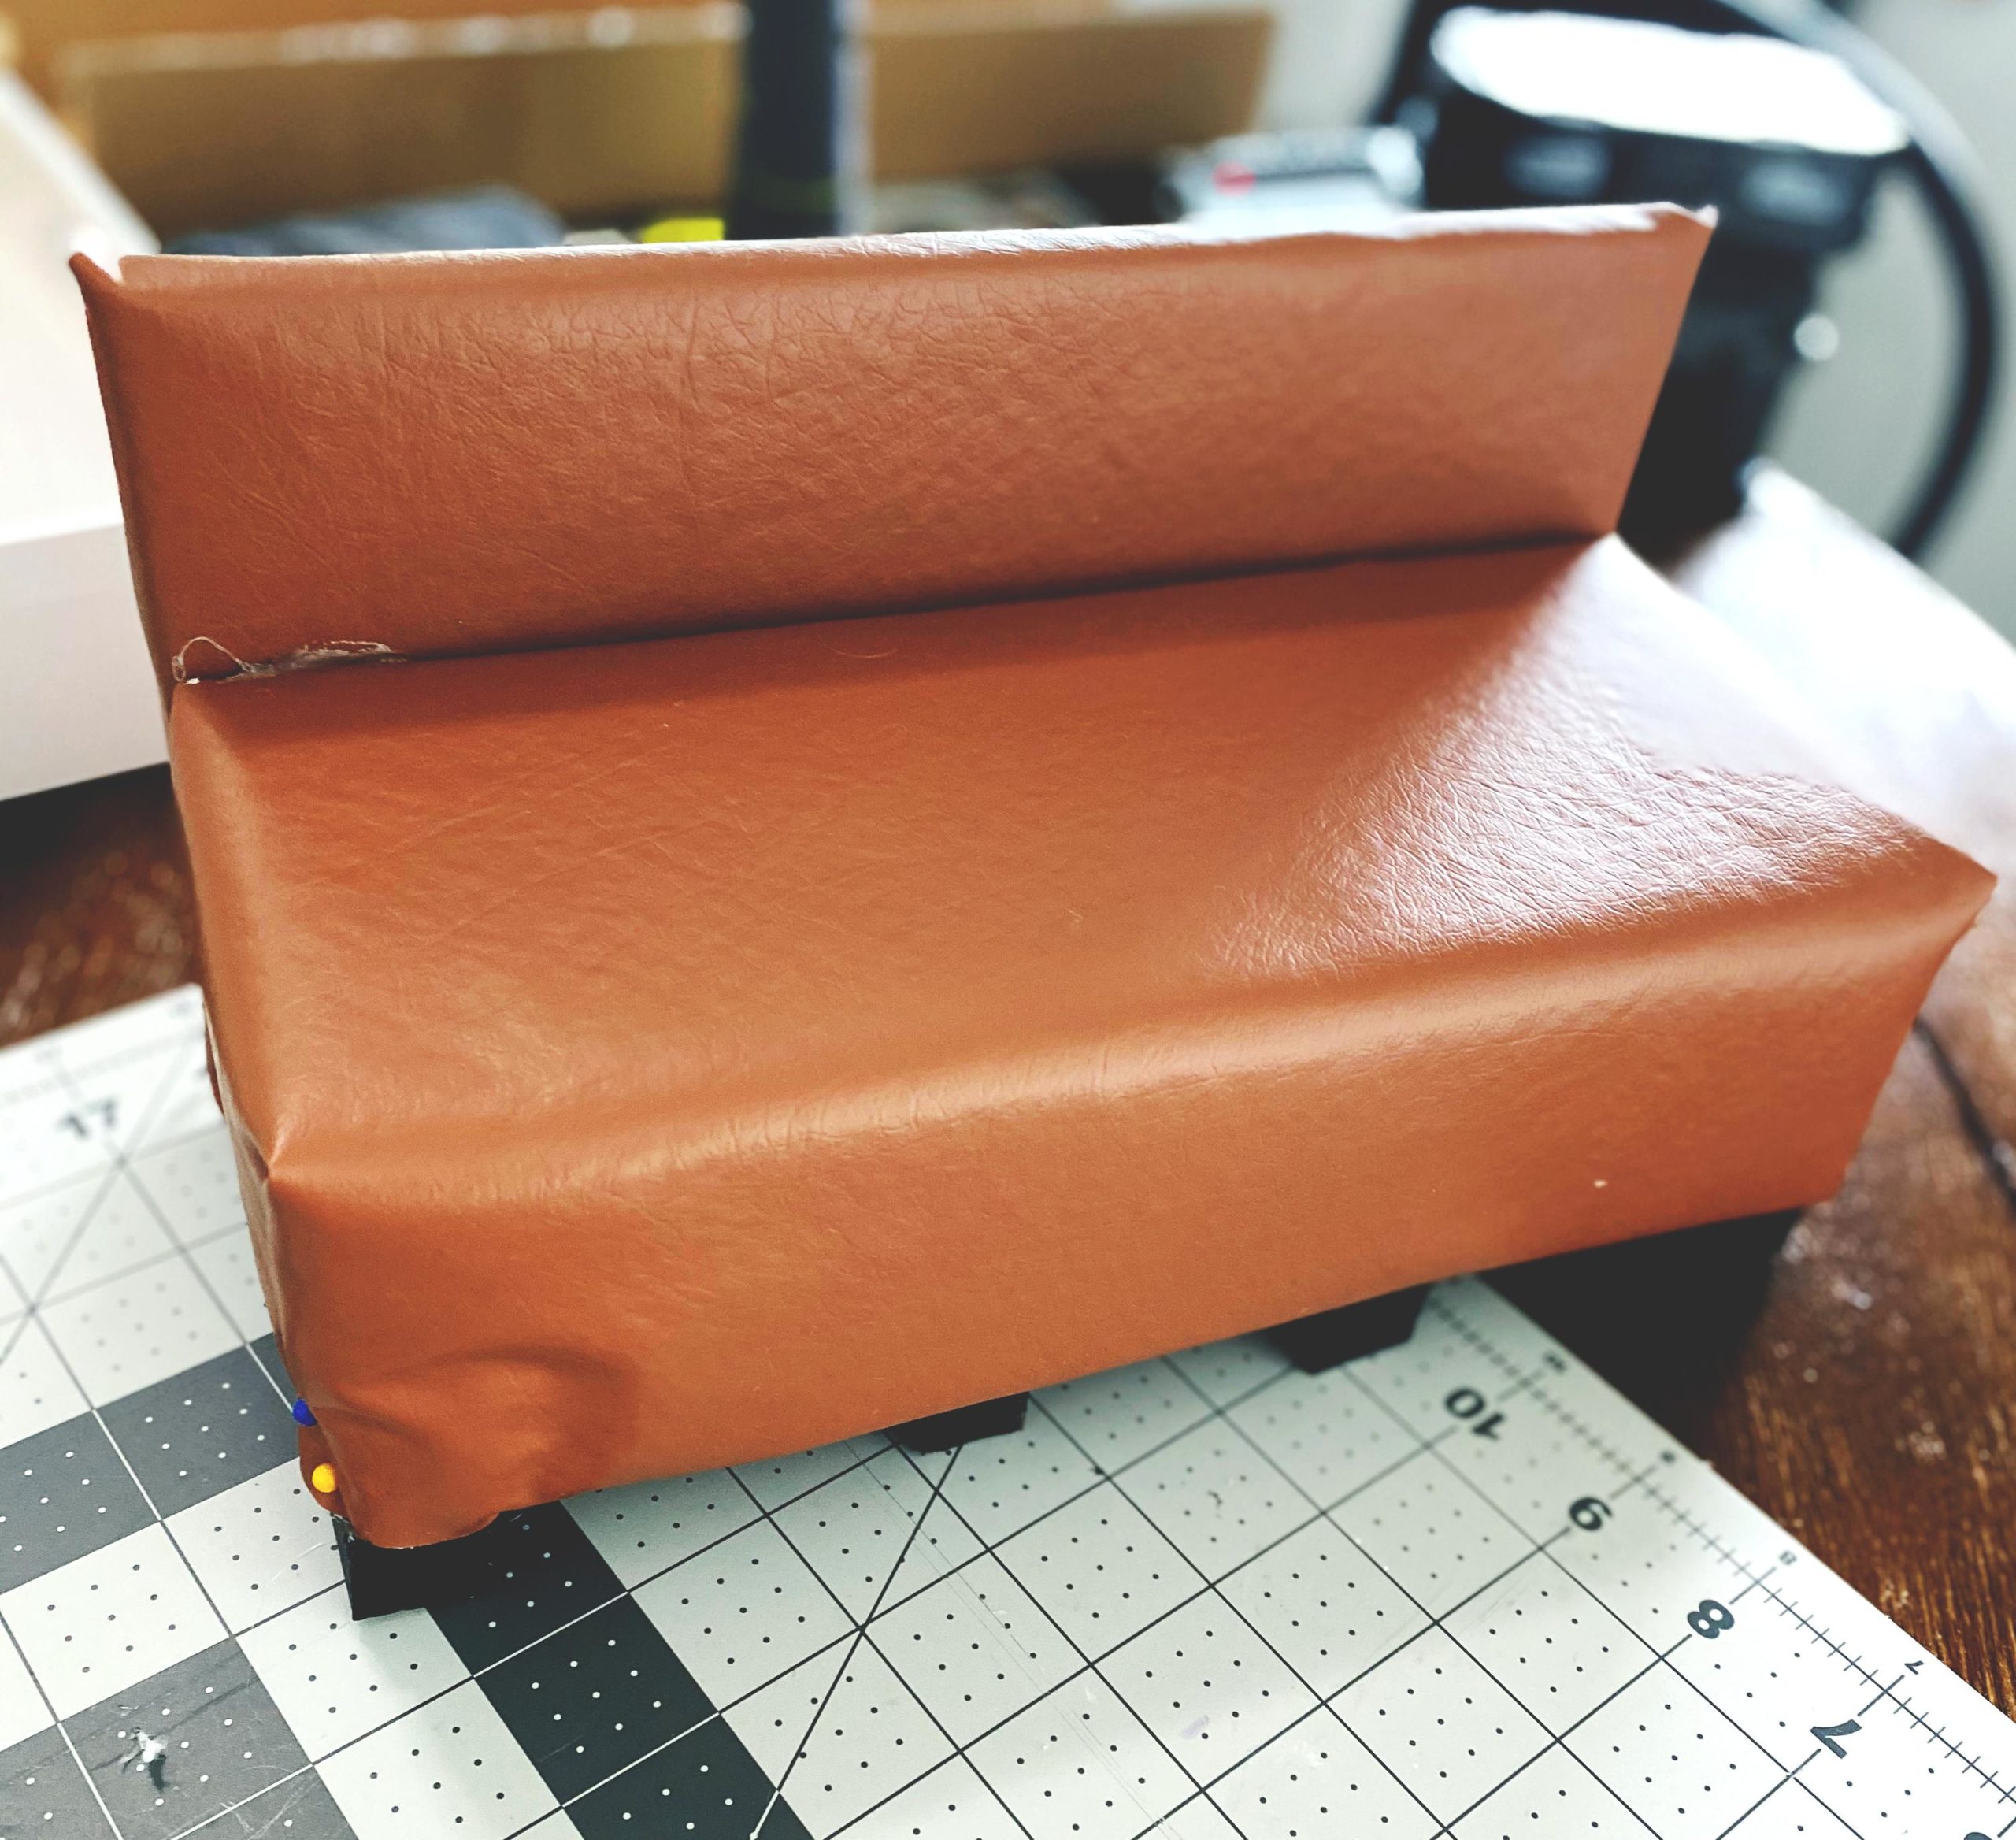
I just knew this would be the easy part of the project because it’s just adding fabric. Wrong … I had to be mindful of how I wrapped this so it wouldn’t mimic a gift. Figuring out where I could and couldn’t add the batting was also a little challenging, but I made it work.
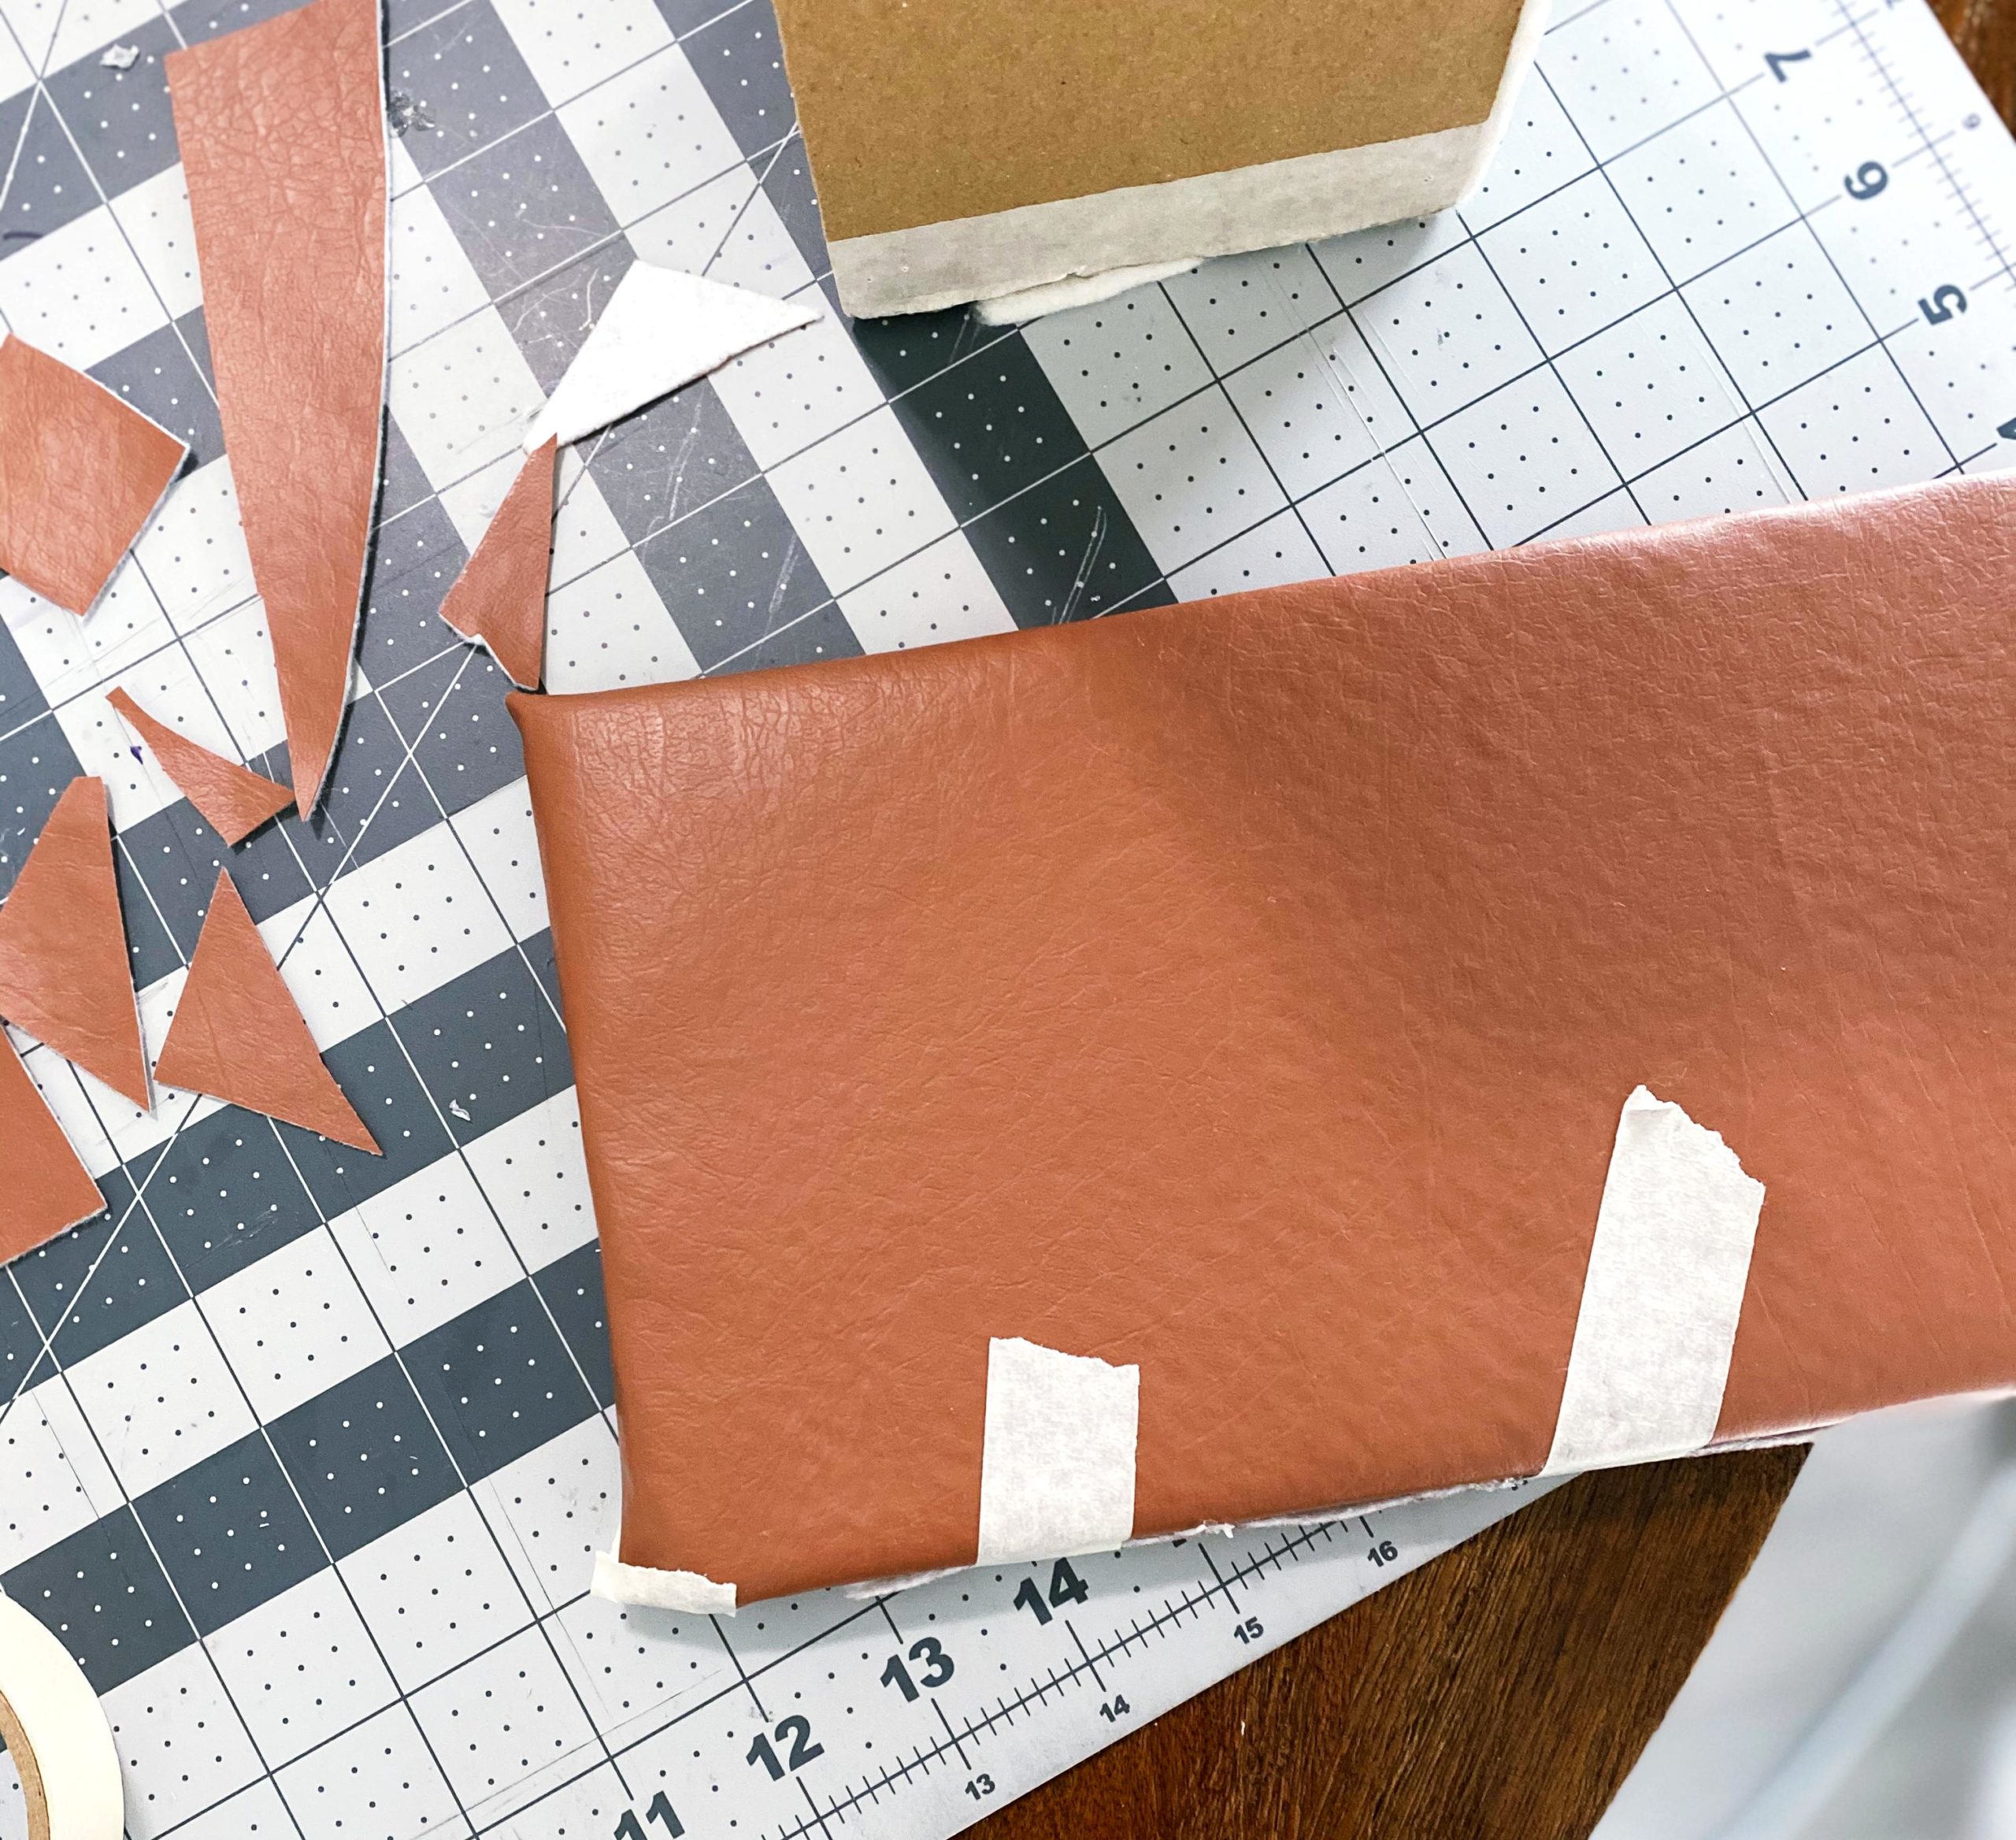
I took this one section at a time and after I glued a section I taped it down to help it adhere better. Once everything was covered I used the same strong-bond hot glue to attach the back to the bottom seat, and the footings to the bottom.
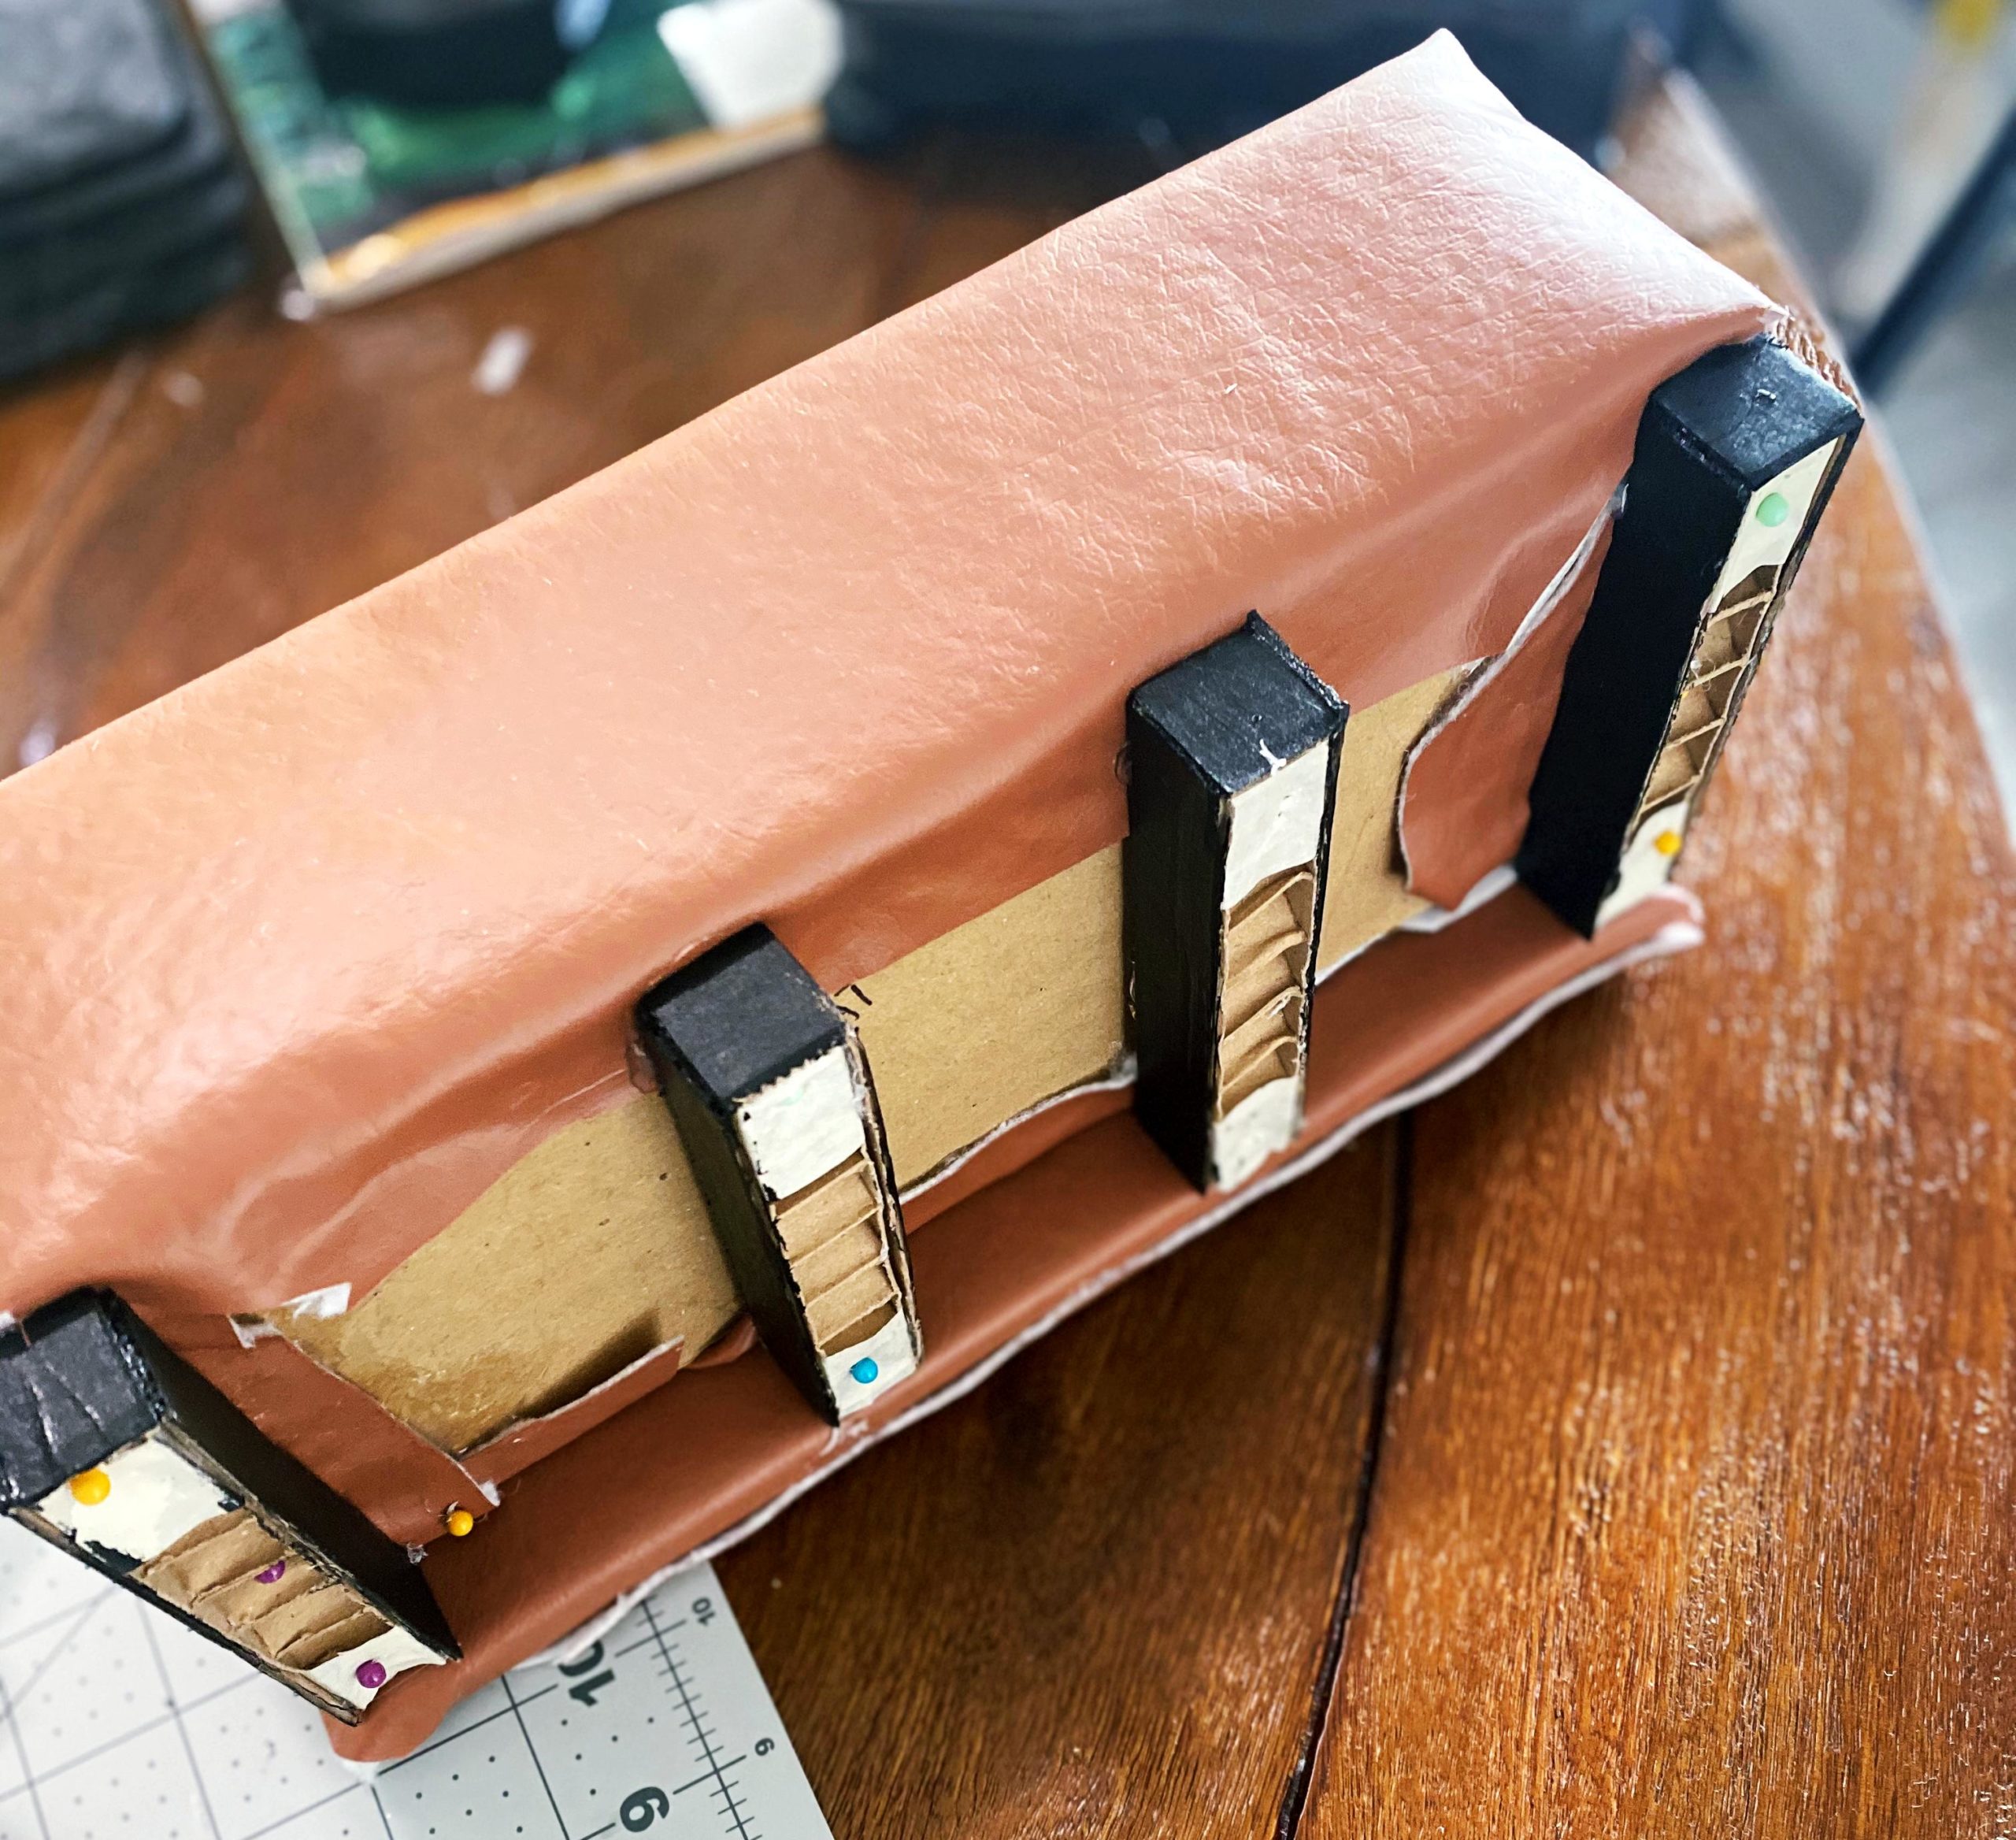
This is where I learned that sewing pins are my best friend. I still have a couple of edges held with sewing pins (as a temporary solution), because I want to get some upholstery tacks to finish everything.
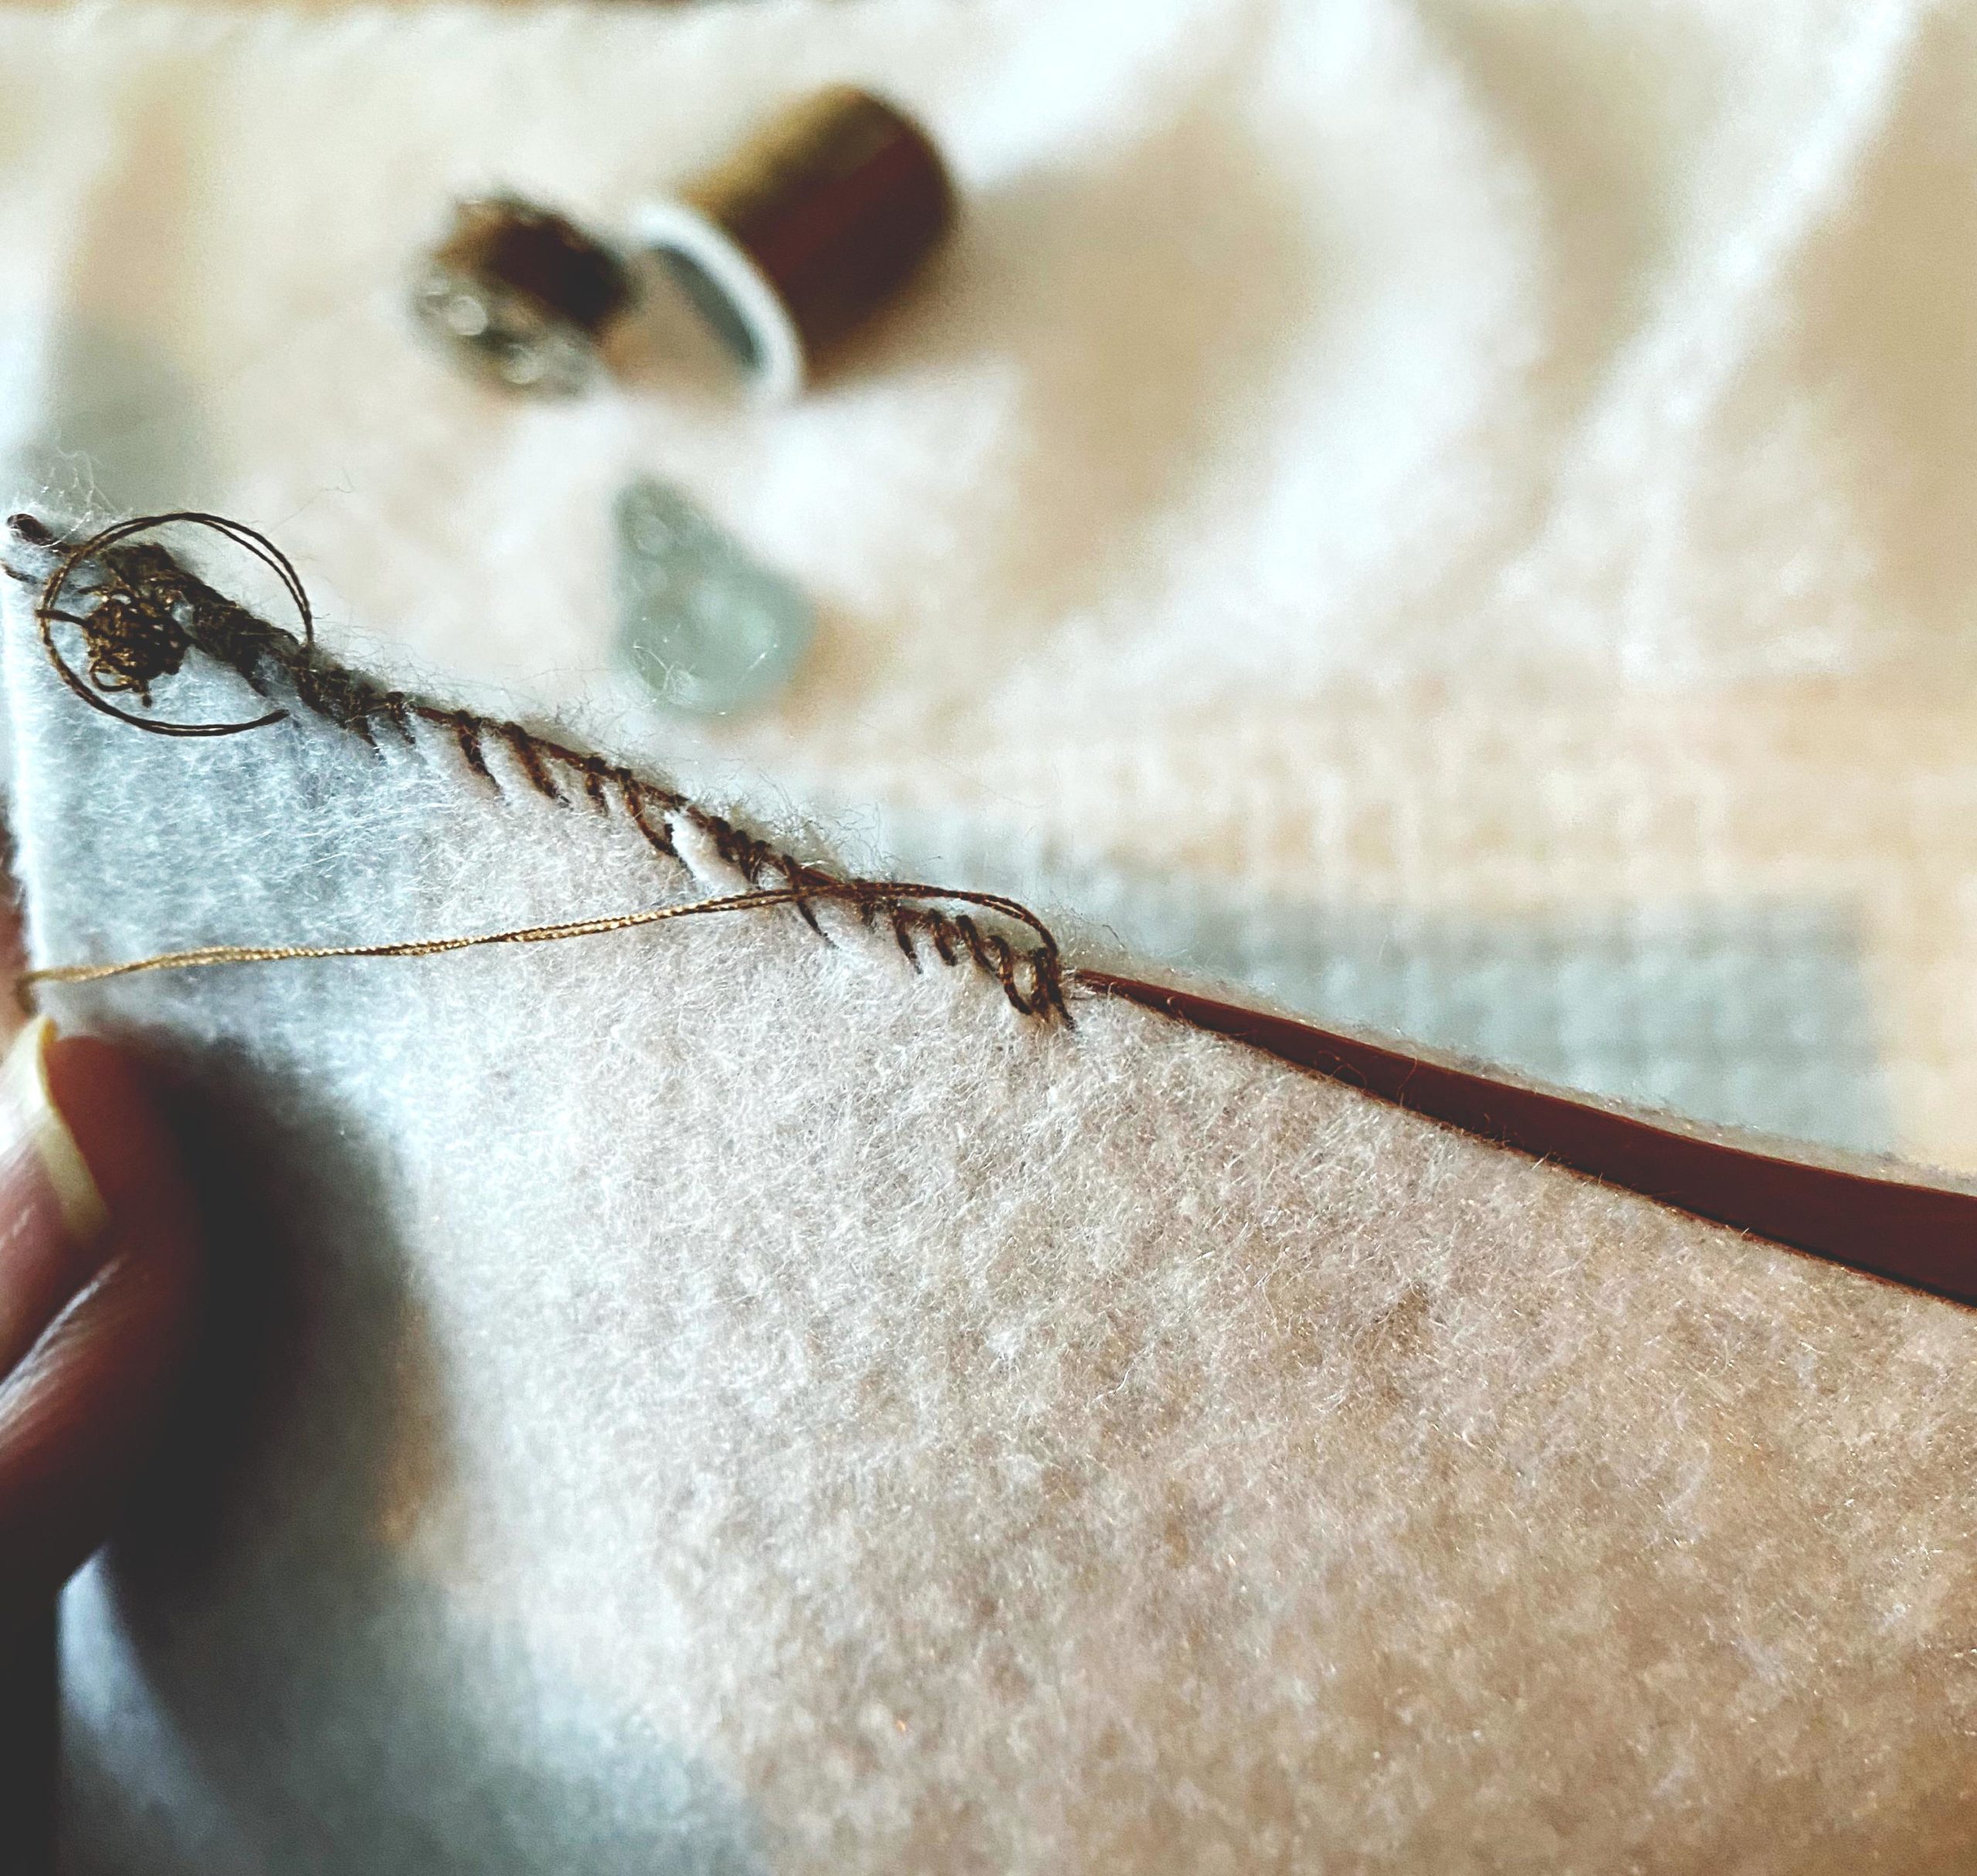
Making Pillows …
This was actually easy. Although I haven’t sewn anything in a while this was really a quick sew job. I thought about using fabric glue but I couldn’t find it, and this worked out just as well.
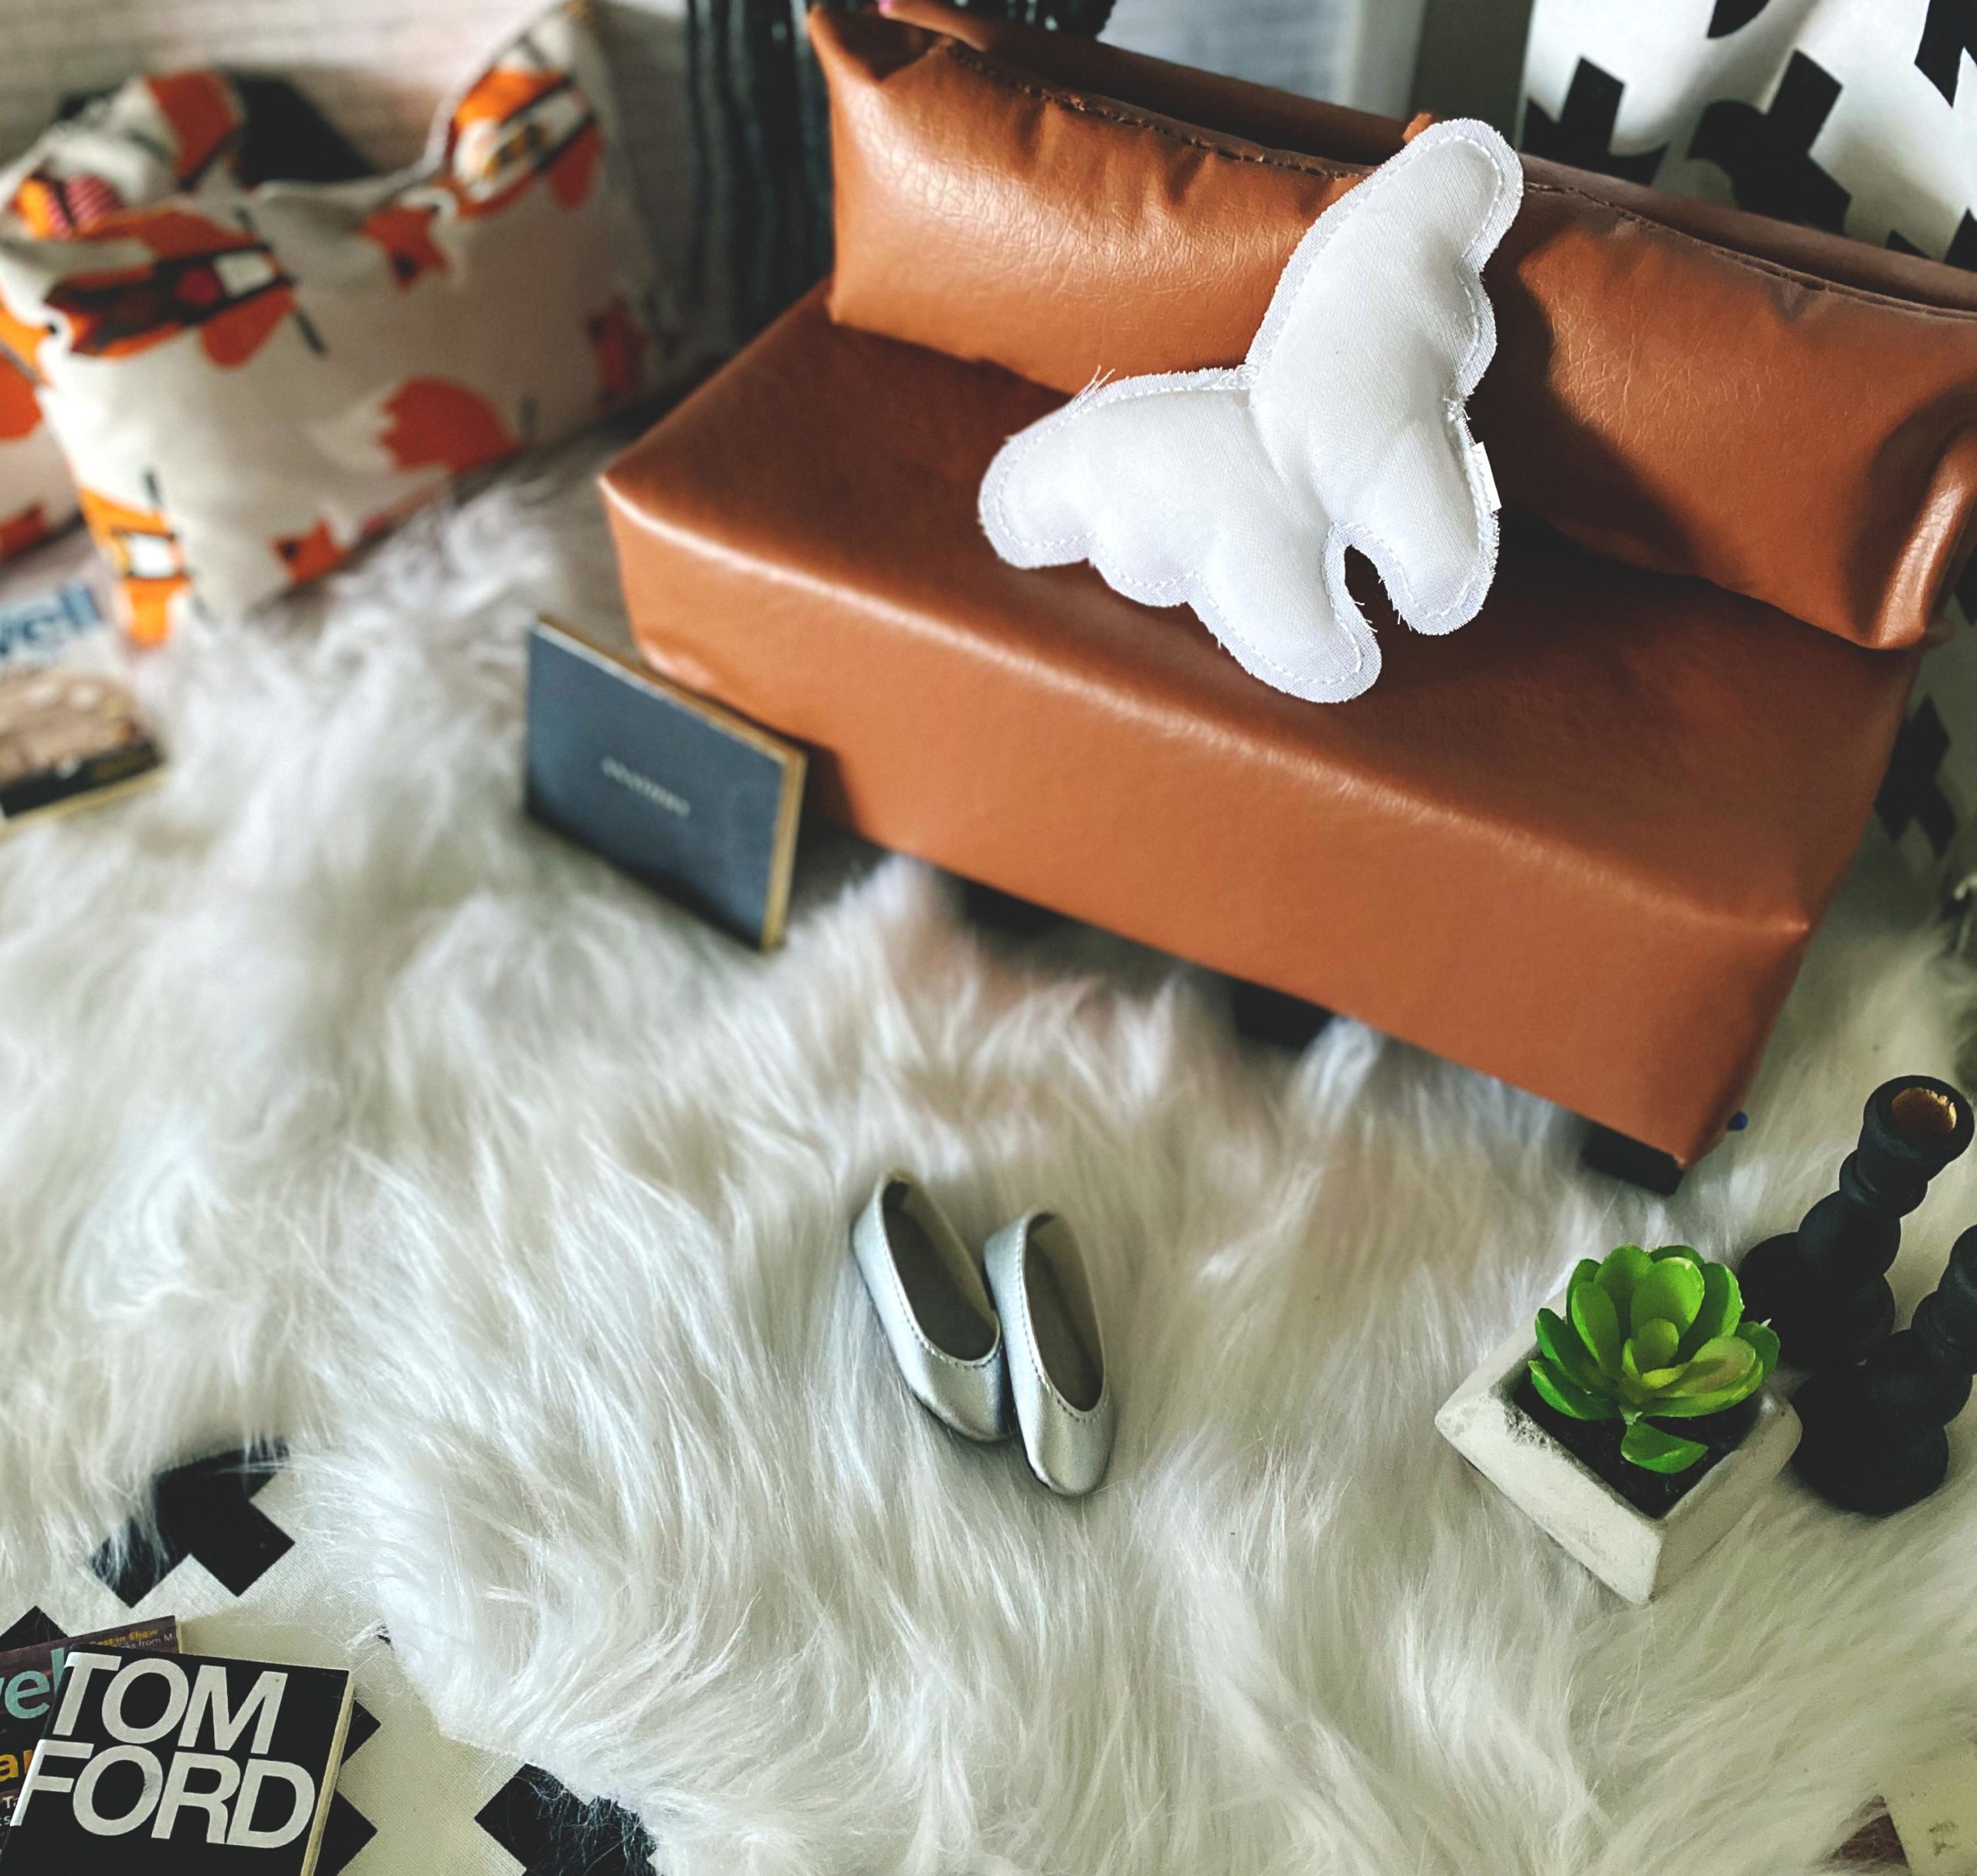
When I added the cushions to the sofa they kept sliding off, so it was sewing pins to the rescue again. I just pushed the pins in through the back pillows, down into the seat. Now they’re not budging.
[adinserter name=”Block 9″]
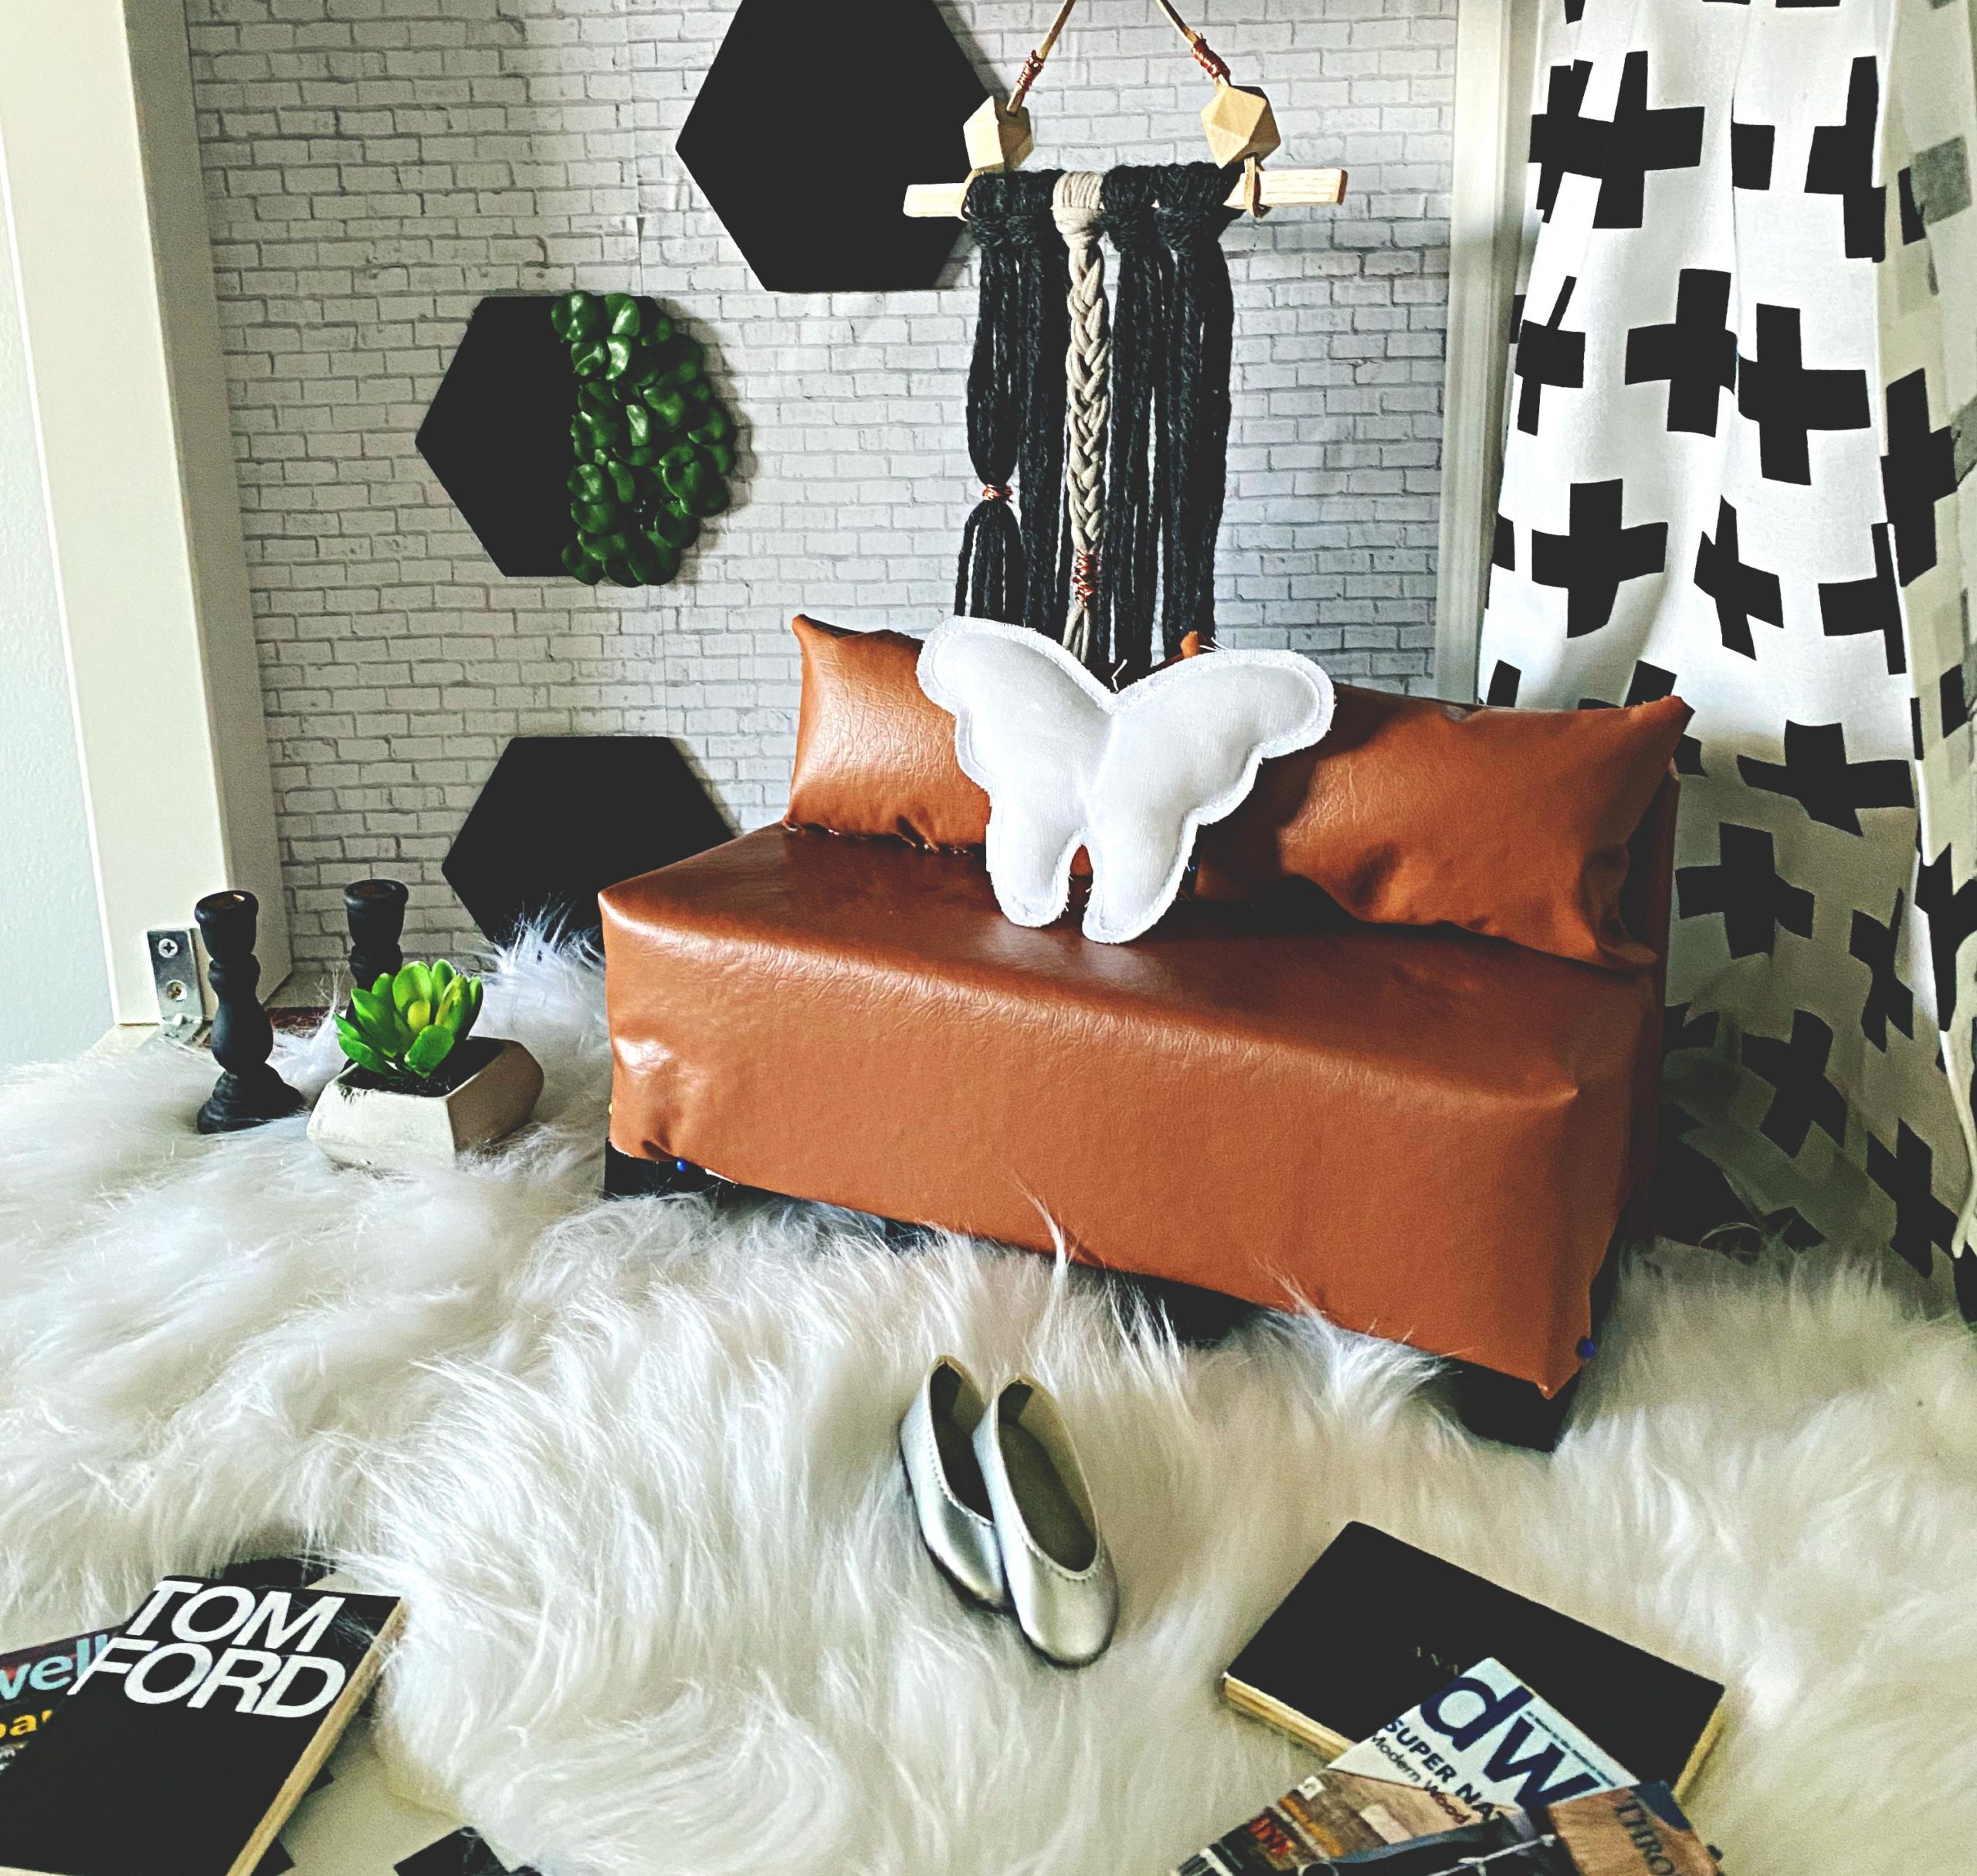
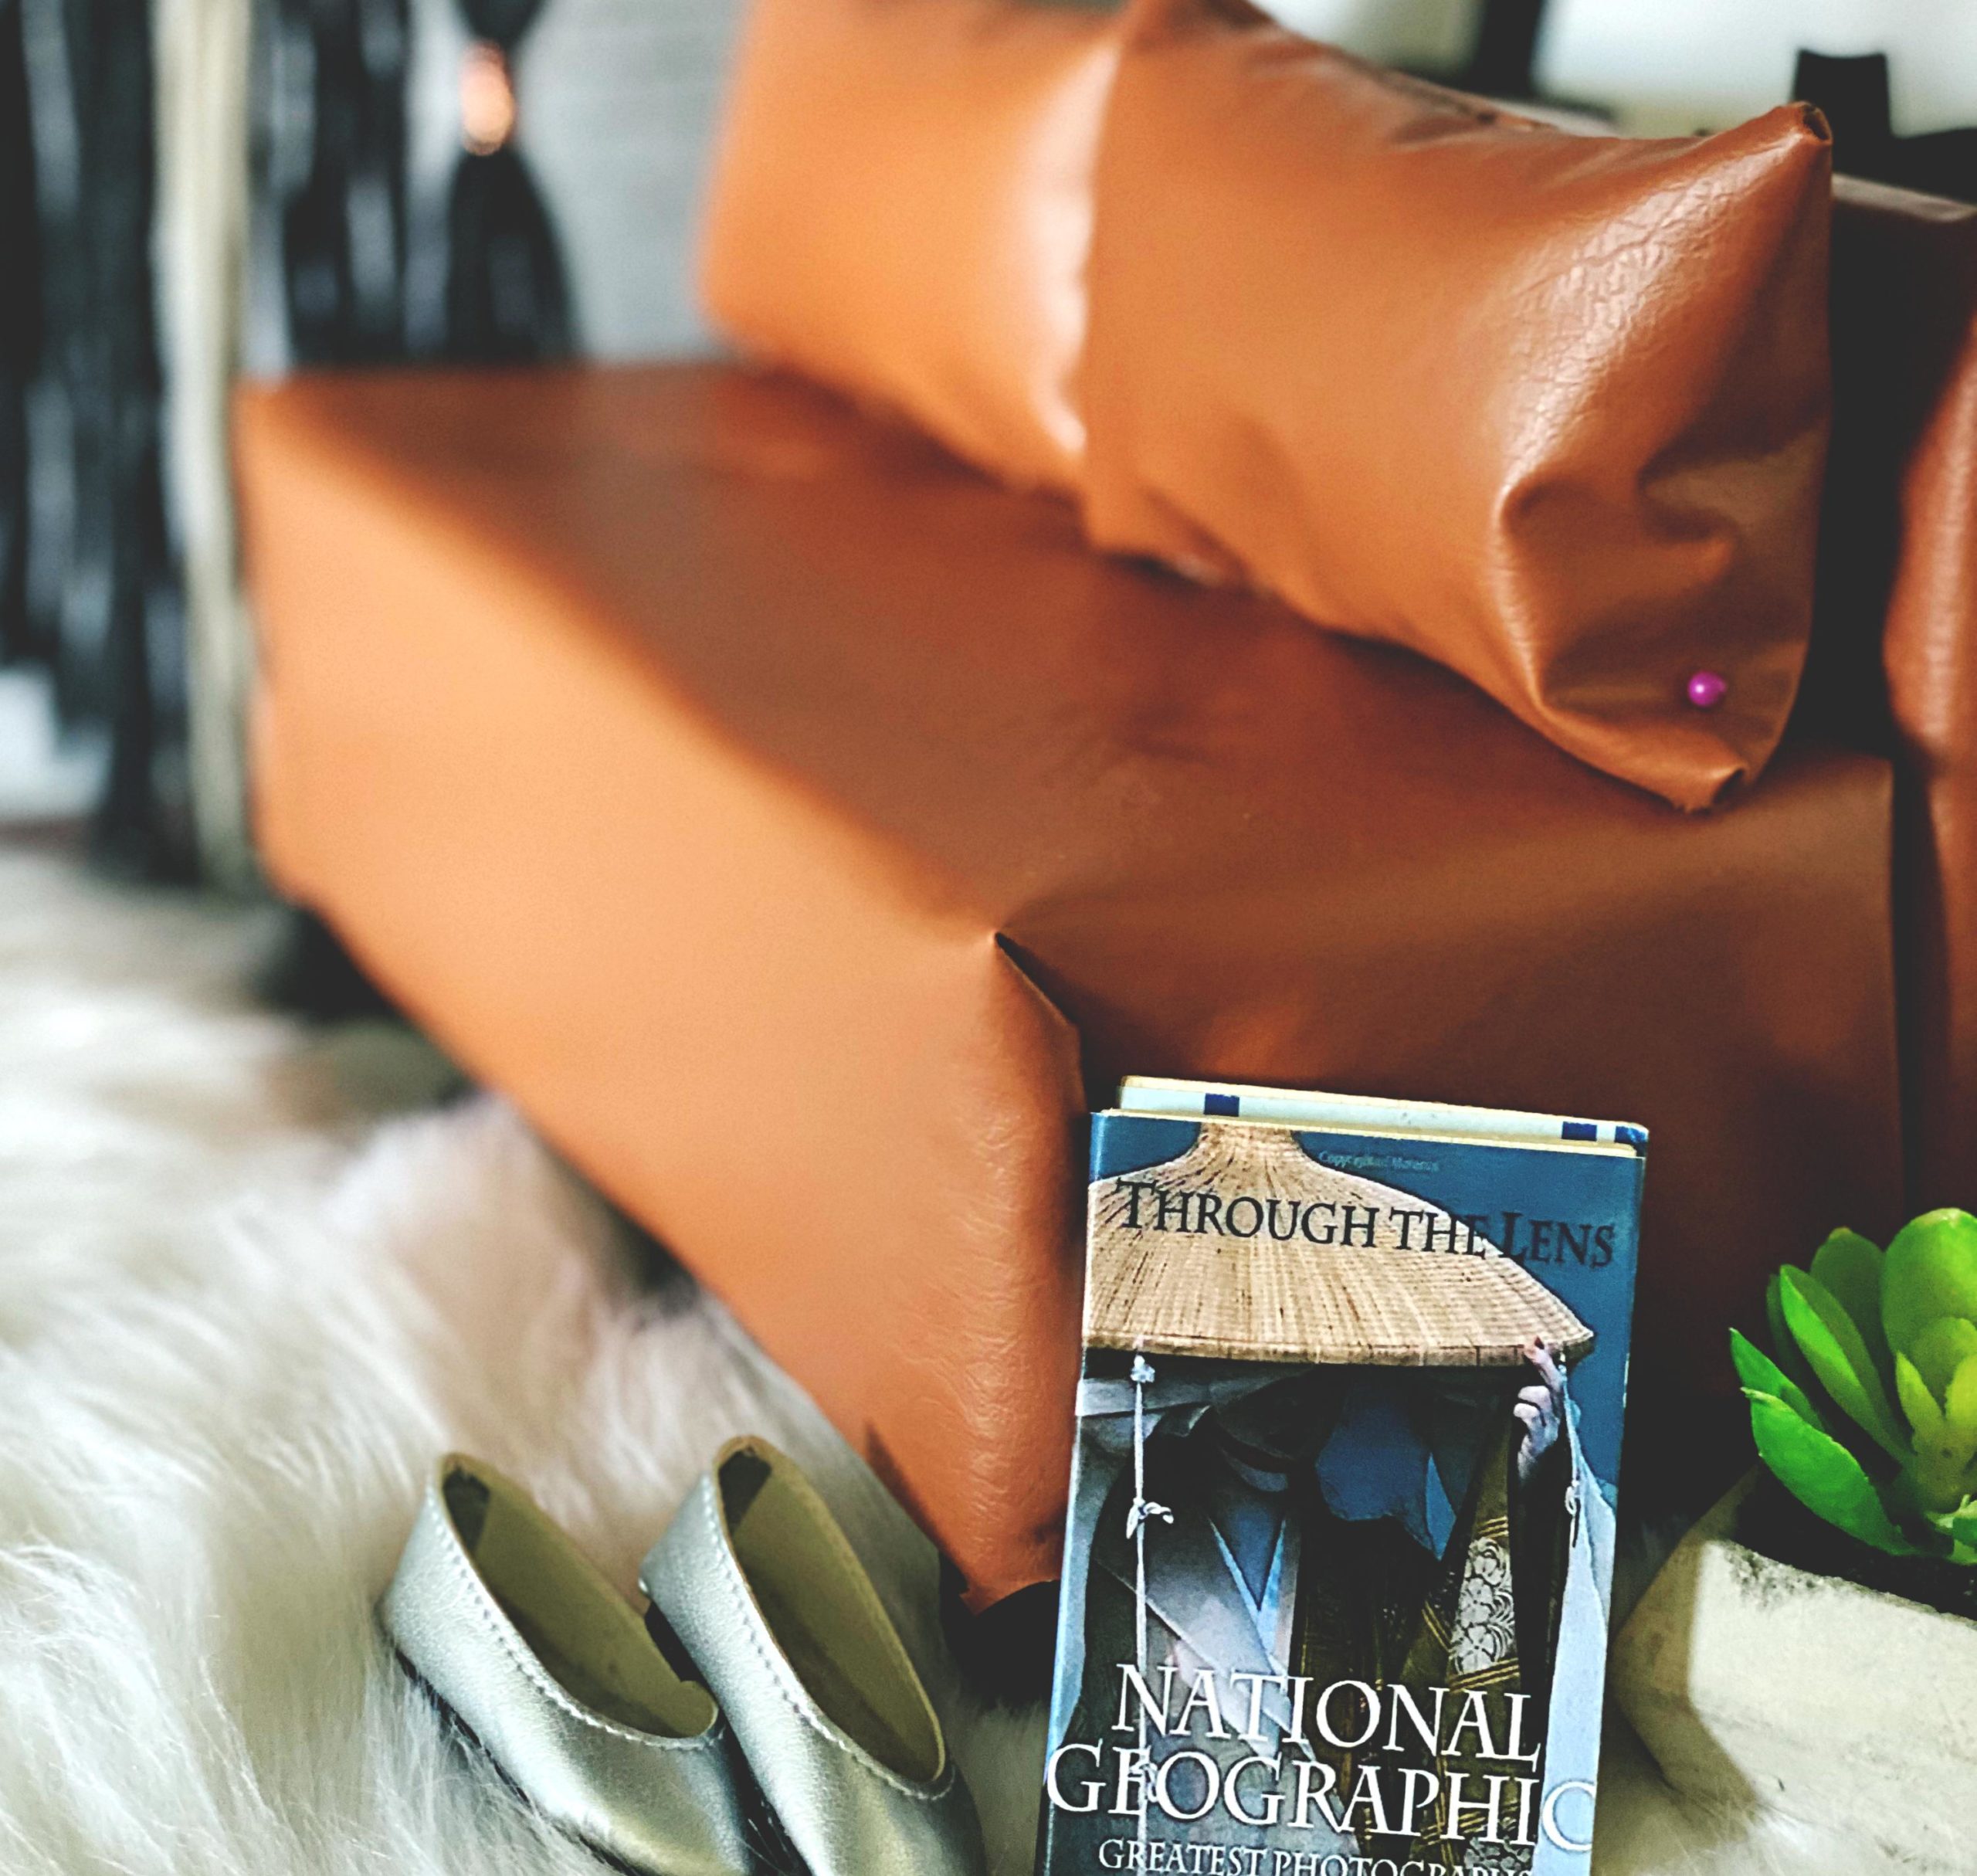
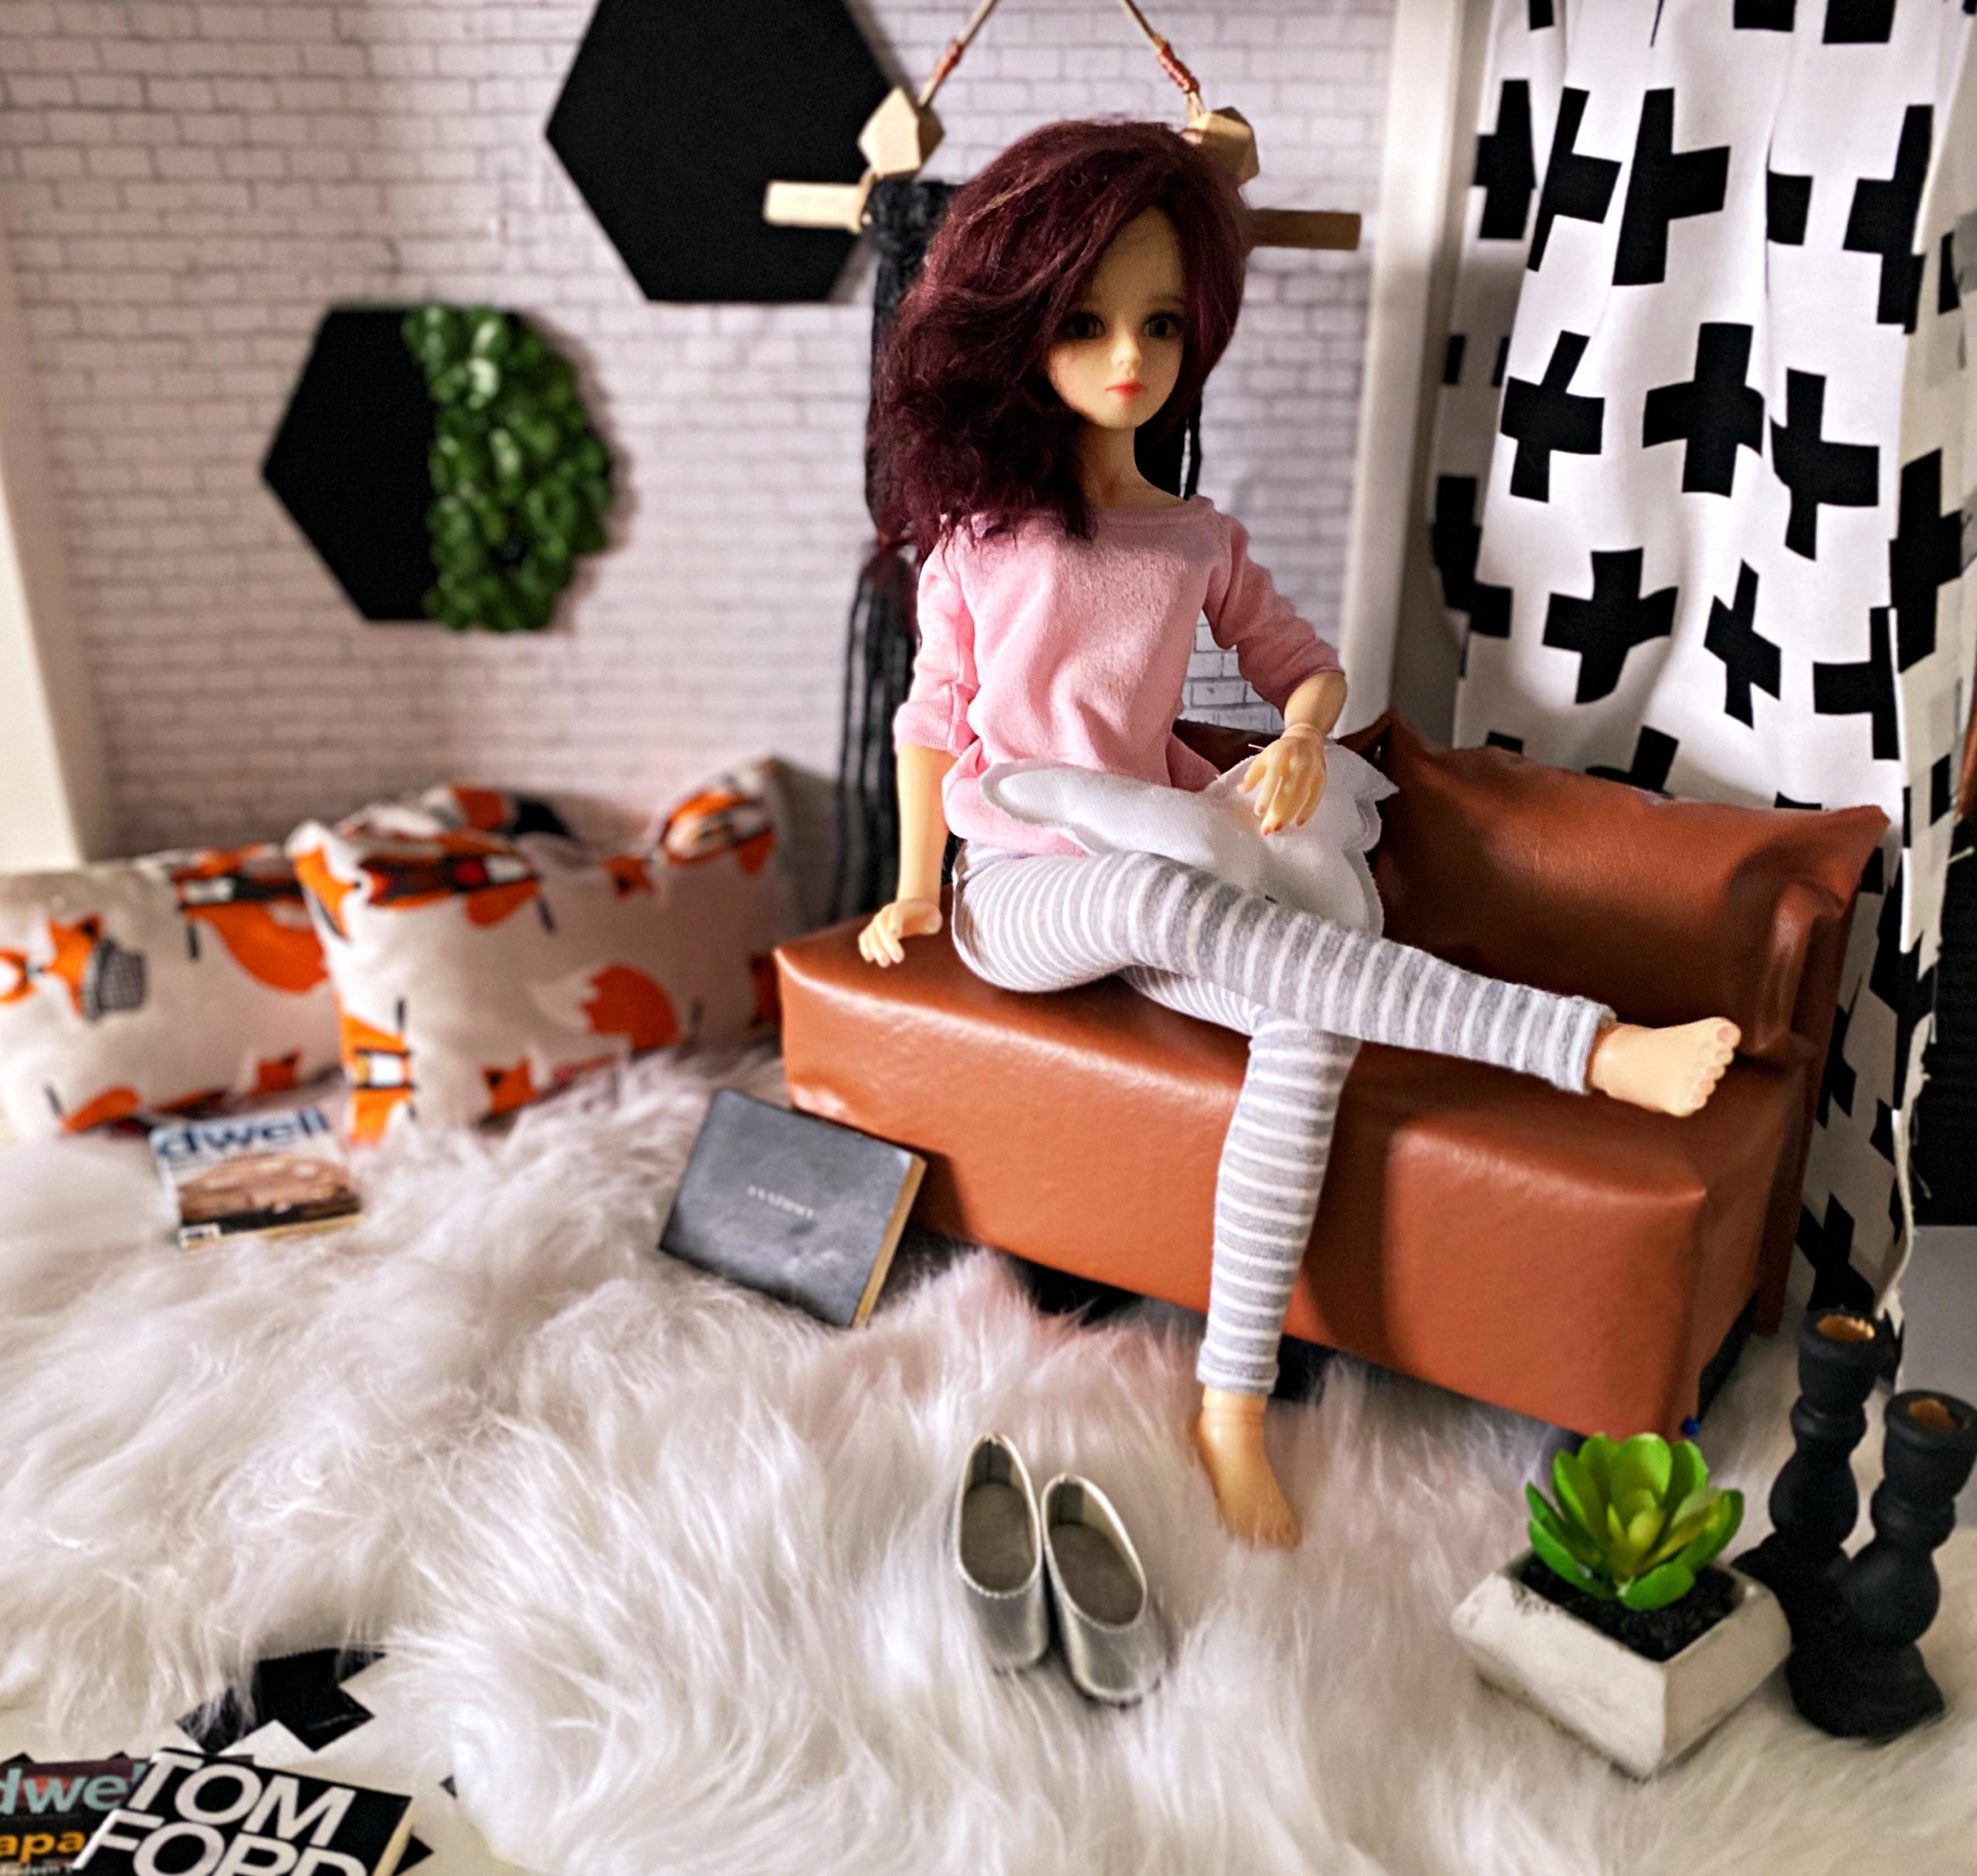
Here’s how it turned out!
Although it has it’s rough spots I like how this turned out. It’s a lot less intimidating once the work is behind you.
******
Lesson Learned …
When I decide on my next furniture piece I know to use small upholstery tacks for everything that can’t be glued down. Also, in hindsight, I probably would make the back support taller, but those are minor details. I’m just happy that I started this project and pushed it to the end.
The End
From this …
To this …
Comes this …
Here is where I’ll leave you today. Are you making something this weekend? Reading a good book, or cooking something yummy? Share it in the comments section. I hope everyone has a great weekend, and stay safe amongst the chaos. — Peace
Backdrops For Your Photography
Staging pictures for your finished project can be a pain, and find the right background, and lighting can add to those issues, but I’ve got an easier way. I purchased this marble background from Ink & Elm a few years ago, and it’s not as expensive as you think.
So if you’re looking for backgrounds for items your selling like jewelry or backgrounds for those dishes you make and you want to post on your social media then check out Ink & Elm. They have hundreds of styles in assorted sizes and they start at about $14.95.
Here are a few images (I use this background whenever I stage) where I’ve used the Ink & Elm Backdrop, in the marble print.
There is no gallery selected or the gallery was deleted.
Don’t forget to like, comment, and subscribe!
Check out my other DIY’s and Up|Cycles