
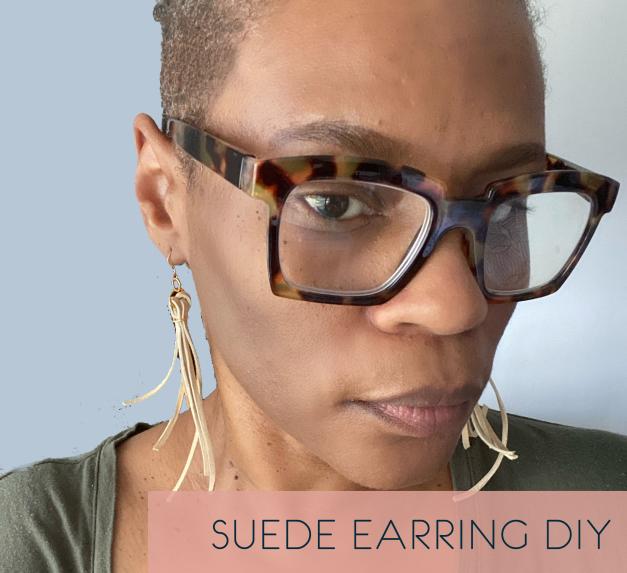
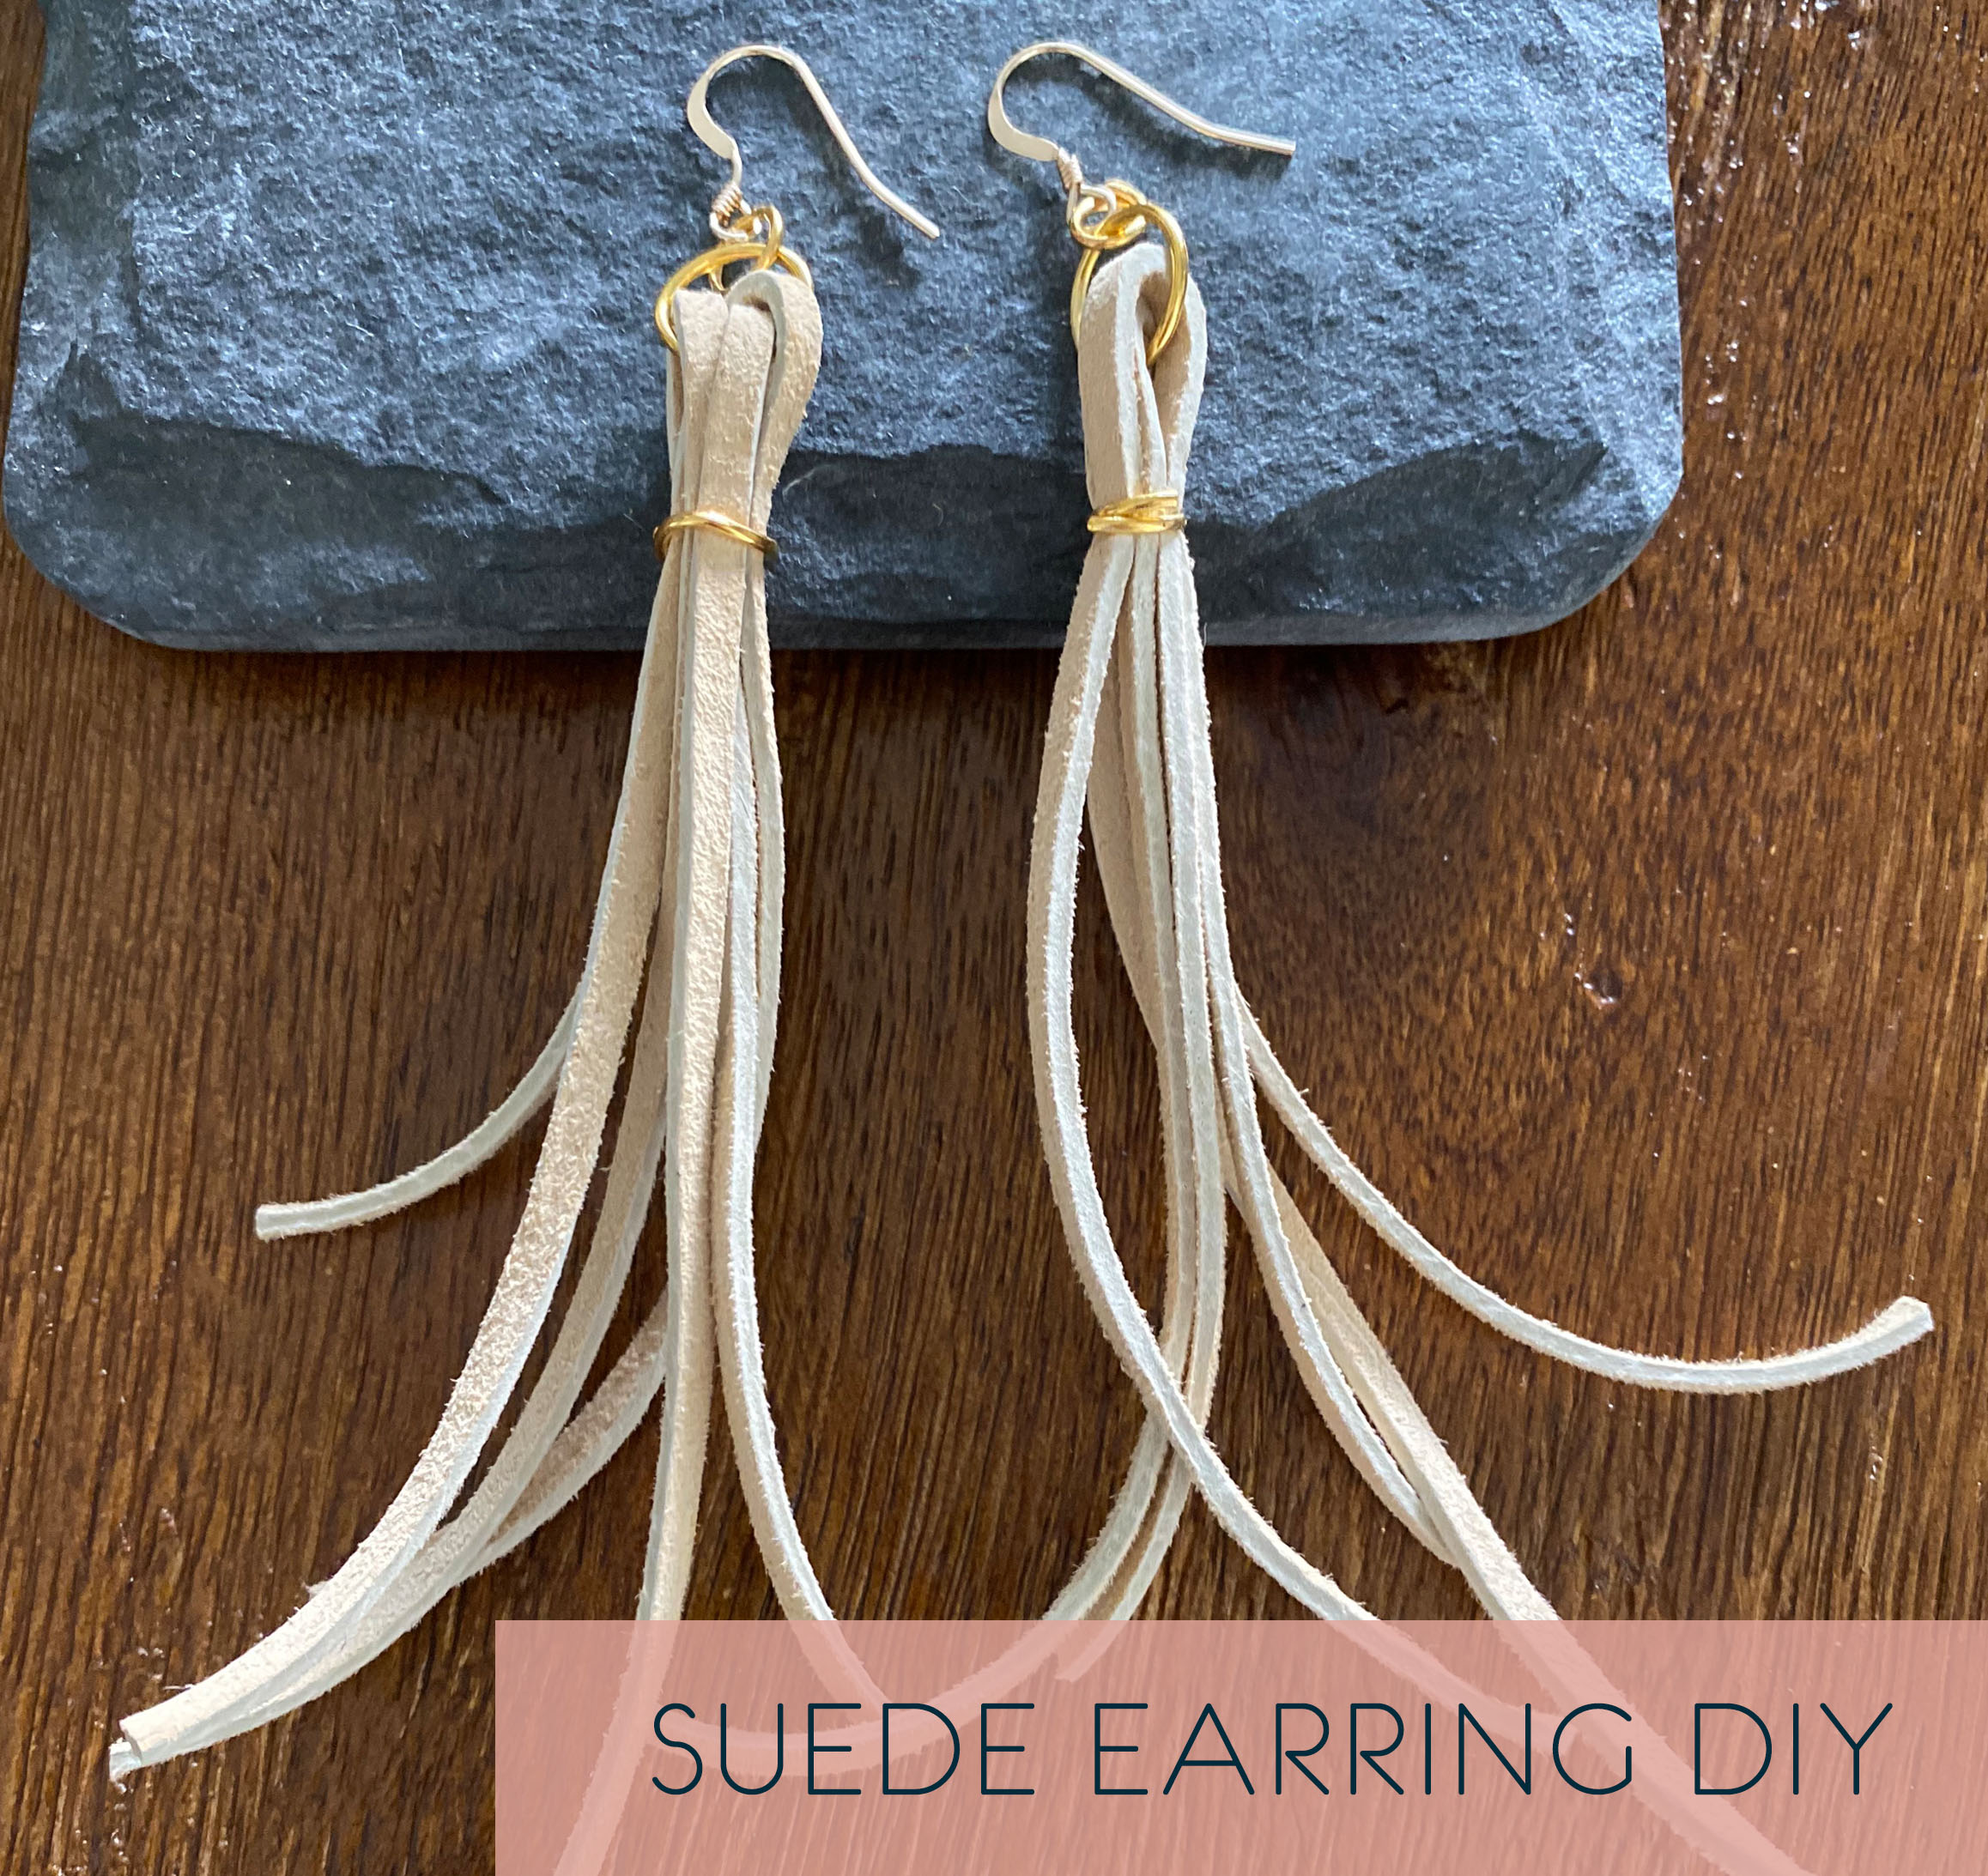
DIY Suede Fringe Earrings
Hello Friends and Happy Friday from wherever you are! If this is your first time on the blog, thanks so much for visiting and I hope you consider subscribing.
If you’re part of the family…then Welcome Back! How are you today?
I hope everyone is doing well on this Friday, and I hope your week was productive.
I’ve been trying to keep busy so I finished a book (that review is coming soon), and I’ve been rearranging and preparing donations for some of Trinity’s belongings, and meds to the local vet.
This week I’ve also finished some earrings. I was inspired by these fringe earrings from Made in a Day but I changed out one of the materials as that was easier (for me) to work wit.

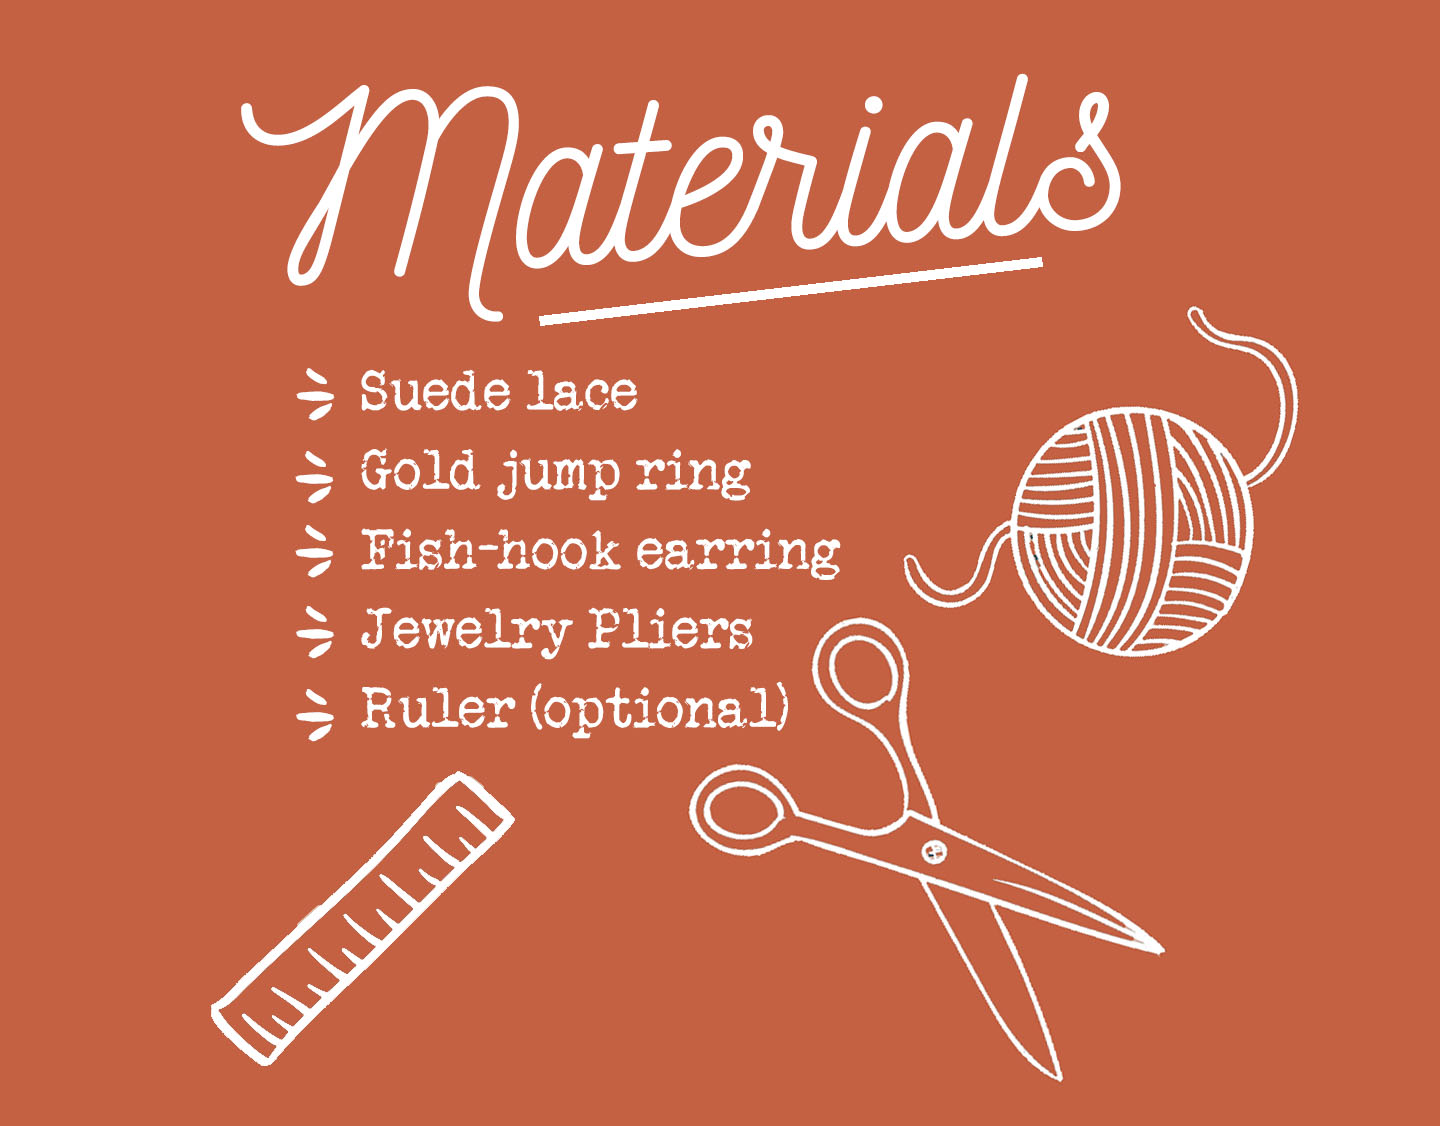
Make It!
[adinserter block=”1″]
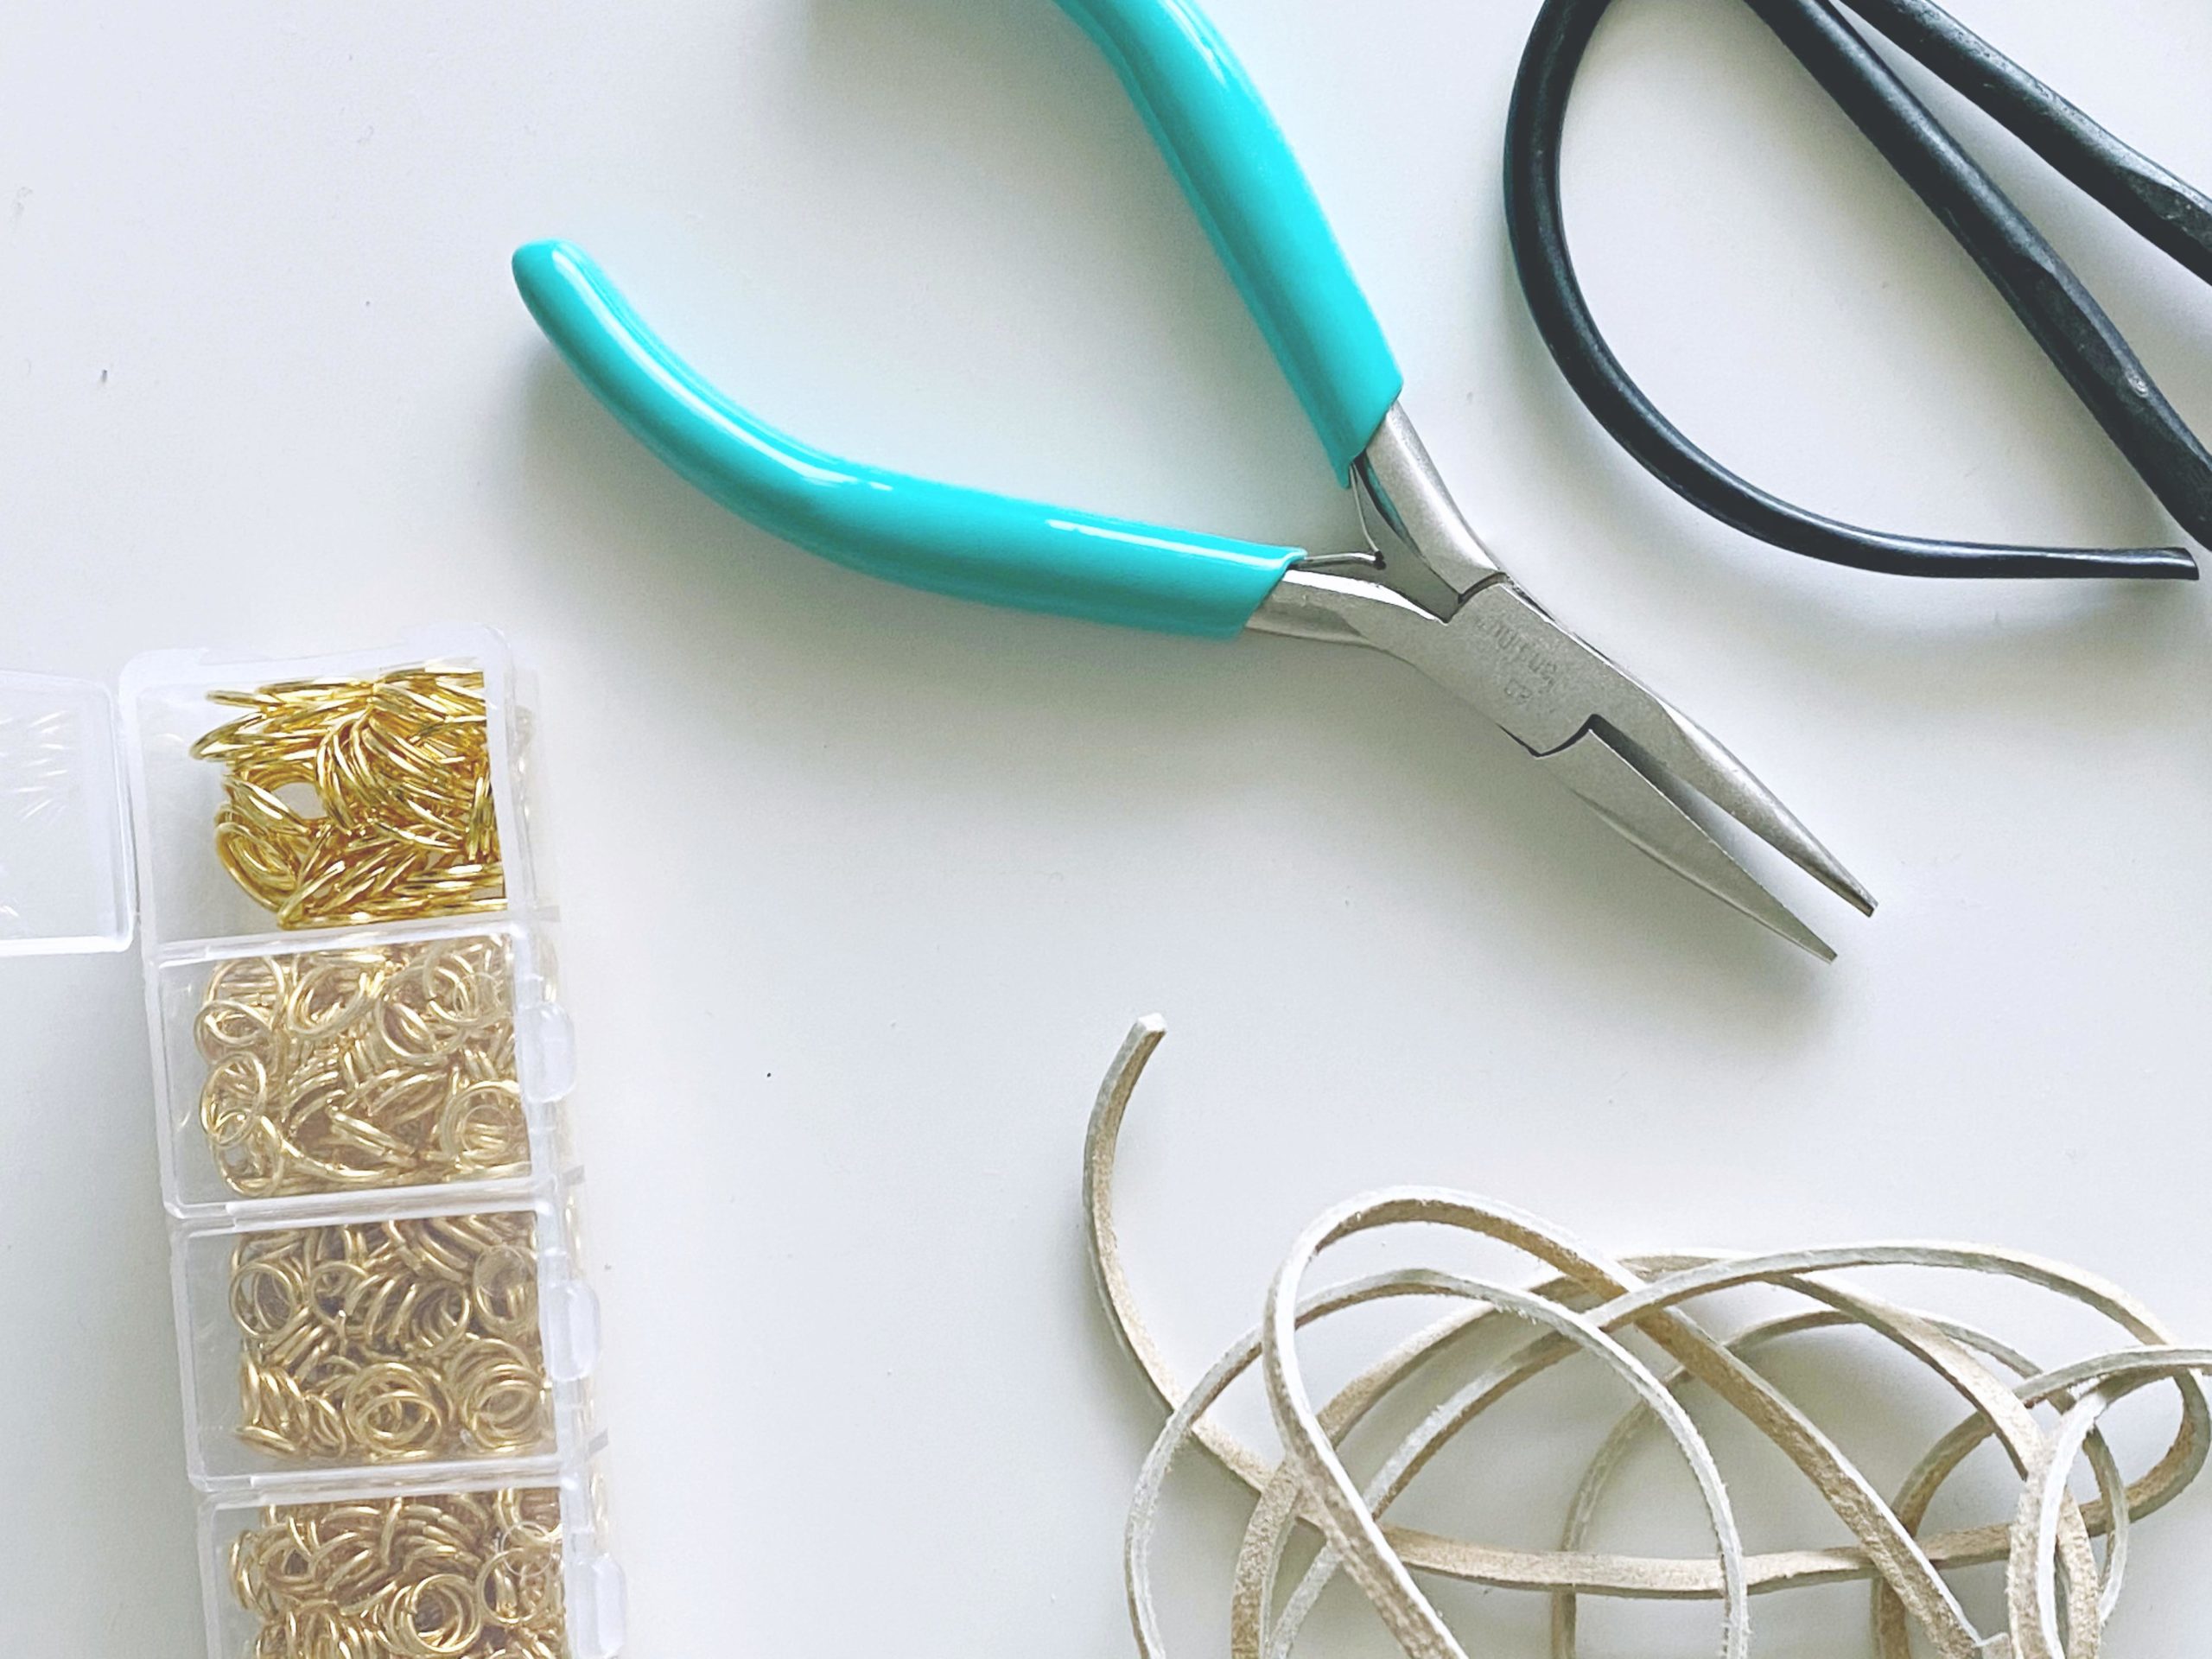
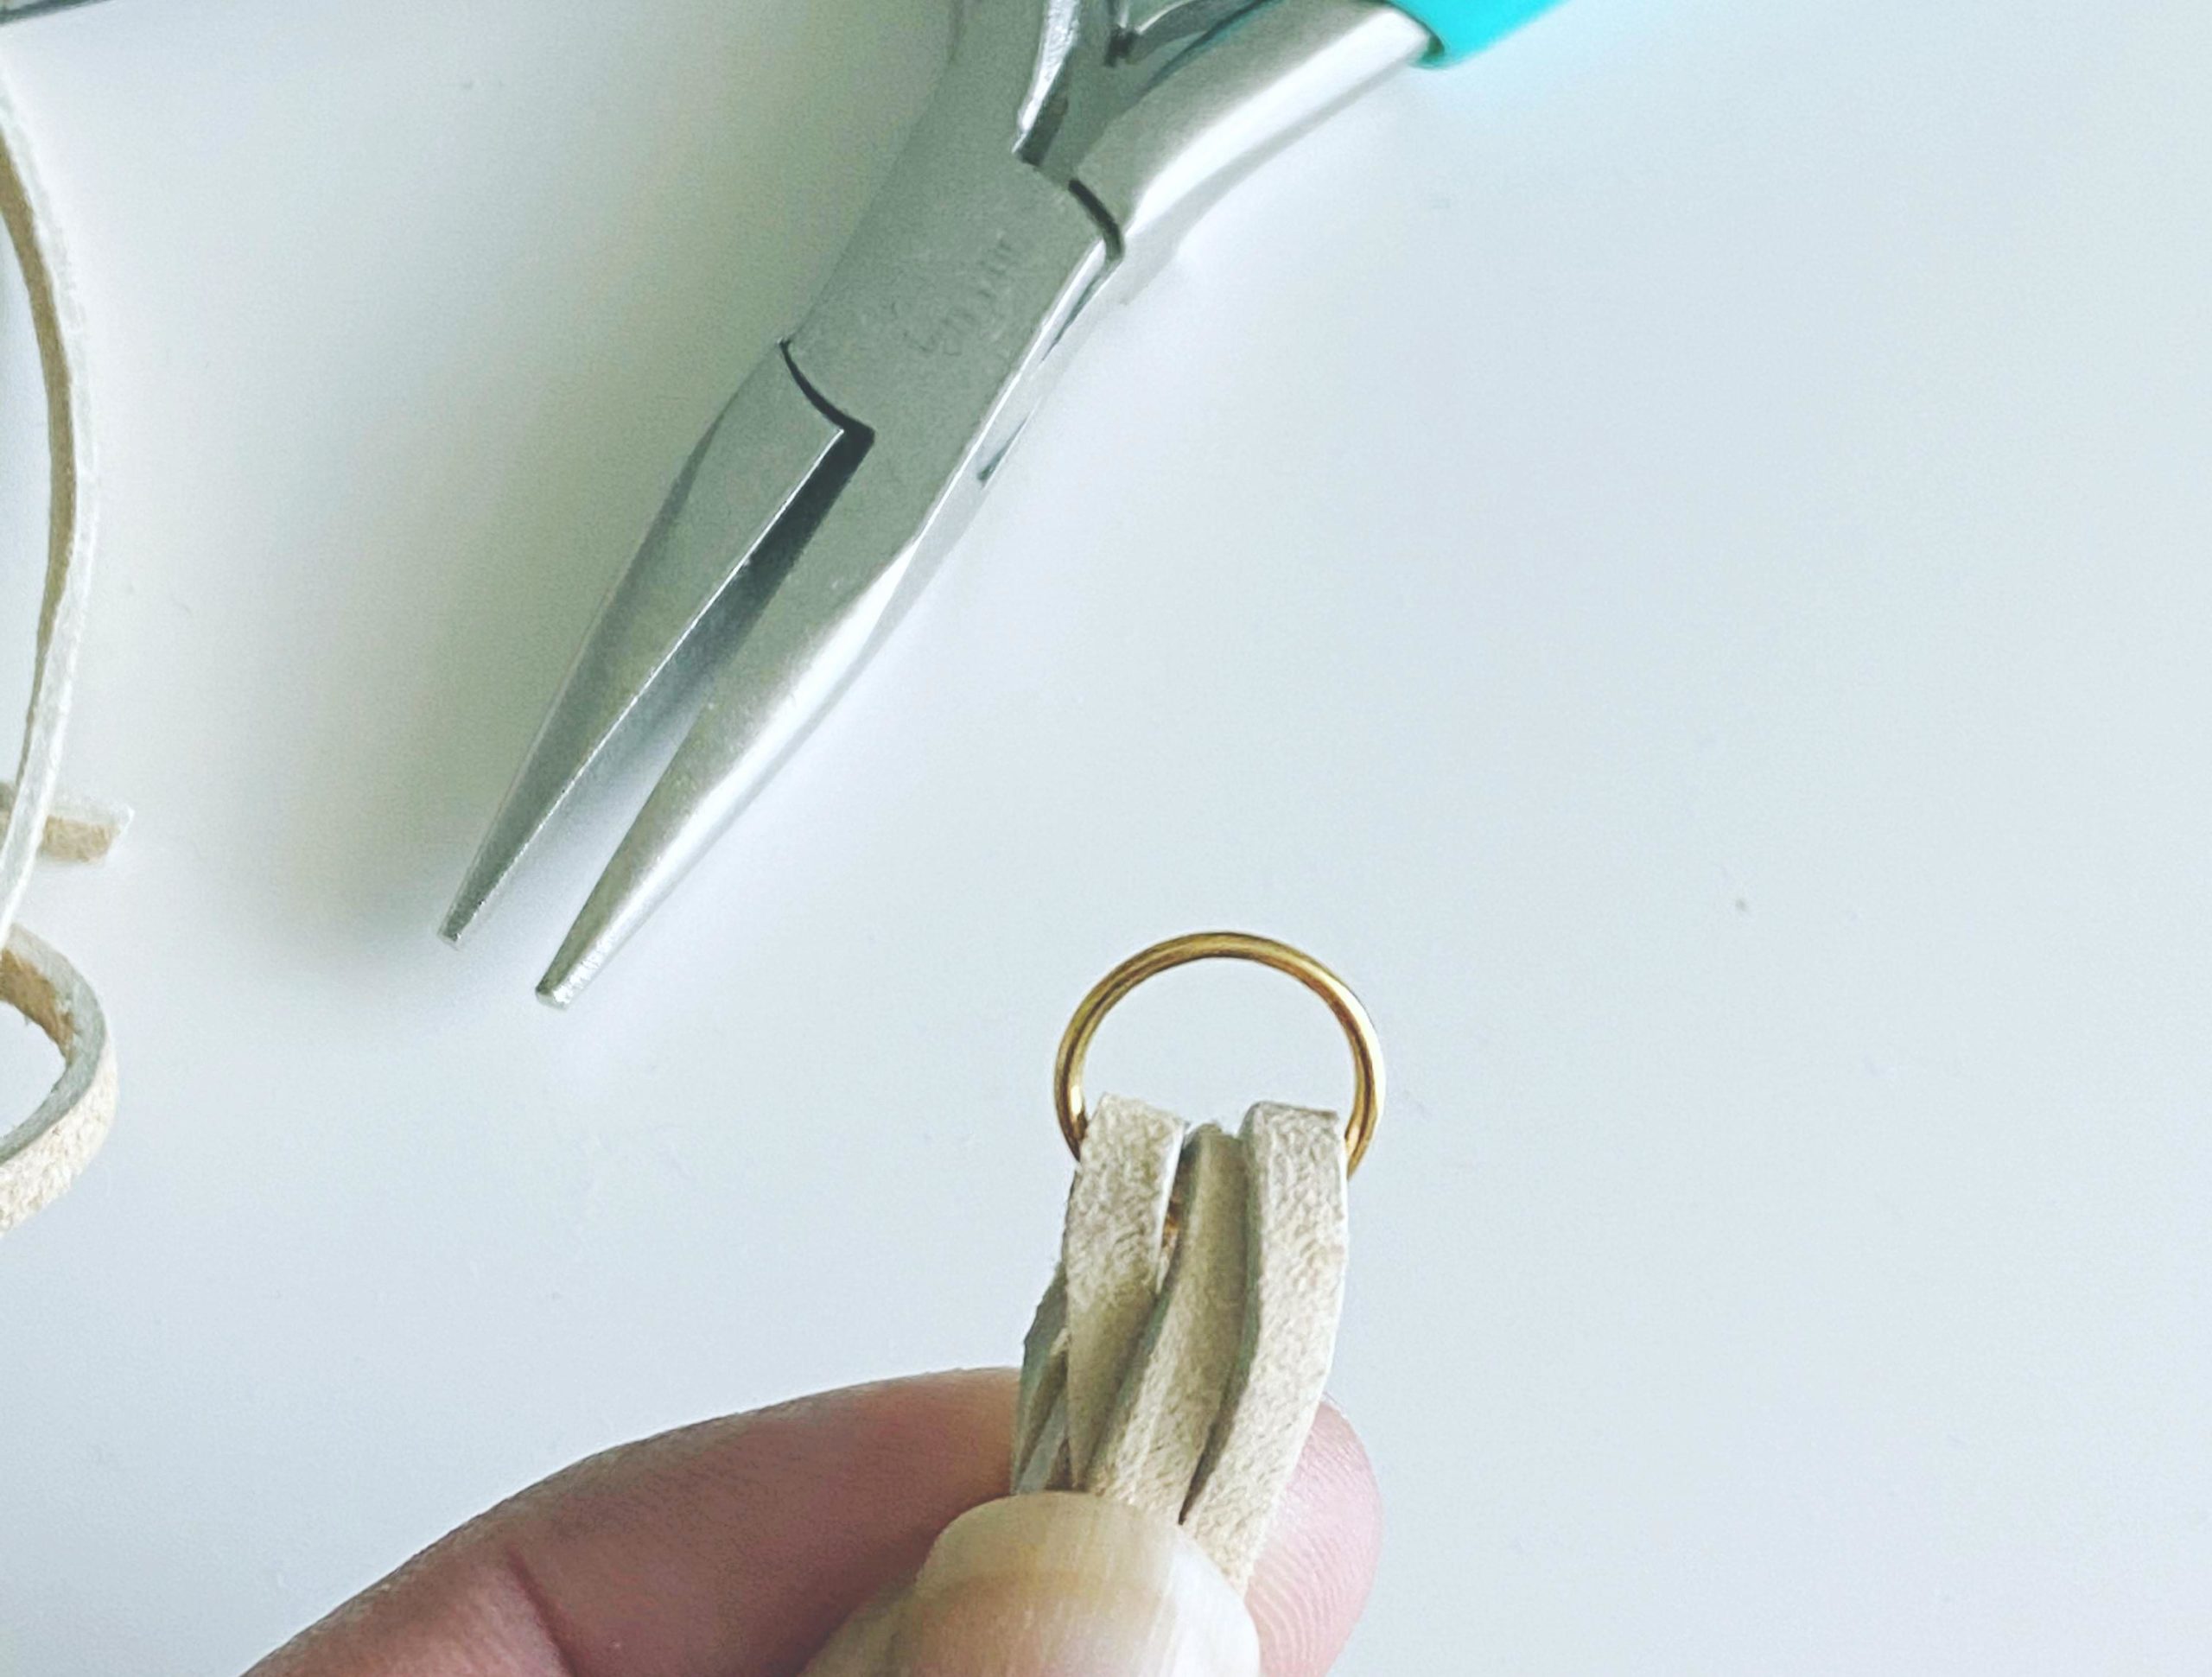
Measure and cut out your suede string. (You can also use leather). I used 3 (4 can fit in the 10mm ring), 3 to 5-inch pieces, because I wanted mine at different lengths, but you could cut your suede string any size you want to fit your face.
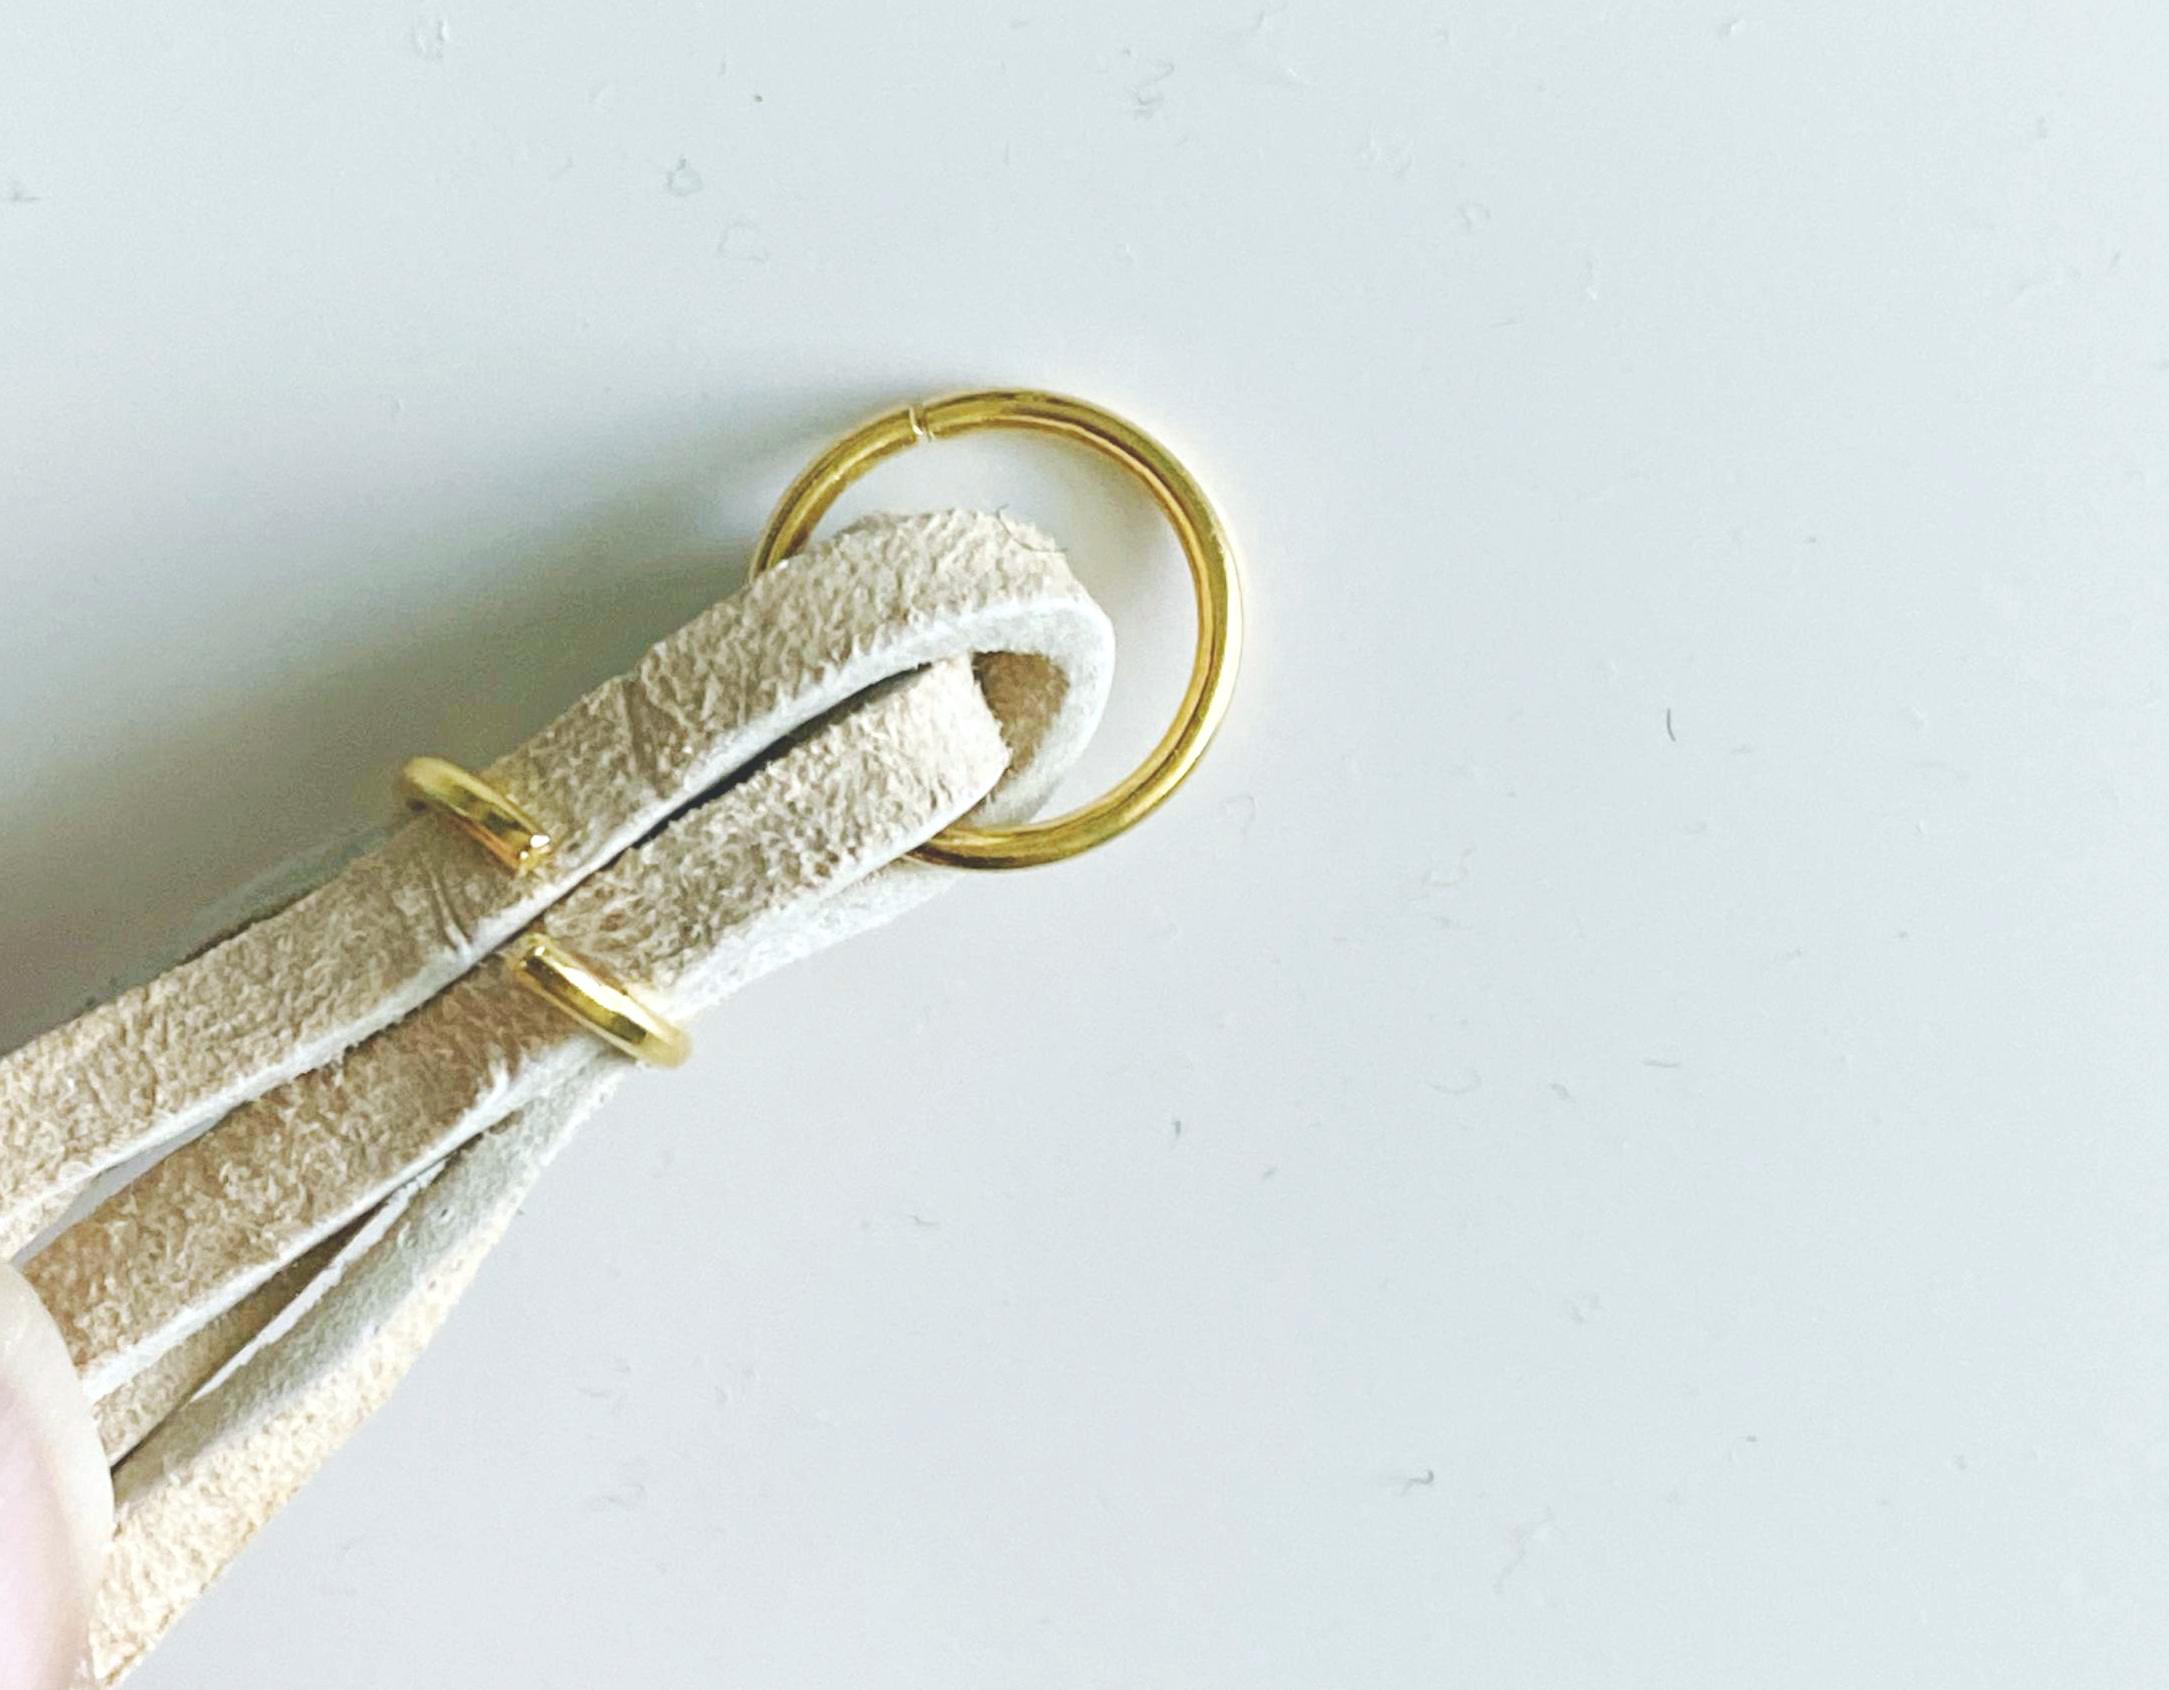
Insert those 3 strings into the largest jump ring (10mm), then fold them over the jump ring where you should now see a total of six strands (if you used 3).
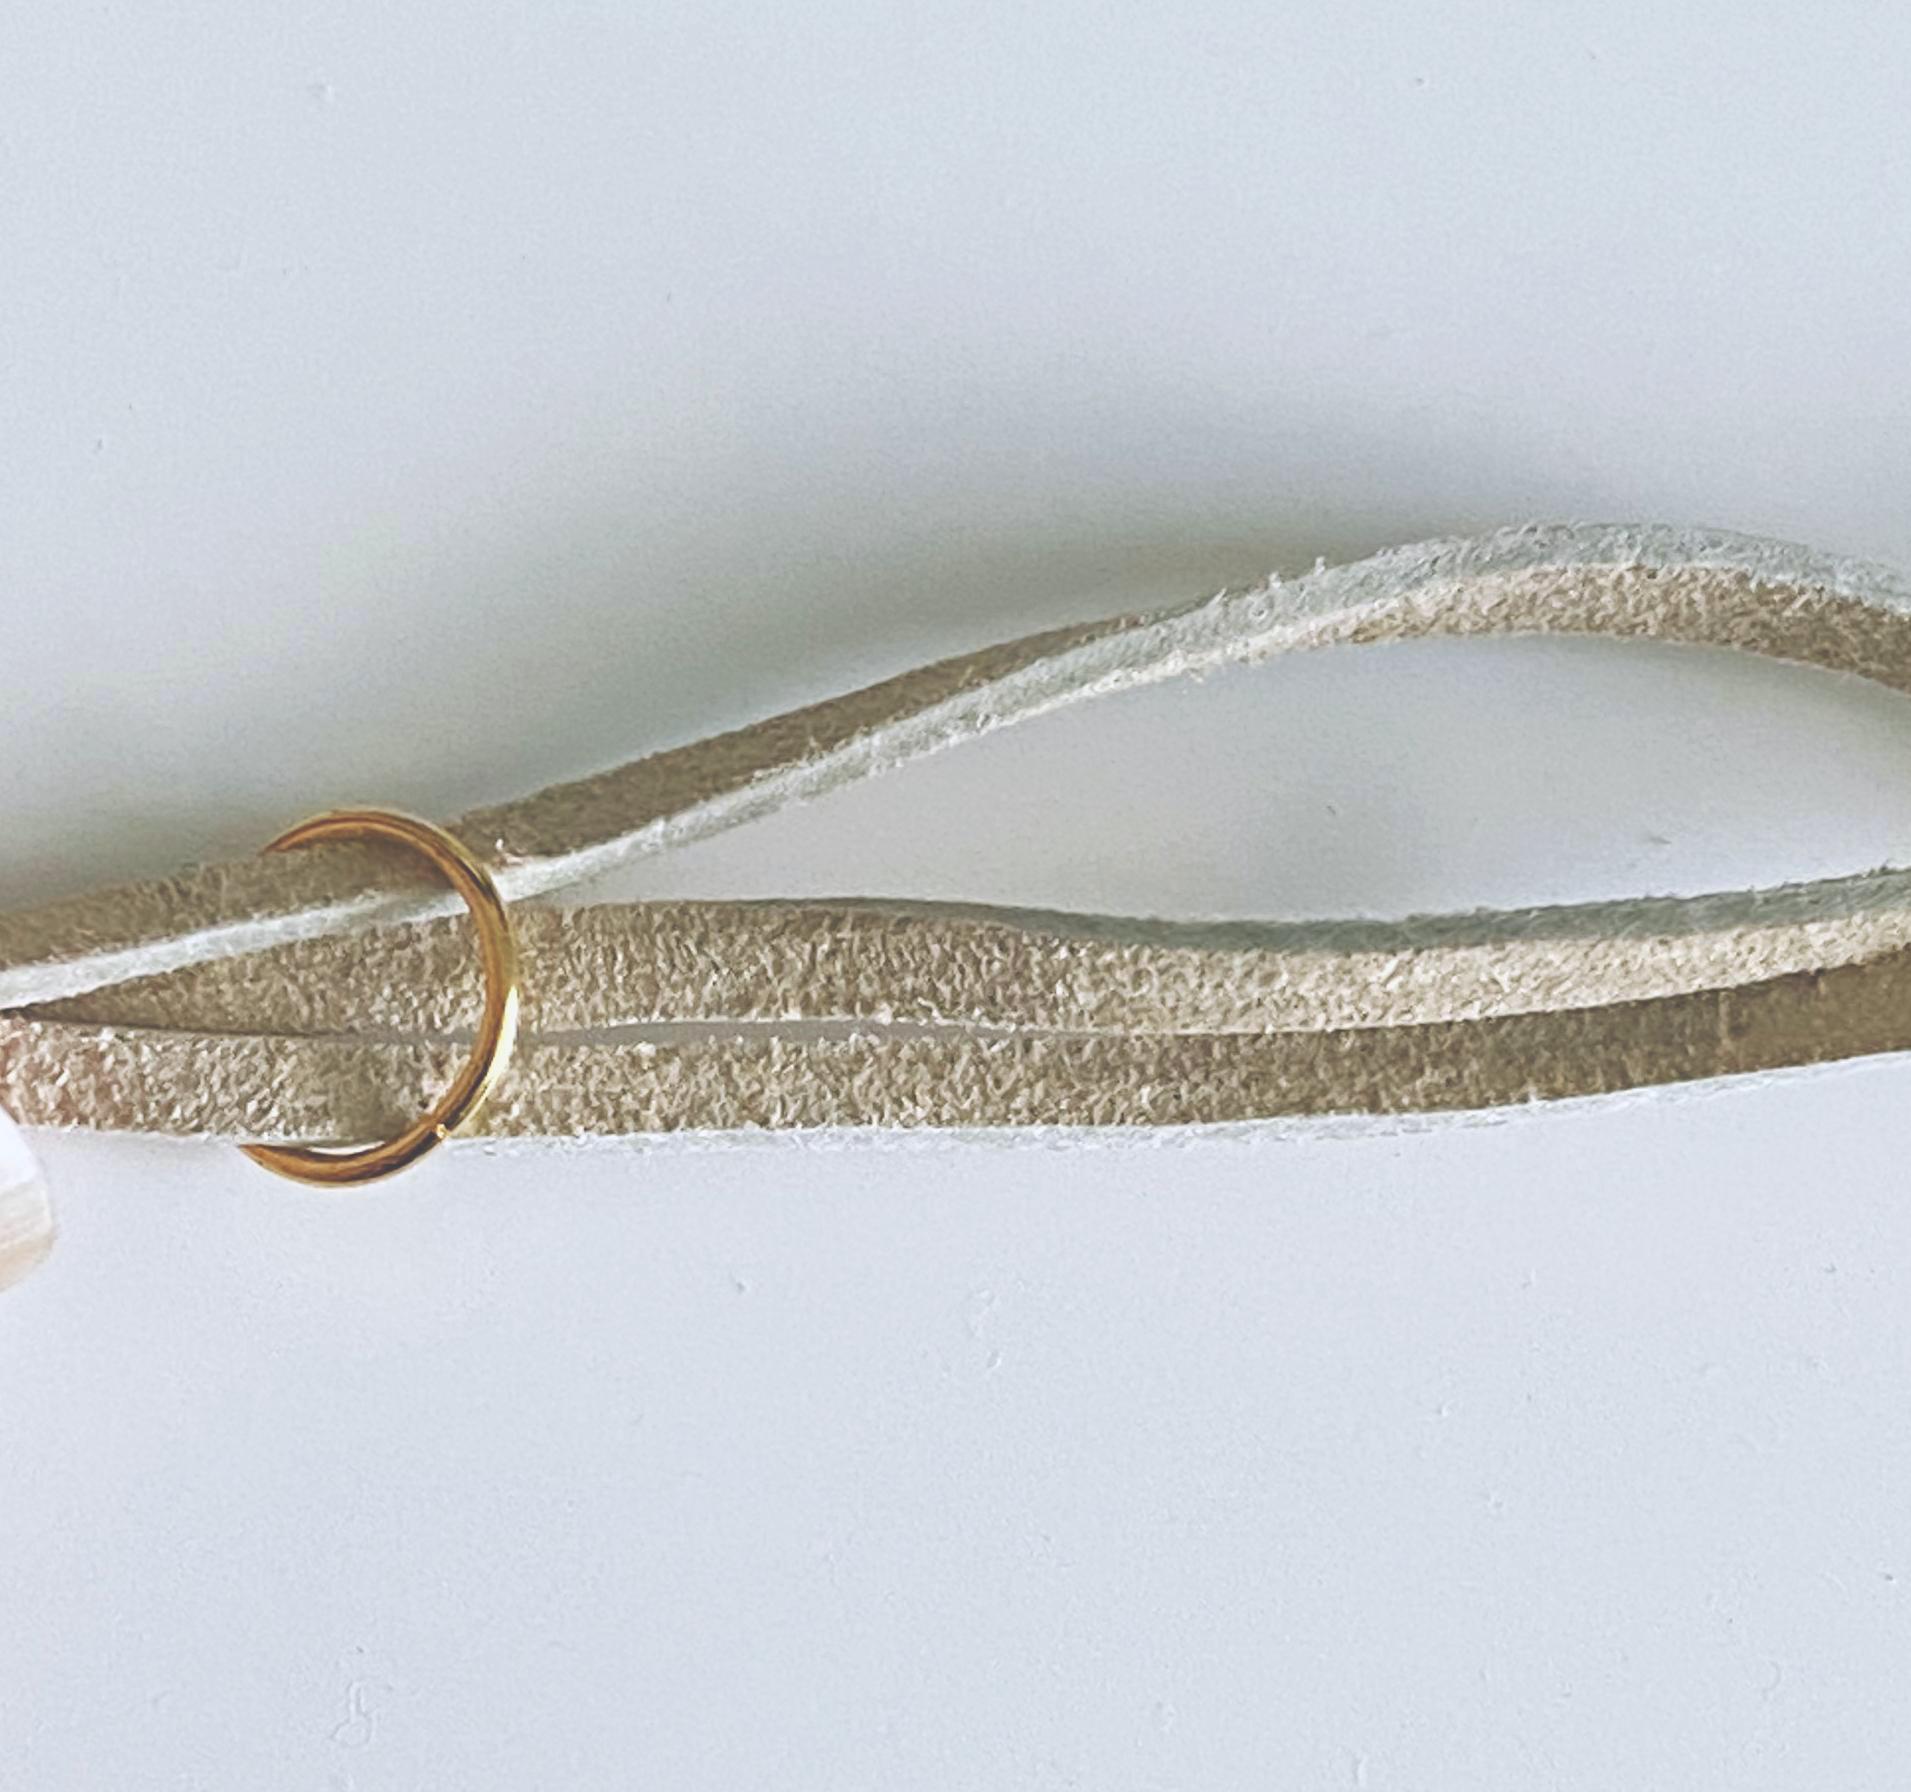
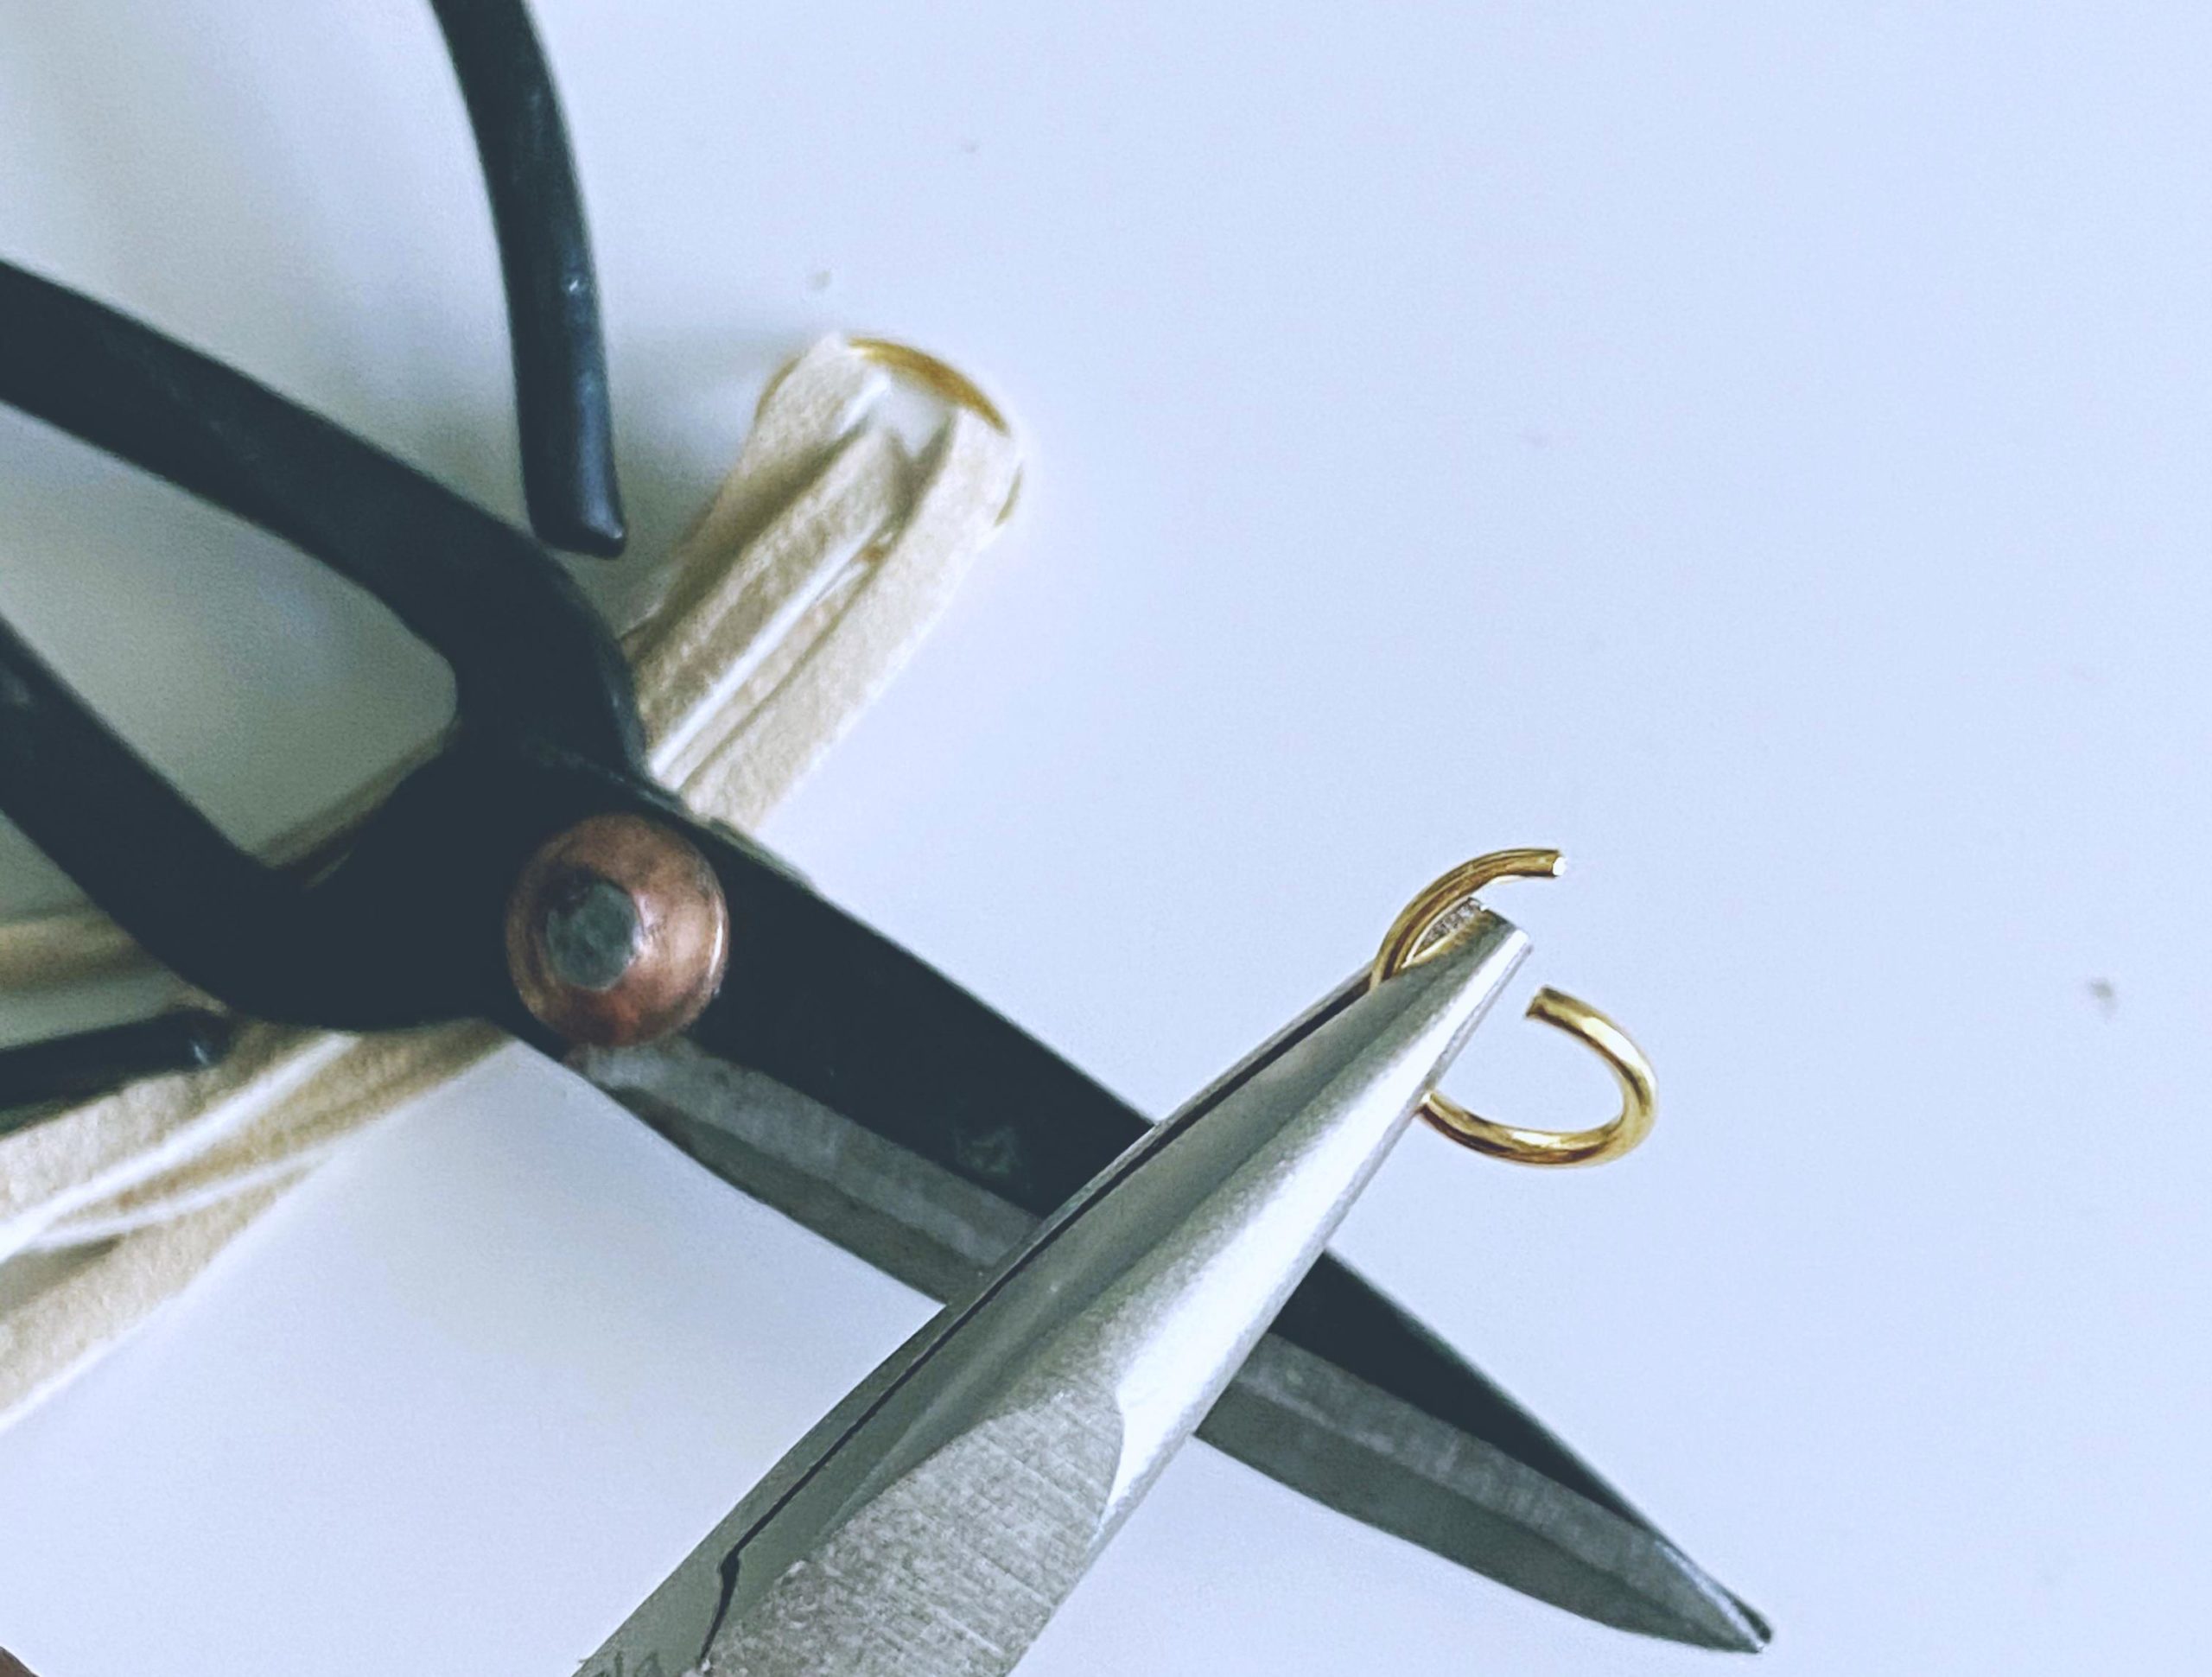
You’ll want to secure your strands with another jump ring. From about 1/2-inch from your fold add your 2nd jump ring. I used the 7mm; pried it open with the pliers; fit in my string; then pinched it shut with the pliers so the strings were secure.
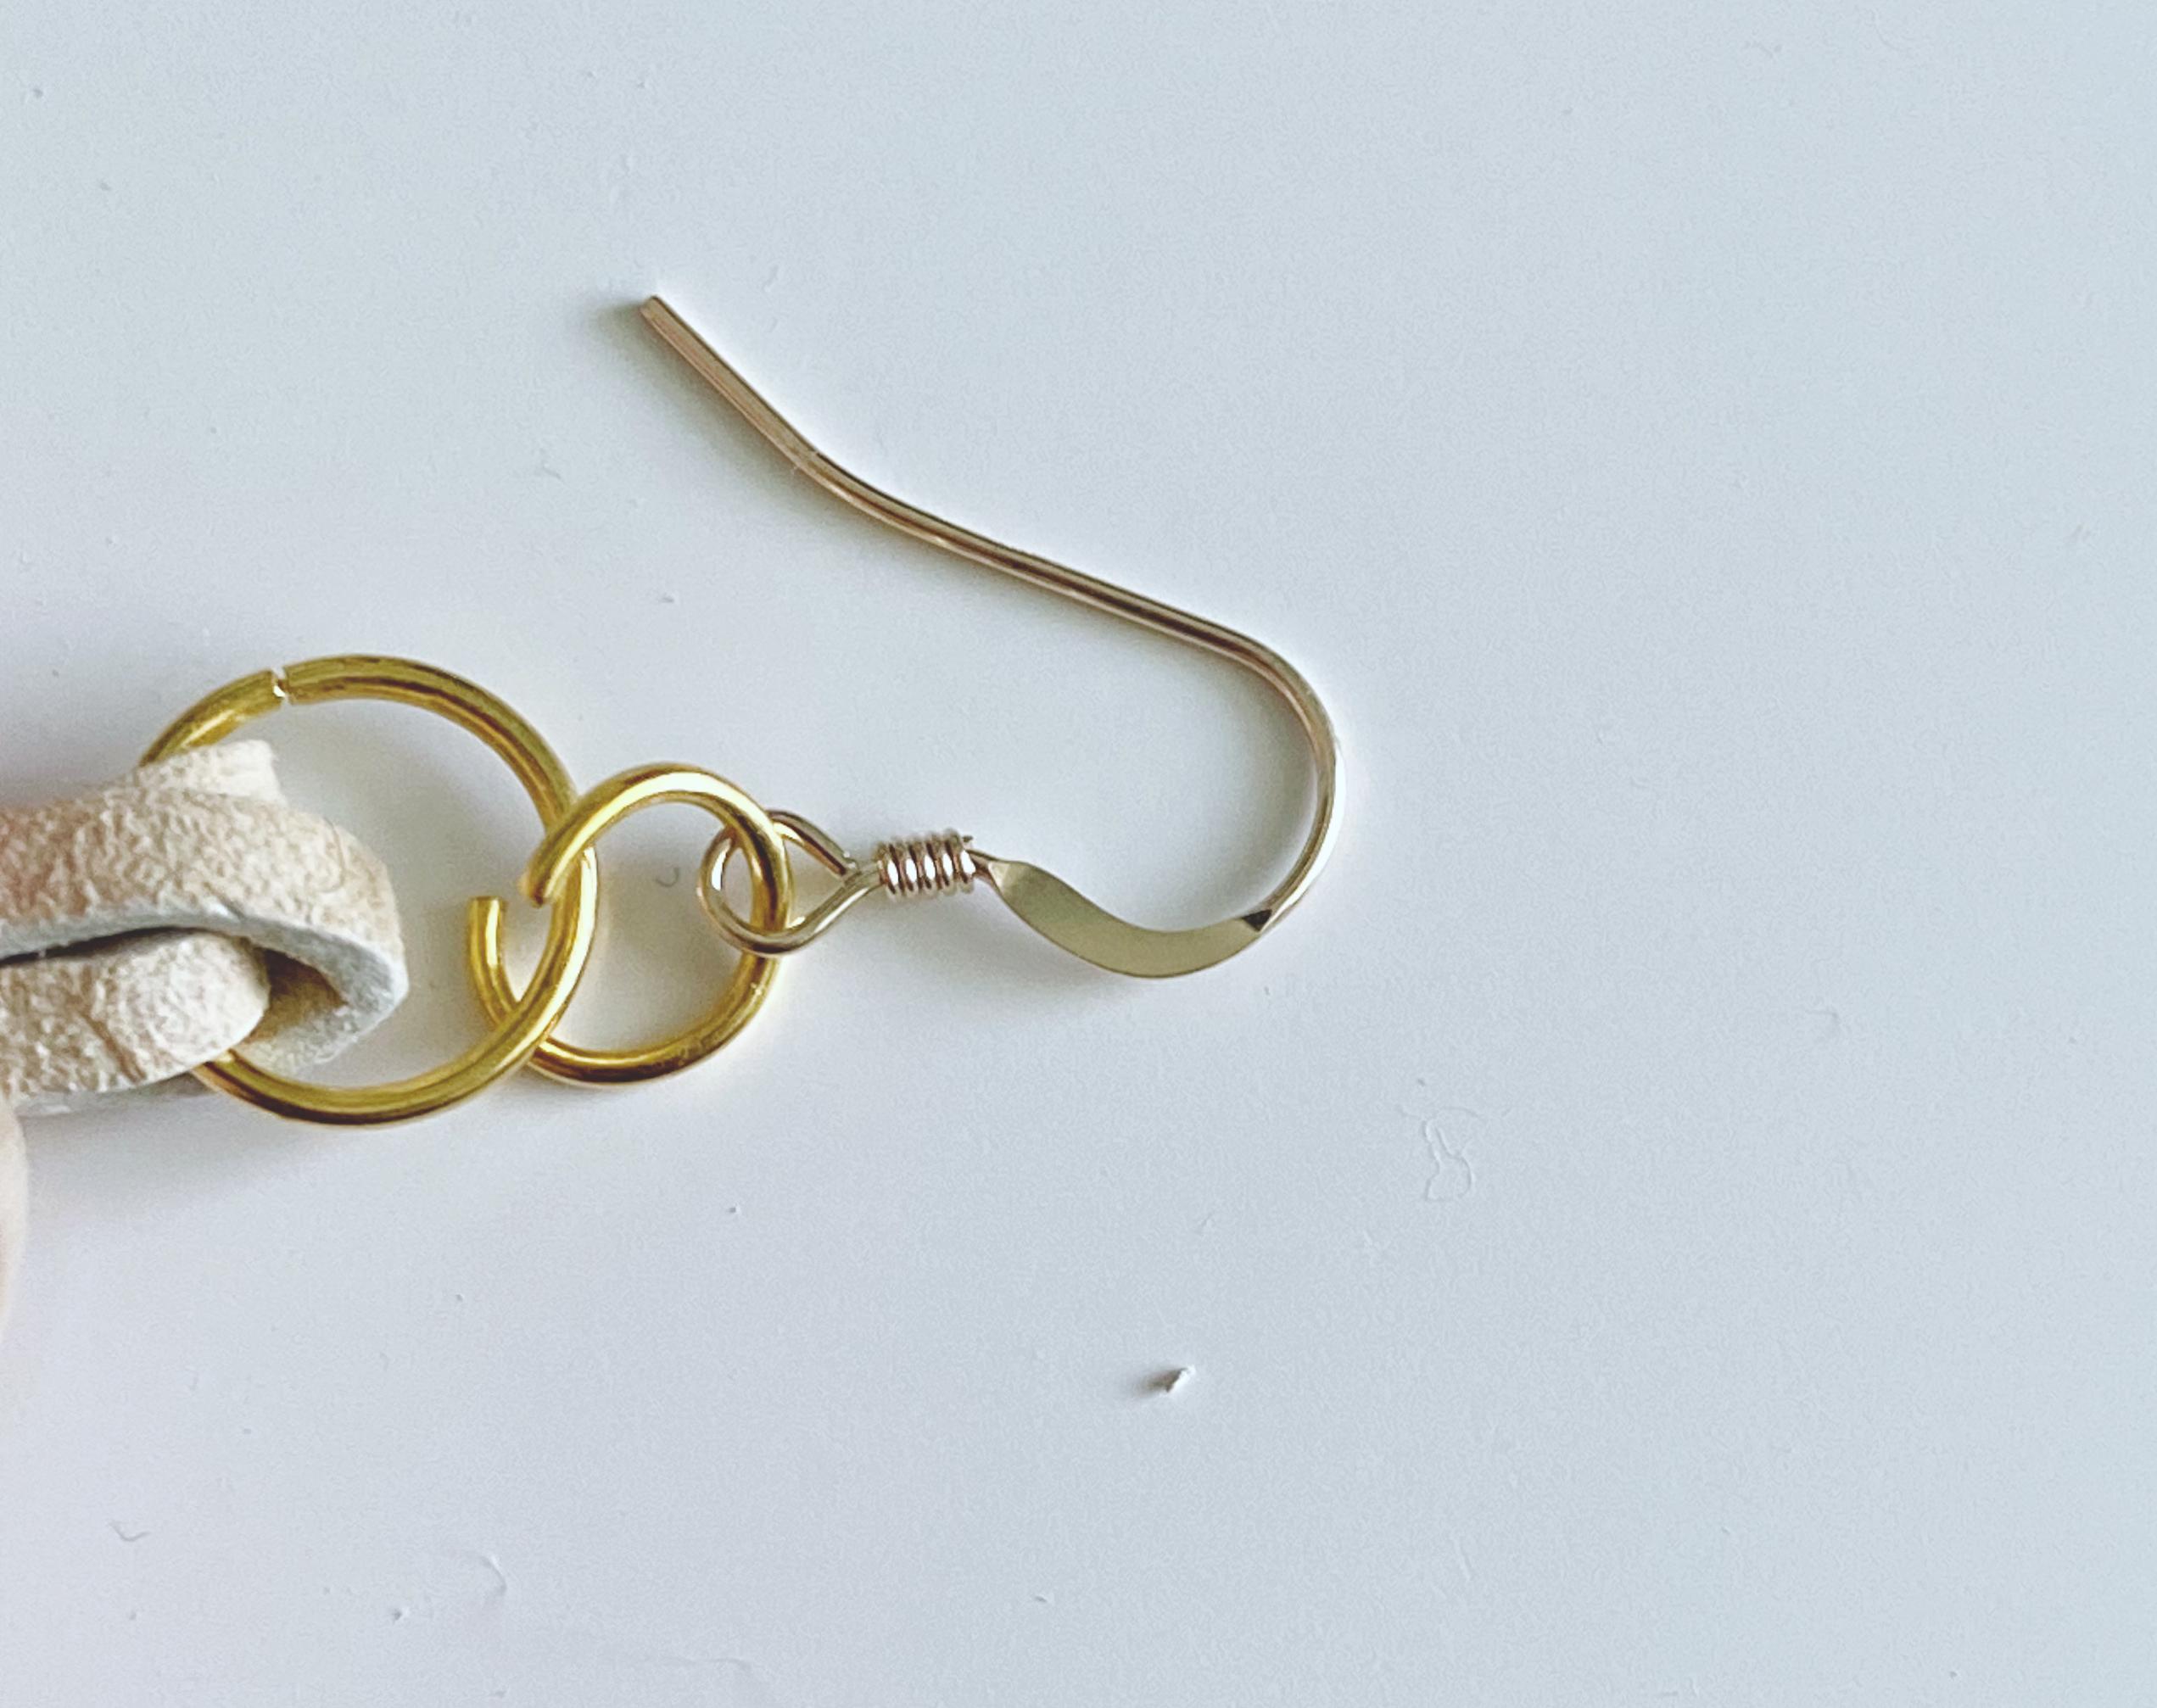
Now I have my basic structure of the earring, I will add one more jump ring and the earring hook.
To add the main piece to the hook I used the 6mm jump ring; opened it slightly with the pliers; then adding the hook (the piece that will go into your ear), and the tasseled part of the earring, and then pinched that shut. (This is basically the connector piece from the hook to your actual earring)
And “Boo-Yahh”! You have a cute pair of earrings. I cute my pair a bit more to tailor them to my neck.
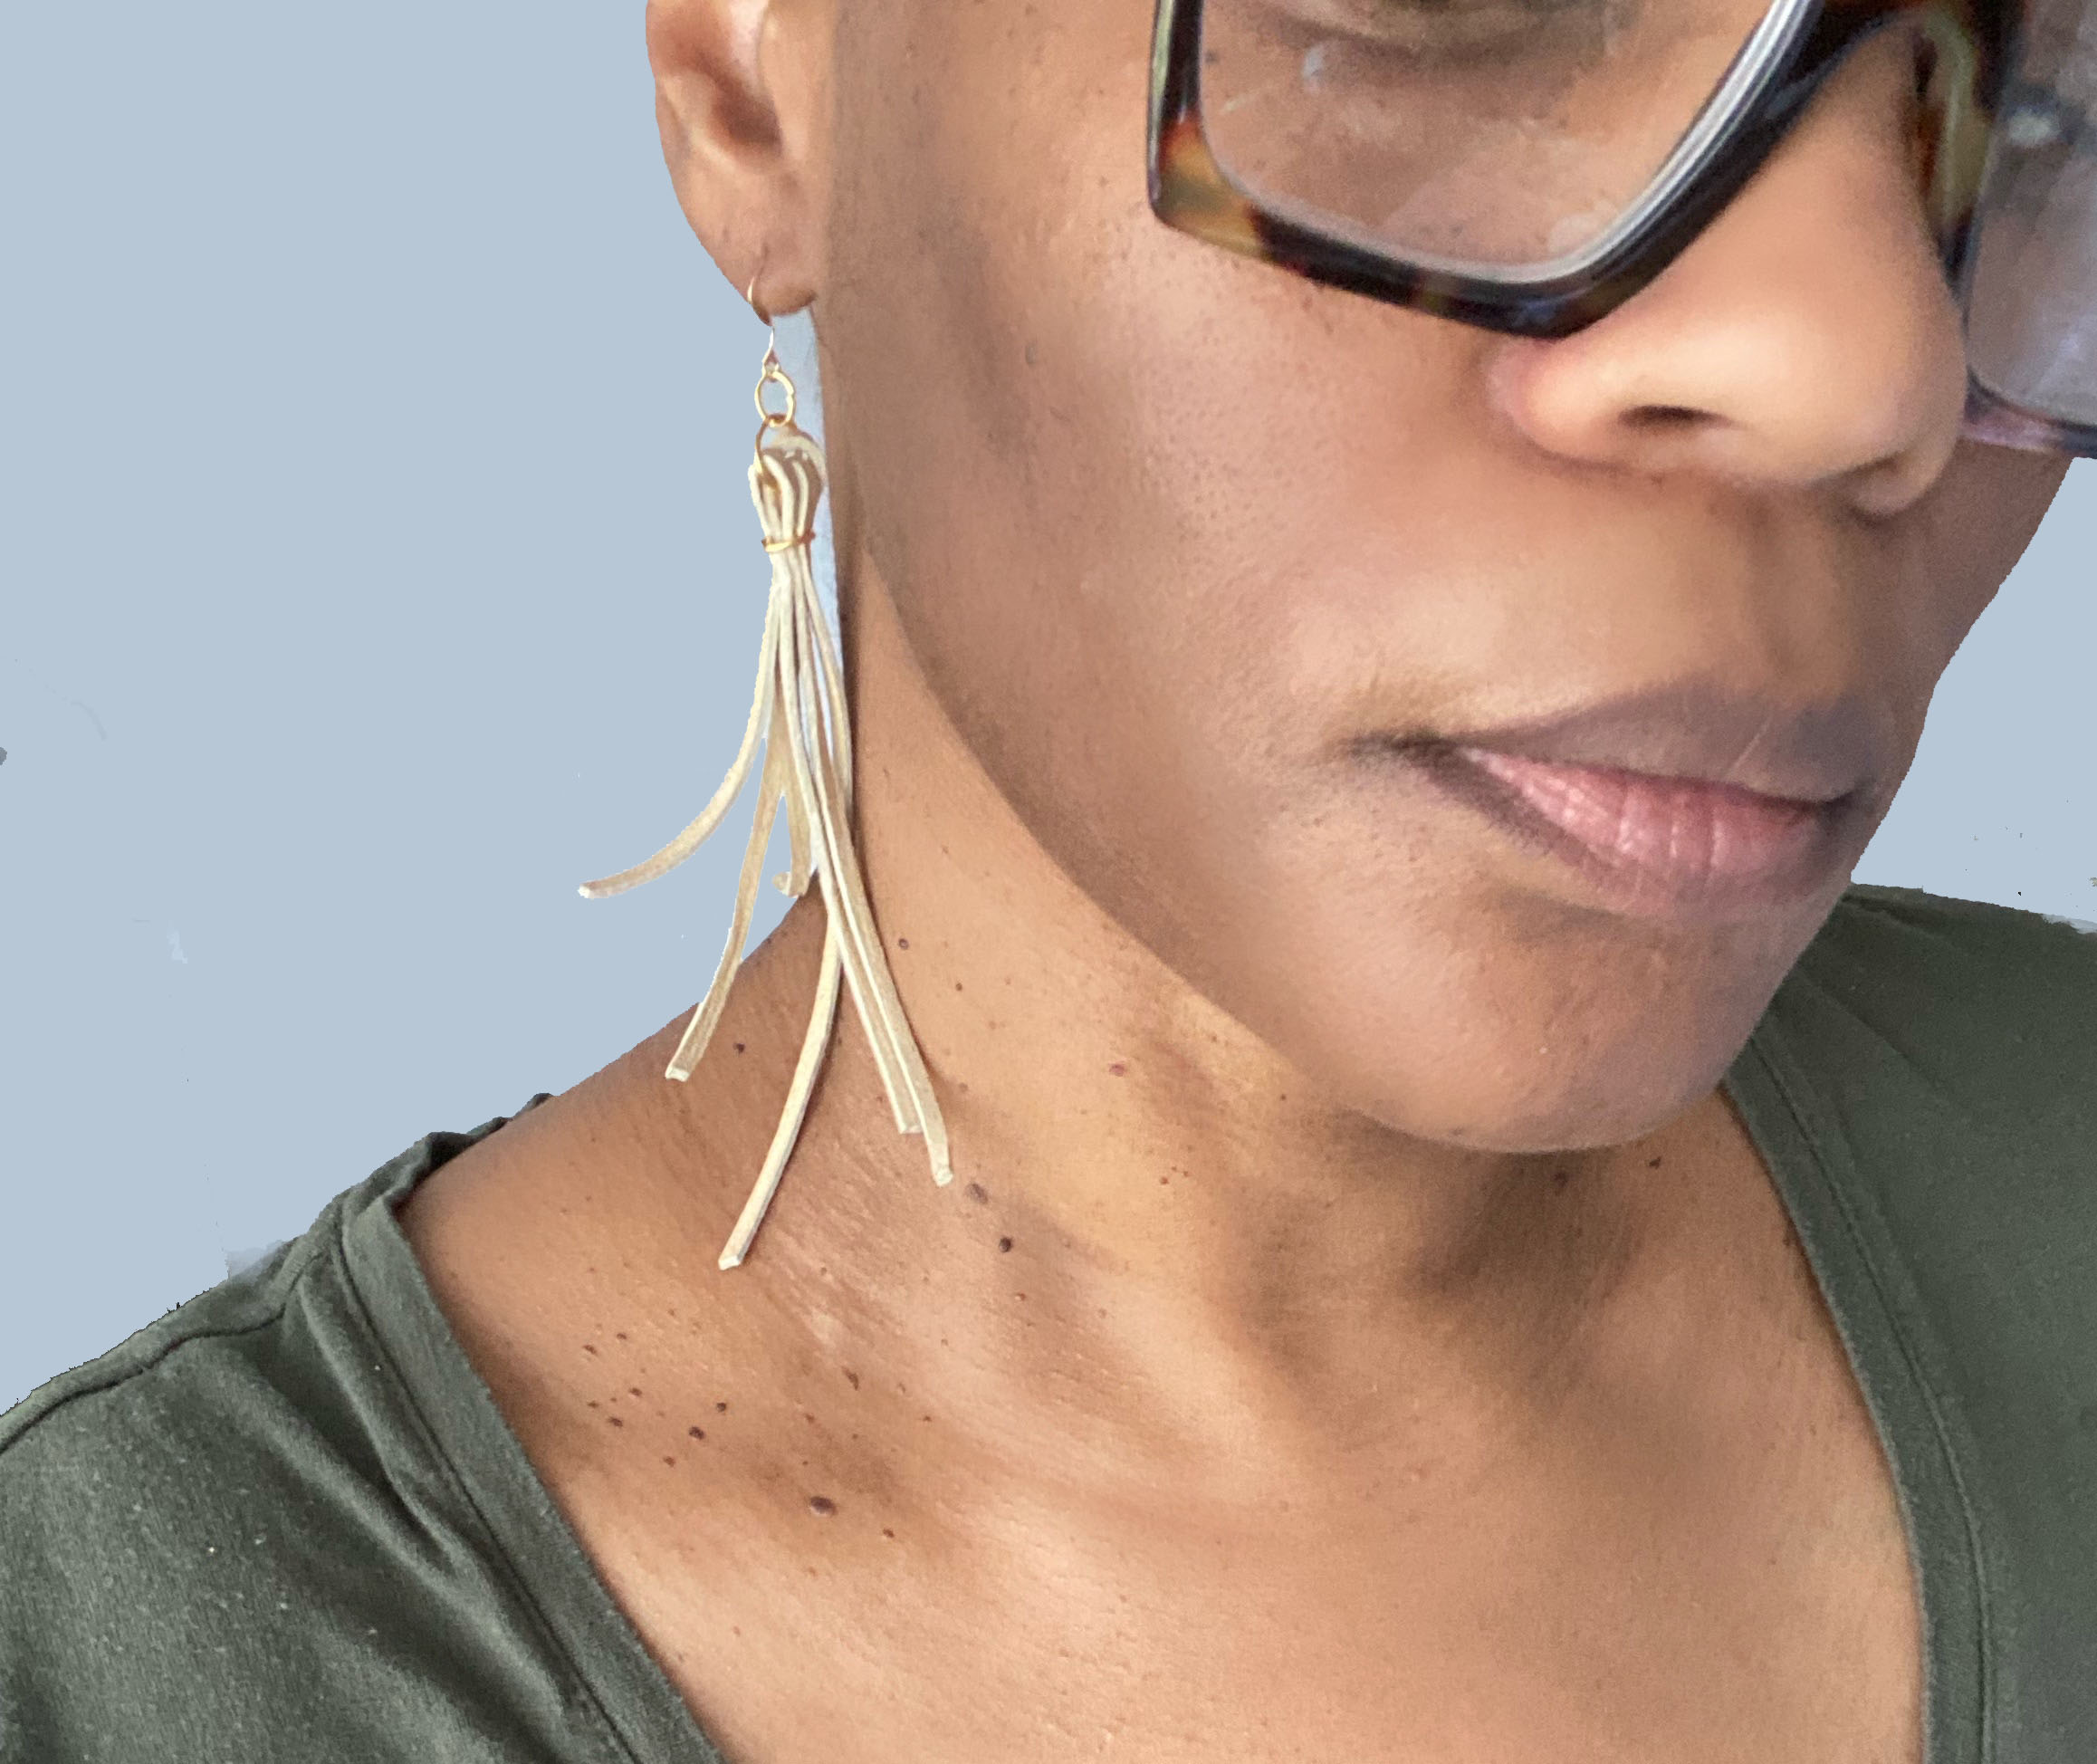
This little project took all of 20 minutes if you count the trying on, sizing them down, and the pictures. I think it would make a great for a family member or friend. You could make them for your group in a bachelorette party or girls’ night as well.
With that, I’ll end my post today. I hope everyone has had a great week, stay safe amongst the chaos. Don’t forget to like, comment, and subscribe … have a great weekend. — Peace —
Check out my other DIY’s and Up|Cycles
Pin Me!
Clip art for infographics | Freepik


